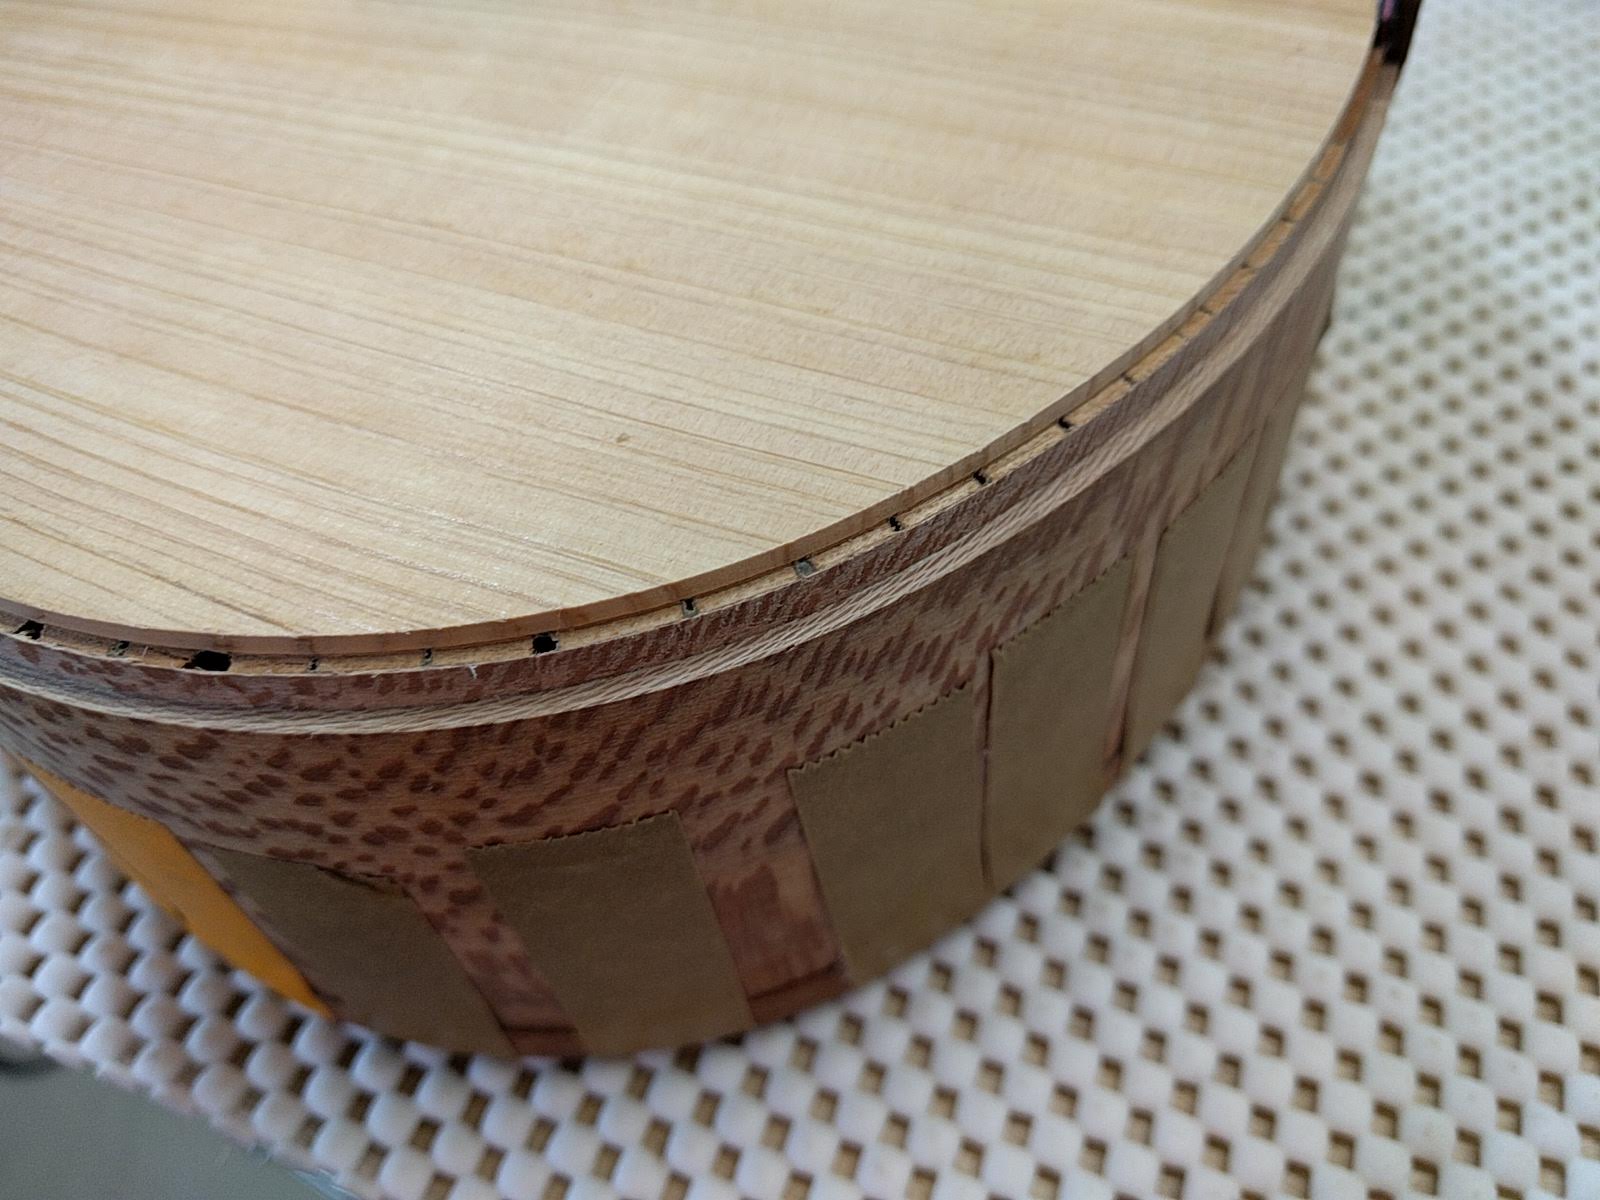
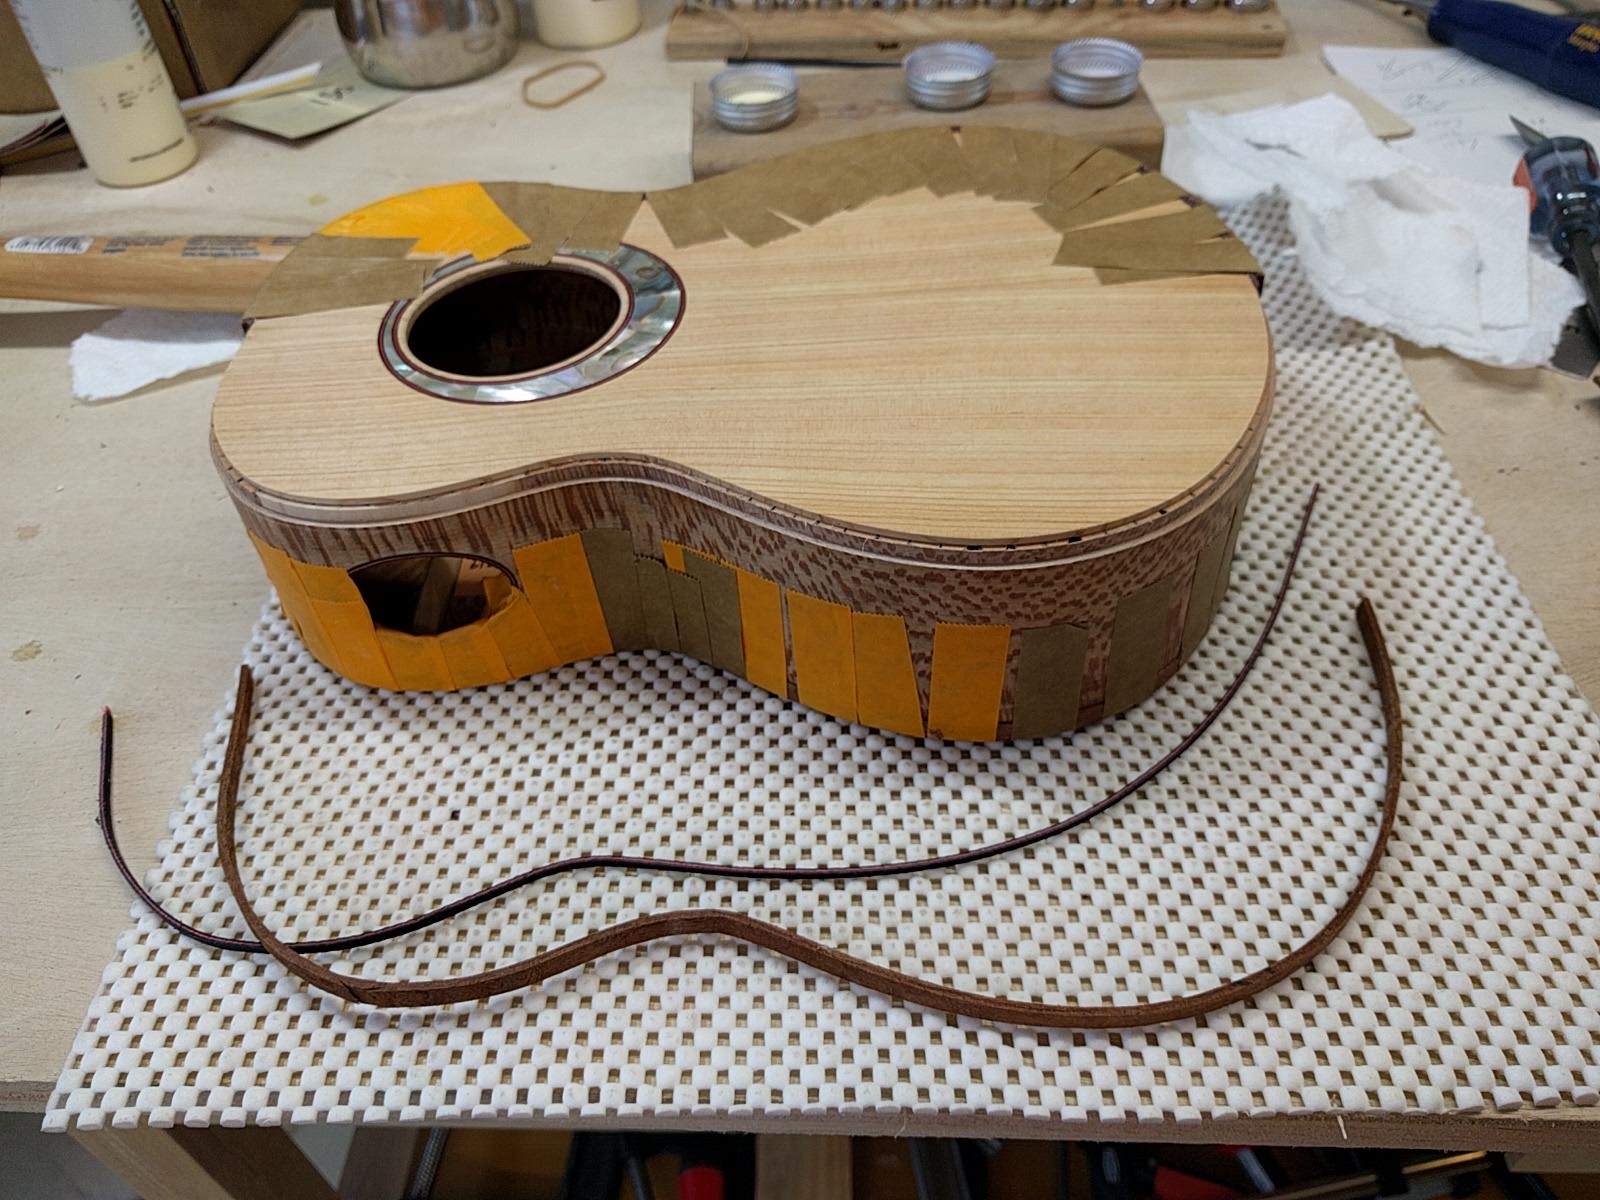
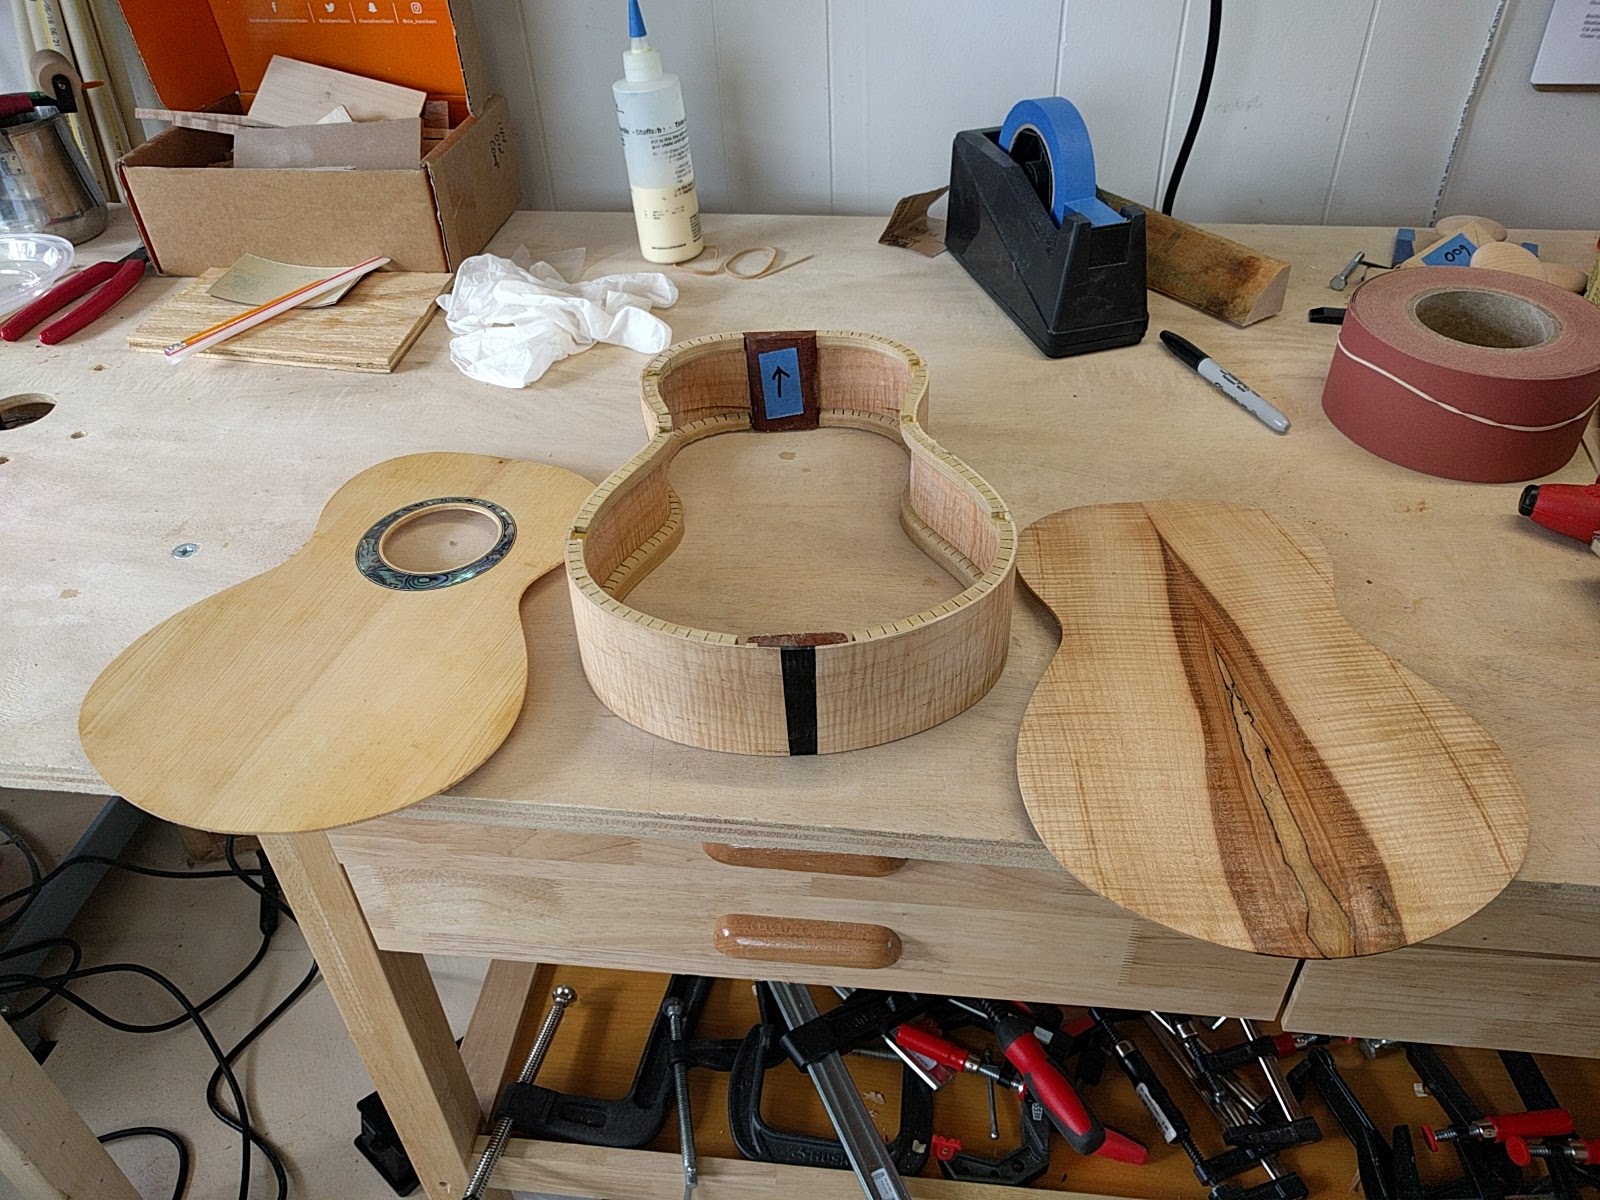
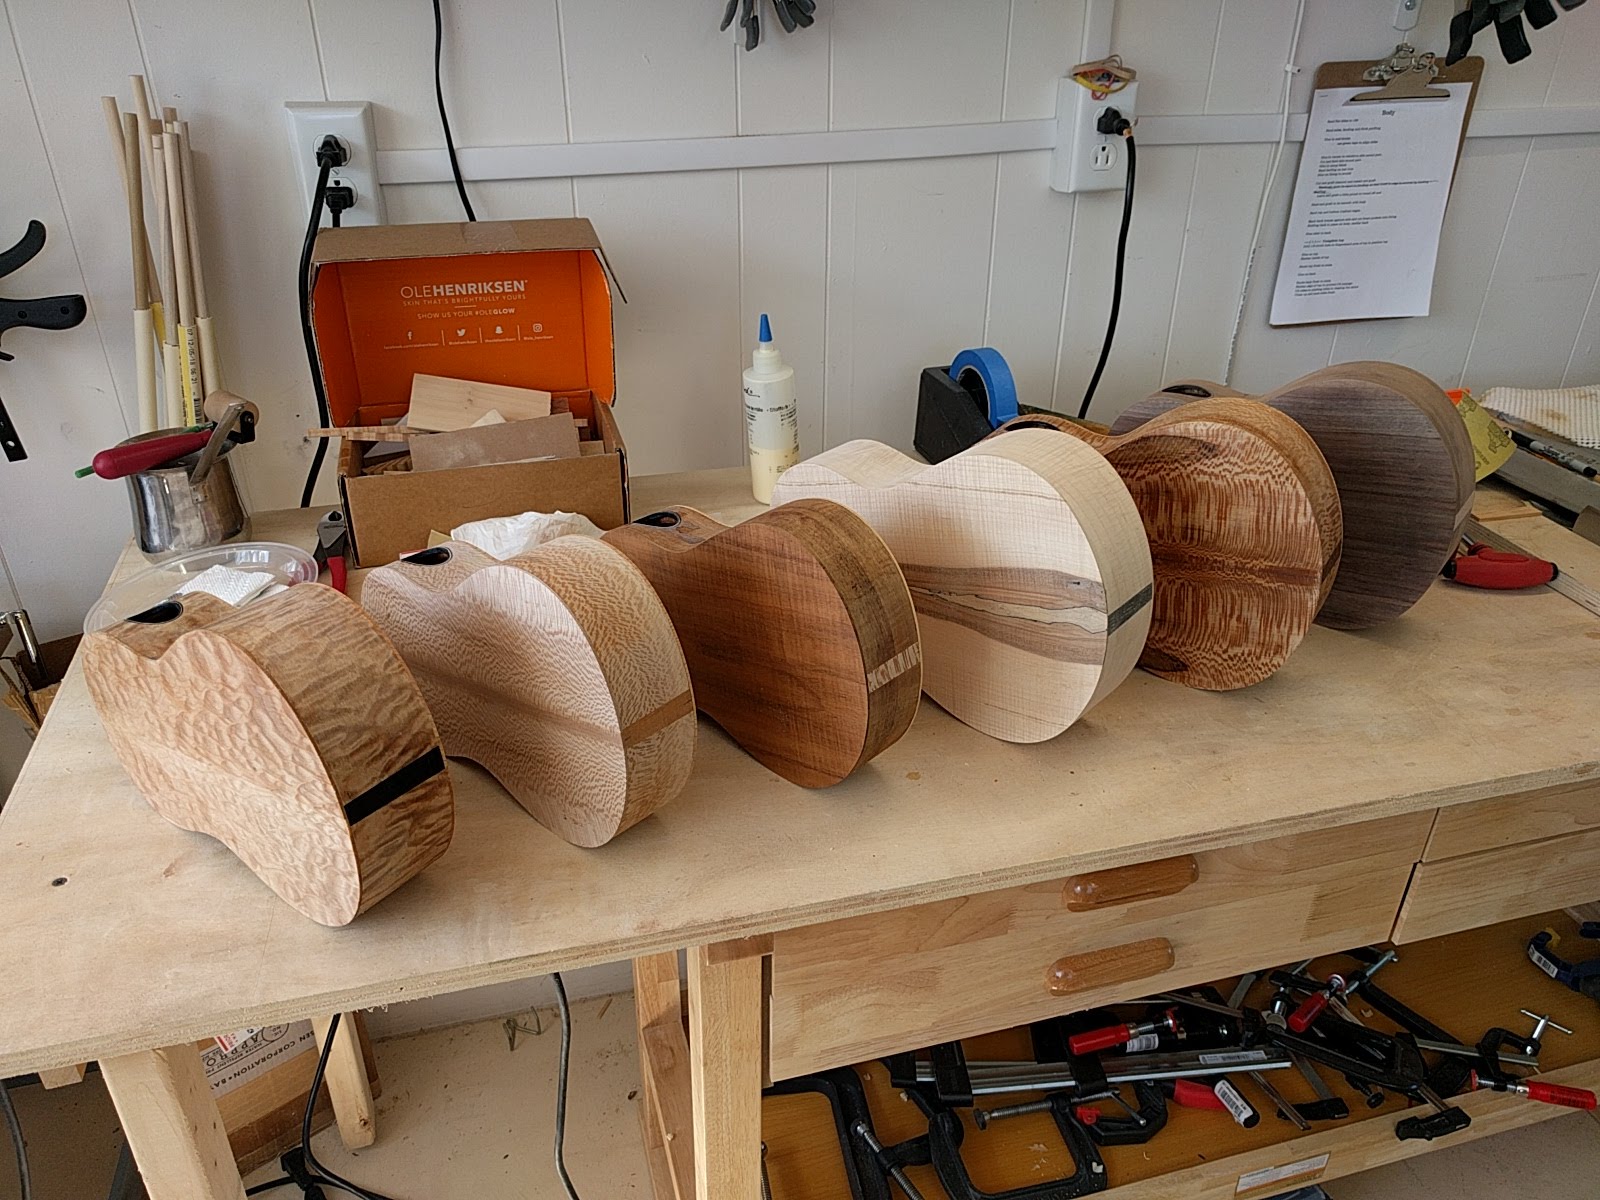
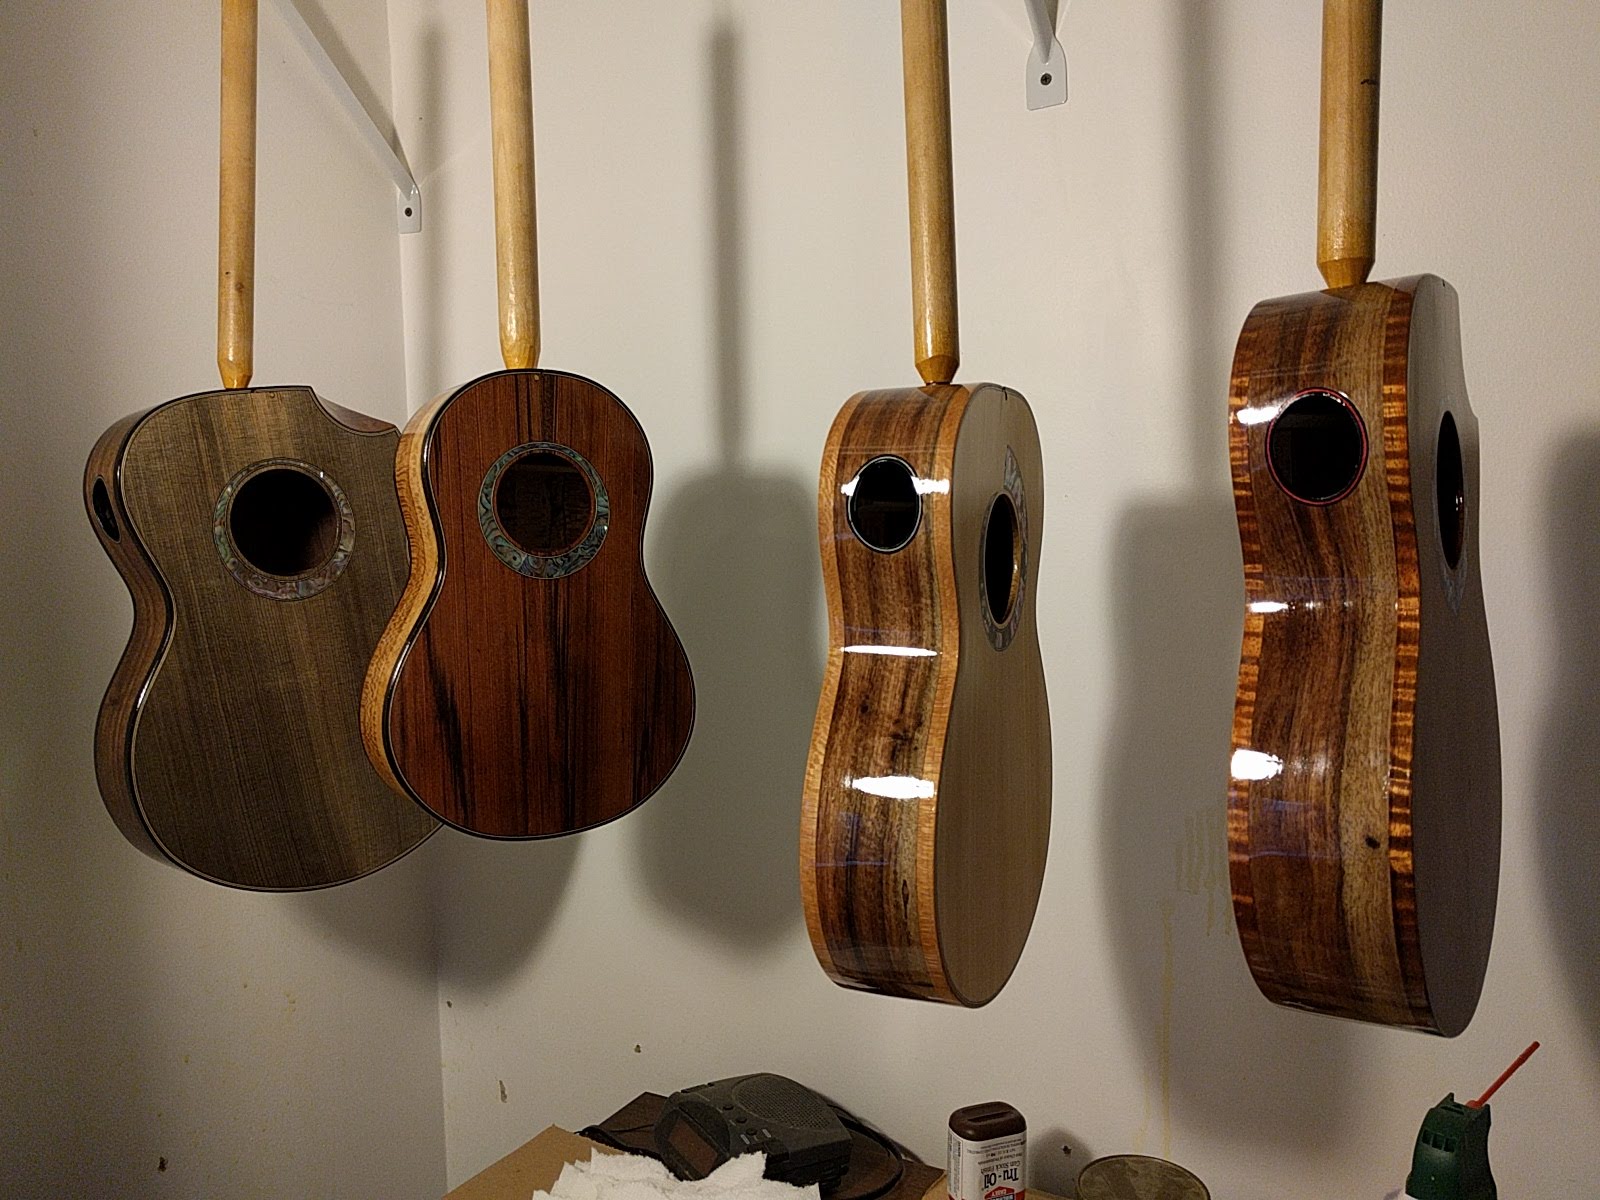
The binding is finished on all 6 instruments, meaning that it is installed, and things are all sanded down nice and flush so they all can get their first real coat of sealer, and I can get to see how things will really look under the final finish. Result – I am very well pleased by all 6 instruments. One tries to pick out binding that will work well with the back and side wood, but until it is all installed, and you get the first coat of finish on it, one never really knows. Particularly with some new binding.
I got some quilted sapele cut-offs from a place that saws guitar wood that was just big enough for me to turn into binding. While the ‘quilted’ nature is a bit subtle on the scale of binding I am very pleasantly surprised how well the red-brown color of the sapele goes with the sycamore back and sides. It is a really nice warm look. Could easily become one of my favorite bindings for a sycamore instrument, koa being the current top contender, again because of a rich warm brown color.
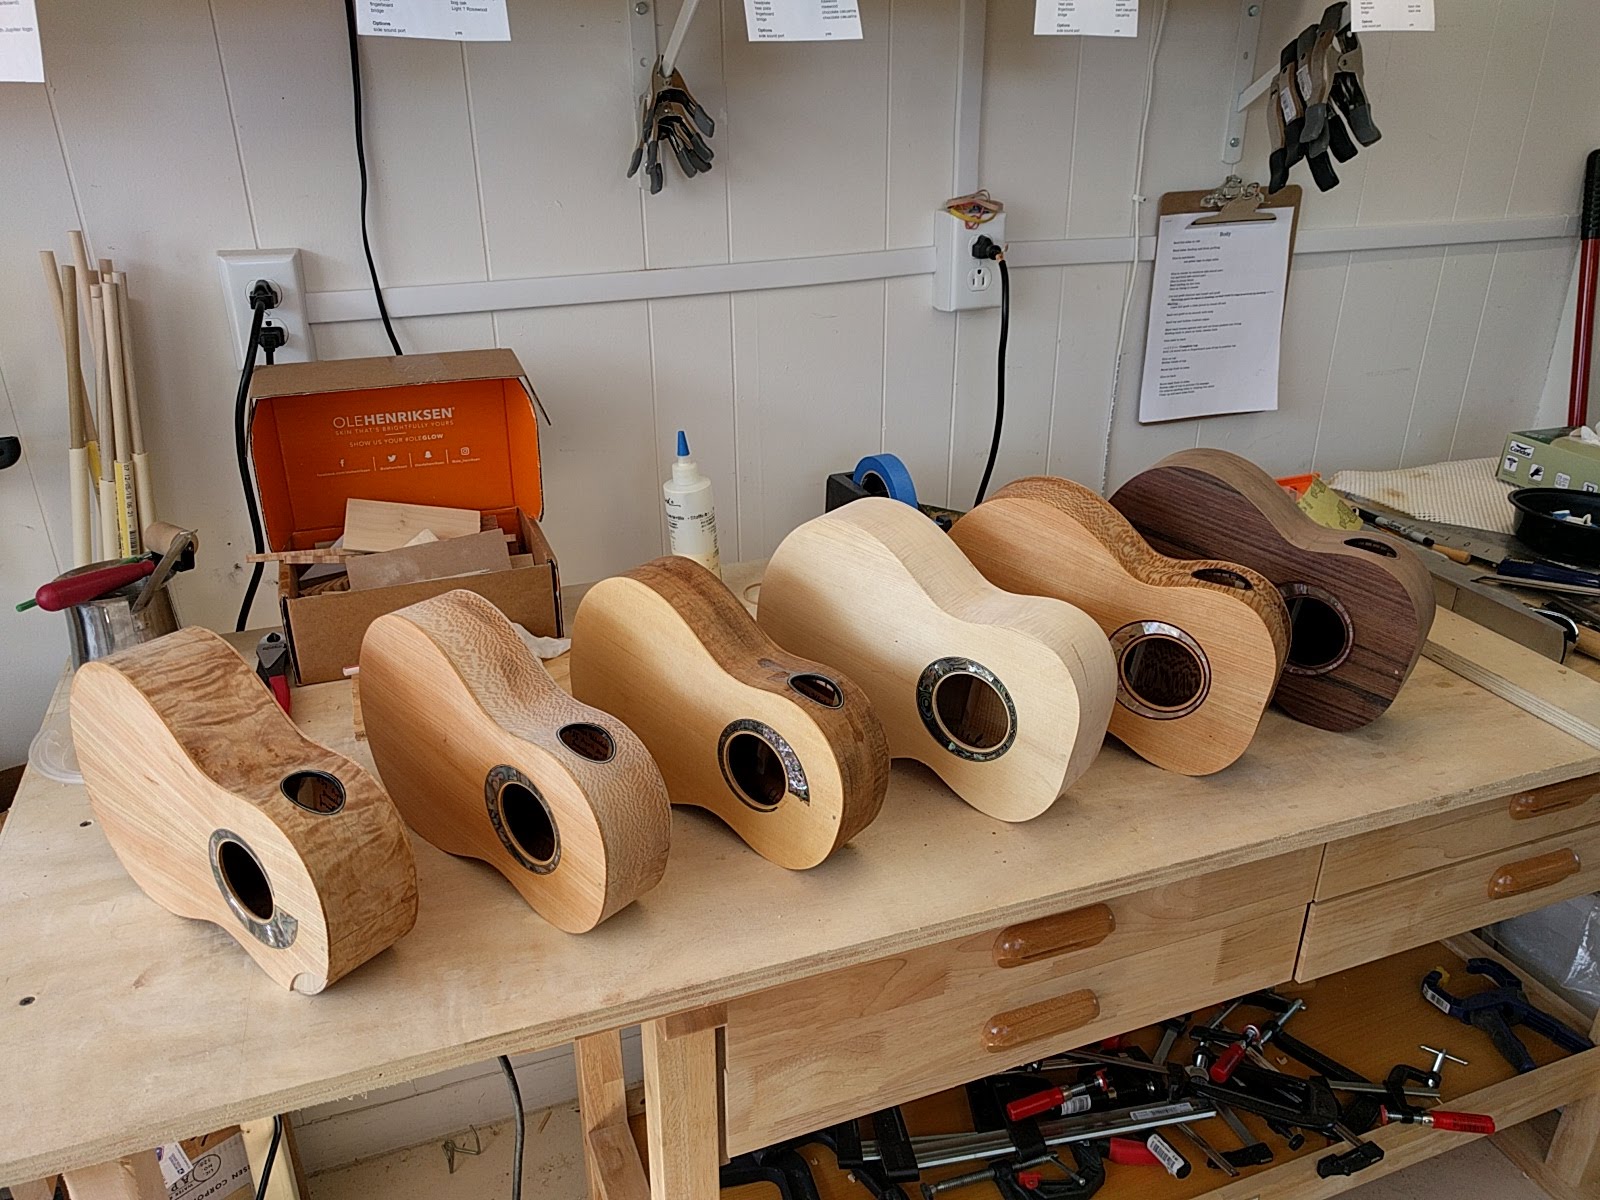
From left to right the instruments are:
concert (commission)- quilted maple, Pennsylvania red cedar top, black bog oak binding
concert (commission) – ambrosia sycamore, Pennsylvania red cedar top, curly koa binding
tenor (available) – local curly maple, local European spruce top, black bog oak binding
tenor (available) – Pennsylvania black walnut, streaky water-tank redwood top, curly maple binding
tenor (available) – ambrosia sycamore, Pennsylvania red cedar top, quilted sapele binding
concert (available) – koa, Alaskan yellow cedar top, sycamore binding.

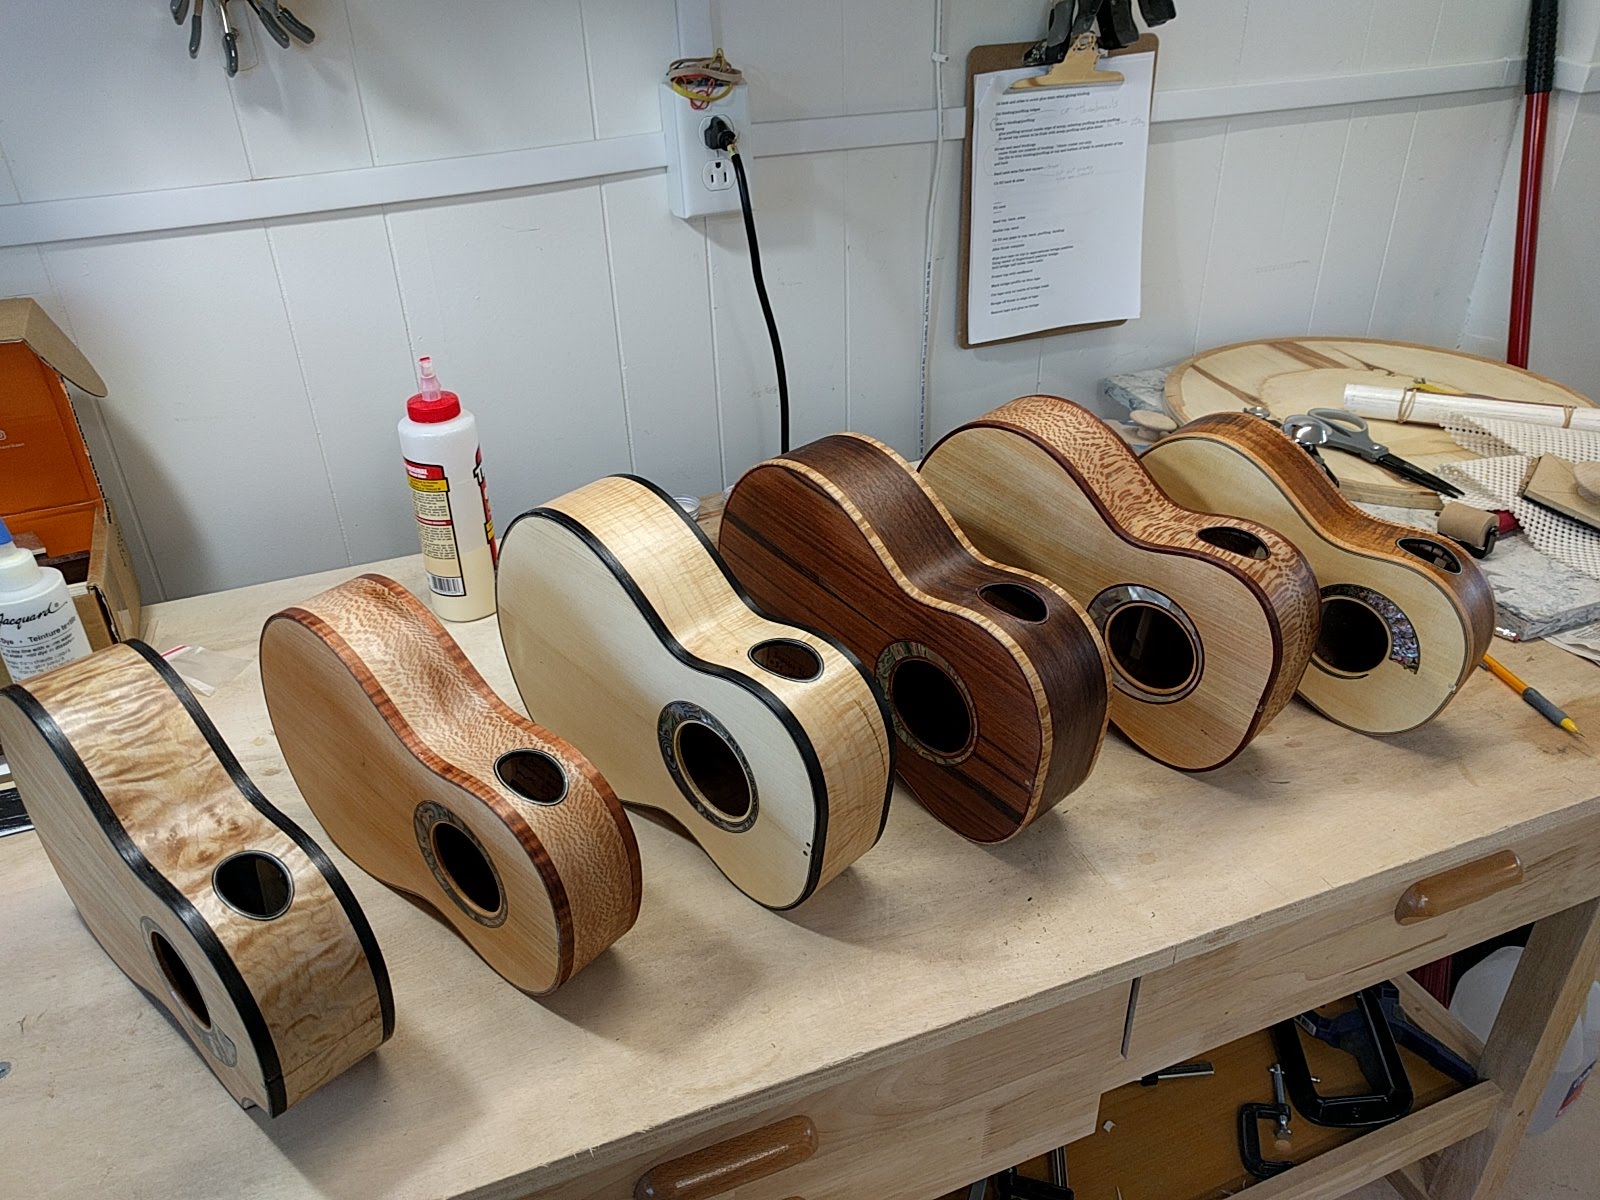
I realized that this batch contains two kind of ‘inversely symmetric’ instruments. There is a sycamore concert with koa binding, and there is a koa concert with sycamore binding. Did not realize this symmetry until I was sanding the binding.