It is time to do the binding. This involves routing small ledges in the sides of the instrument for the purfling and the actual wood binding. To do this I have a router bit which takes one of a set of bearings, which are graded in exact small increments.

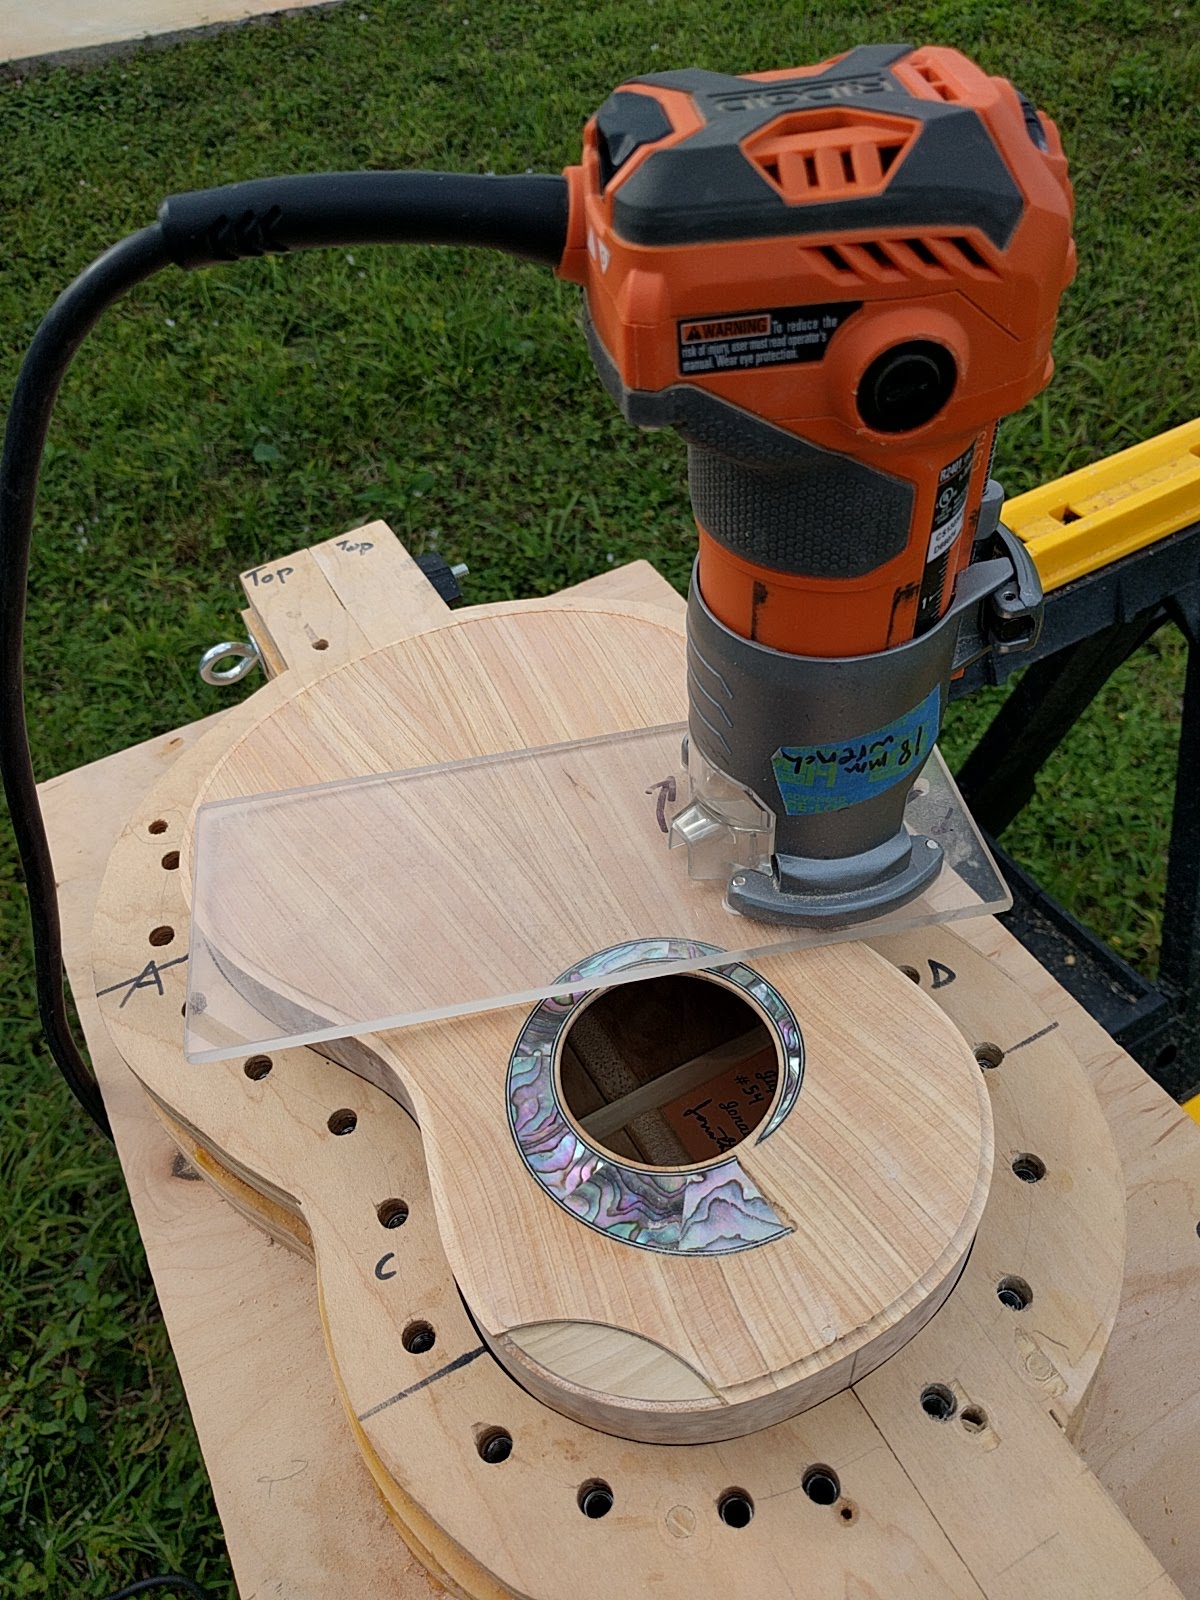
The first cut is a wide and shallow cut to establish the inside edge of the purfling. I take digital calipers and measure the thickness of the purfling and the binding. The sum of these becomes the size of the bearing I use. I made a new base for my small trim router which provides much more stability and place to grip with both hands than trying to use the small base which comes with the router. This wide base makes it easy to keep the router vertical. As you cut one cuts ‘down hill’, that is, from the outside of the curve toward the center of the instrument. Doing this, because of the direction of rotation of the router bit, minimizes the chances of chipping and tear-out. I do apply a layer of sealer to the instrument before doing the routing and this also helps minimize any chipping or tear-out.
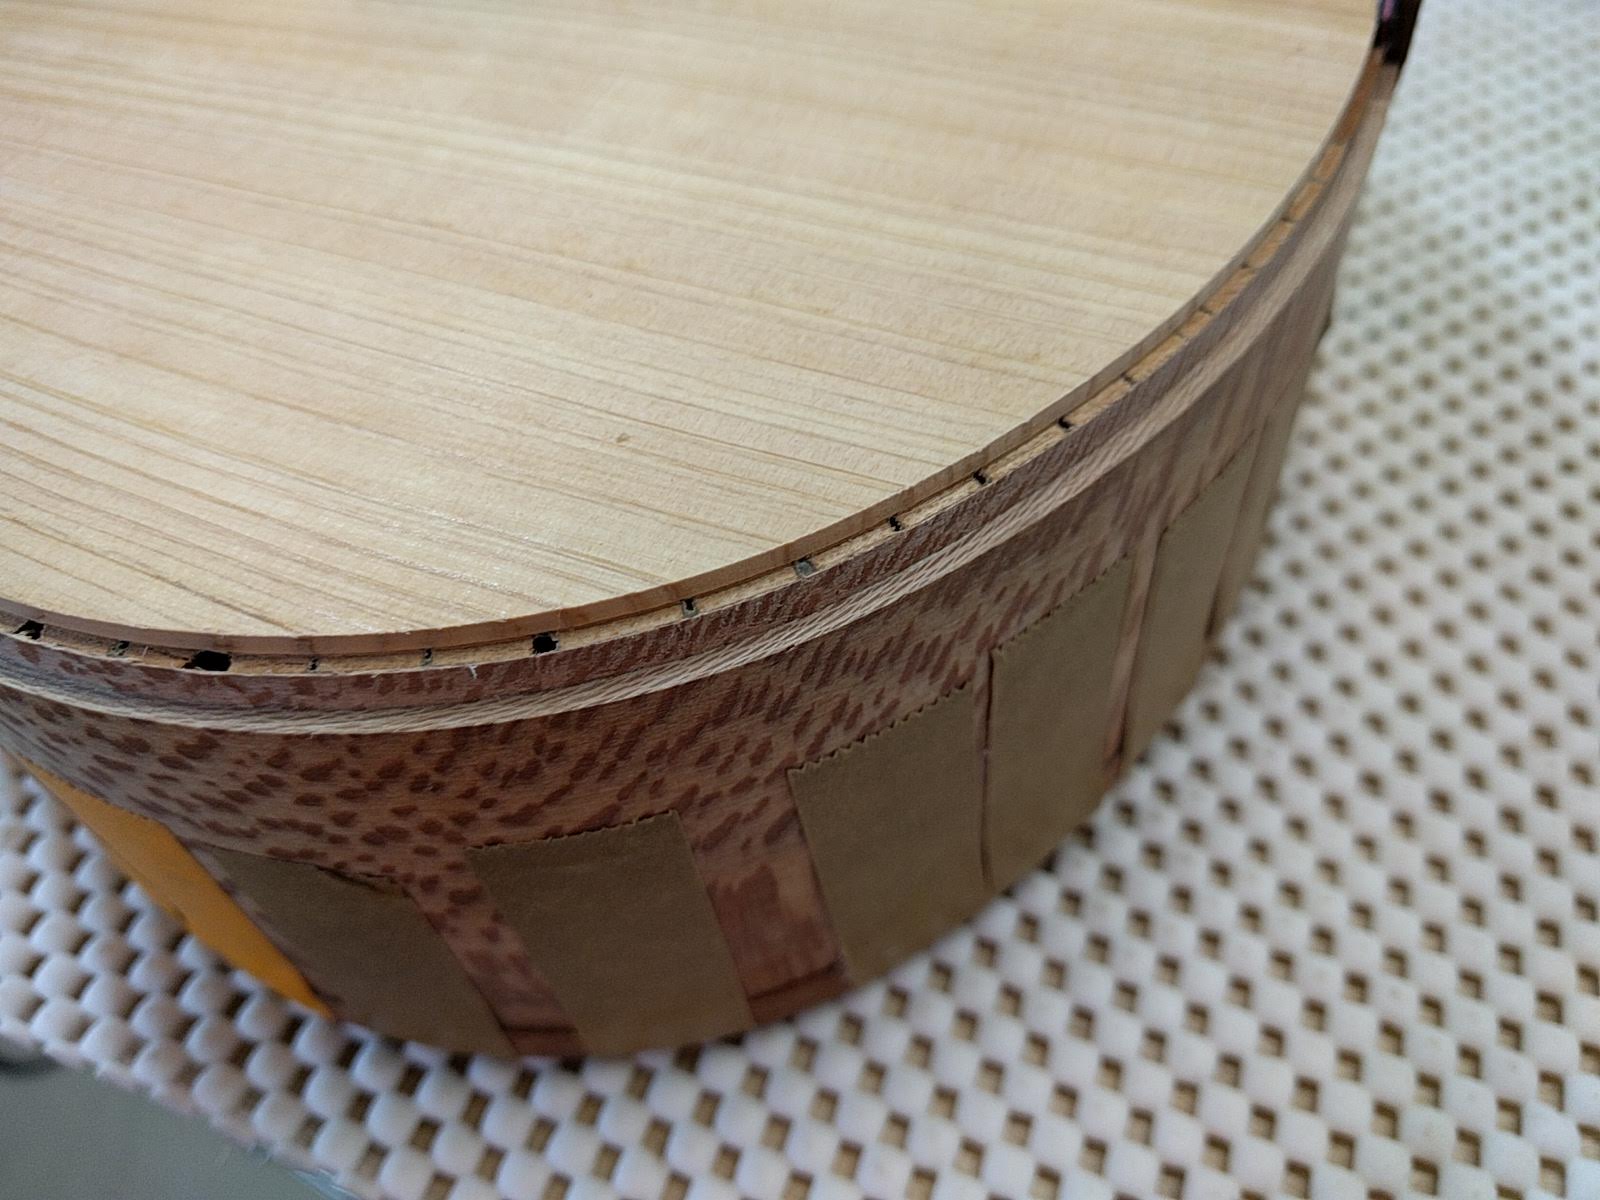
Once this first wide and shallow cut (only as deep as the purfling which is thin) is made, then the bearing matching the thickness of the binding is used to cut the narrow but deeper ledge around the instrument. This leaves a two-ledge edge onto which the purfling & binding are glued.
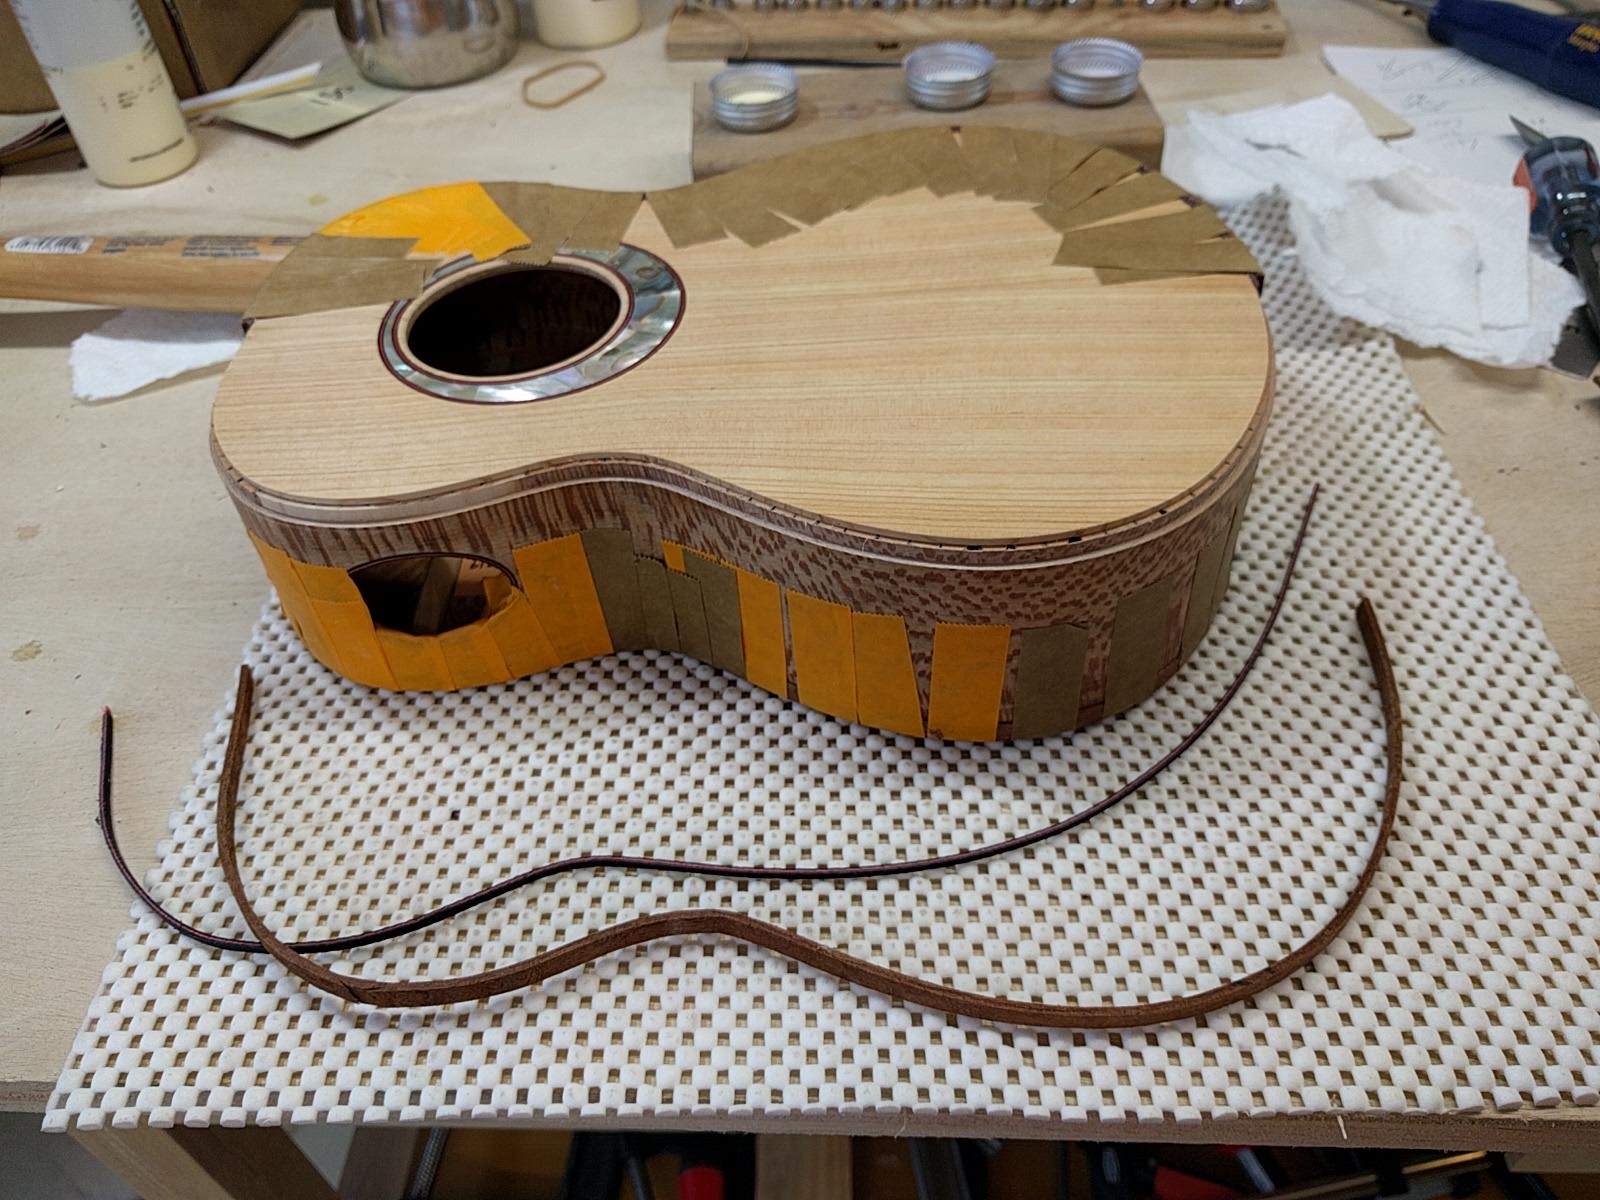
The binding and purfling is pre-bent and is attached with some strong sticky tape. (I’m transitioning from orange to stronger brown tape here). You apply glue with a small paint brush to a couple of inches, press (hard) and tape down the purfling & binding, and move on to the next area. The tricky spots are the ends meet where you want the purfling and binding to meet with no visible seam.