Since I do not have spray equipment or a spray booth or any of that stuff I can not, and do not, do a lacquer finish. Rather I use a material called Tru-Oil, which is sold as a gunstock finish (available at my local Walmart). It is a polymerized varnish type finish, not really a ‘oil’ that one might think of a soaking into the work. It is a wipe-on finish and I have come to really like it, and have figured out how to use it to create a very glossy finish, without any buffing. (It does not buff at all.) It is also very easy to touch up and repair should some surface damage happen. Some pointers:
The wood surface must be sanded absolutely perfectly. Tru-Oil goes on very thin and will not hide even the smallest defect in the wood. I like the thinness of the finish, as the thinner the finish the less there is to interfere with the wood vibrating and hence the instruments sound. (The classic guitar finish is French Polish which is also very thin.) If you have a wood with pores, which is most of them, the pores must be filled and the surface sanded smooth before applying Tru-Oil unless you want a natural ‘pores visible’ type finish. (I use CA glue as a filler.)
On the web there are lots of you-tube videos, and instructions about how to apply Tru-Oil. All of the things I have seen/read say to wipe on the Tru-Oil, spread it around, and then wipe off any excess to leave a thin coat. This is repeated many times, and indeed I used to do things this way. I no longer do the secondary wipe-off however. I thin the Tru-Oil with mineral spirits, about 5 to 1 Tru-Oil to mineral spirits. I then wipe on a thin layer and just leave it. By only applying a thin layer, and with the thinning of the mineral spirits, the surface has a chance to flow out smoother decreasing the ‘wipe’ lines, and it dries nice and thin. I do this a few times to build up a little finish, and then sand things smooth.
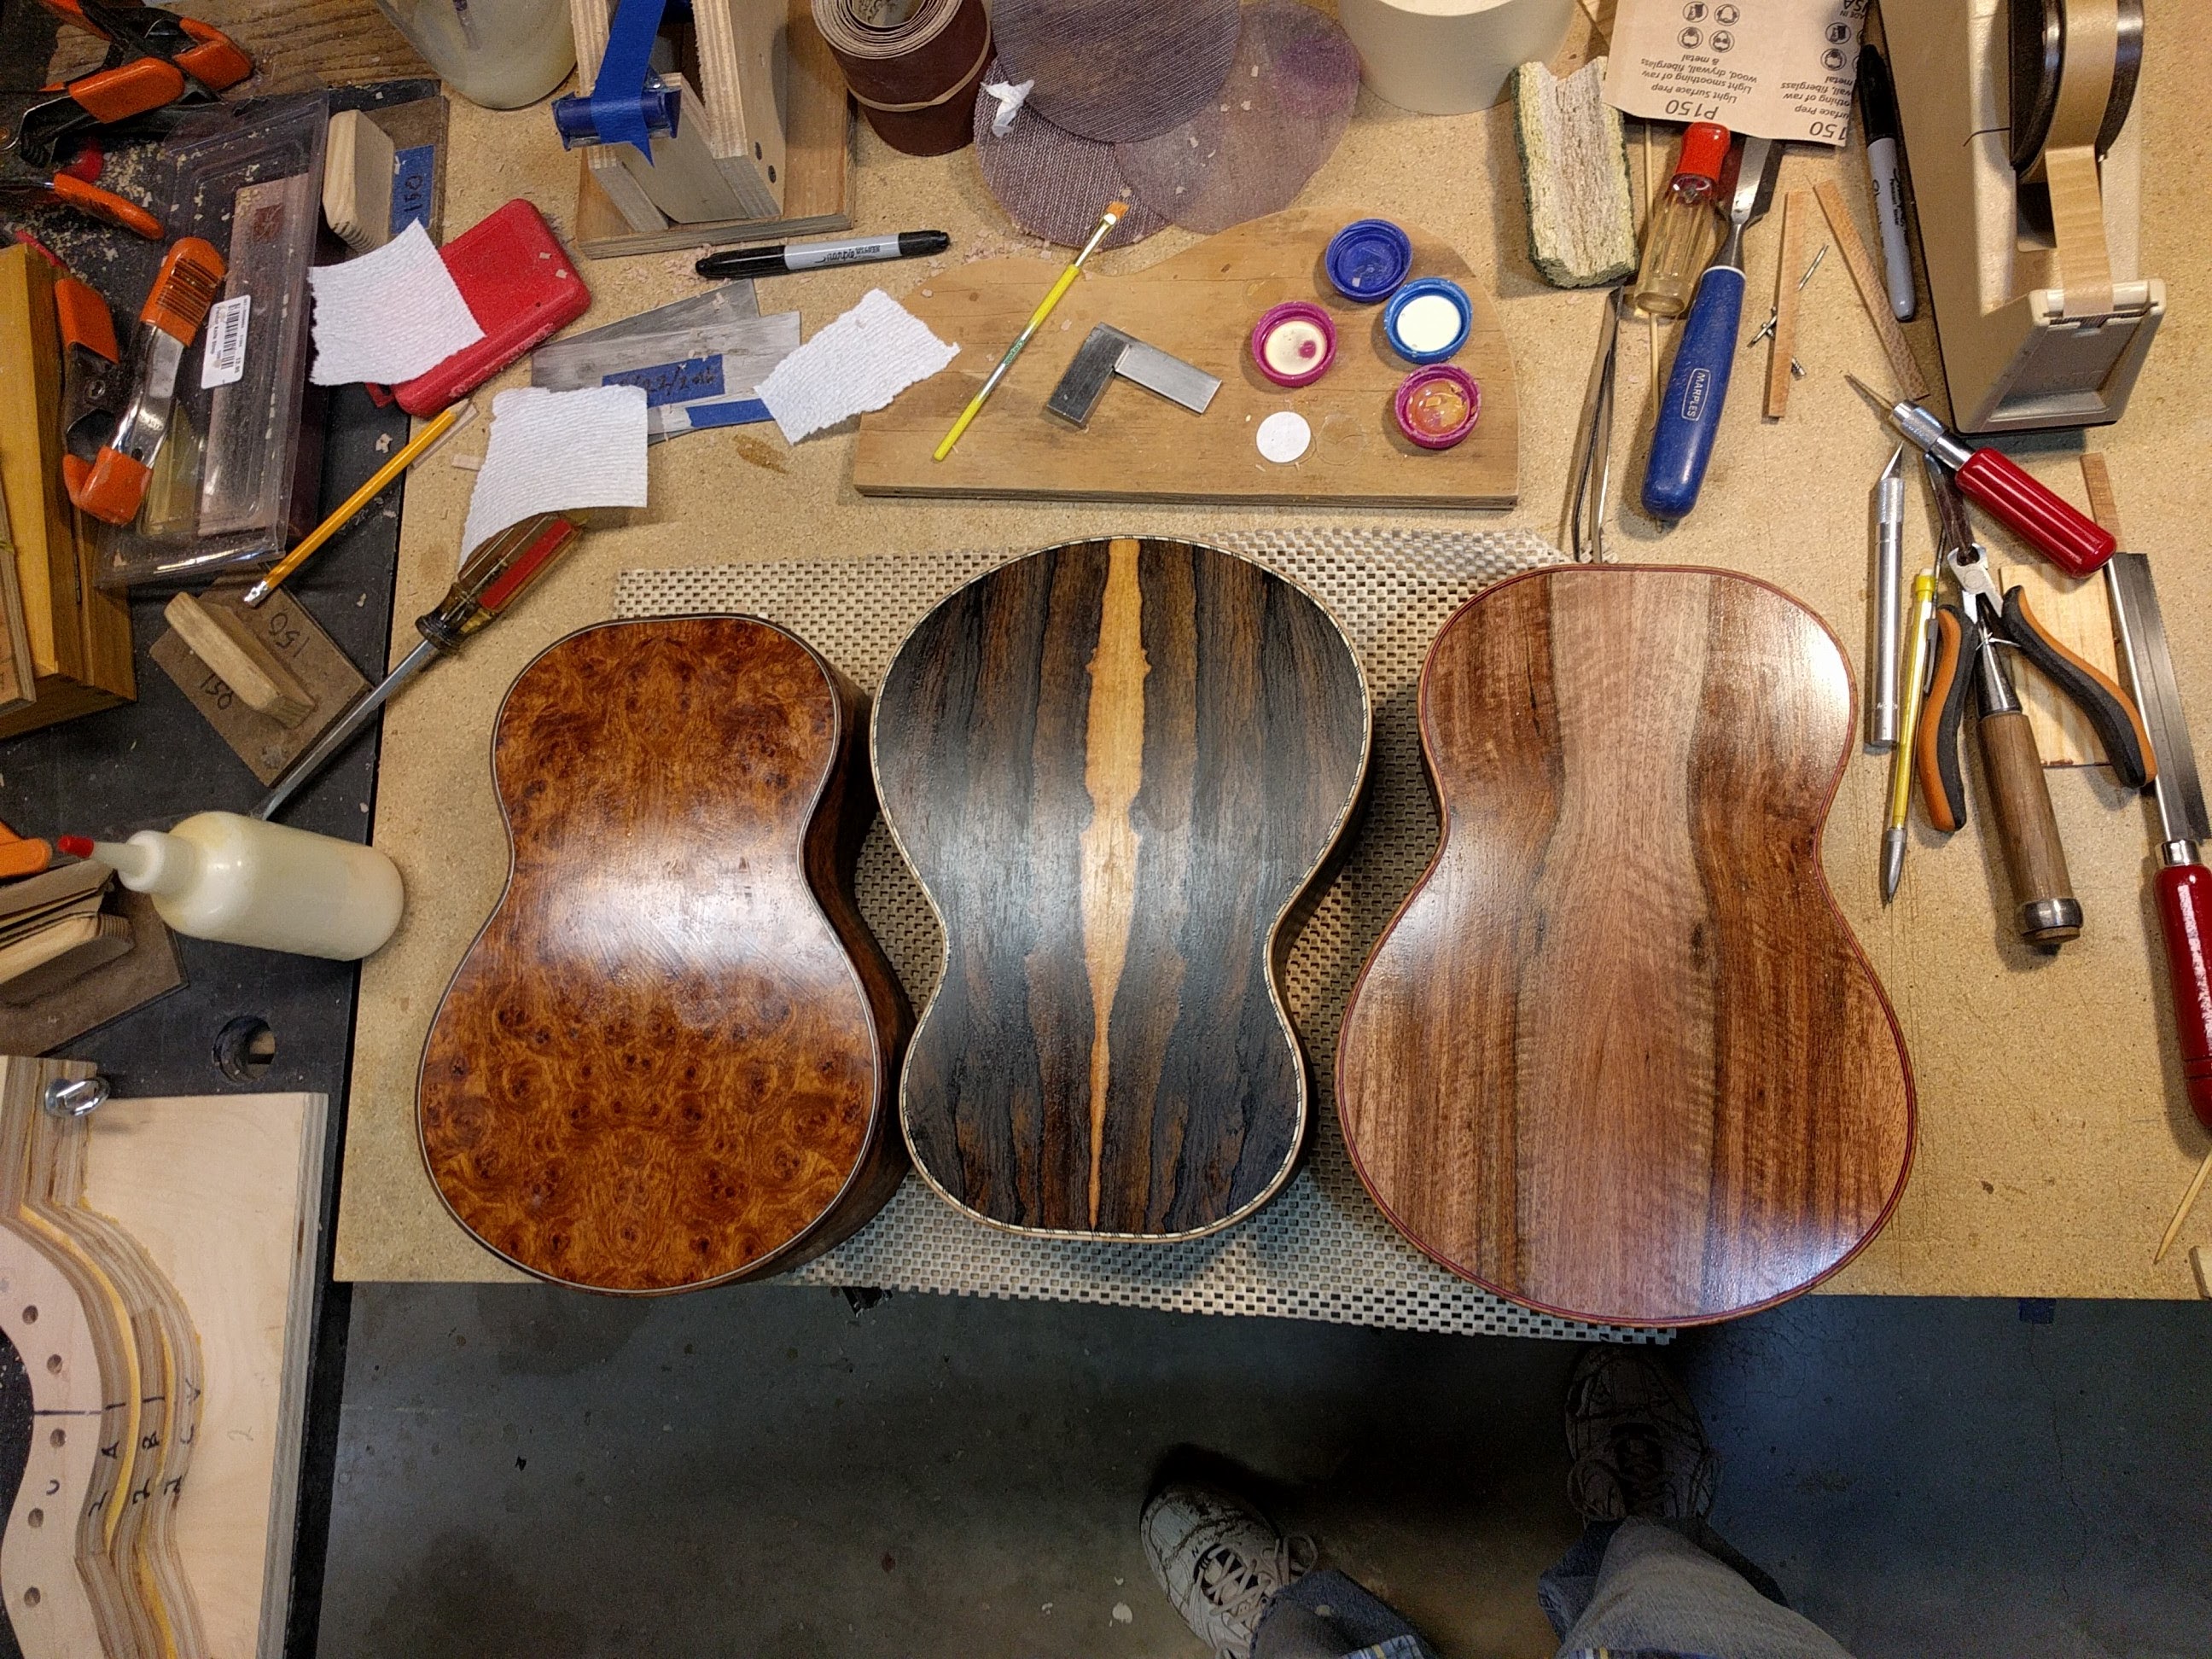
To sand things I use a product called Buflex ‘green’. This is a unique very fine sandpaper that allows the finish to be sanded dry. (I used to do it wet, which was a real pain and made it hard to see what needed to be sanded.) This leaves a very smooth satin finish. I then repeat the process but use a Tru-Oil mixture which is thinned about 4-to-1. Applying this over the smooth sanded surface, and then gently stroking over the surface along the wood grain in a final wiping motion, produces a very glossy finish. Let really dry and harden for a few days before proceeding with gluing on the bridge etc.
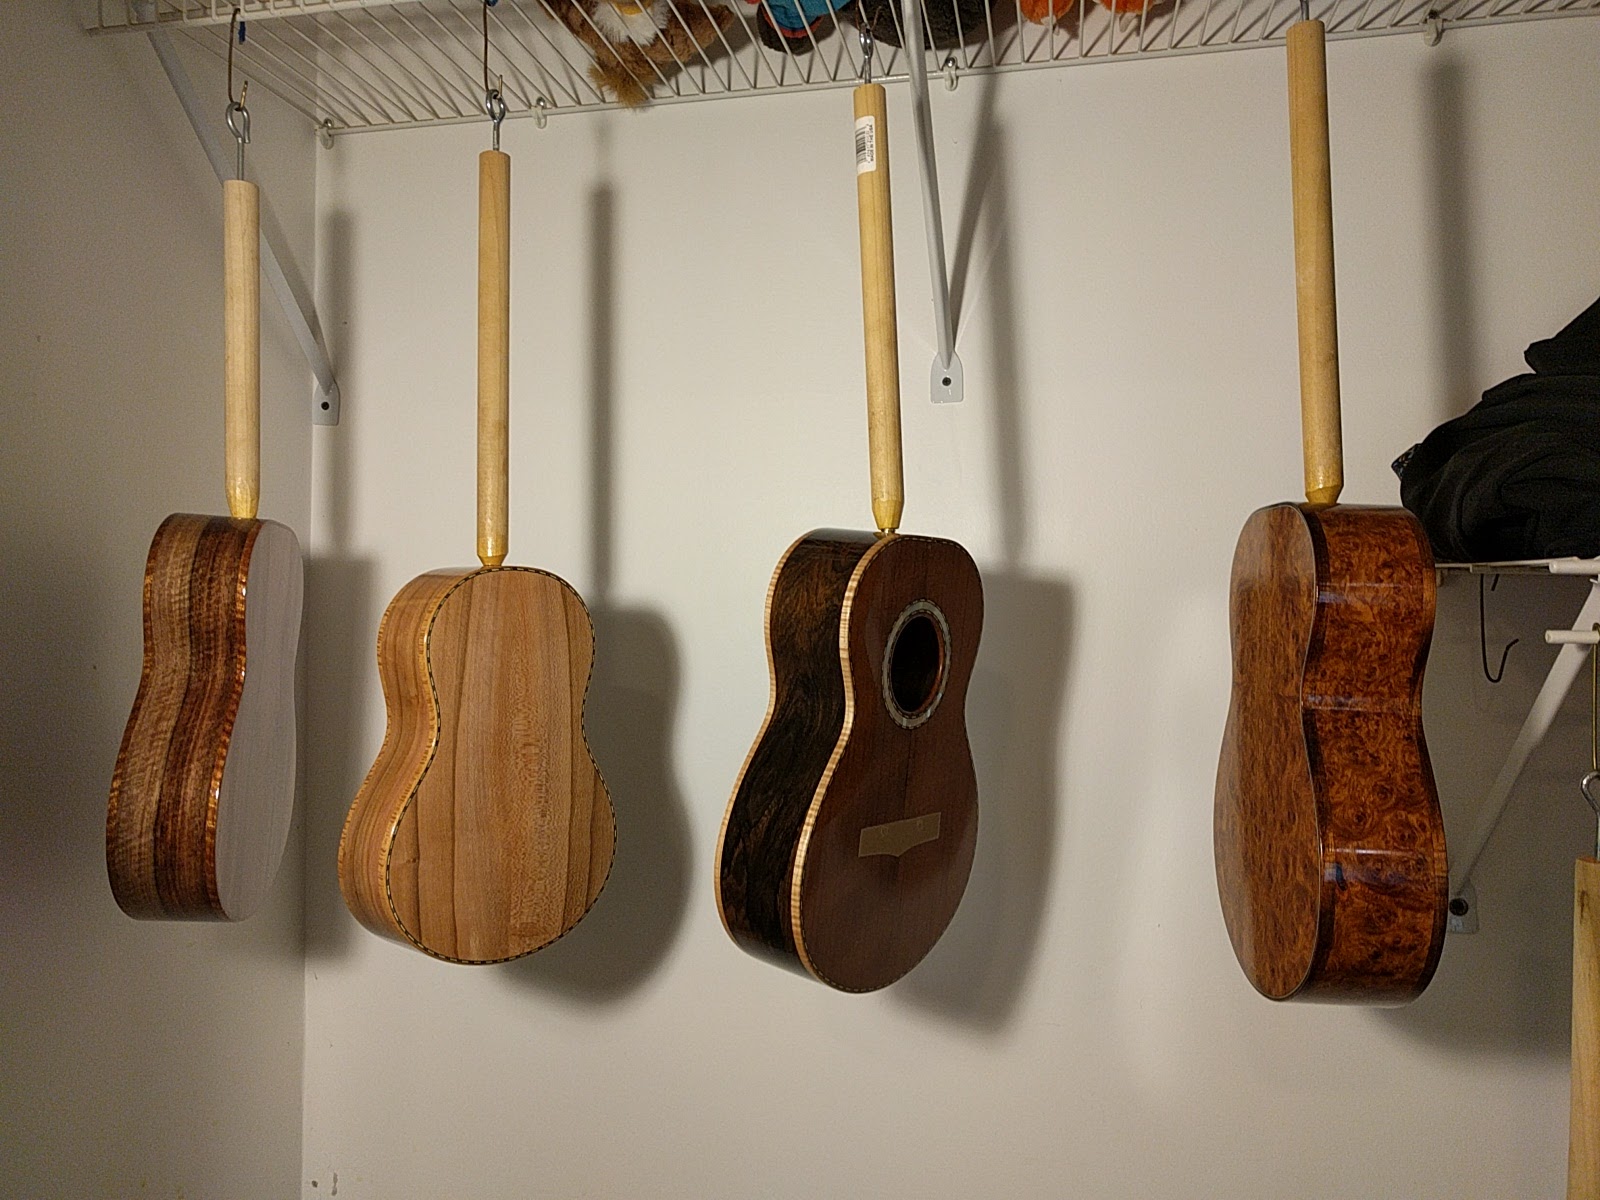
I do all of this in the closet of my now unoccupied son’s bedroom. The room is closed meaning no dust, I can run a small heater to keep things nice and warm, and the closet makes a nice place to hang things up.