First ‘color’

The first layer of finish (the pore filler) is always exciting, as the color of the wood begins to show.  I use CA glue as a pore filler, because it goes on fast, dries fast, sands wonderfully to a dry powder, and ‘wets’ the wood to really show things very much like shellac.  Also, when sanding it back, if you oversand a bit into the wood itself, going over with another layer of CA blends things in perfectly.

Sapele soprano, walnut concert, sycamore concert, quilted maple tenor

Future curly maple ukuleles

As I was driving around the ‘neighborhood’ (quotes because I am out in the country, so the neighborhood is not very dense) I noticed that a rather large sugar maple had been taken down along the road.  I got out to look, and could see from the split off wedge taken out as part of the tree felling, that the wood was quite curly, with an even fine curl, one of my favorites.  I asked the owner if I could cut a couple of pieces to make ukuleles.  He said yes, so I went back with my chain saw.  I first cut a piece a ways up from the base to verify the the curly extended up the tree, and was not just confined to the very bottom.  The results seemed outstanding, the same fine curl.   I cut a couple of nice 5 inch thick billets.  When these get re-sawn and dried, in a couple of years they will make some really nice ukuleles and the price was right!

The fine curl

The billets on the ukulele wood pile

The next set

The next set of 4 consists of one soprano, two concerts, and a tenor.  The soprano and concerts are because I get asked about these sizes, and I do not have any around.

The soprano has sapele back and sides with a redwood top.  One concert has sycamore back and sides with a spruce top, and the other has black walnut back and sides with a redwood top.  The tenor has quilted maple back and sides, with a redwood top.

The soprano has very light fan braces.   The previous soprano I built did not have any bracing at all, as was traditional.  However, the top began to distort upwards from the string tension though it had great tone and volume.  I sold it inexpensively to a friend who would ‘monitor’ it for further top distortion.  It has been almost a year now, and while the top bulged initially, it seems to have stopped.  I think that with a hardwood top (the traditional koa for example) one can get away with no braces, but redwood is much softer and lighter, and needs some bracing.

The other three have X style braces, which I have started using, and which seem to produce a very nice tone.

Binding trimming jig

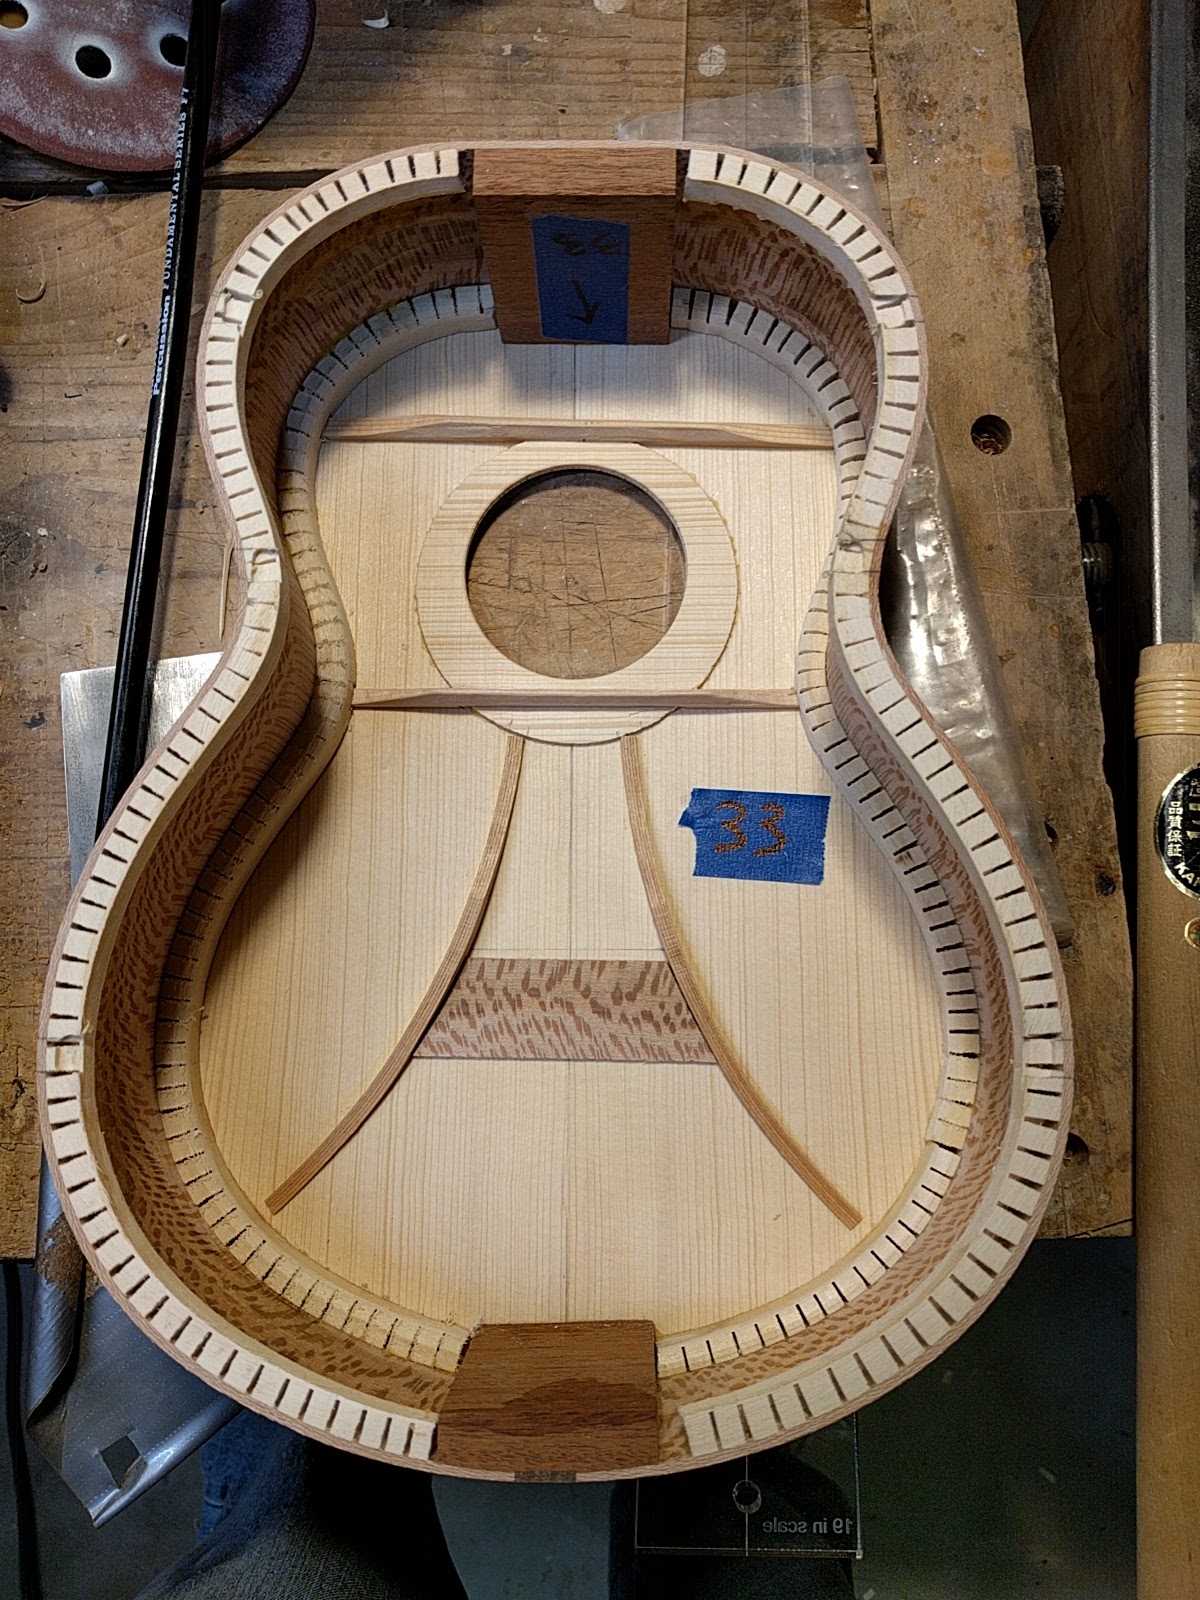
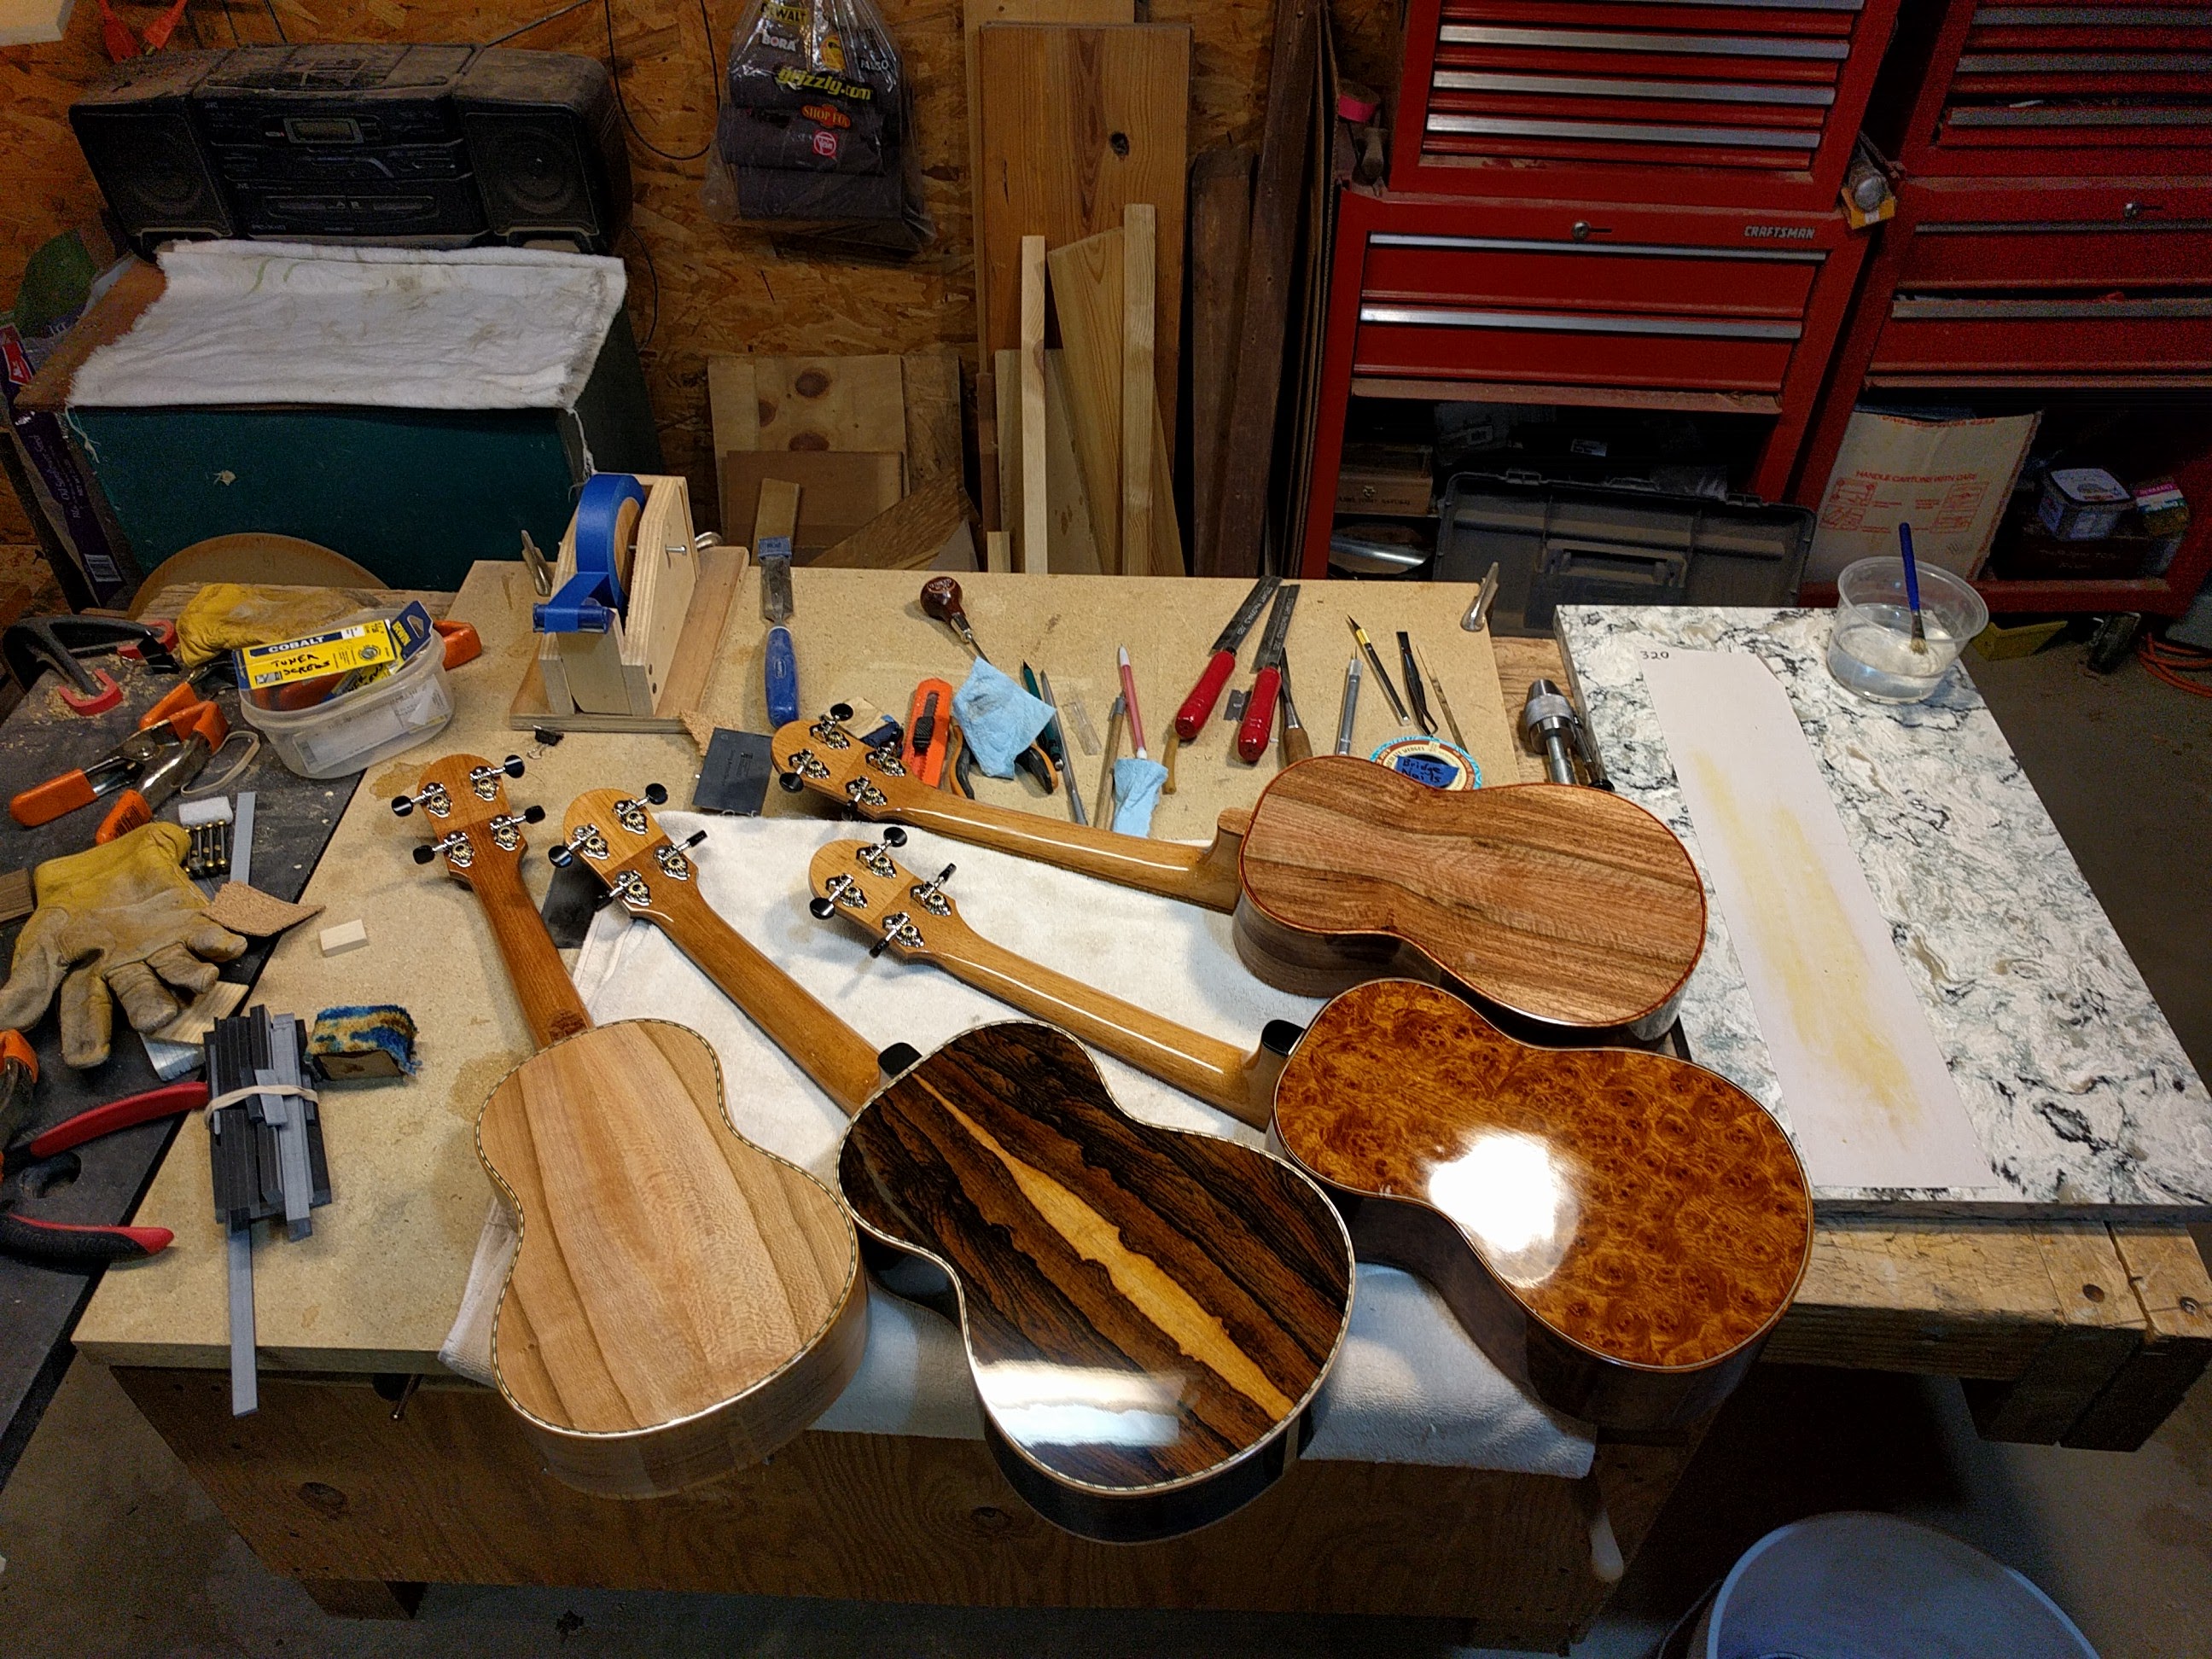
I cut my own wood bindings.  I like making everything for an instrument, and I get to make bindings of nice wood, nicer than I could buy, if indeed I could buy them.  I don’t know of anyone who sells sycamore binding, much less sycamore binding cut exactly on the quarter, to maximize the sycamore figure.  Bindings are also a great use for that extra side that is left over when re-sawing a block of nice wood.

The problem with cut bindings is that, even if I use a very fine toothed bandsaw blade, and set up the fence and saw carefully, the edges are a little rough, and things may not be exactly consistent width-wise along the binding strip.  To fix this issue I made up a very simple jig.

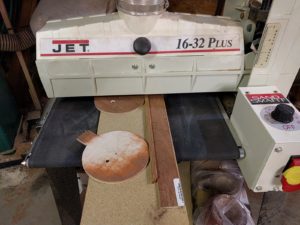
It consists of a slab of particle board, a straight edge glued down to the board, and three circles (cut with the rosette cutter) each of which has a small handle.  The straight edge and circles are cut out of think 3/16″ luan plywood.  The circles are then screwed down with a countersunk flat head screw that is placed off-center.  This off-center attachment means that as the circle is rotated, the edge gets closer or further away from the straight edge, meaning that one has a cam-type clamp that will clamp a bundle of binding strips stood on edge.

With the binding strips clamped in place, I then run the whole thing lightly through my thickness sander.  This smooths and squares off the edges of the binding strips.  I then flip the bundle over and repeat the process, which smooths and squares the other edges, and makes sure that the width of the strip is consistent both from strip-to-strip as well as along the length of the strips.  I aim for 1/4″ wide bindings which is just above the 3/16″ jig.   A simple jig but it works really well, producing very nice binding.


My first magazine cover (!)

I developed a small router jig/baseplate that makes the cutting of rosette channels very easy and very exact, with no ‘adjustments’ necessary.  It has really up’ed my game with regards to rosettes, and makes easy the ‘asymmetric’ rosettes I have been making lately, where the top of the rosette is thin and the bottom is thick.  I wrote a small article about this baseplate for GuitarMaker magazine (published by ASIA, the Association of Stringed Instrument Artisans).  The article was accepted, and then they decided to use a picture of the rosette from the article as the cover of the magazine.

“finishing up” – part 2

I realize that a little expansion on discussion of using Tru-Oil might be of interest.  Specifically what I use to apply it.  I make little pad spreaders to both spread drops of Tru-Oil around, and to do the careful wipe off with the grain to yield the final surface.

I make these little pads from blue shop towels.  I find that these have less texture than regular paper towels and seem to leave a better finish.  I cut the towels up into 2 inch squares (roughly). I then fold two edges in towards the middle, and then fold that in half to yield a pad 4 layers thick, with no ‘edges’ showing.

Then I take that long thin piece, fold it in half the other way, and clip the ends together with a small spring clip.  I can then spread the resultant ‘loop’ out to give a nice small pad, with a nice handle from the spring clip.

Since Tru-Oil hardens on exposure to air/oxygen I decant a small amount into small plastic bottles (available at most art or craft supply stores), and mix in the mineral spirits.   Between finish sessions I squeeze out all the air, and put on the cap.  This seems to keep the Tru-Oil from hardening quite well.

Here are the next set of three

The long neck tenors came out really well.  Quite a lot of volume and sustain.  I think from these, and from previous instruments, that the streaky redwood has a bit better tone than the curly redwood.  Is this because the streaky stuff was exposed to water, wet and dry, for all those years being a water tank side?  The curly redwood was part of the water tank roof so it is not streaky.  Is is because the undulating fibers of the curly wood do not conduct sound vibrations as well as the straight fibers of the streaky wood?  Is it just a difference in the trees?  Is it interaction with the different back & side woods?  More experimentation to come! 

The next set of three

The primary direction for the next set is a request I have for a “long neck” tenor.  A standard tenor body with a 19 inch scale length neck instead of the customary 17 in tenor scale.  The longer scale gives a little more room between the frets (requested by a guitar player) and the higher string tension is supposed to add more volume and brilliance.   I have been referring to this long neck tenor as an “XL tenor”.

I am build an XL tenor on commission, and also one for myself to have around and see what it is like.   To round out the set, I am also building a standard tenor with sycamore back and sides since I really like sycamore, but I no longer have any around, they are all sold.

On the sycamore standard tenor I am using curved laminated ‘fulcate’ bracing I have begun to experiment with.  This is on a spruce top.  I have made the top extra thin as a bit of an experiment.  .075 inches thick.

The XL tenors will have a ‘X’ style bracing.  I recently used this on a standard tenor (copied from a Kala ukulele I repaired, put a new top on it) with very good results.  The X bracing should be pretty sturdy too, and I am thinking of the extra string tension from the longer 19 inch scale.  This is on a redwood top.

Here they are, the next set of 4

All but the strings.  Detailed pictures listed under “Ukuleles”.

From the left:

Concert – in dogwood (cut in my back yard) with a spruce top (cut a couple of miles from my house).  Spanish cedar neck (which is not a cedar and is not from Spain, it is a mahogany relative from Central and South America). Casharina fretboard and bridge, dogwood burl headplate, asymmetric rosette in pink abalone pearl.

Tenor – ziricote veneer laminated to Pennsylvania black locust sides and back, curly water-tank redwood top, Spanish cedar neck, Richlite fingerboard, headplate and bridge.

Tenor – Amboyna burl veneer laminated to Pennsylvania black locust sides and back, curly water-tank redwood top, Spanish cedar neck, book-matched casharina fingerboard the pattern of which extends up into the headplate, asymmetric rosette in pink abalone pearl.

Tenor – casuarina sides and back, streaky water tank redwood top, Florida black olive fingerboard and bridge, book-matched cashuarina headplate, asymmetric rosette in pink abalone pearl.

“Finishing Up”

Since I do not have spray equipment or a spray booth or any of that stuff I can not, and do not, do a lacquer finish.  Rather I use a material called Tru-Oil, which is sold as a gunstock finish (available at my local Walmart).  It is a polymerized varnish type finish, not really a ‘oil’ that one might think of a soaking into the work.   It is a wipe-on finish and I have come to really like it, and have figured out how to use it to create a very glossy finish, without any buffing.  (It does not buff at all.)   It is also very easy to touch up and repair should some surface damage happen.  Some pointers:

The wood surface must be sanded absolutely perfectly.  Tru-Oil goes on very thin and will not hide even the smallest defect in the wood.  I like the thinness of the finish, as the thinner the finish the less there is to interfere with the wood vibrating and hence the instruments sound.   (The classic guitar finish is French Polish which is also very thin.)  If you have a wood with pores, which is most of them, the pores must be filled and the surface sanded smooth before applying Tru-Oil unless you want a natural ‘pores visible’ type finish.   (I use CA glue as a filler.)

On the web there are lots of you-tube videos, and instructions about how to apply Tru-Oil.  All of the things I have seen/read say to wipe on the Tru-Oil, spread it around, and then wipe off any excess to leave a thin coat.  This is repeated many times, and indeed I used to do things this way.  I no longer do the secondary wipe-off however.  I thin the Tru-Oil with mineral spirits, about 5 to 1 Tru-Oil to mineral spirits.  I then wipe on a thin layer and just leave it.  By only applying a thin layer, and with the thinning of the mineral spirits, the surface has a chance to flow out smoother decreasing the ‘wipe’ lines, and it dries nice and thin.  I do this a few times to build up a little finish, and then sand things smooth.

To sand things I use a product called Buflex ‘green’.  This is a unique very fine sandpaper that allows the finish to be sanded dry.  (I used to do it wet, which was a real pain and made it hard to see what needed to be sanded.)  This leaves a very smooth satin finish.  I then repeat the process but use a Tru-Oil mixture which is thinned about 4-to-1.  Applying this over the smooth sanded surface, and then gently stroking over the surface along the wood grain in a final wiping motion, produces a very glossy finish.  Let really dry and harden for a few days before proceeding with gluing on the bridge etc.

I do all of this in the closet of my now unoccupied son’s bedroom.  The room is closed meaning no dust, I can run a small heater to keep things nice and warm, and the closet makes a nice place to hang things up.

img_20161102_140915