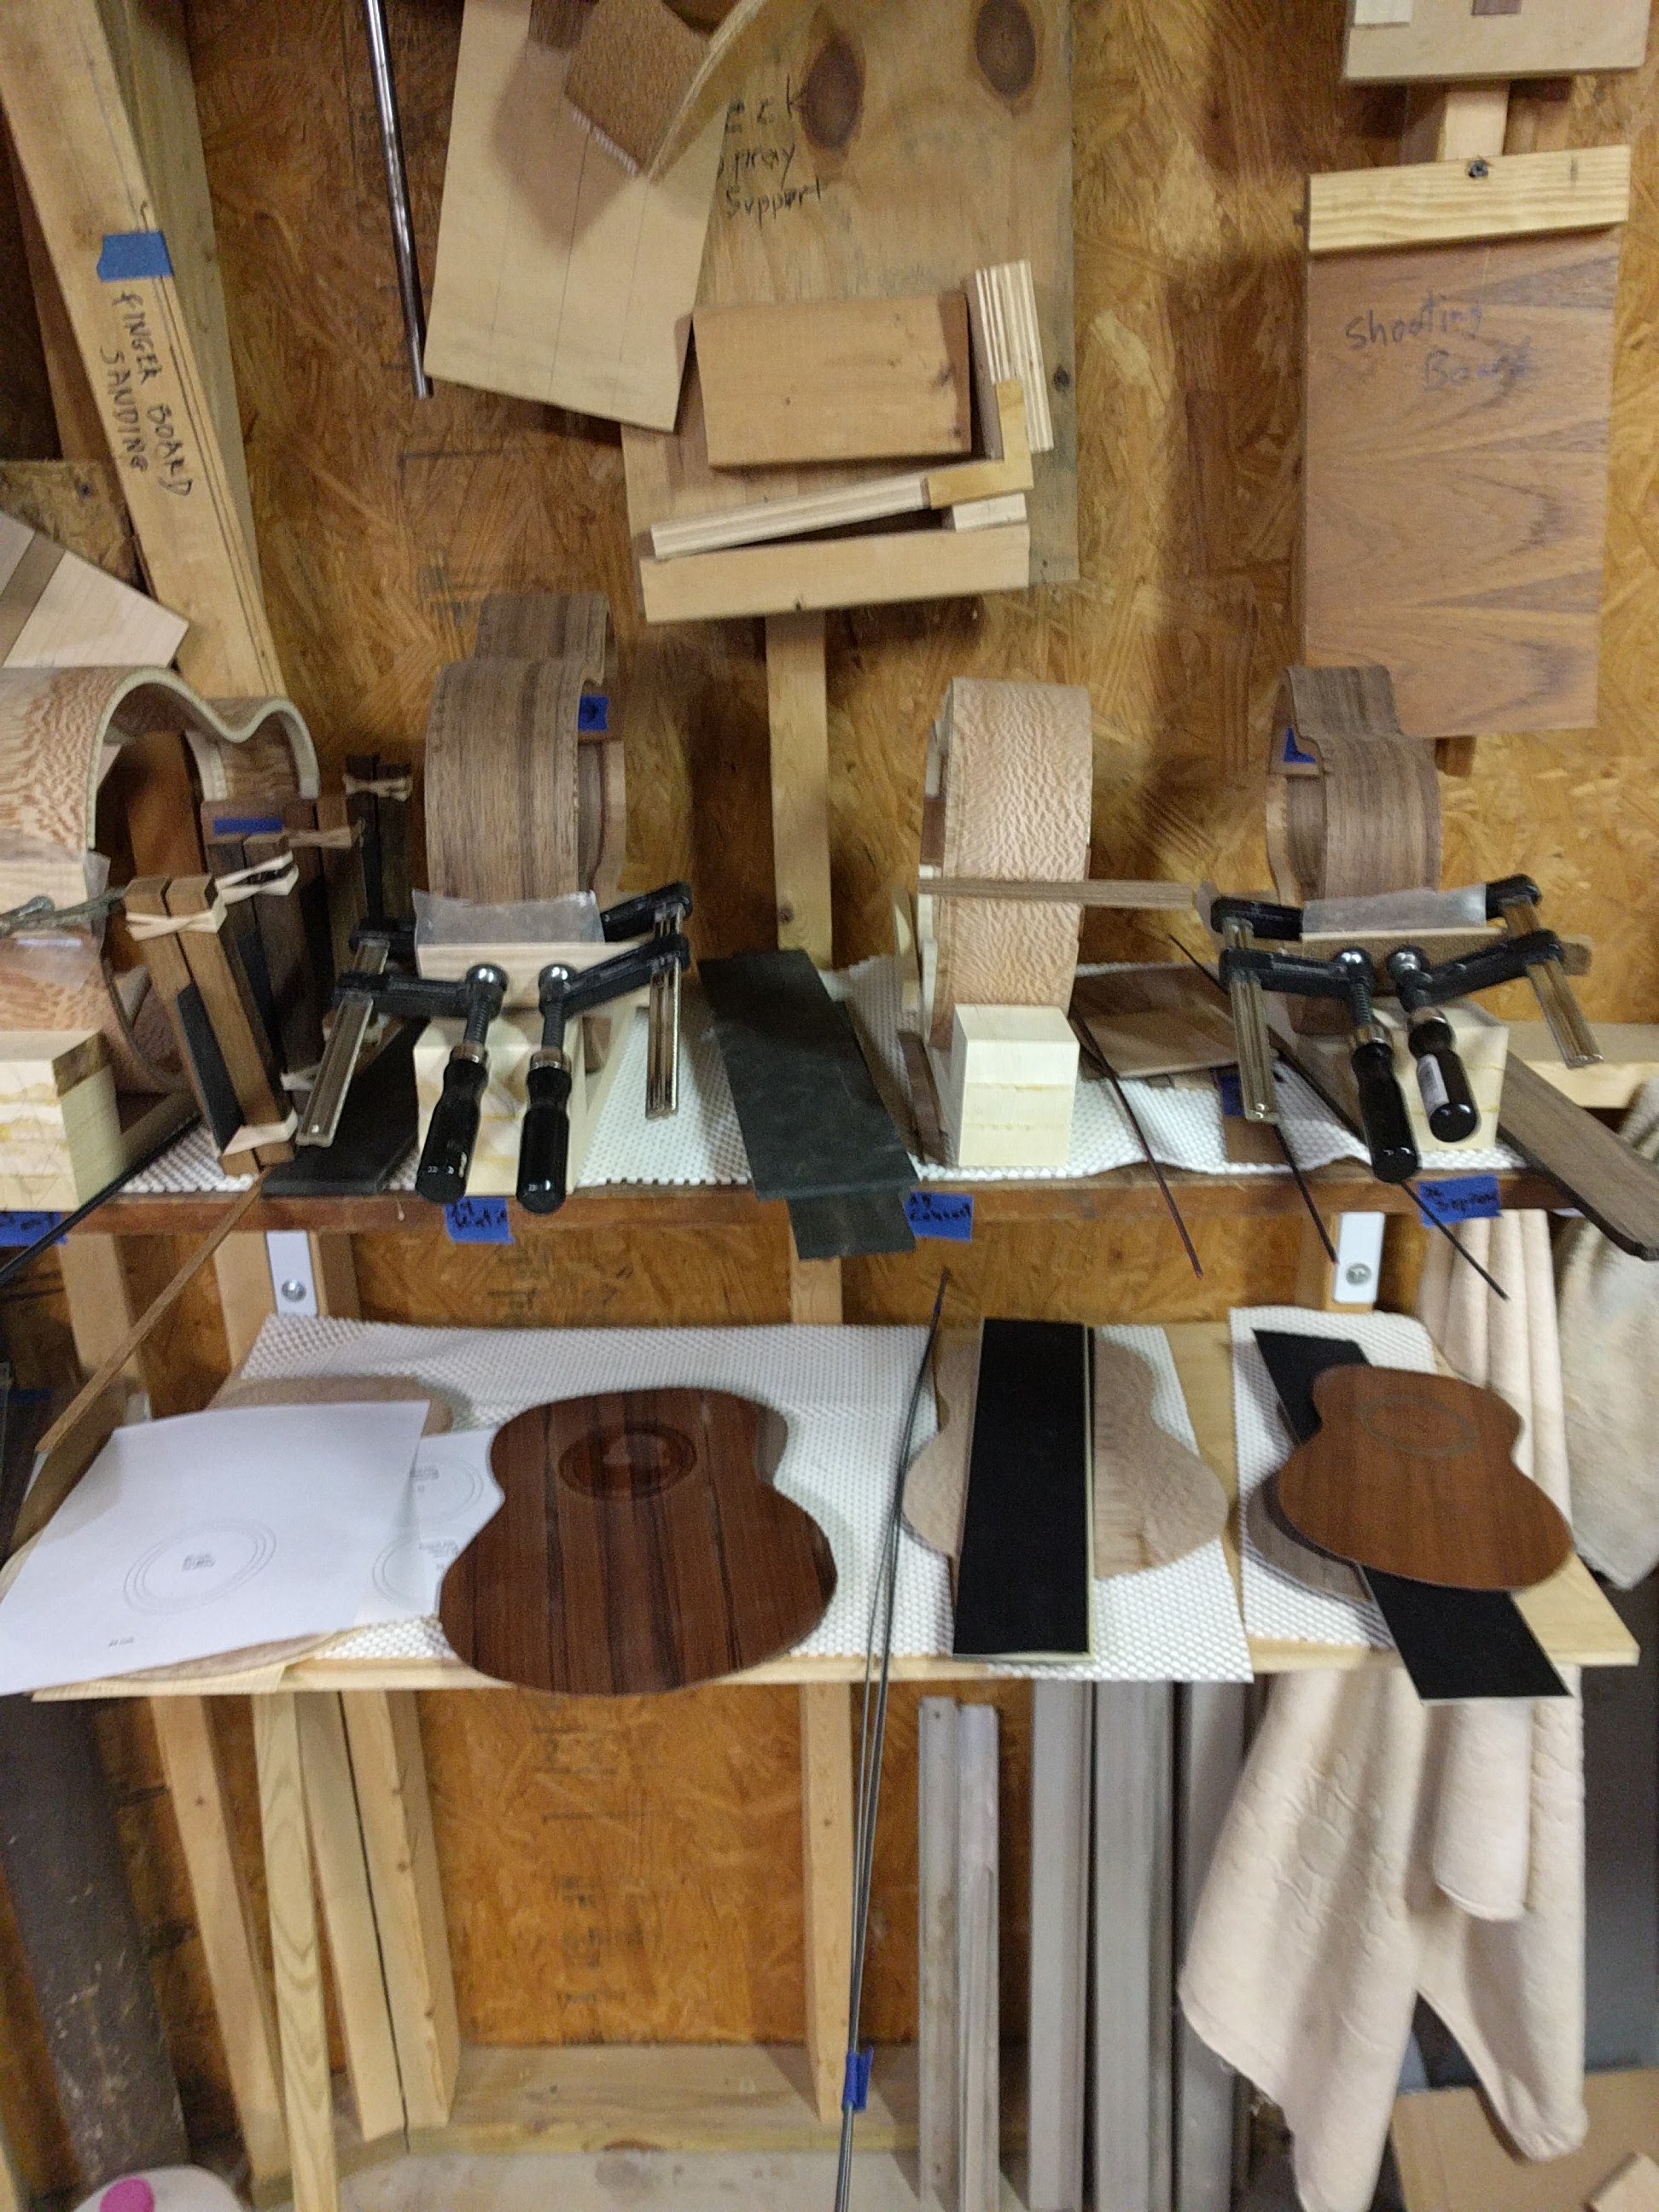
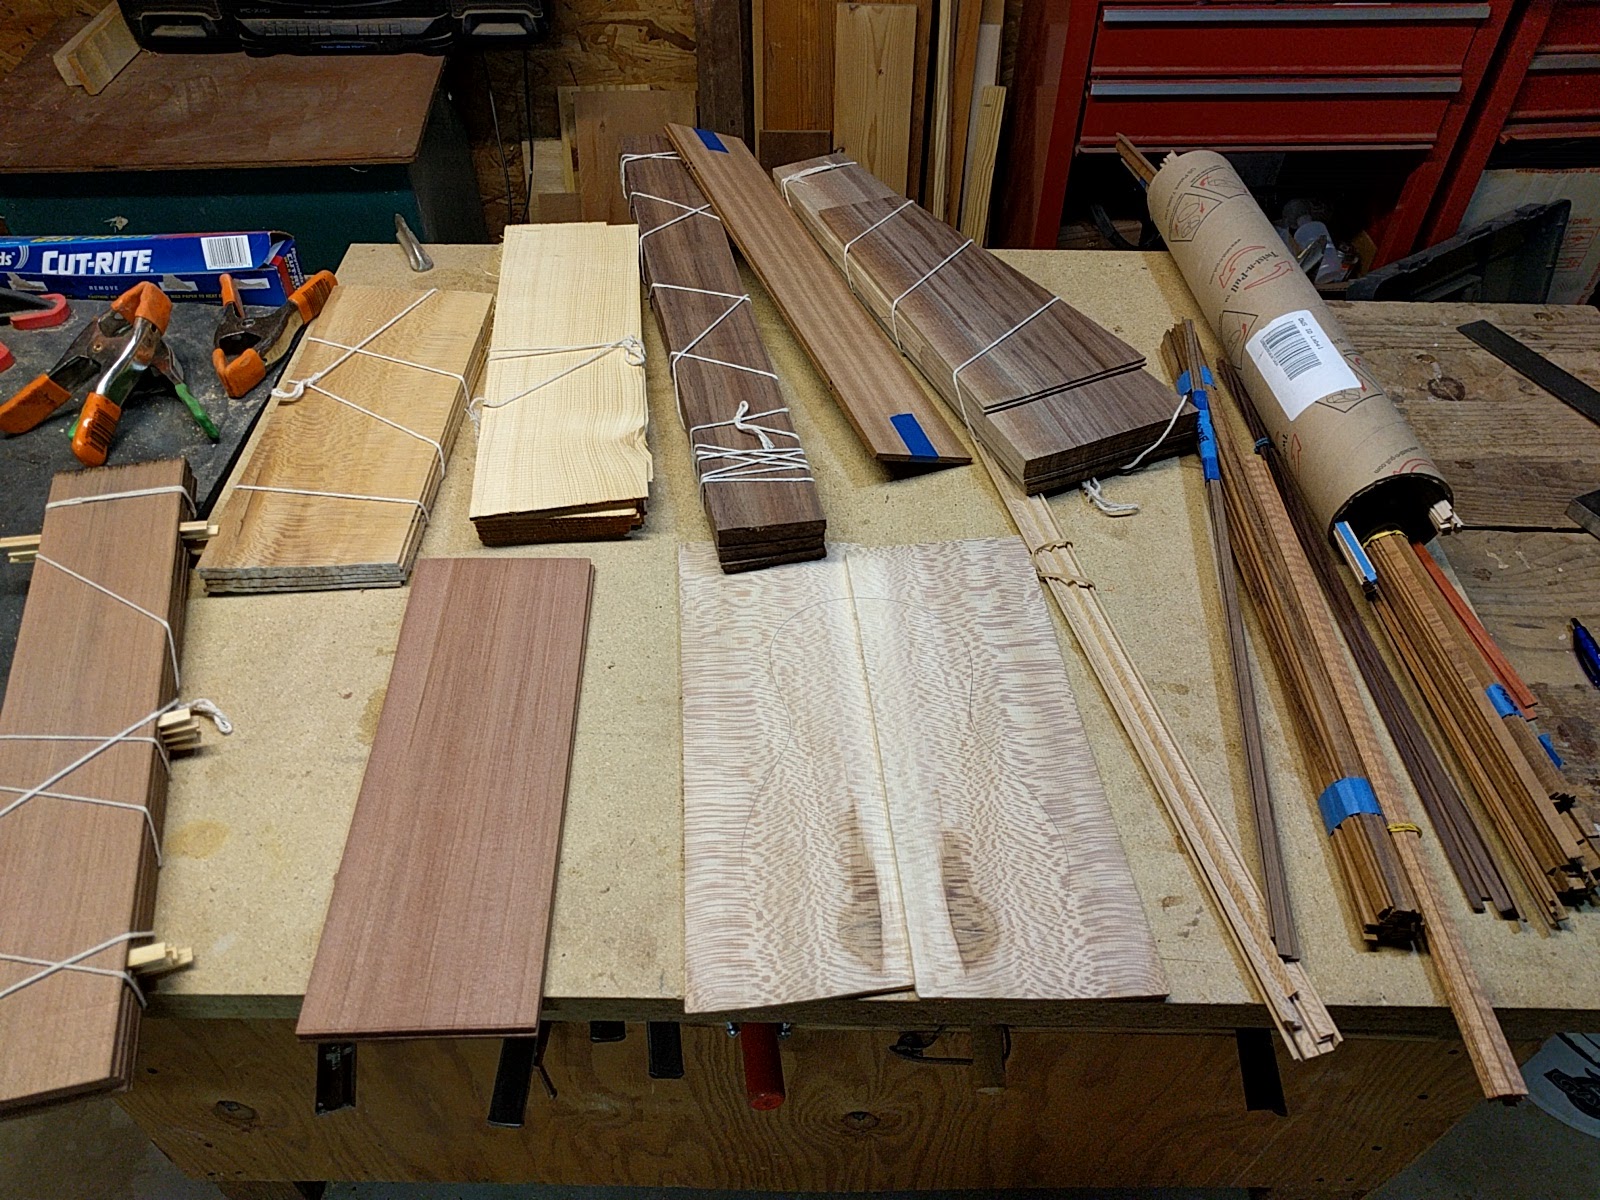
End grafts being glued, parts being assembled, tops and backs being worked on. A walnut/redwood soprano, all sycamore concert, walnut/redwood tenor, sycamore/spruce tenor.
End grafts being glued, parts being assembled, tops and backs being worked on. A walnut/redwood soprano, all sycamore concert, walnut/redwood tenor, sycamore/spruce tenor.
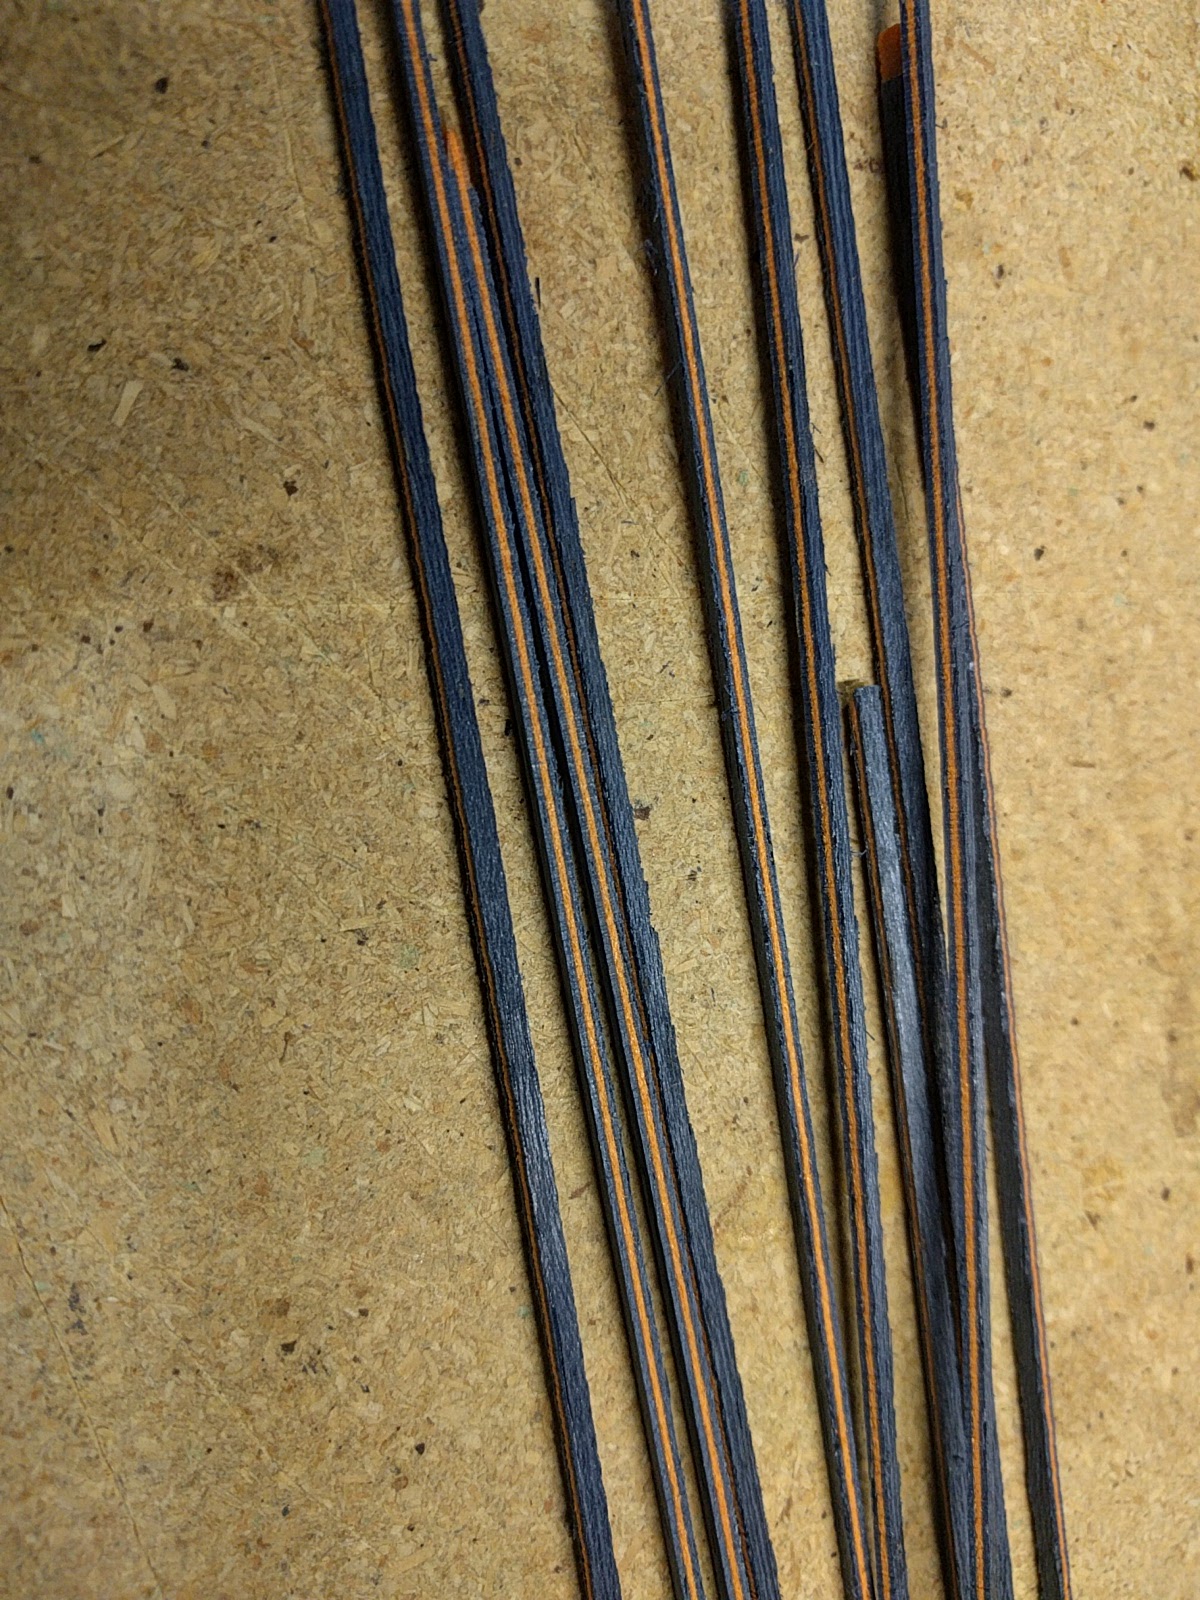
Purfling is a narrow strip of wood(s) that is placed between the binding around the edge of an instrument and the top/bottom wood. Its purpose is decorative, and is traditionally some combination of black and white. I have been making my own purfling by gluing veneers together, and then cutting it into narrow strips with a very fine band saw blade (35 teeth per inch). This allows me to make purfling other than black and white which is what is available commercially. I have used black-red-black on instruments with a redwood top and I think it looks really good. I am building a custom instrument for a friend, who likes orange and blue, so her uke is going to get blue-orange-blue purfling.
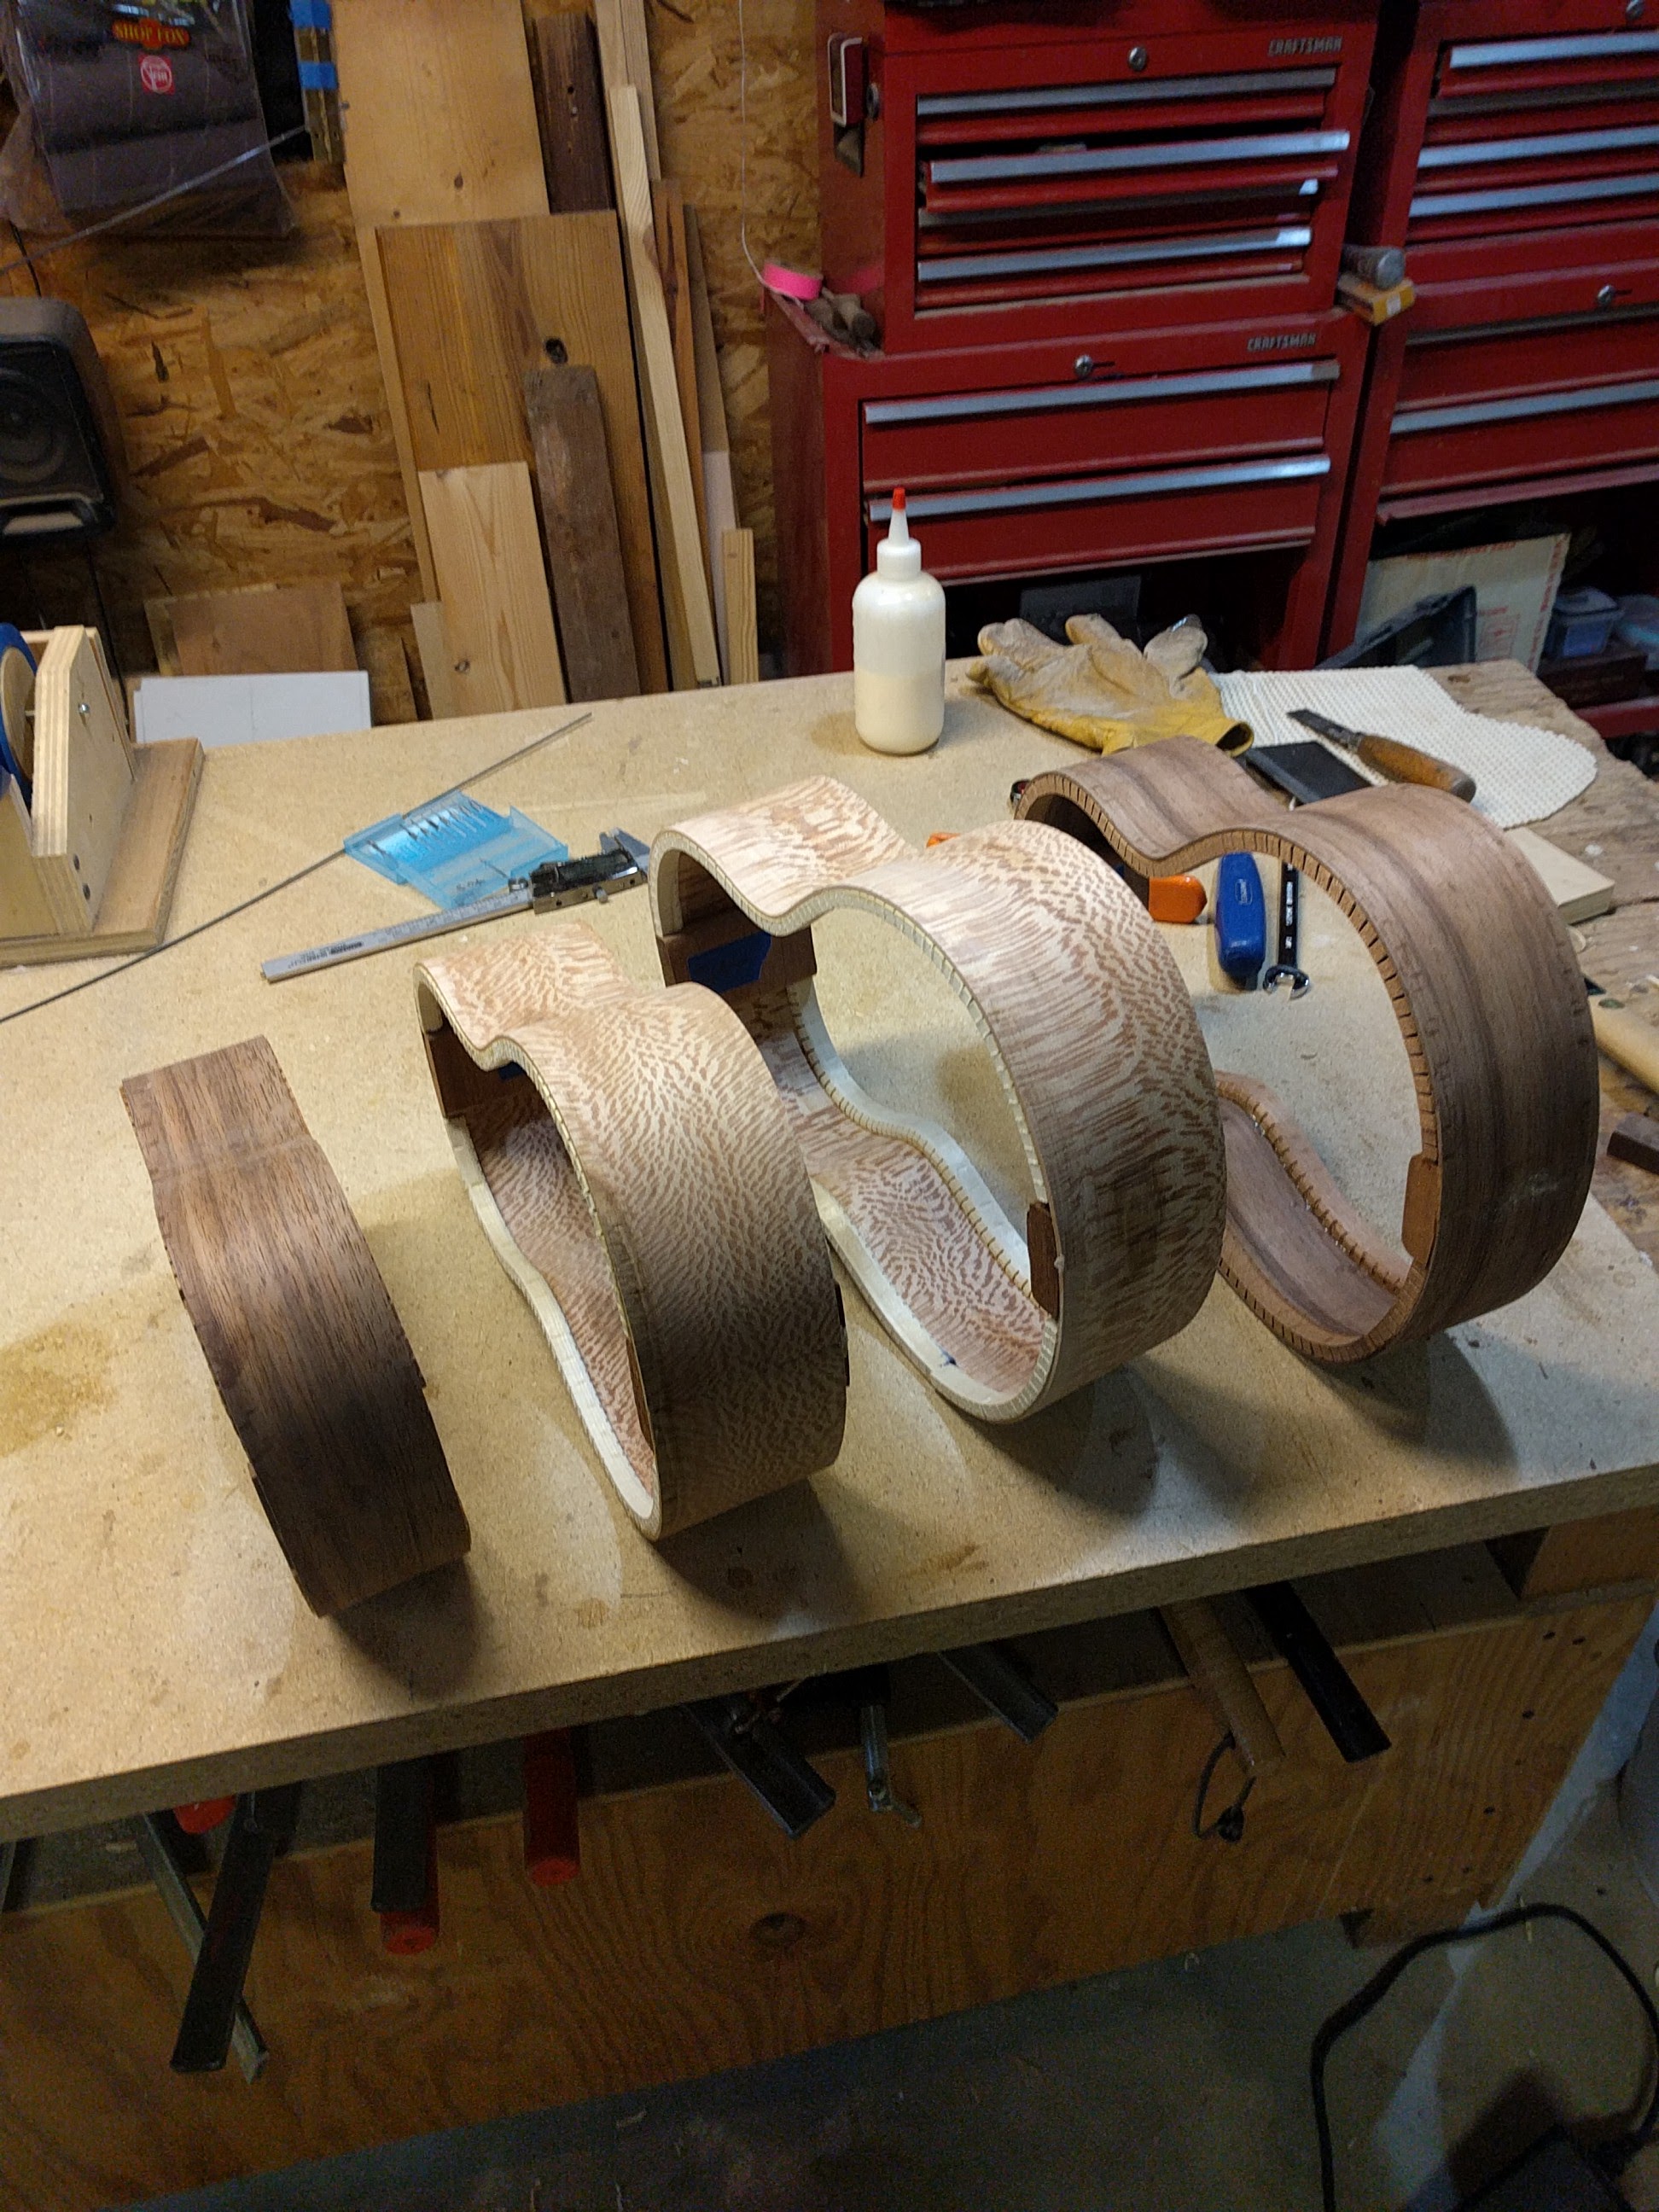
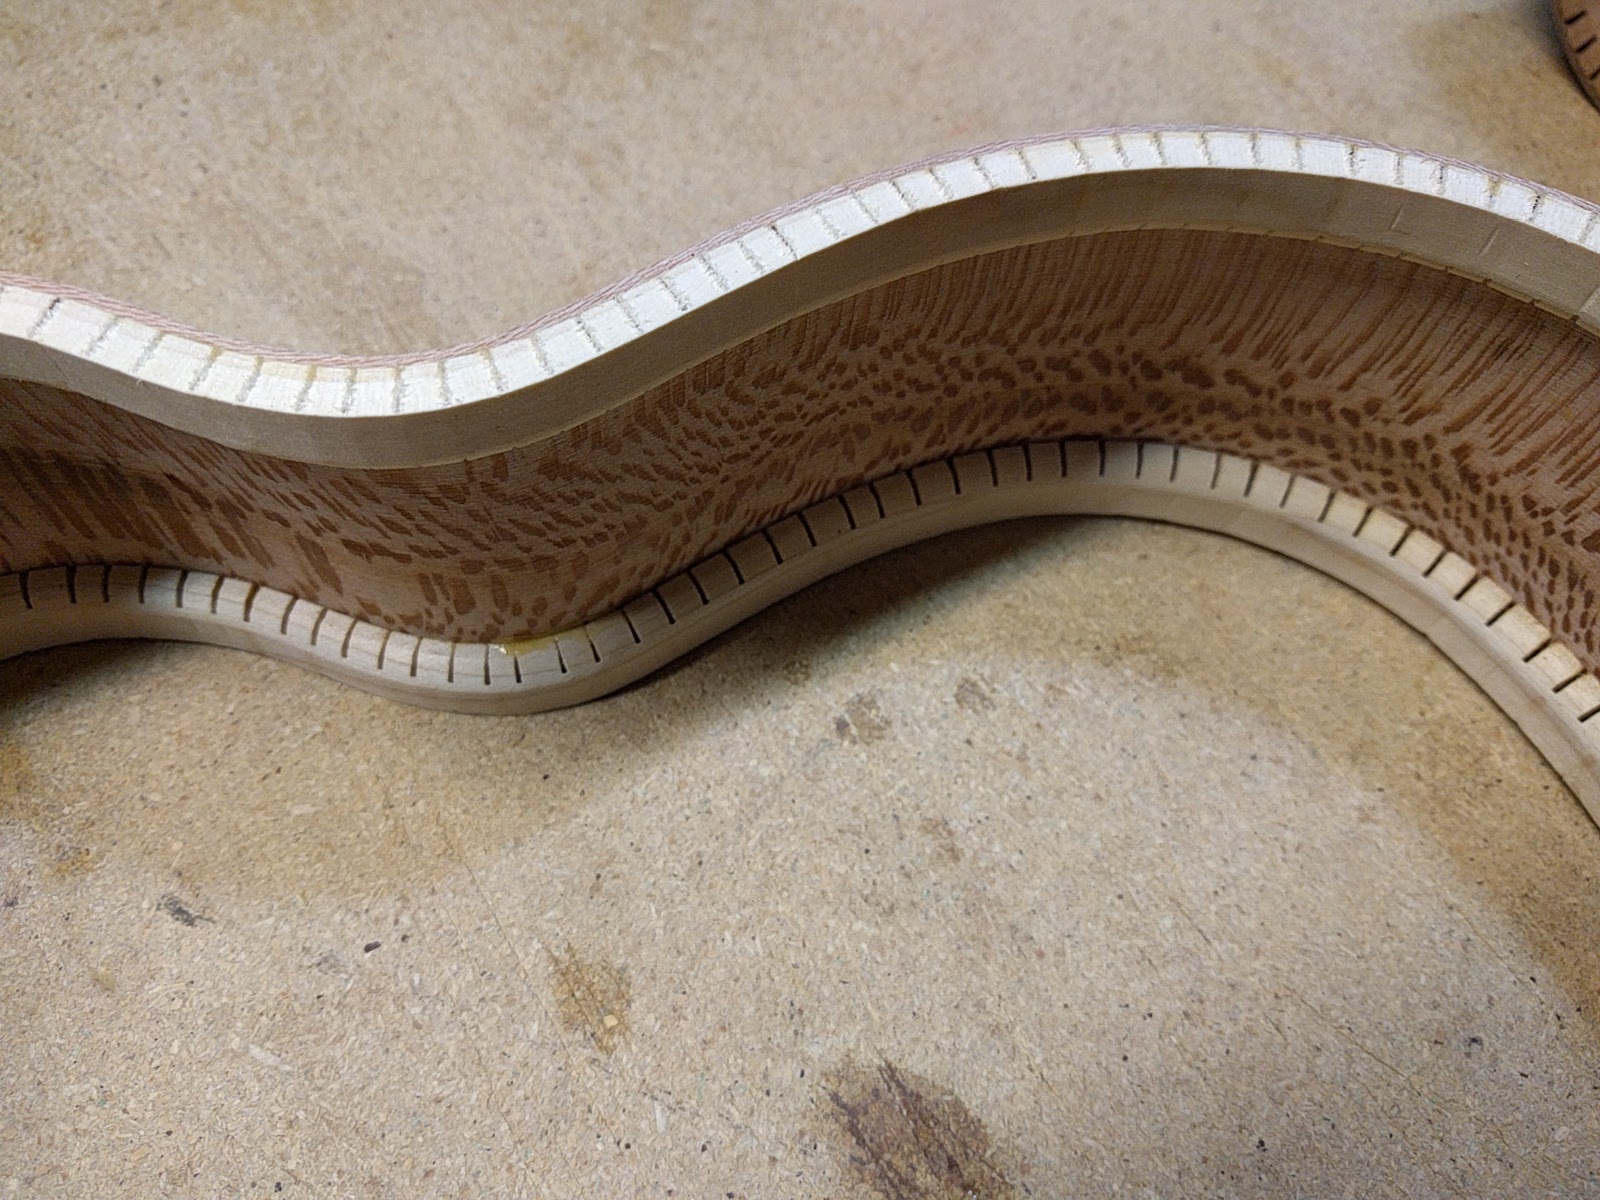
Kerfing is a wood lining that is glued to the inside of the top and bottom of the rim (sides) of guitars, ukuleles, mandolins, etc… to create an interior surface, onto which the top and bottom of the instrument is glued. It comes in several different styles, and I have come to really like what is called “reverse” kerfing, where the narrow strip of wood that holds the strip together is on the outside, as opposed to on the inside, which is more ‘traditional’. I have found that reverse kerfing adds a tremendous amount of stiffness to the sides, that normal kerfing does not. Once the reverse kerfing is installed, you really can not flex the sides any more. I make my own kerfing because I really like to make as much of the instrument as possible, I can make kerfing using light or dark woods to better match the sides, and can make it in a ‘ukulele’ size, as opposed to guitar kerfing which is mostly what is commercially available.
Here is a small sound sample. A friend playing Soldier’s Joy” on the “Tribute to Martin” ukulele:
Here is Soldier’s Joy or a redwood topped uke (high G):
Here are the same two instruments, with a different tune. First the “Tribute to Martin”:
Then there is the redwood topped uke, which is strung with a high G string:
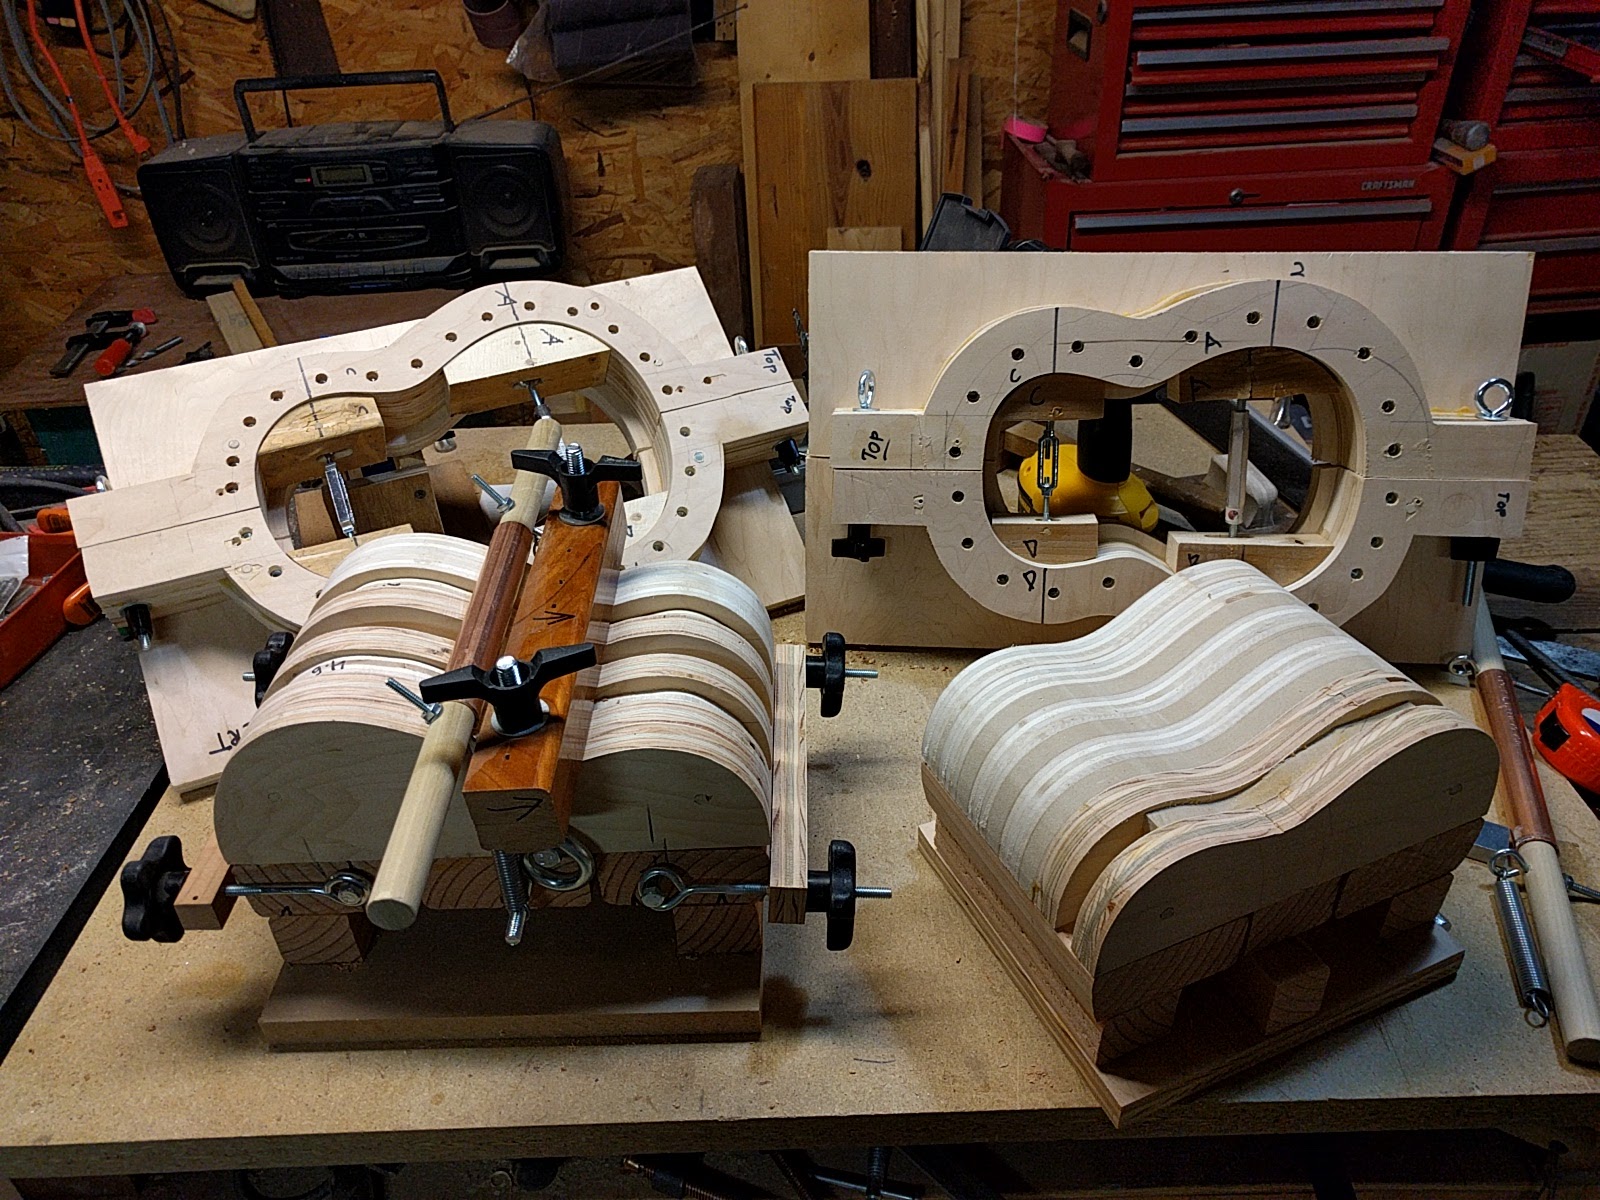
I am back in the shop, and working on the next set of four ukuleles. (I have found that I can do 4 at a time, and not have things get too crazy or messy around the shop.) Based on some comments/requests from the art festival this last February I have made the bending forms and moulds for soprano and concert sizes. So the next set is going to be two tenors, one concert, and one soprano.
One of the tenors is a custom instrument for a friend, who in many ways is responsible for me ending up in the ukulele building business. She came by the other day and we had a great time getting out wood from the stash, deciding what she liked, and ‘designing’ her instrument. Ended up with walnut back and sides, streaky redwood top, sycamore binding, streaky ebony fingerboard, Richlite headplate, and some ides for the inlays.
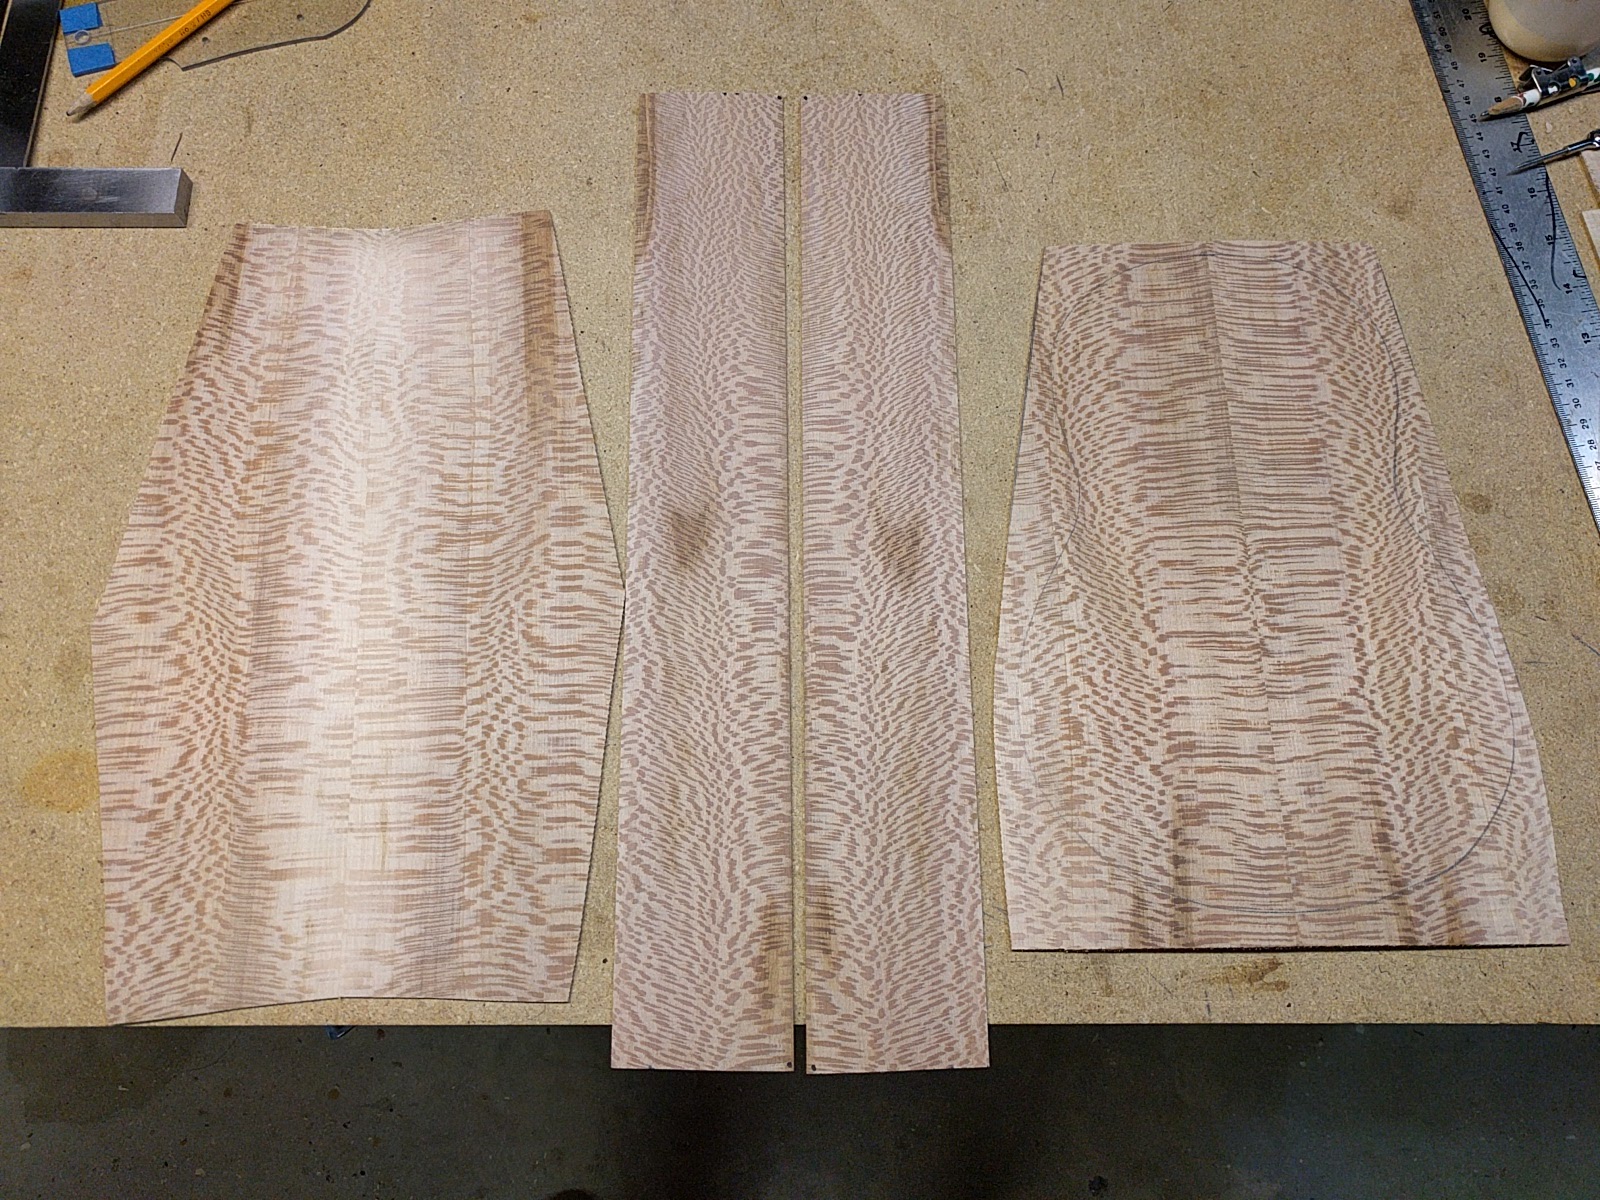
The concert ukulele is a custom commission. After discussion, he wanted a solid sycamore ukulele, top, back, and sides. Sycamore is lovely stuff (my favorite local wood) and its properties of weight, elasticity, stiffness, etc. are close to the traditional koa. I am expecting this uke to have that ‘Hawaiian’ sound that comes from having a hardwood top (as opposed to a more guitar-like sound that comes from a softwood top.) I have picked out the wood, and started making up the plates. This is going to be a really spectacular instrument:
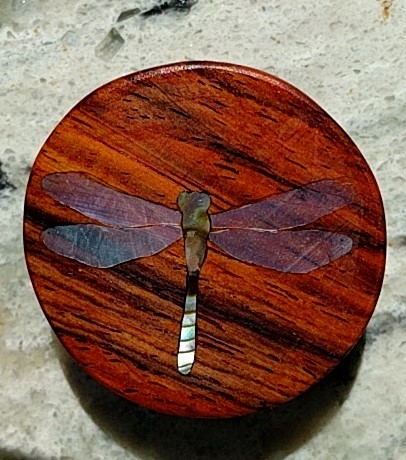
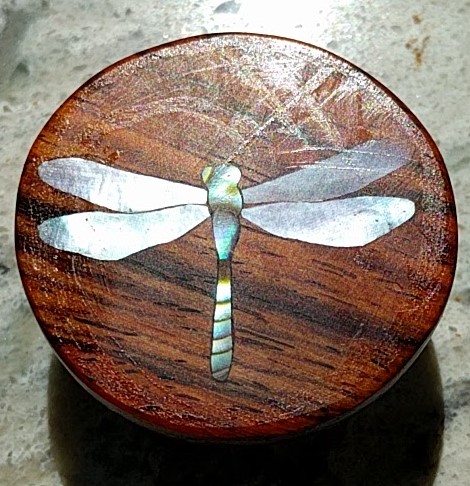
I have had, for years, some material call “mother of pearl ‘feathers’”. This is mother of pearl sliced so thin it is almost transparent at one angle. Feels a bit like very stiff parchment. The material is still opaque and pearl iridescent at other angles, depends on the light.
I was thinking of a project that might involve some dragonfly inlays, and it occurred to me that these pearl ‘feathers’ might make interesting wings. Like real insect wings they would be nearly transparent or shiny and opaque depending on the angle of view and the light.
My first experiment, using the necklace form factor that I used for the other pieces made for the ArtiGras arts festival, is rather successful. The wings almost disappear at one angle, and yet are opaque and pearly at another.
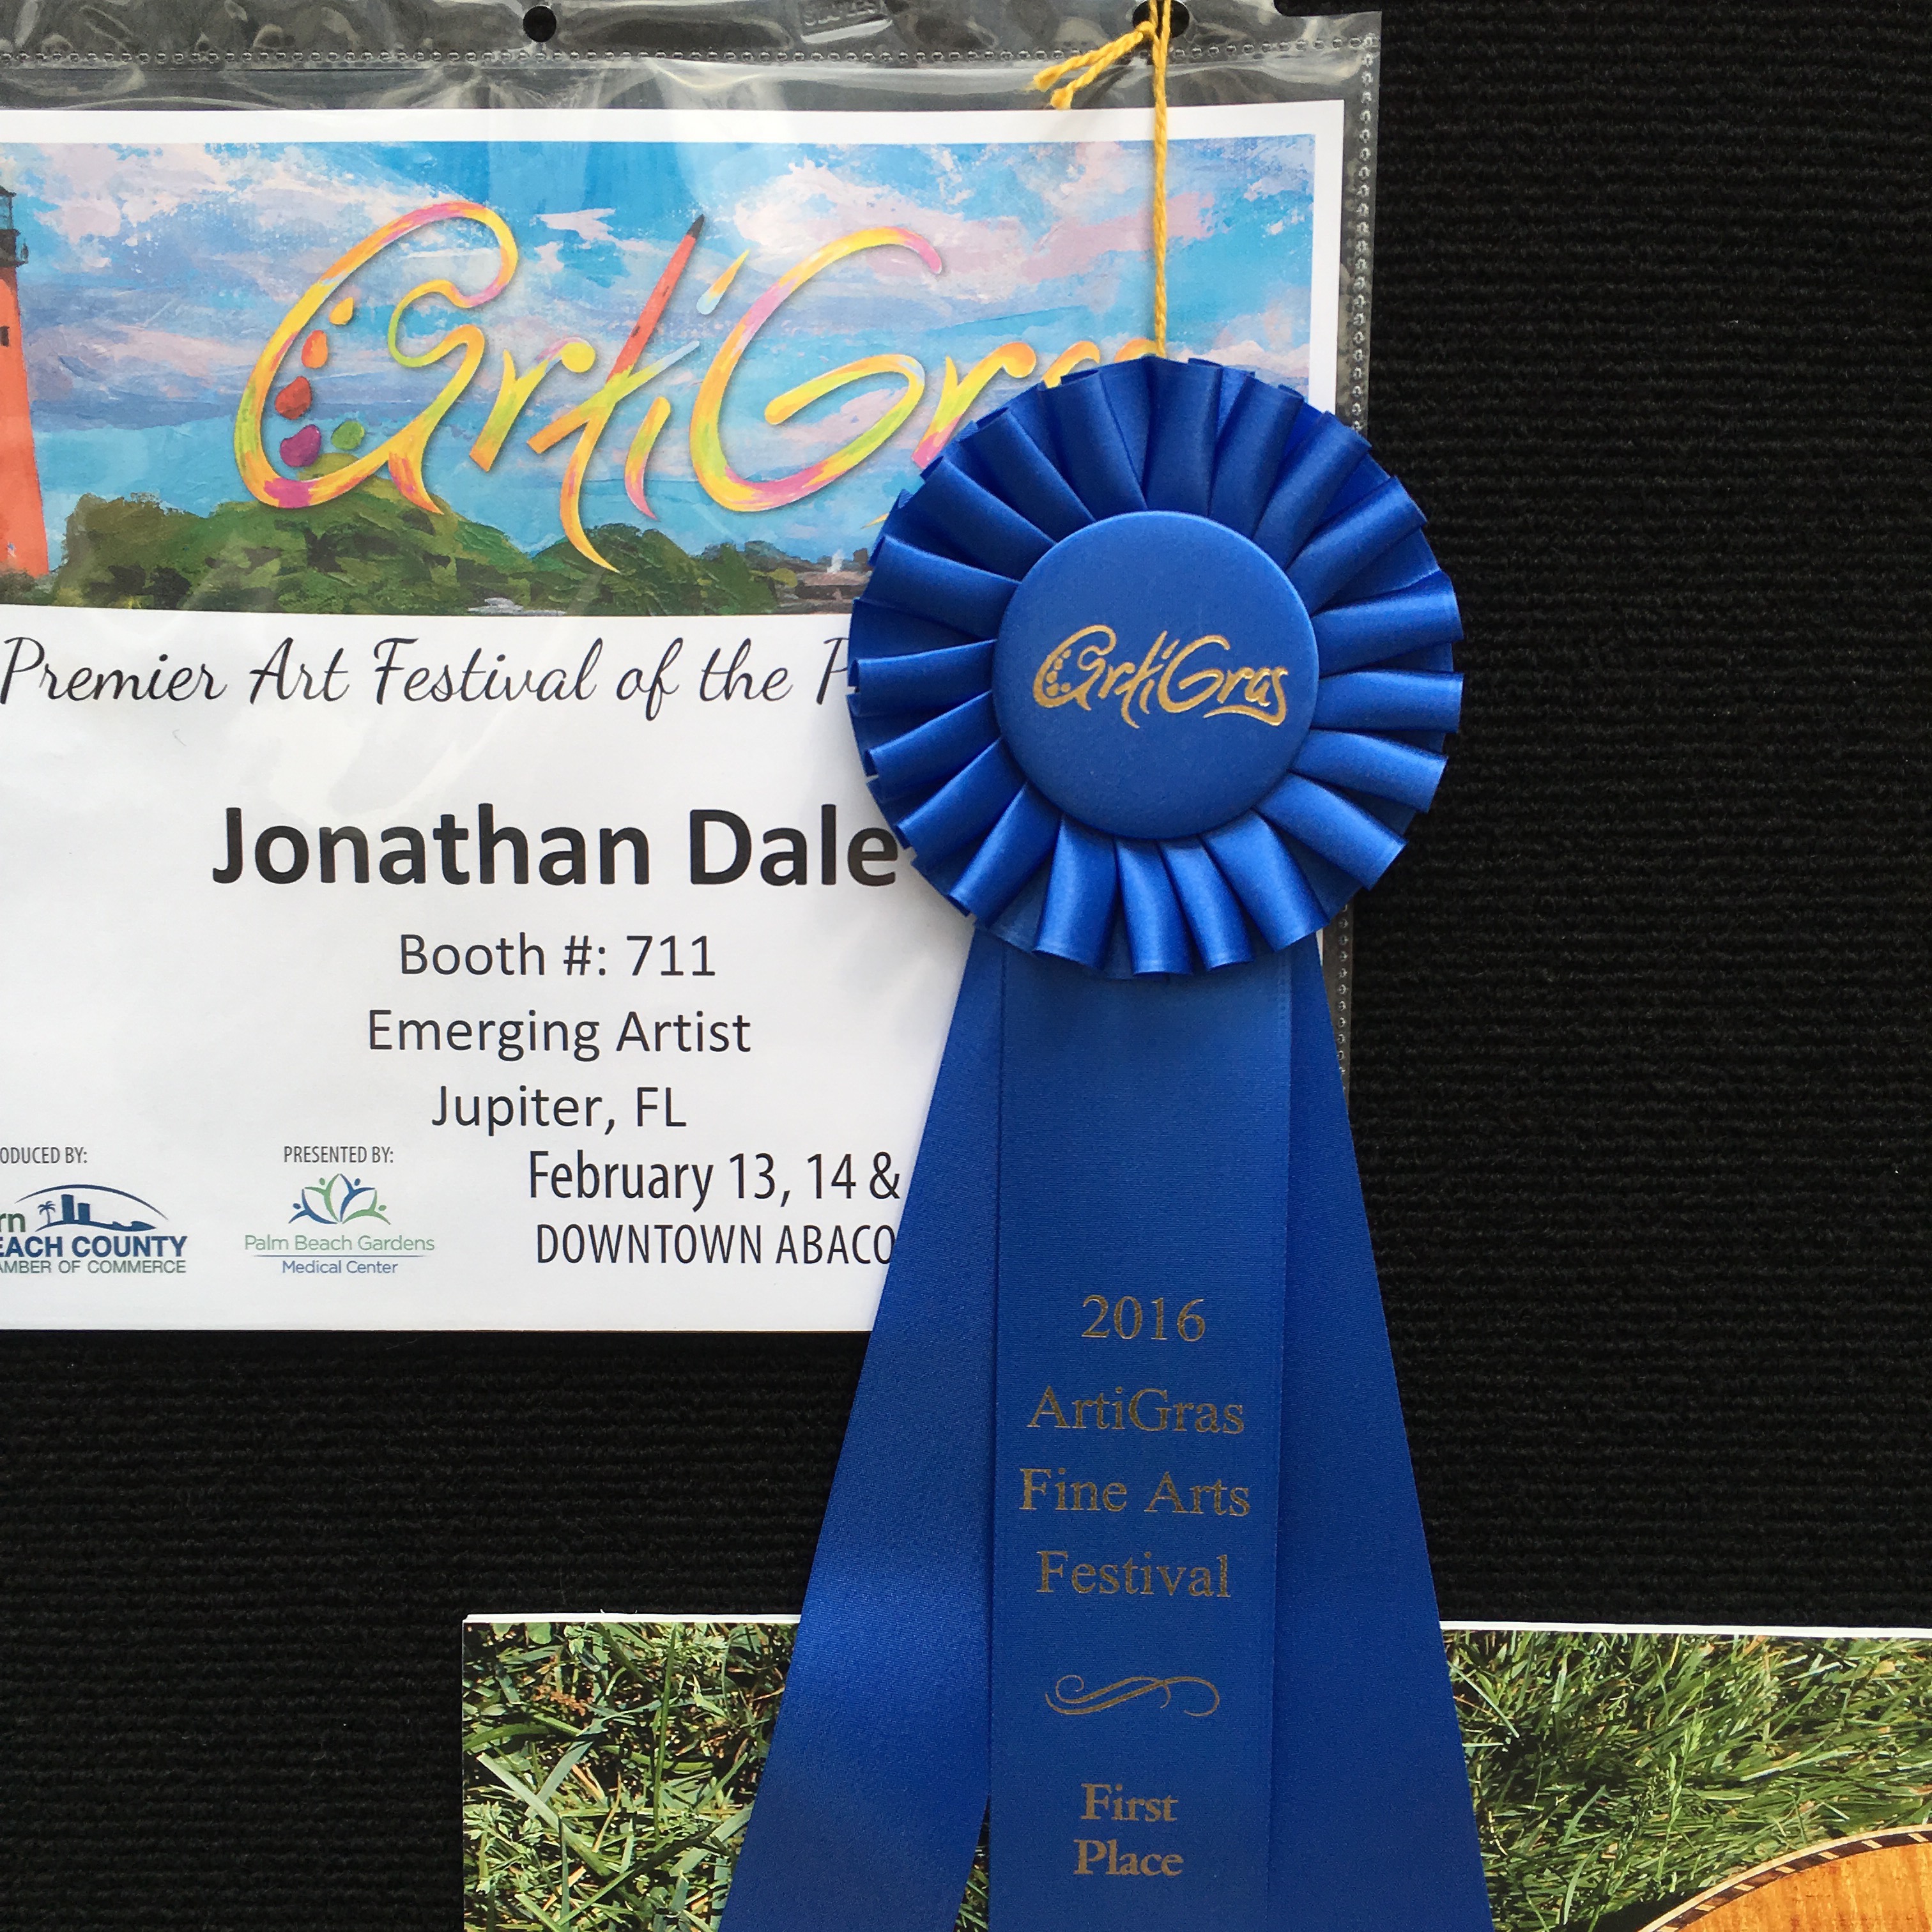
As an experiment, and since I am in the ‘neighborhood’ here in Florida in the winter, I decided to apply to, and was accepted into, the ArtiGras Fine Arts and Craft show here in Jupiter (Palm Beach) Florida. This is a pretty big show, with all entrants juried into the show. They have a great program for ’emerging artists’, people who have never shown before (which is me).
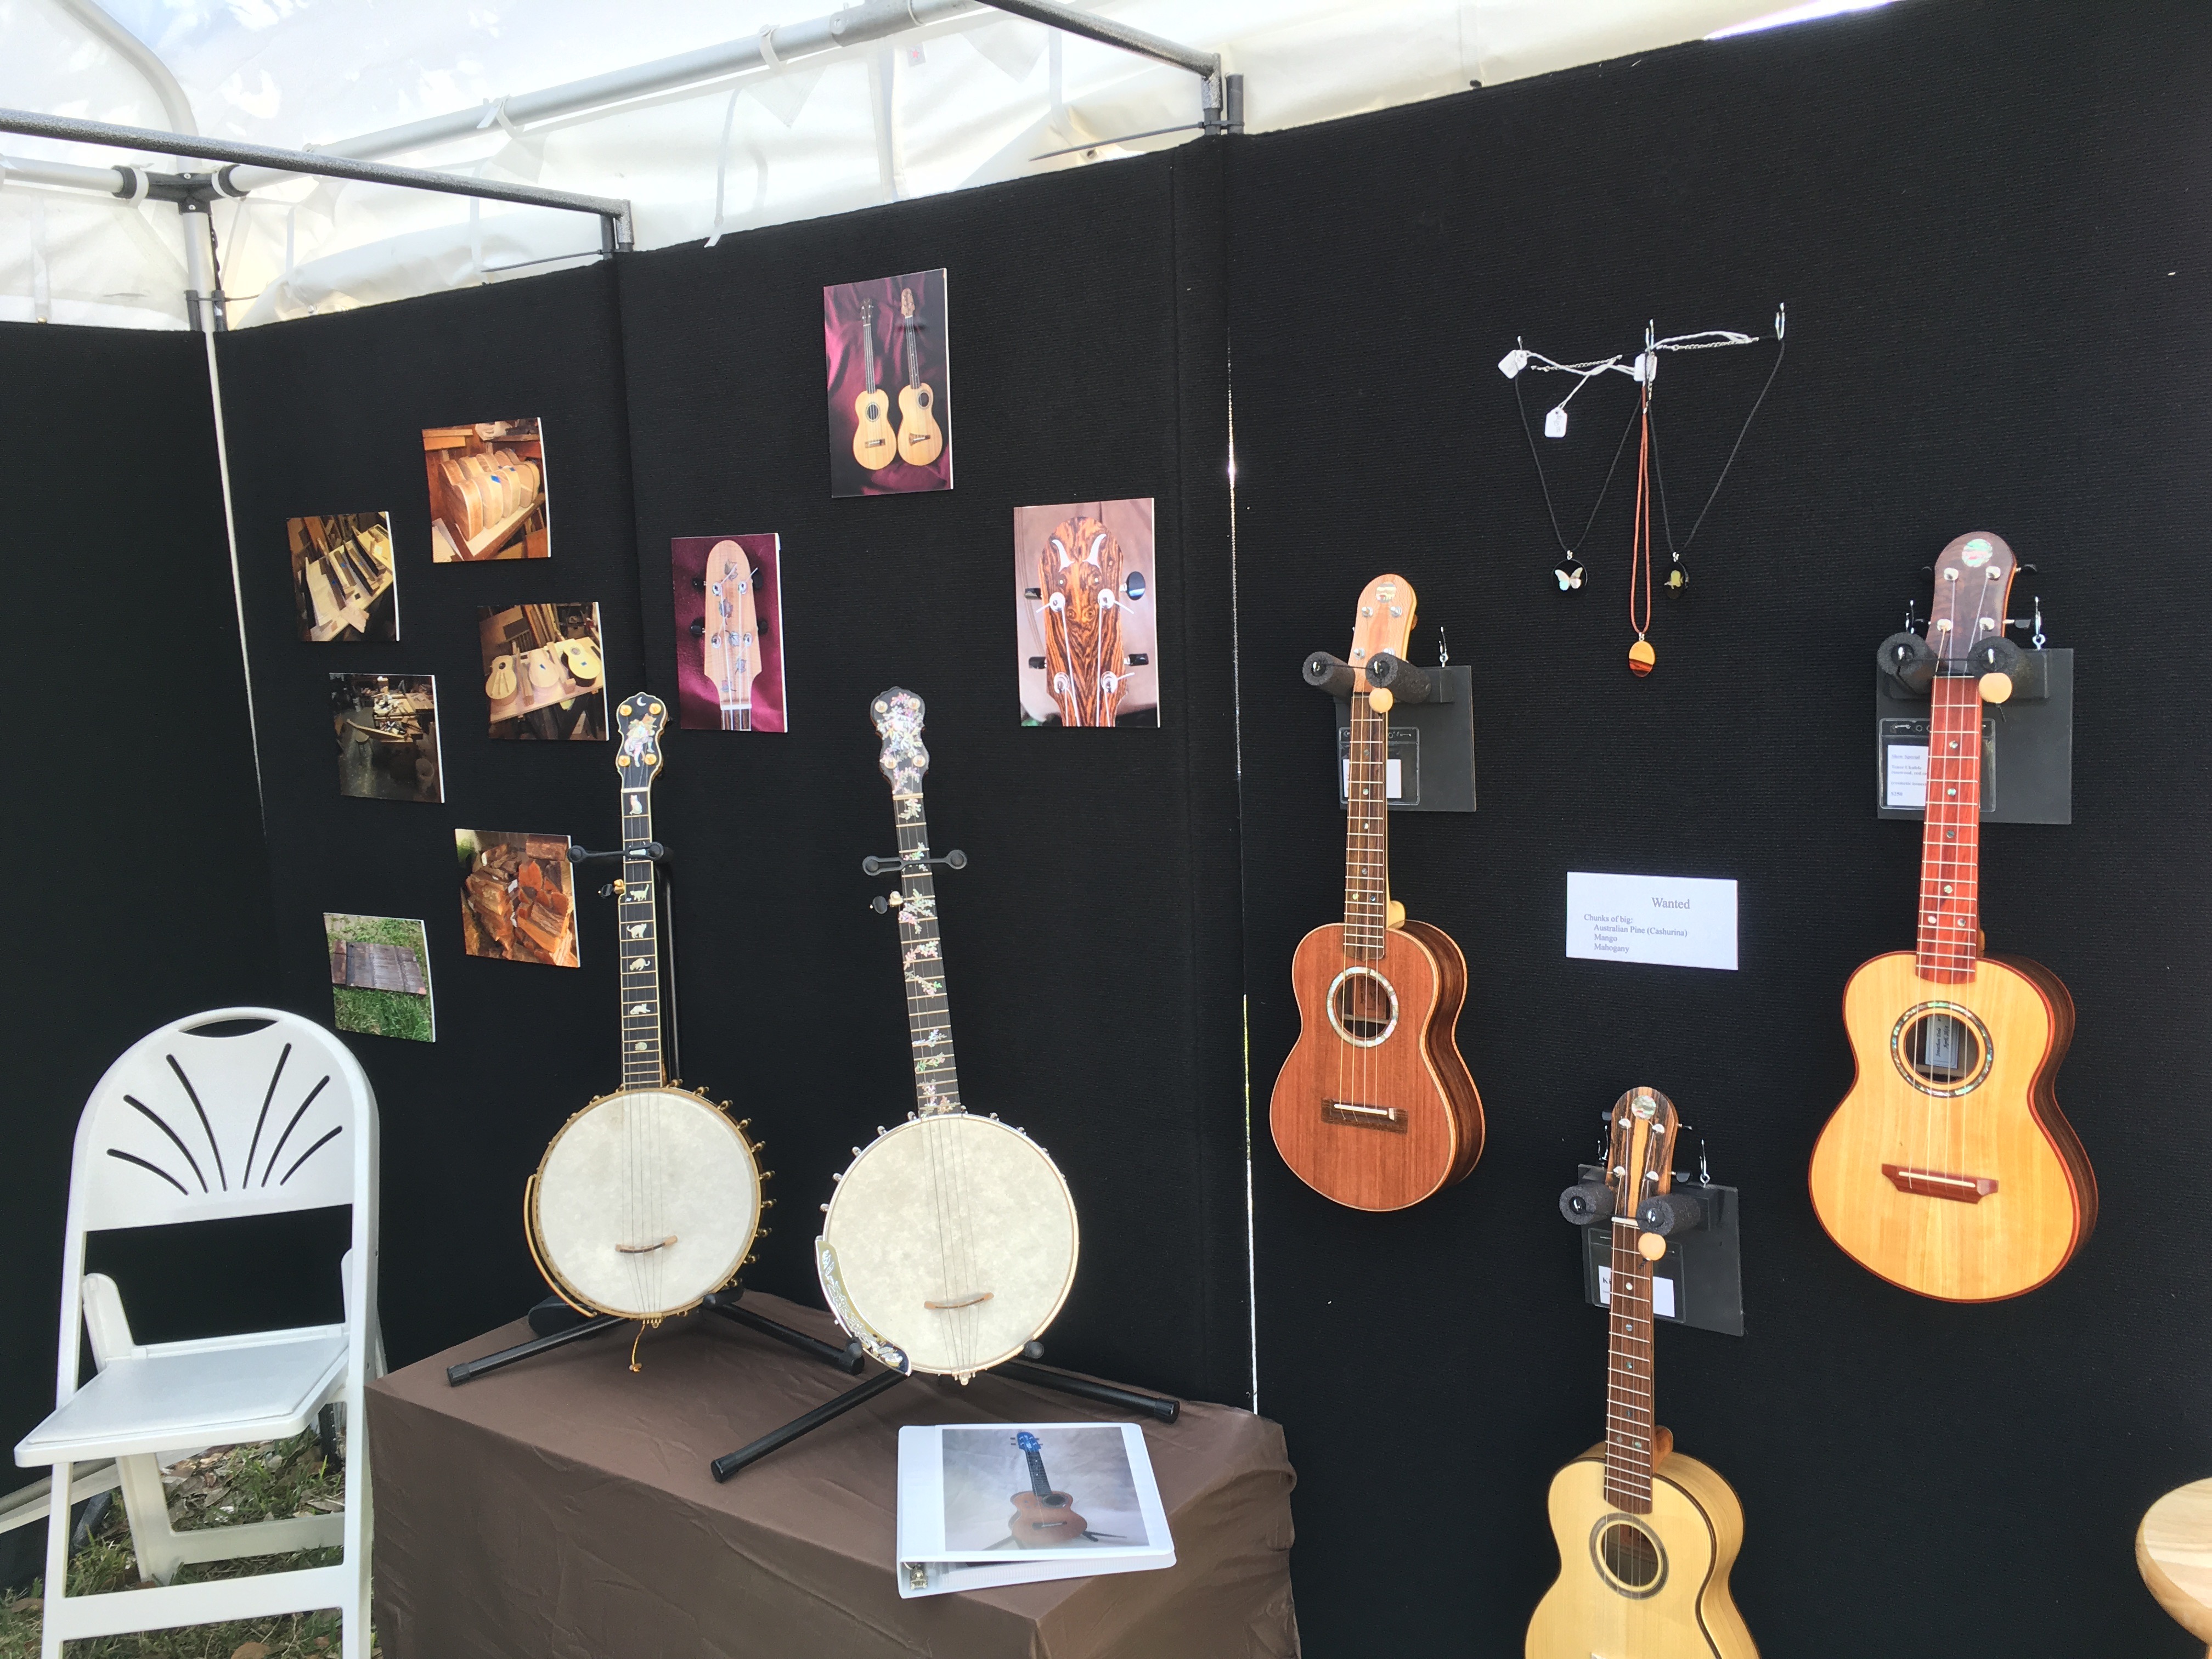
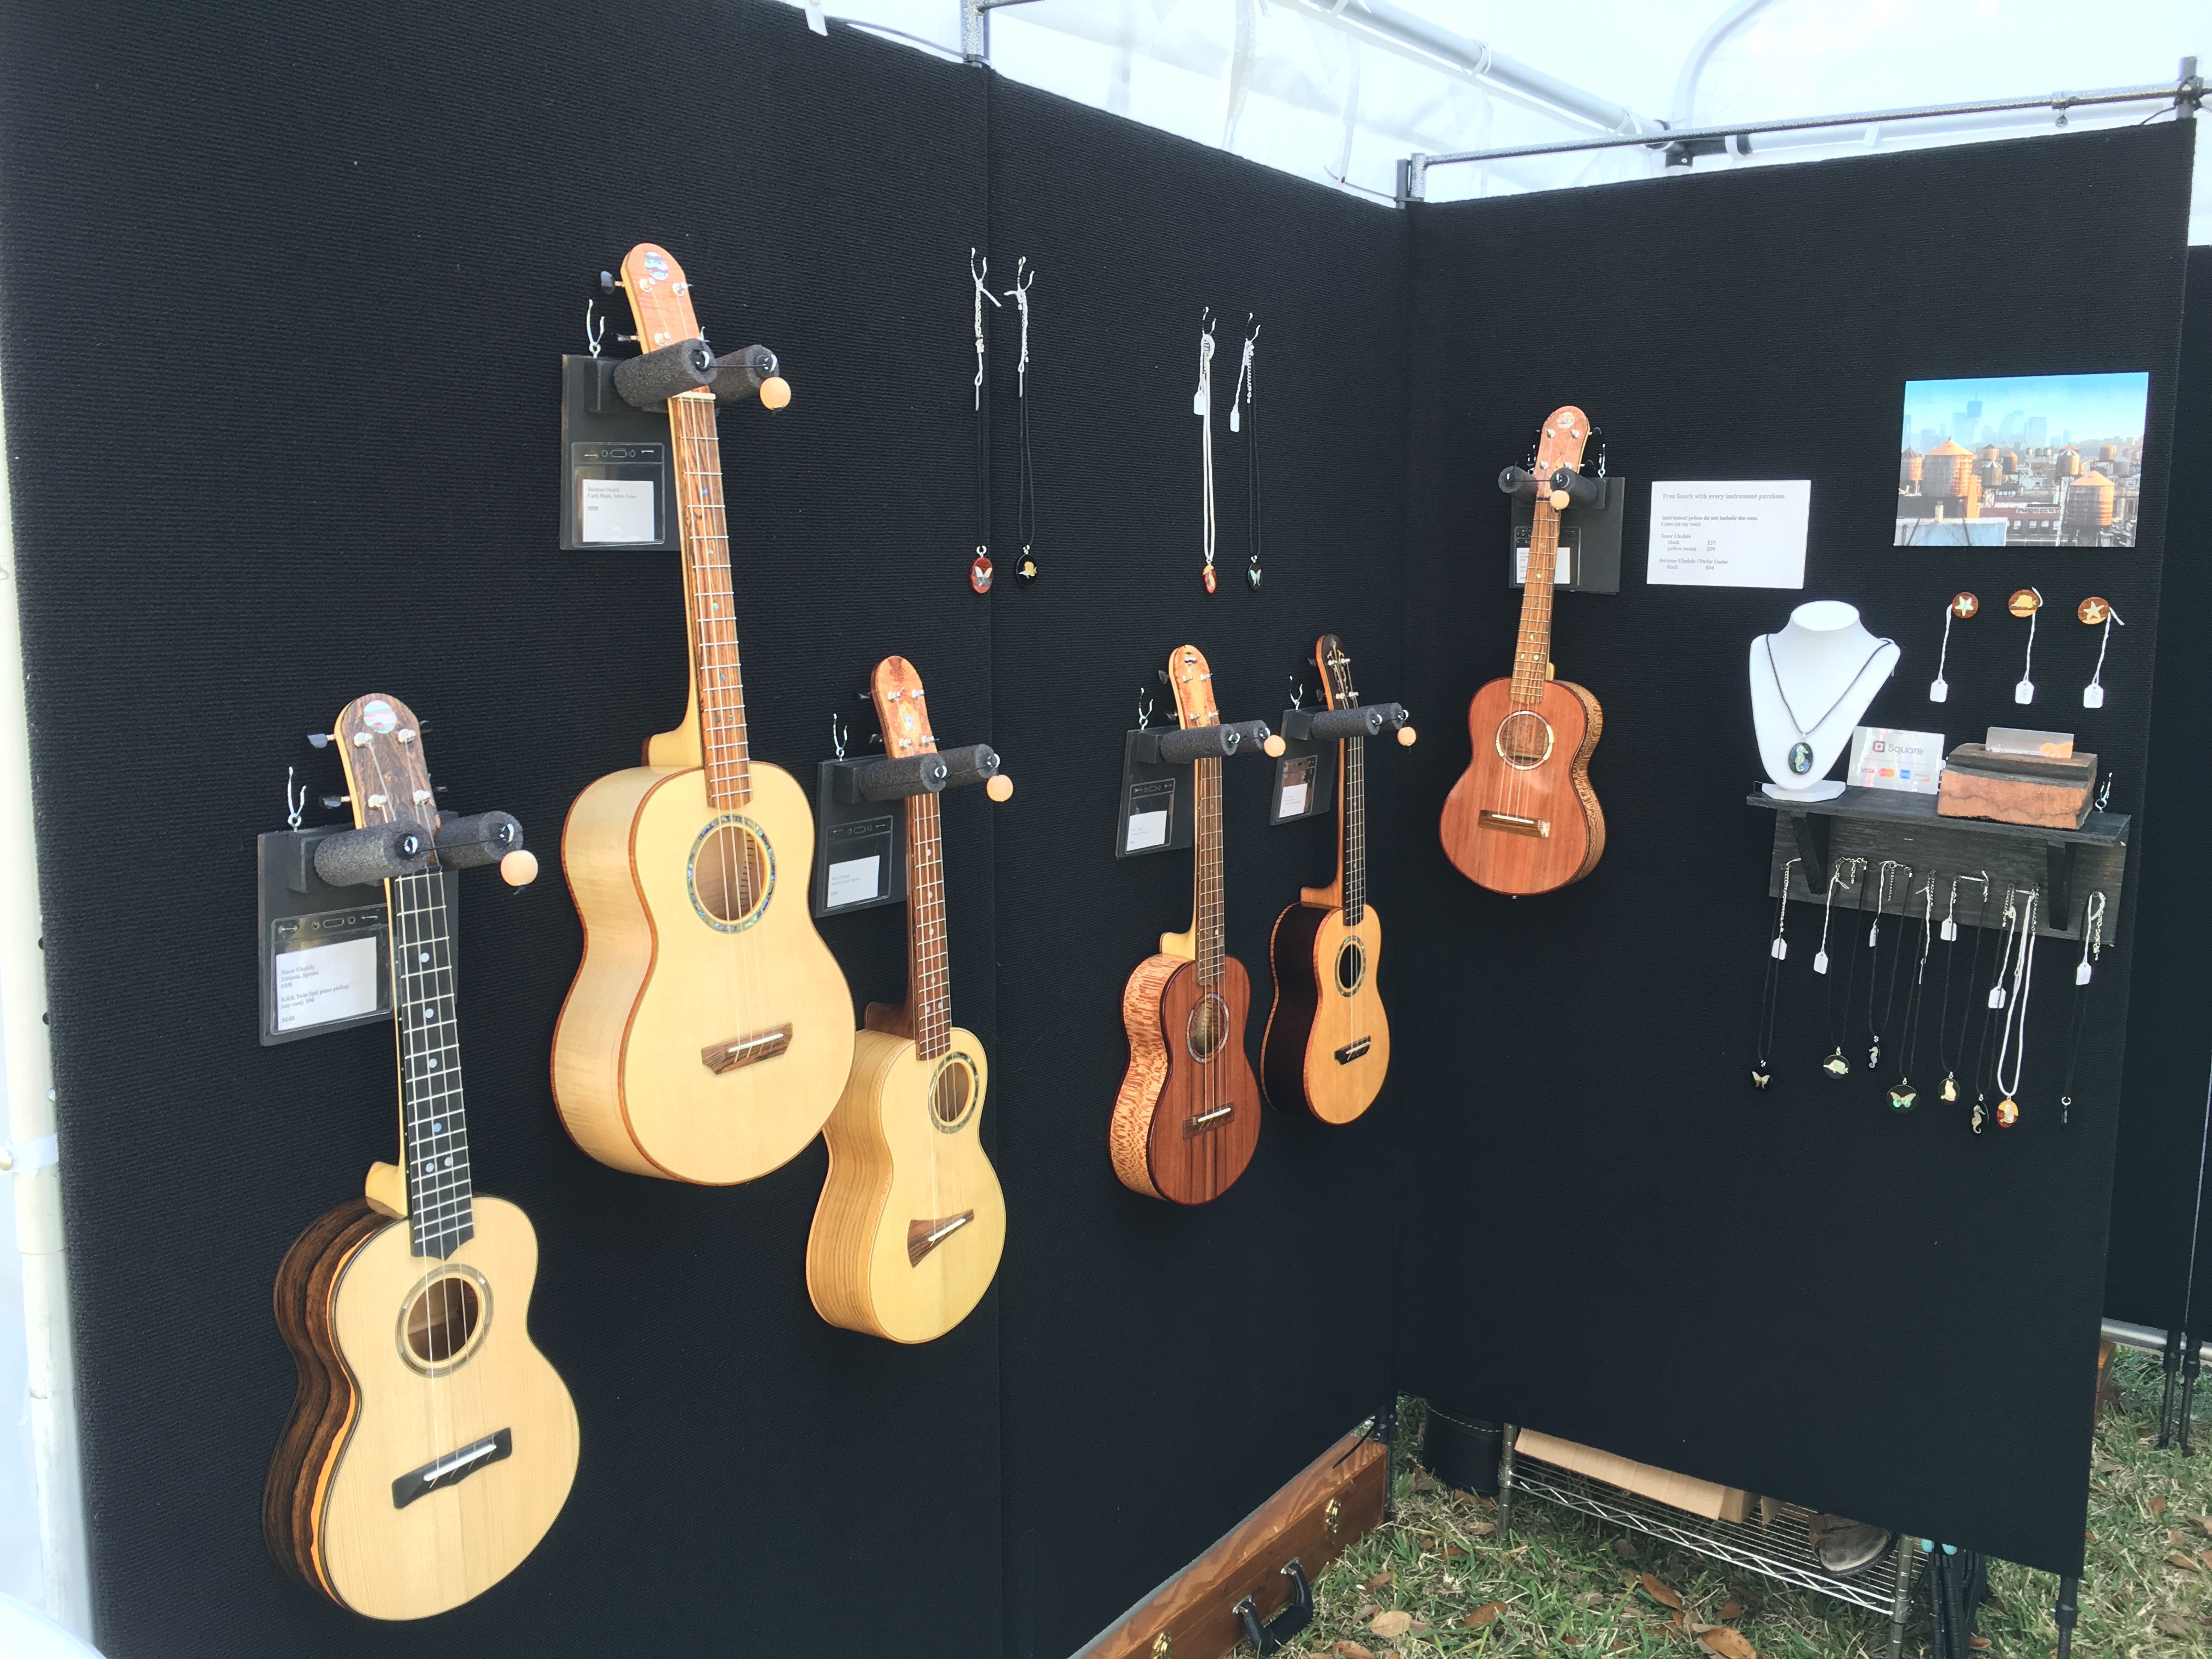
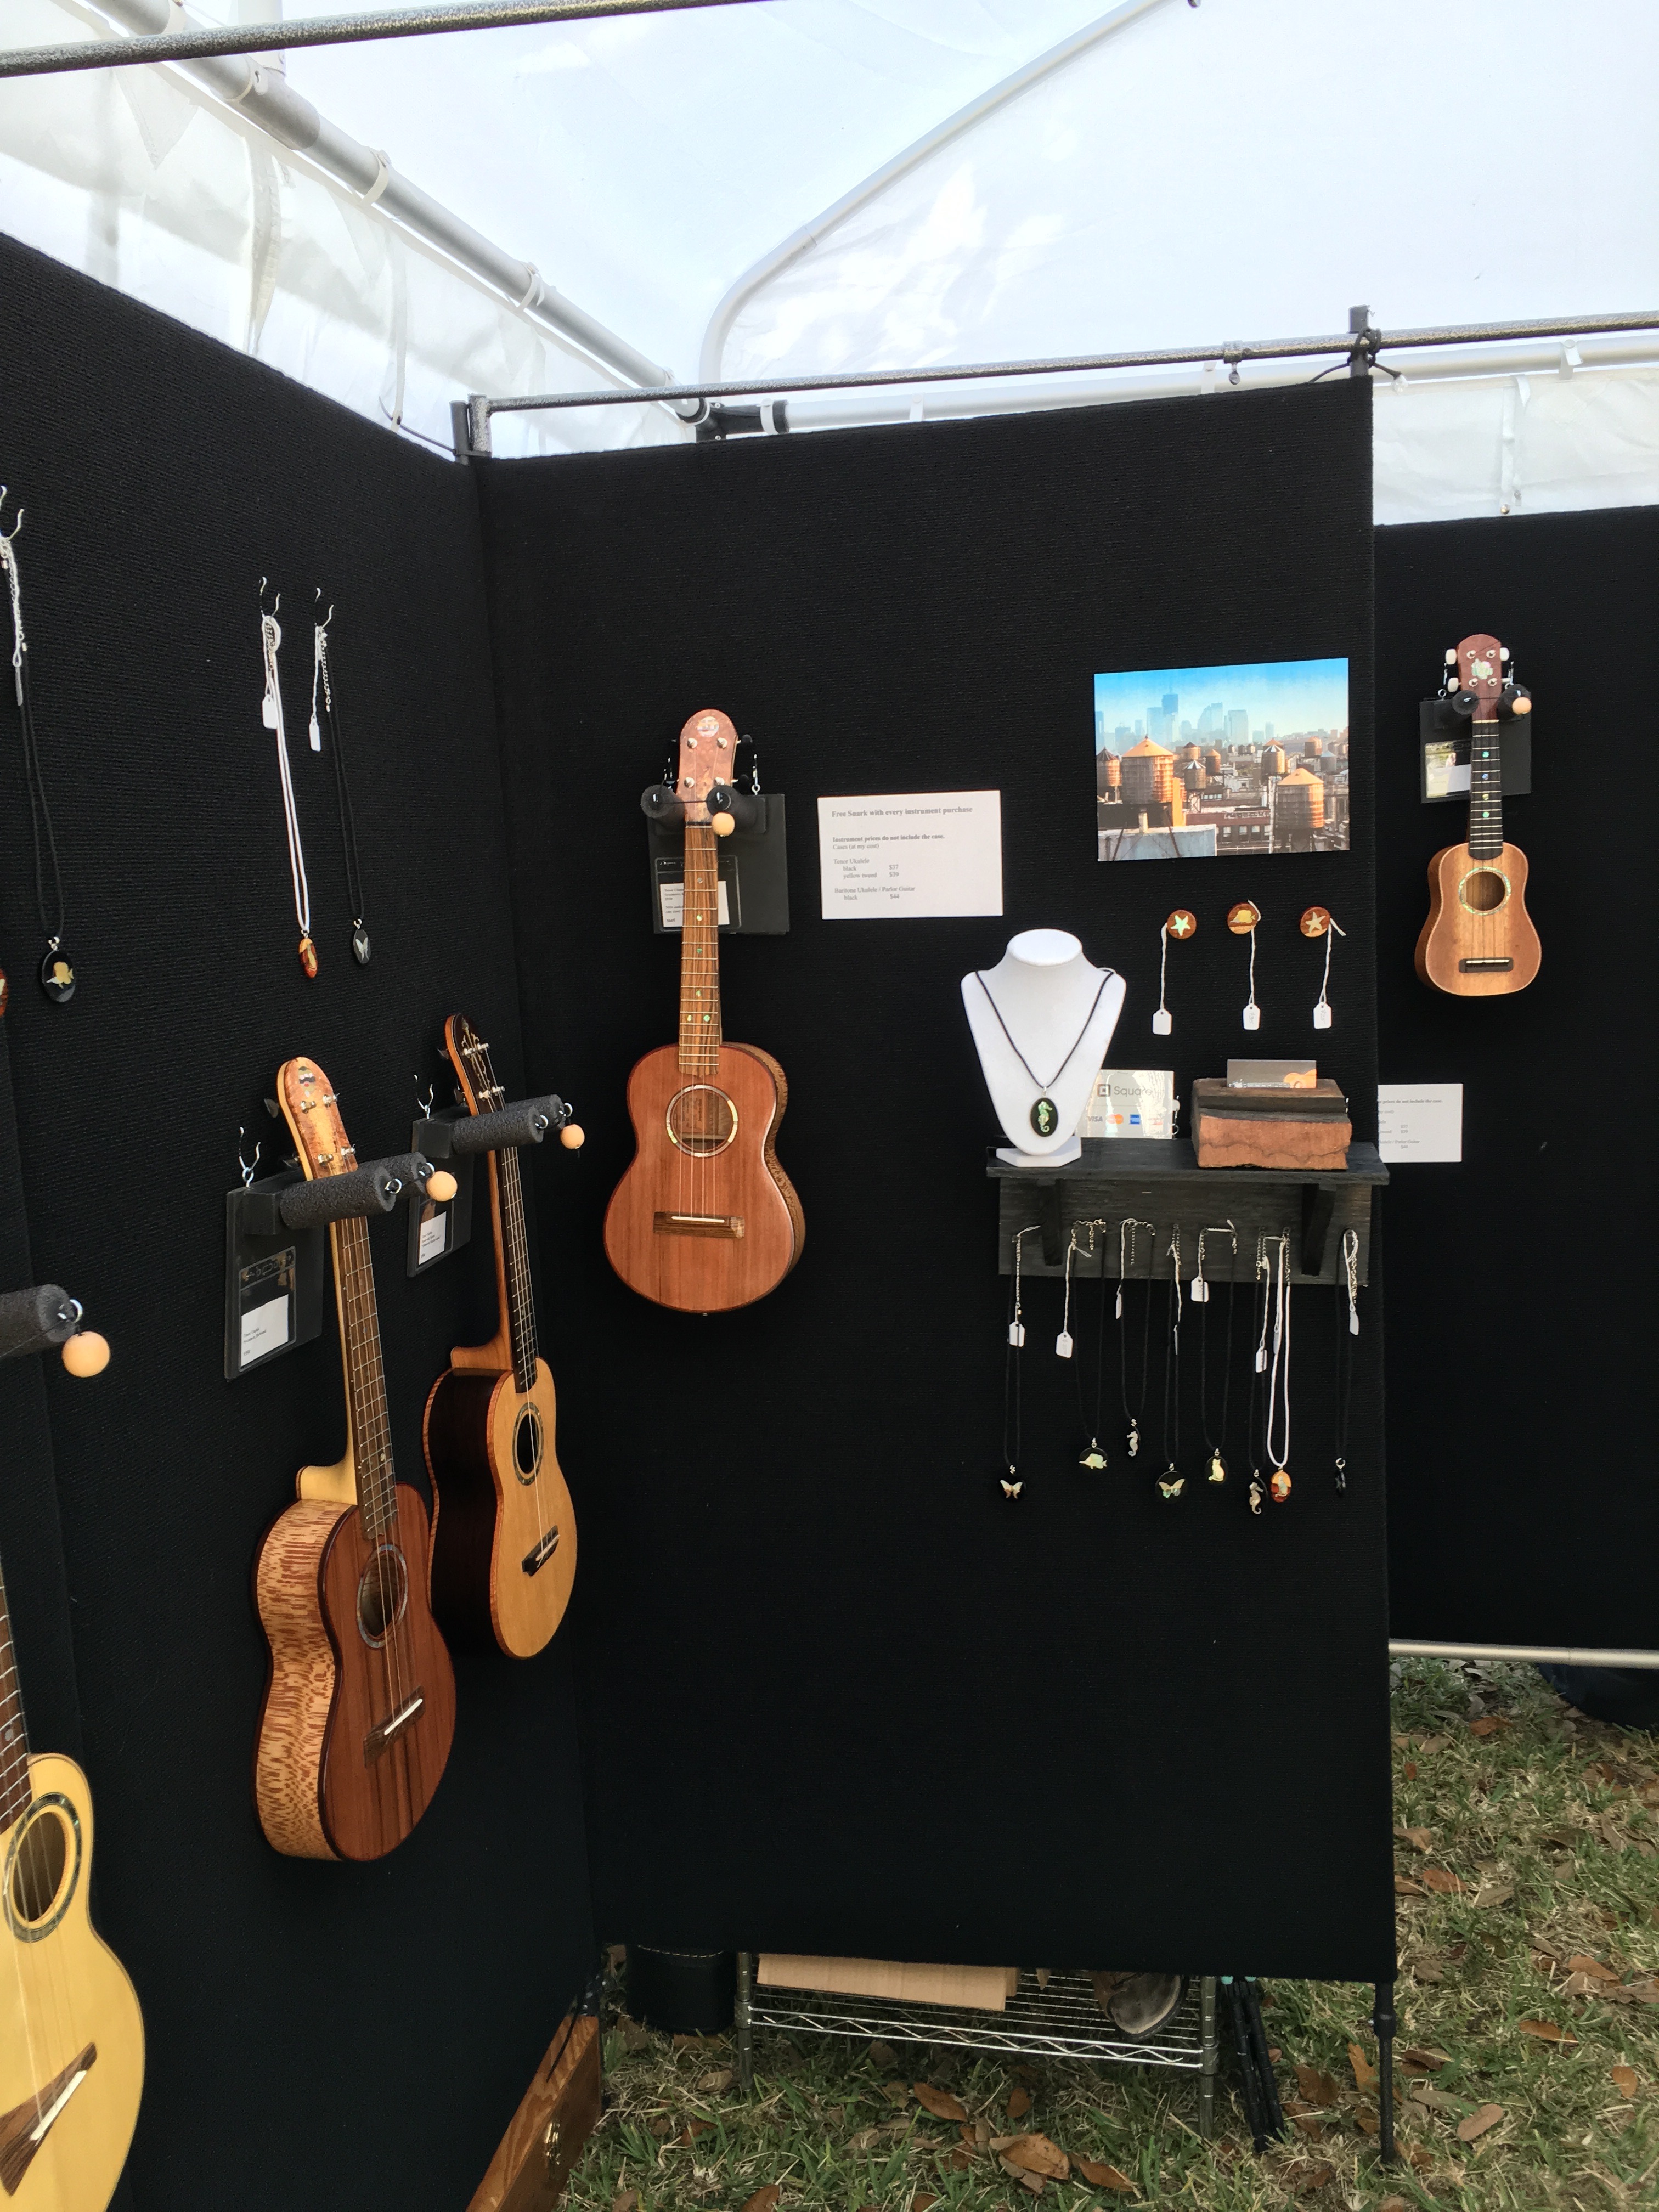
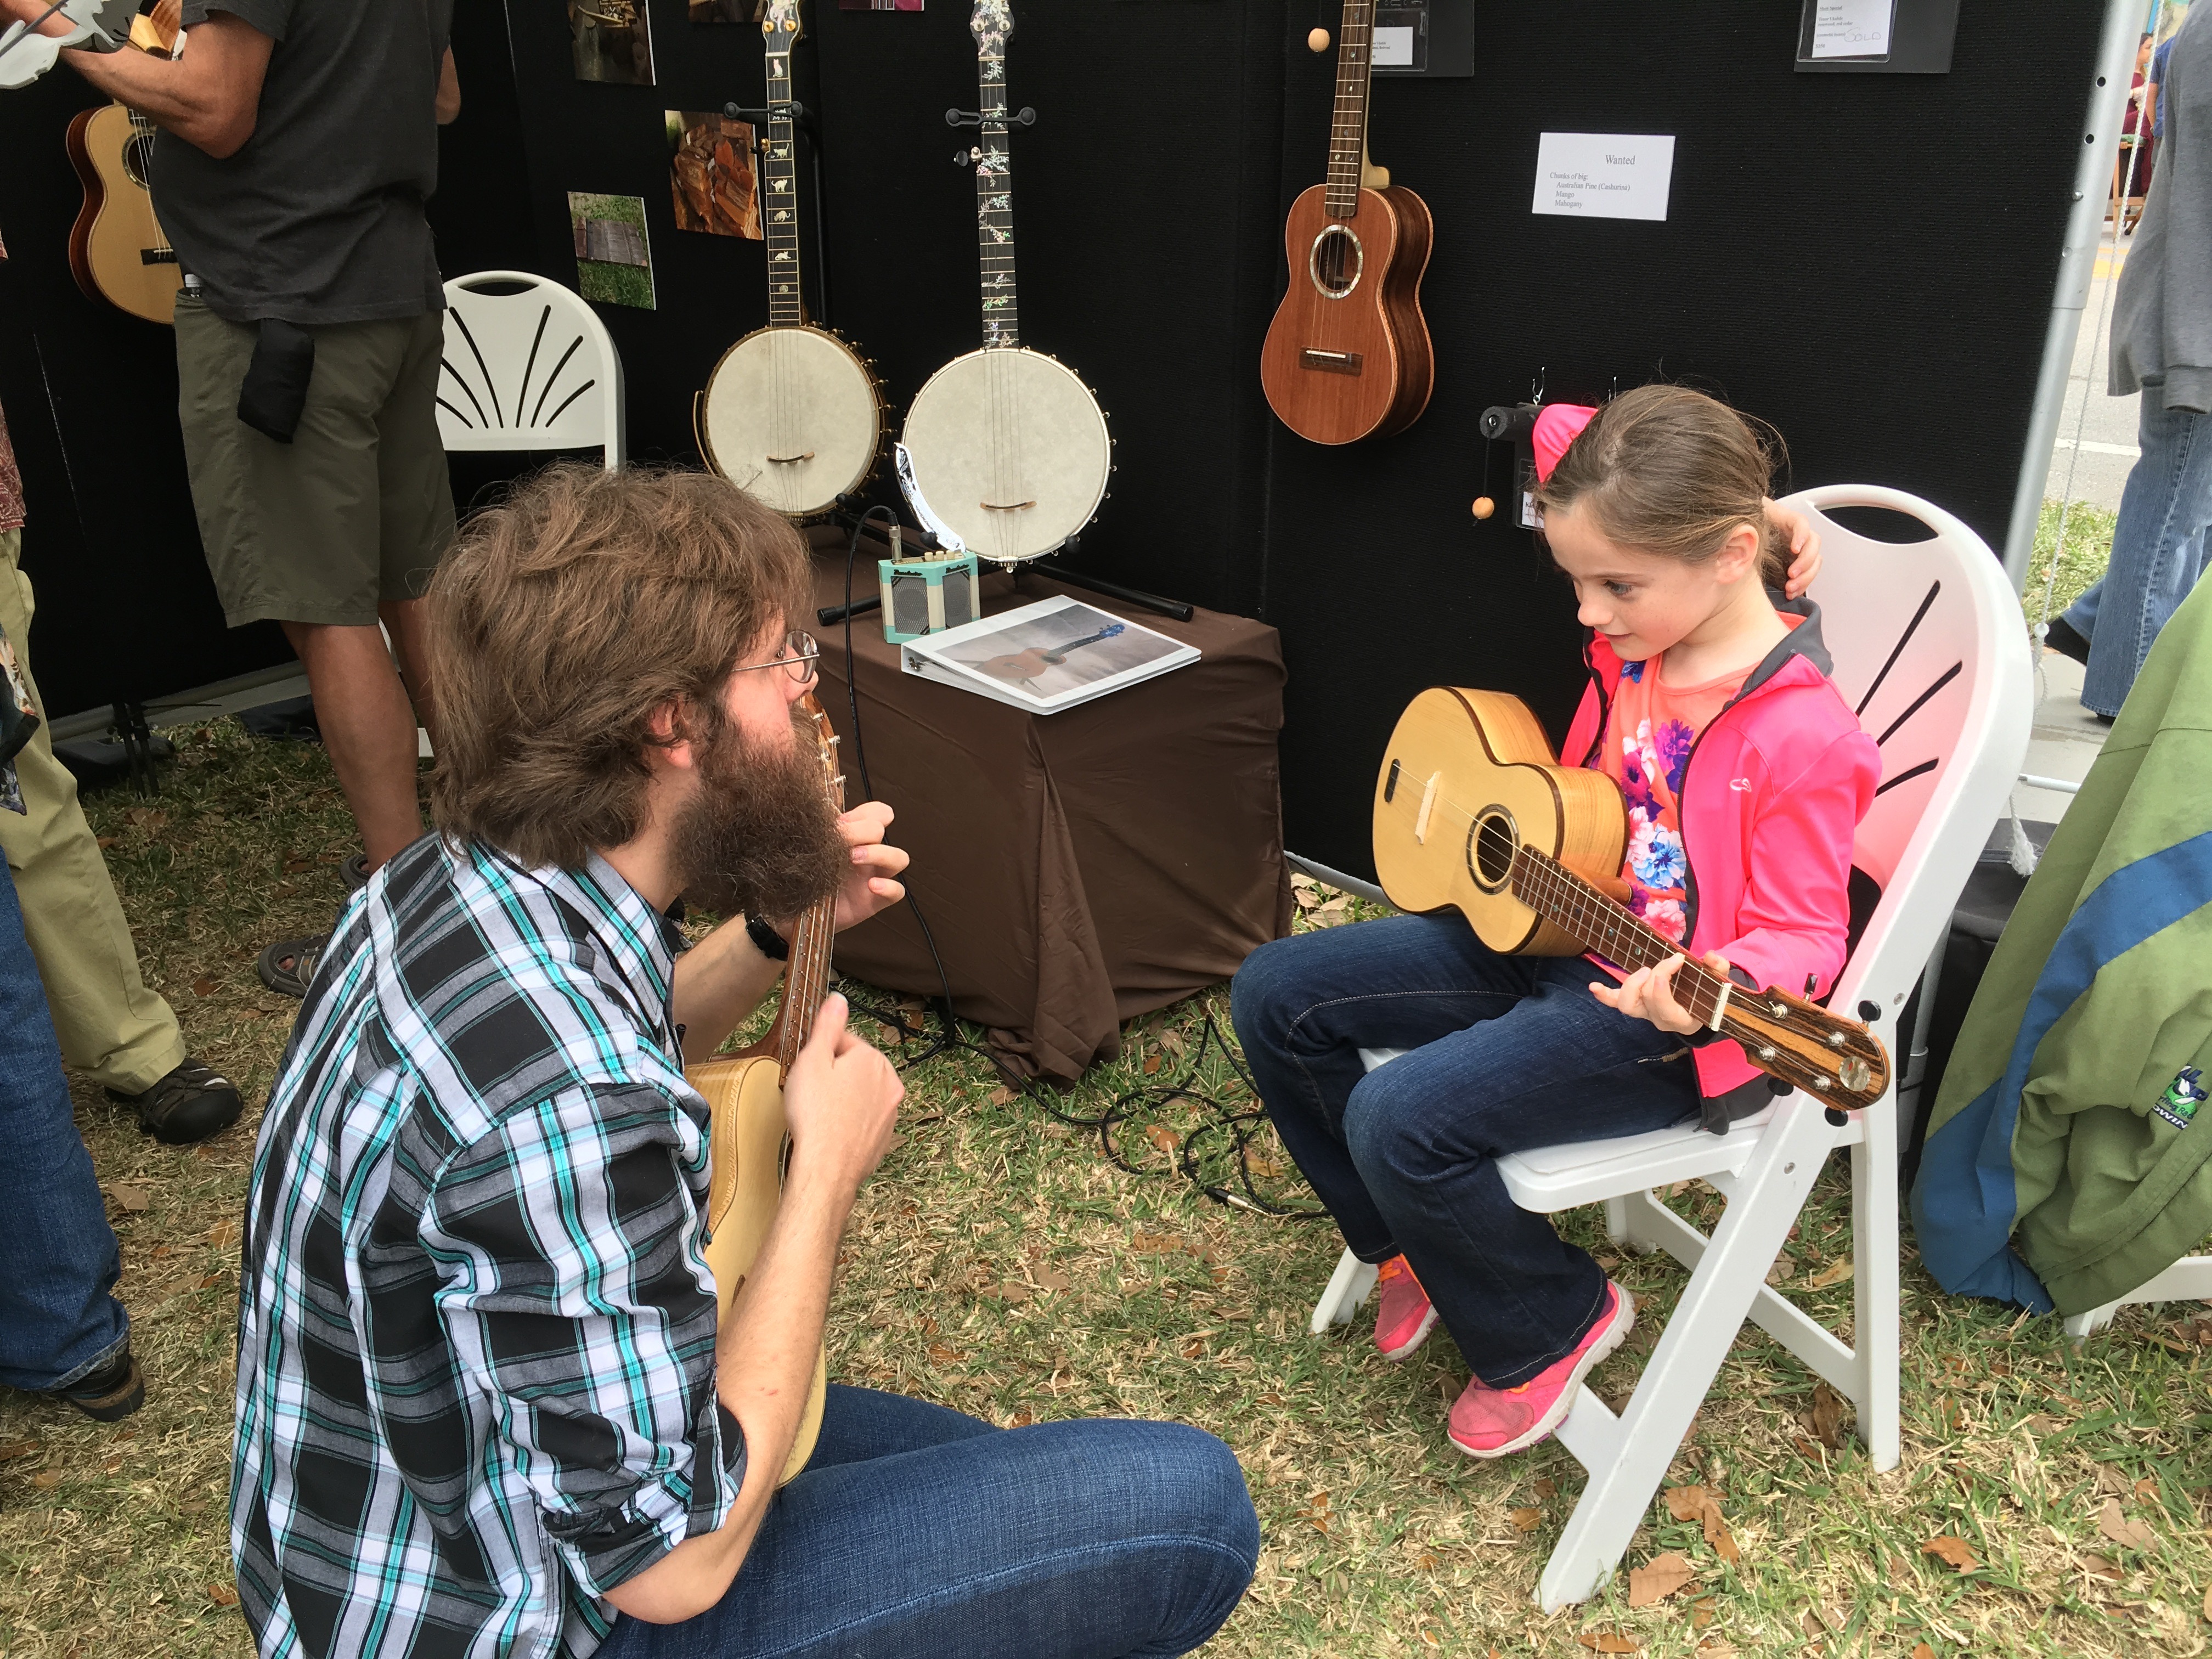
Had a good time, sold a few ukuleles, won first place for the best booth among the emerging artists booths. The booth was pretty much always busy with people coming in and playing, both ukulele and guitar (I brought along 2 parlor guitars).
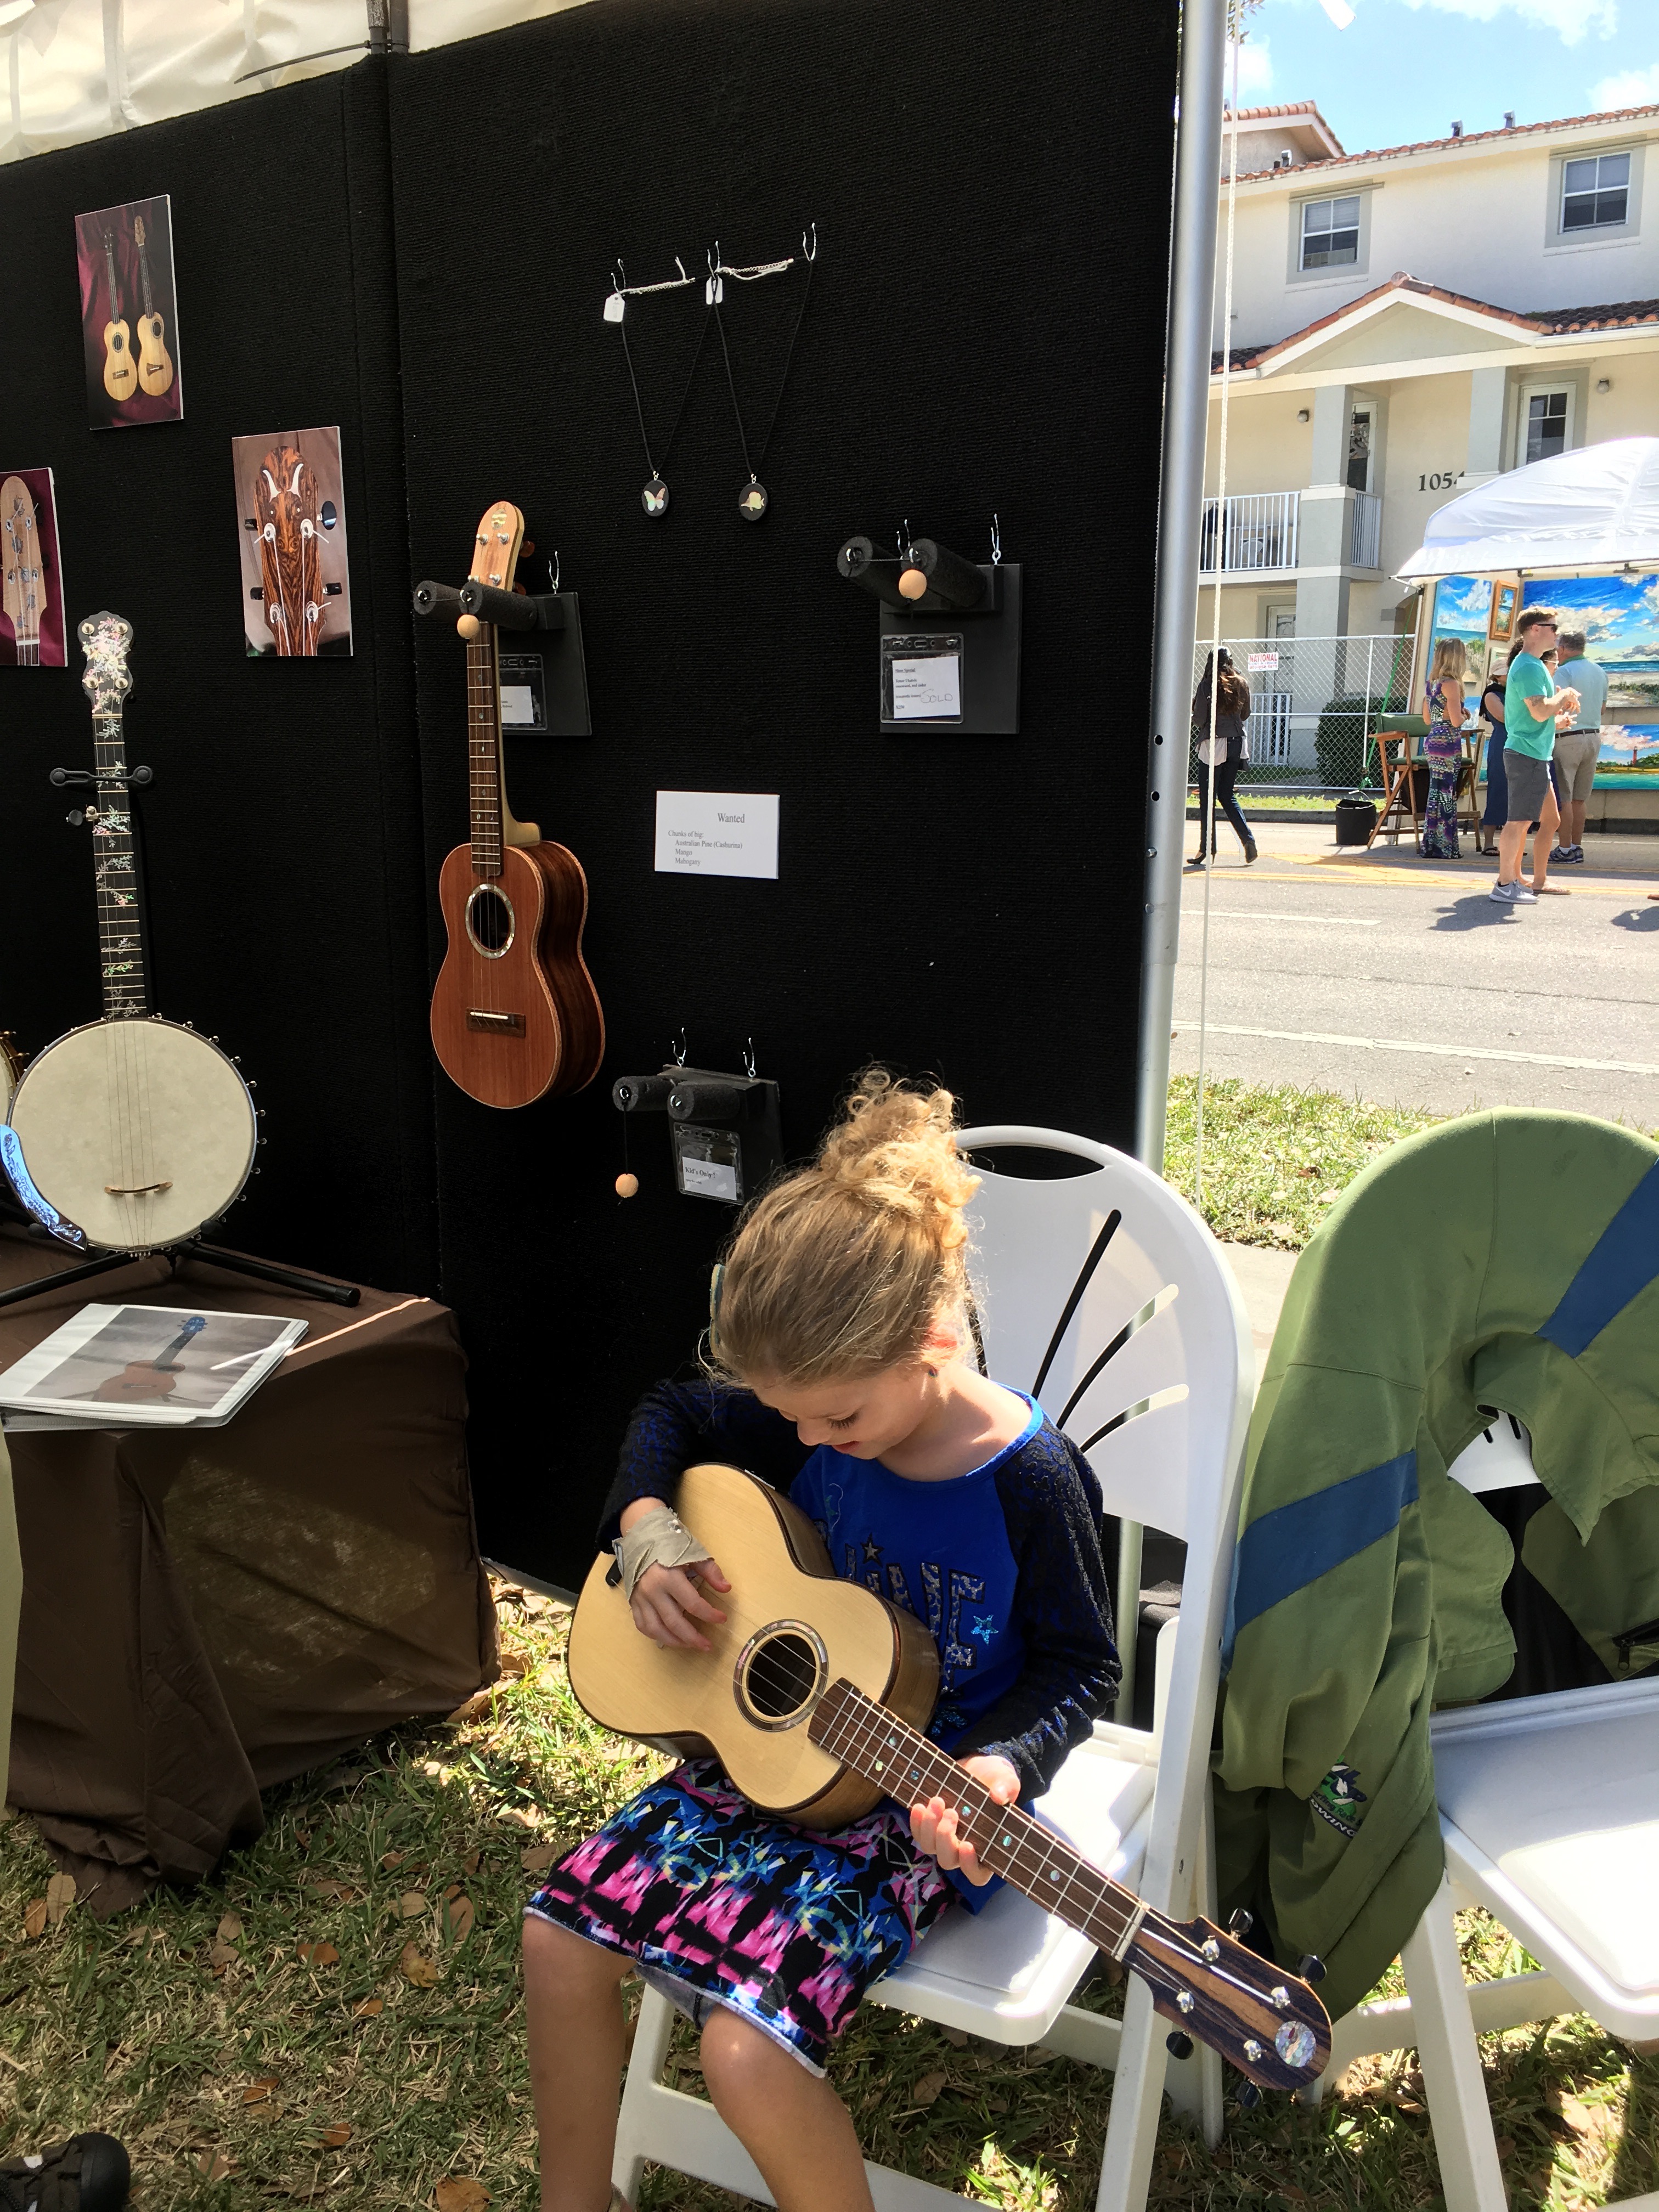
Here are some pictures of the booth:
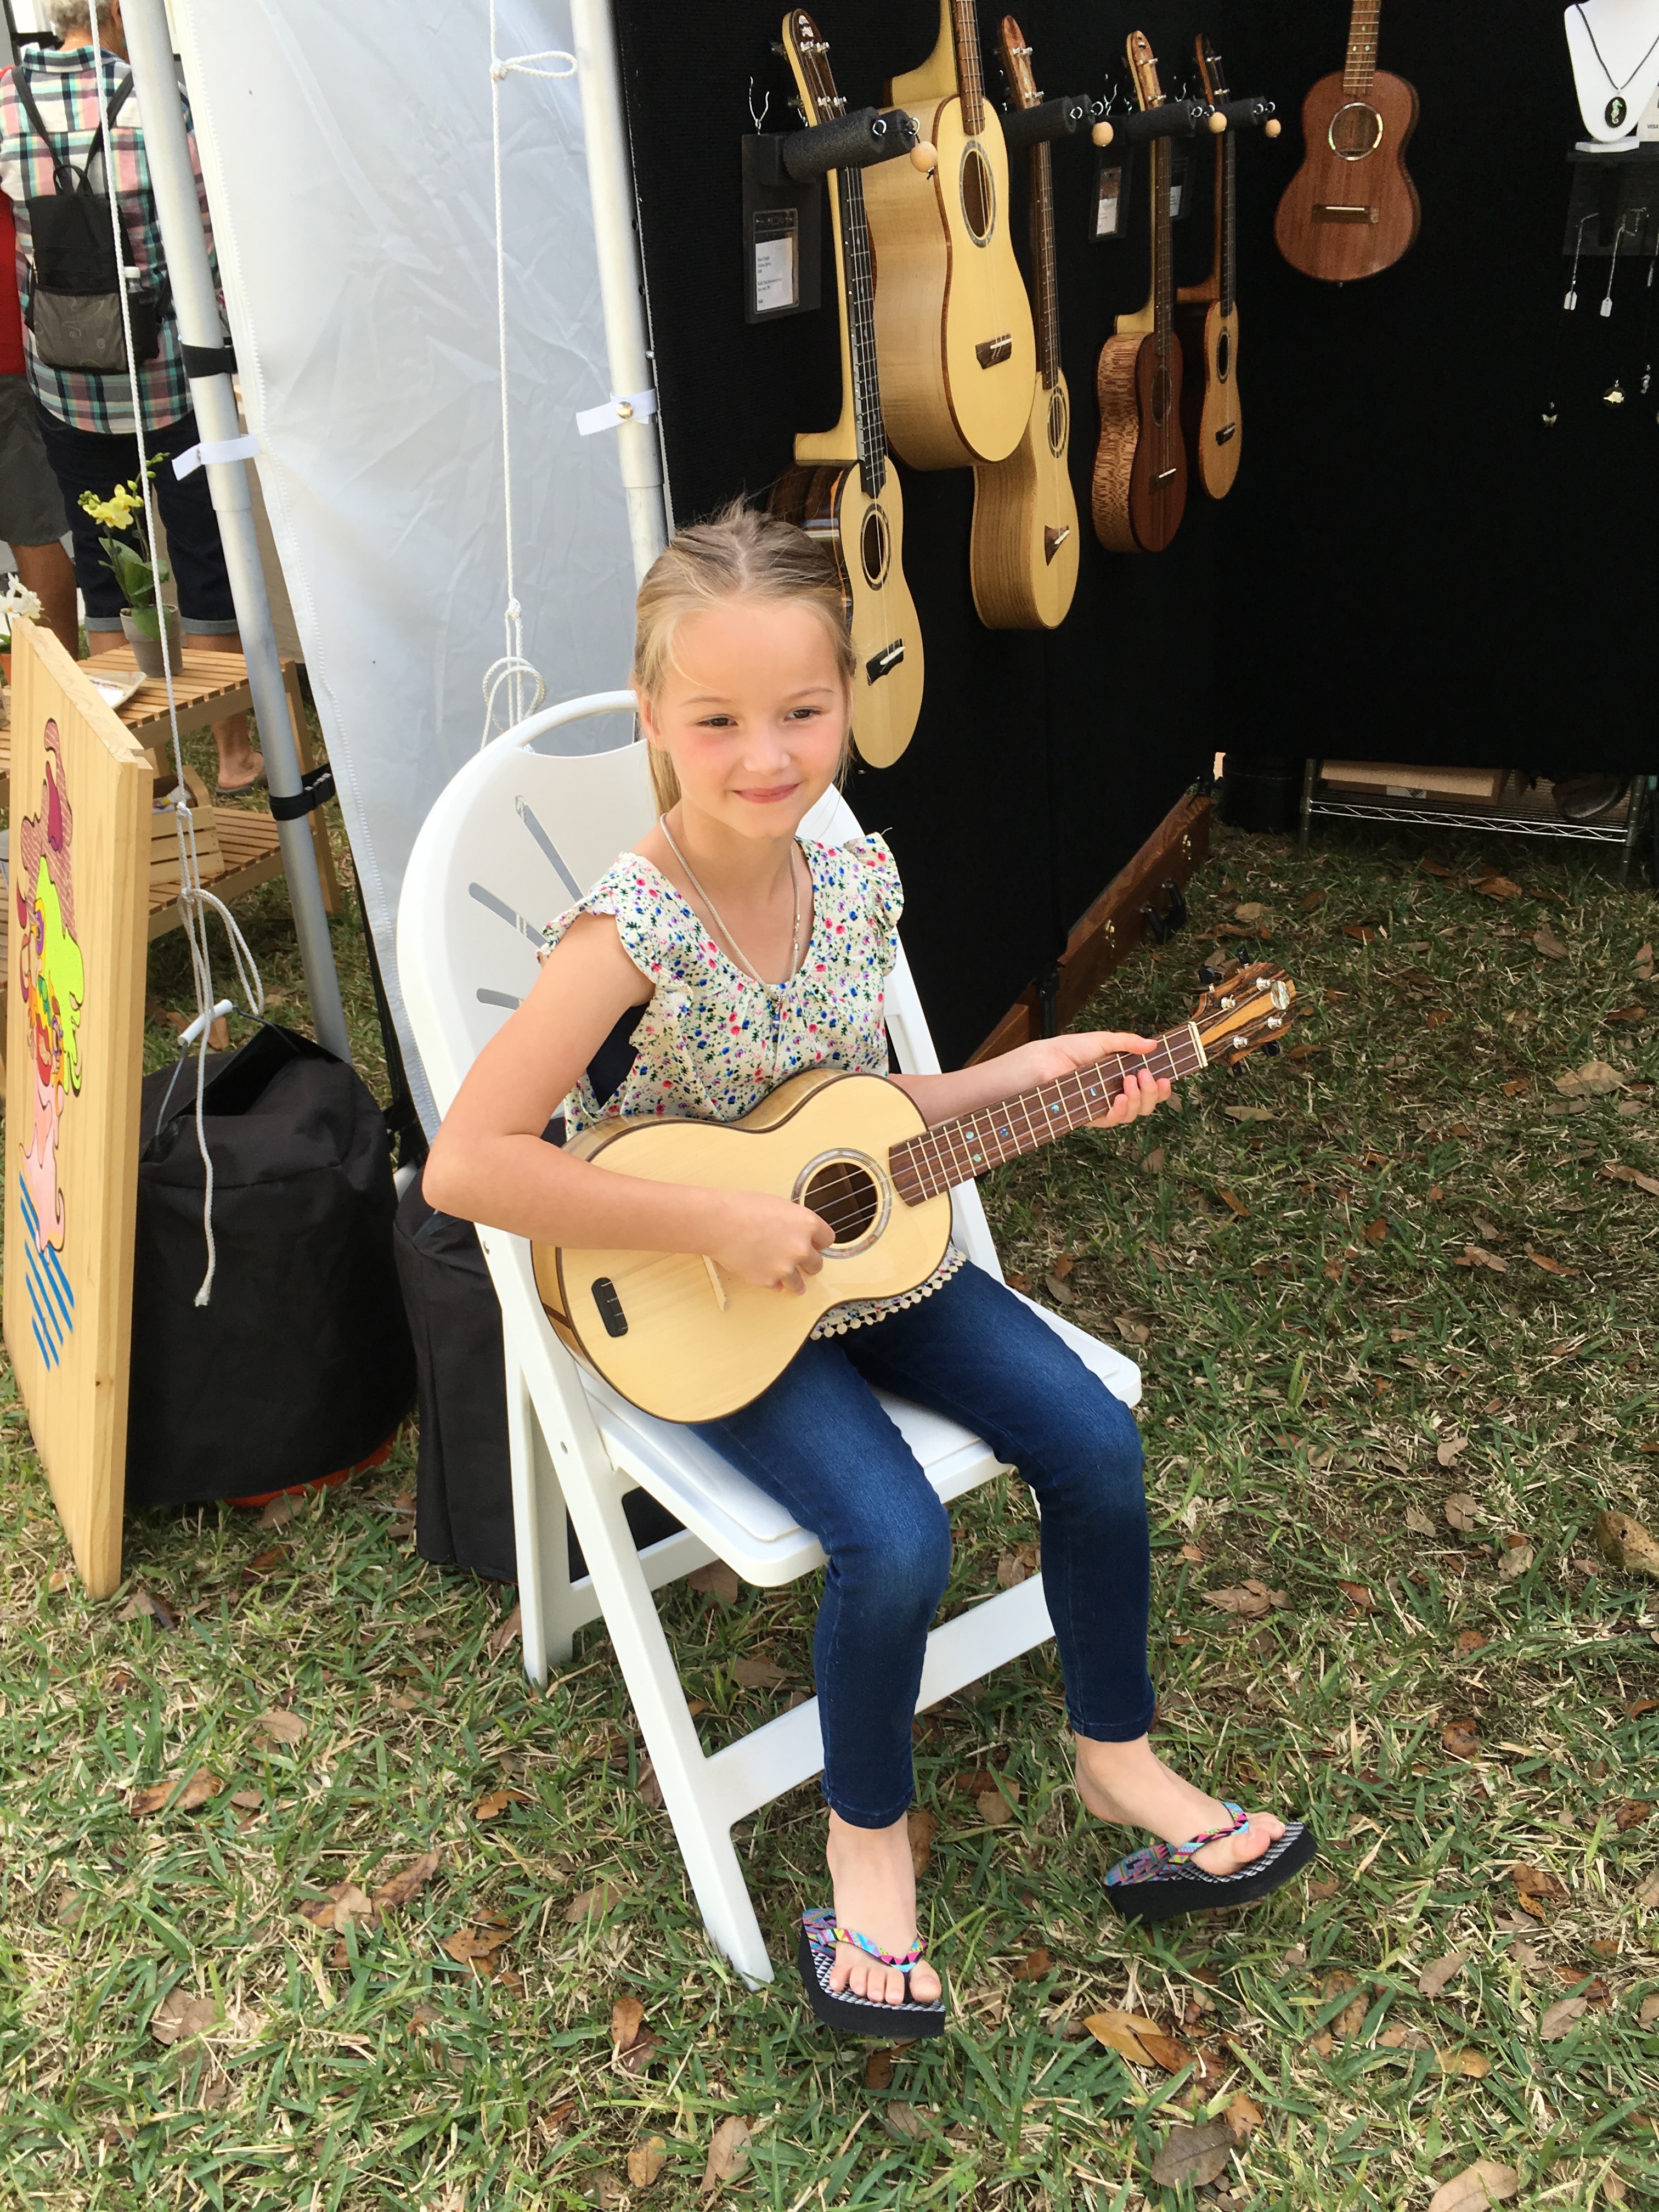
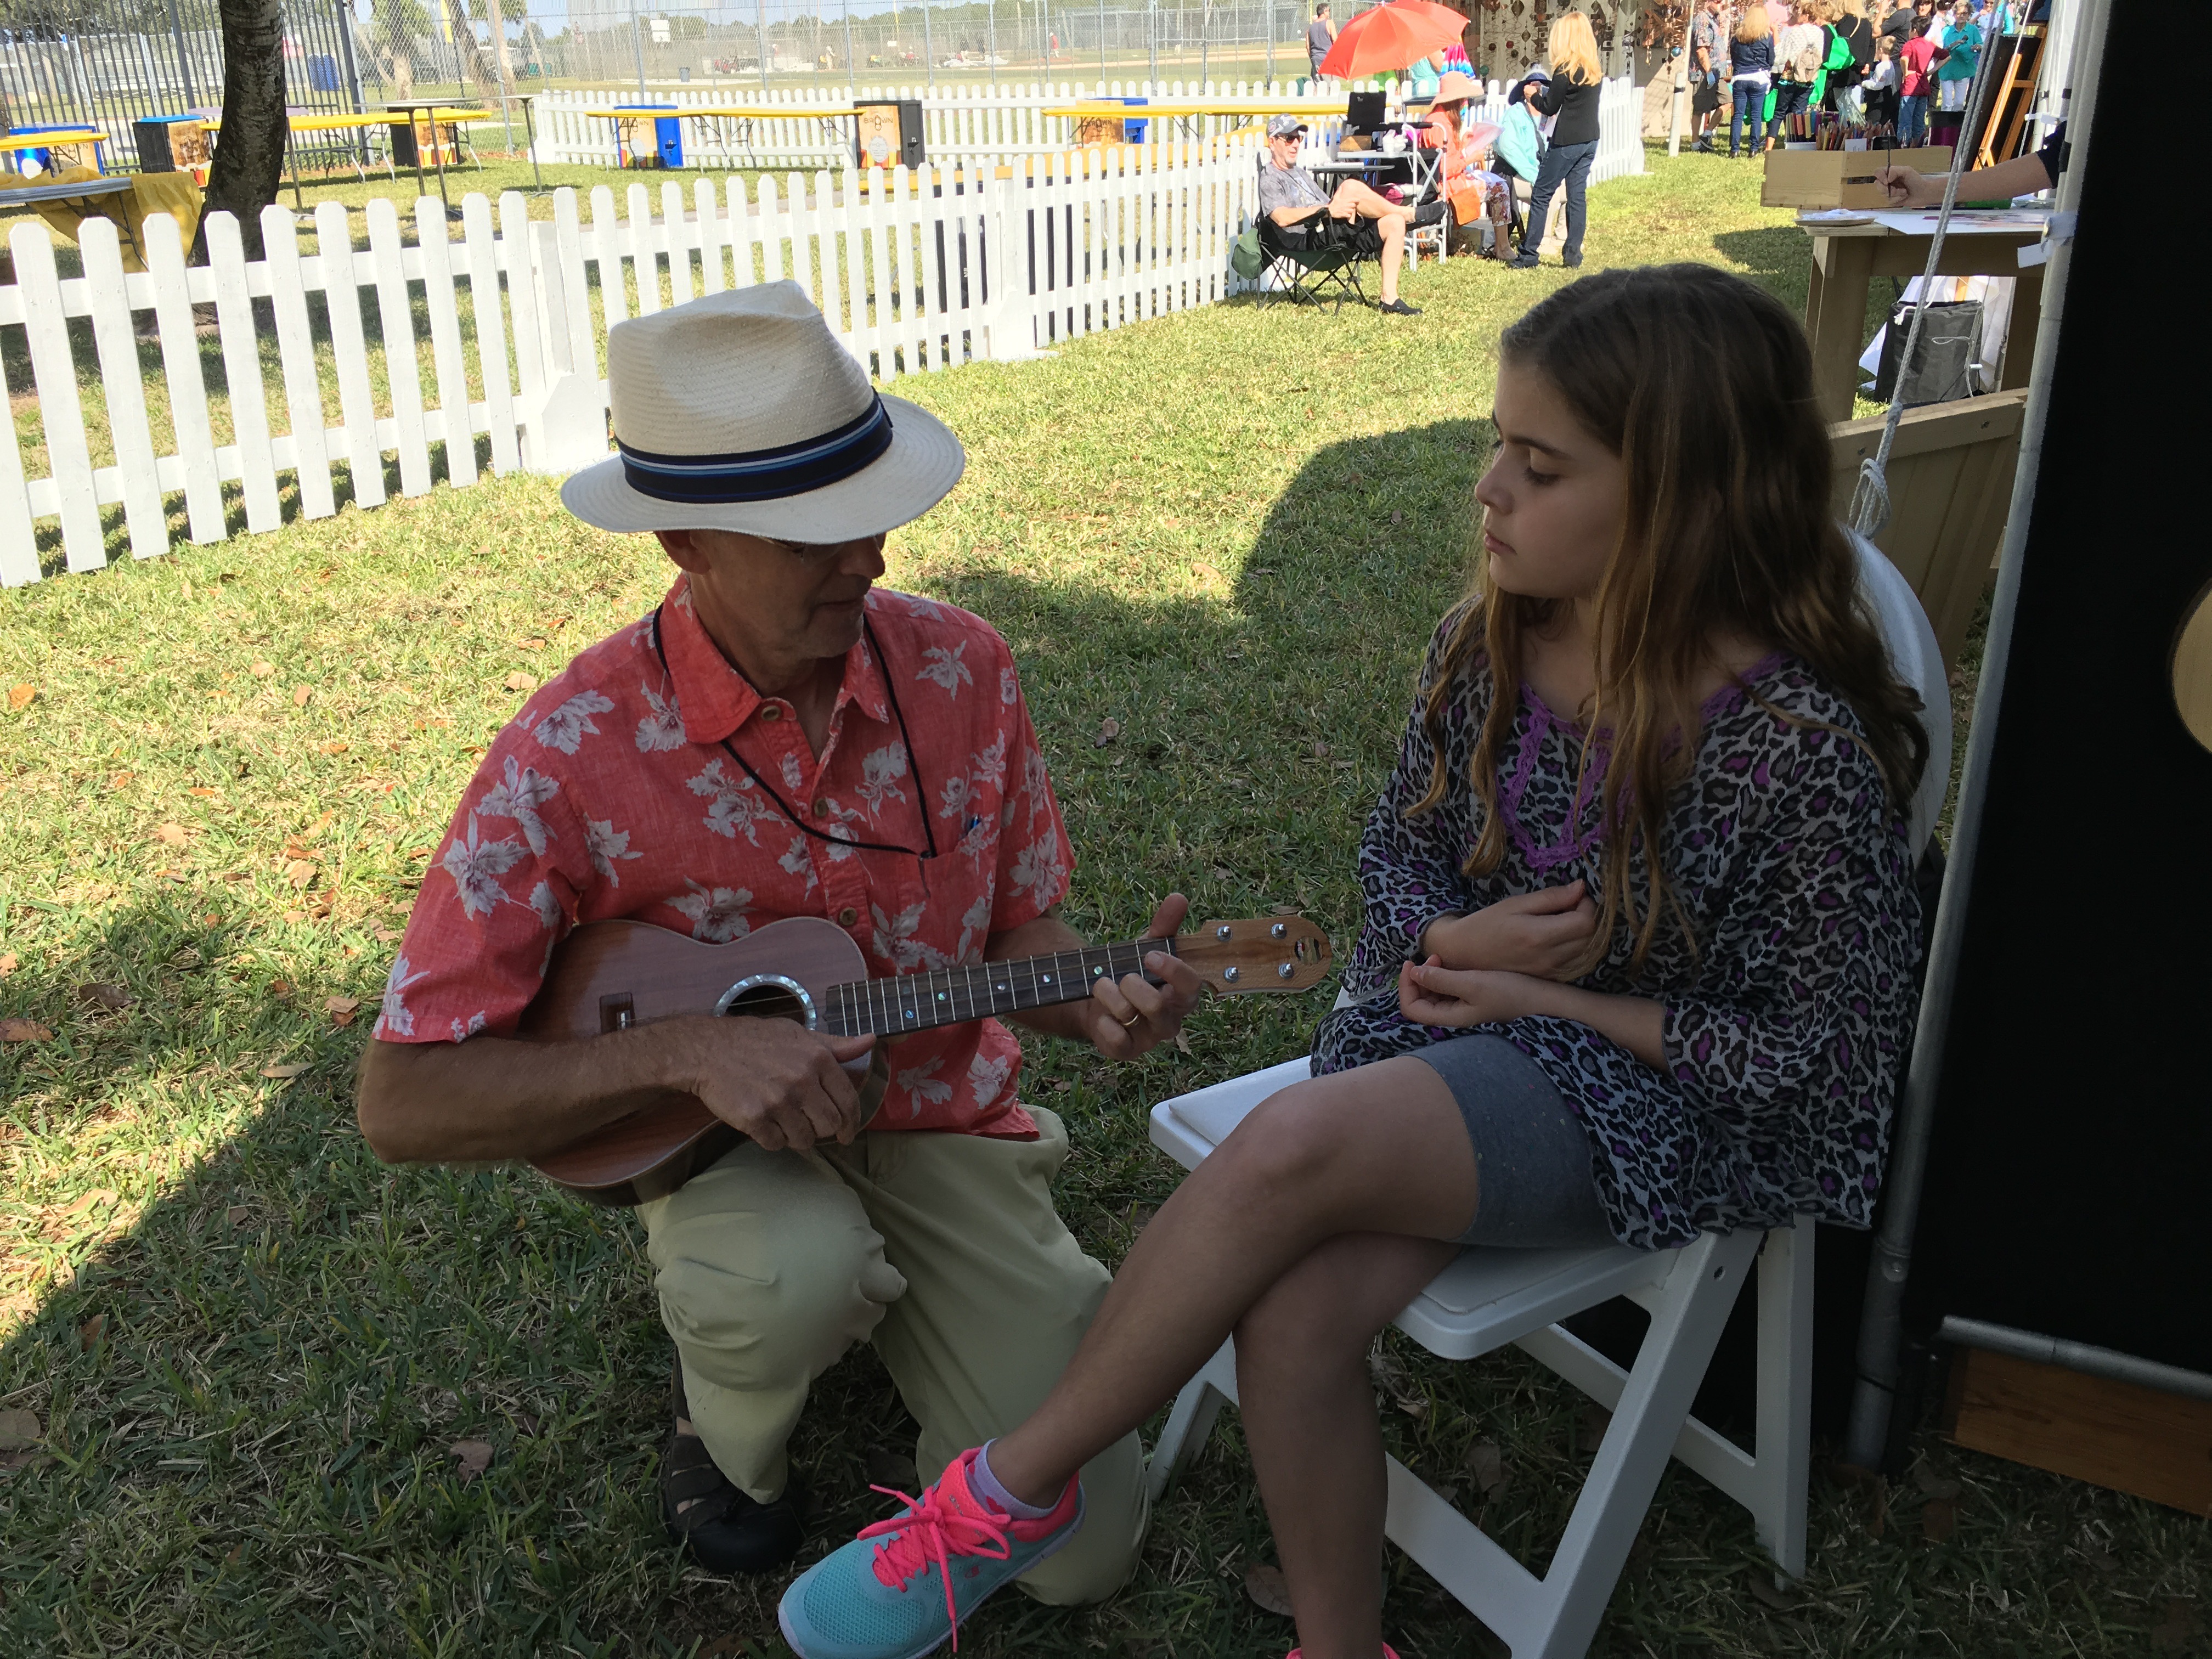
Too many kids never get the chance to actually hold a musical instrument, or to try to play one. To actually hold an instrument seems to me to be the first step to getting a child hooked on music, and playing music.
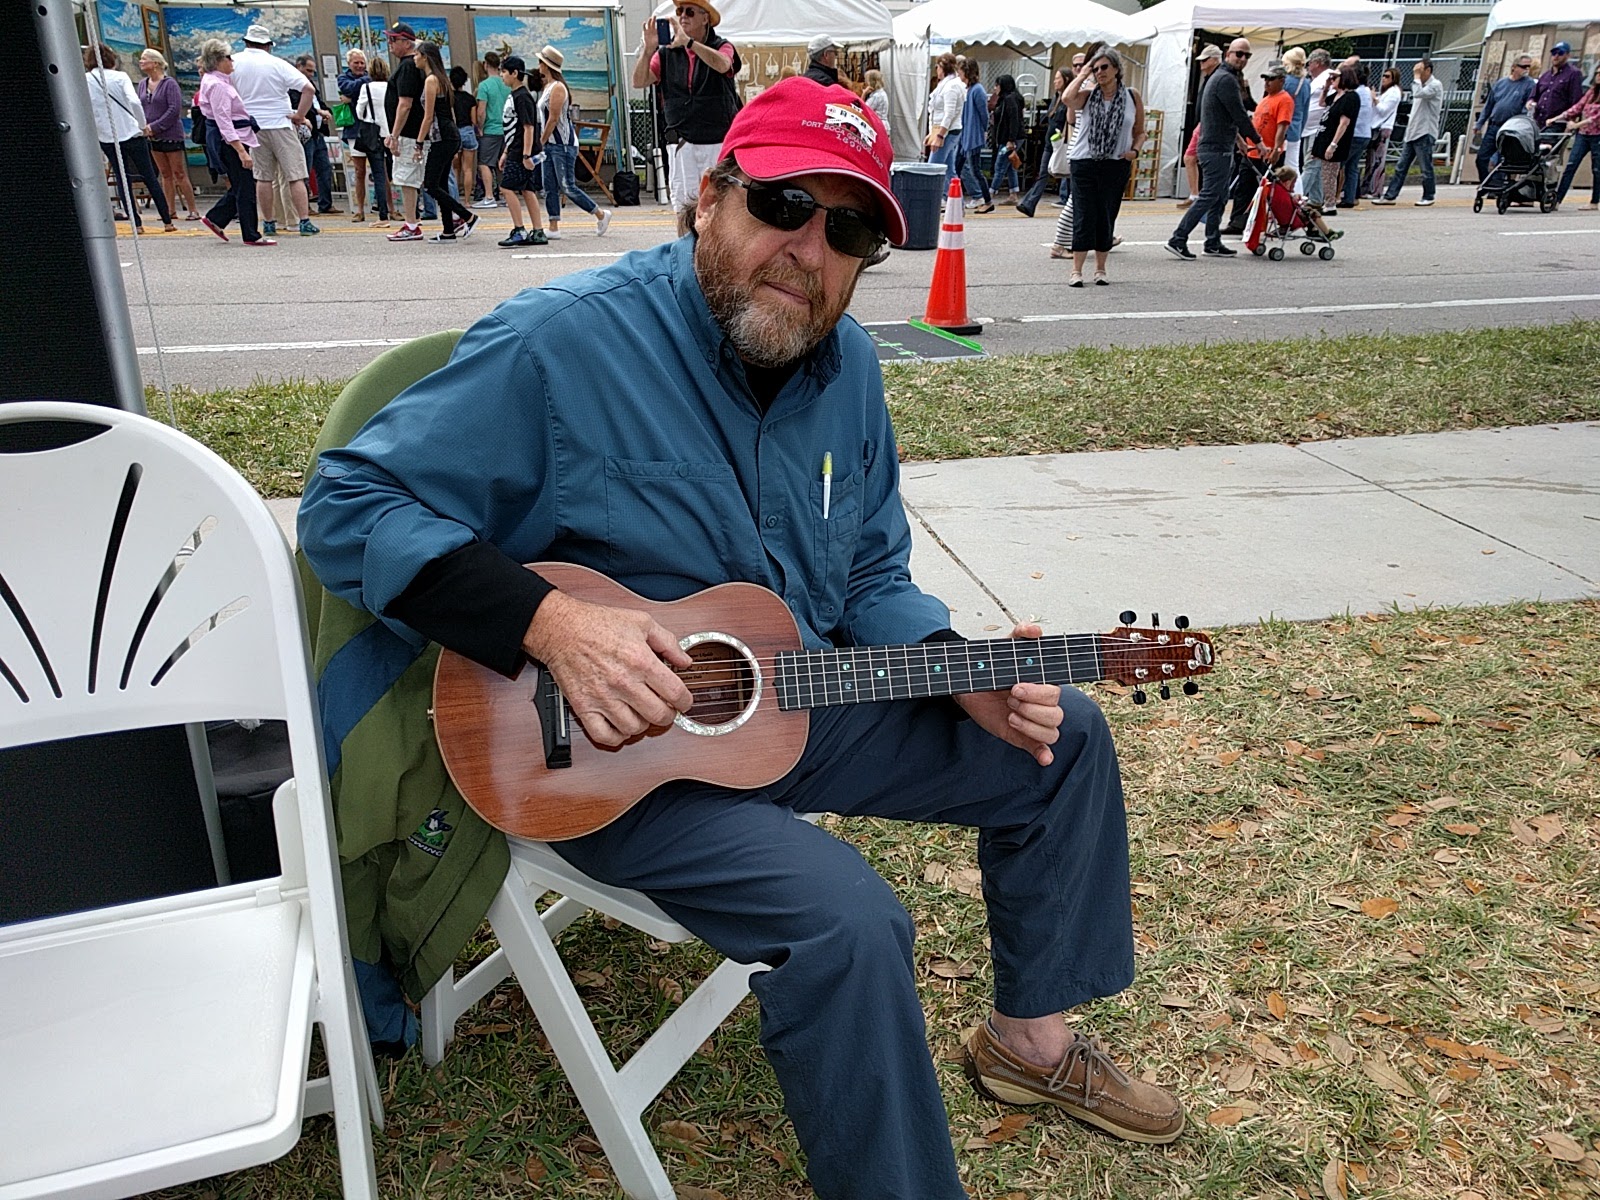
As part of the arts festival, I had with me a ukulele that has a very experimental bracing system of my own design. The instrument looks great, but the experiment did not work out, to say the least. It sounds like a $10 plastic ukulele. Still, I hung it low on the wall with a sign that said “Kids Only” and invited children that passed to come and play. (I did not care what they might do to the instrument). They were all quite gentle, my fears of rough treatment were unfounded, and they had (I think) a good time strumming away. (That is me in the hat giving a quick lesson.)
I will be showing (for the first time) ukuleles, parlor guitars, and banjos at this year’s ArtiGras fine arts festival (www.ArtiGras.org) which is held in Jupiter Florida. The show is Feb. 13, 14 & 15.
I will be booth number 711, in the “Emerging Artists” section. Please come by to see some instruments. I would love to have people come and play who play better than me which is not saying very much, I am a builder not a player. I’ll have some chairs so you can take a load off, rest up, and strum to yours hearts content.
Please feel free to pass this along to any and all who might be interested.
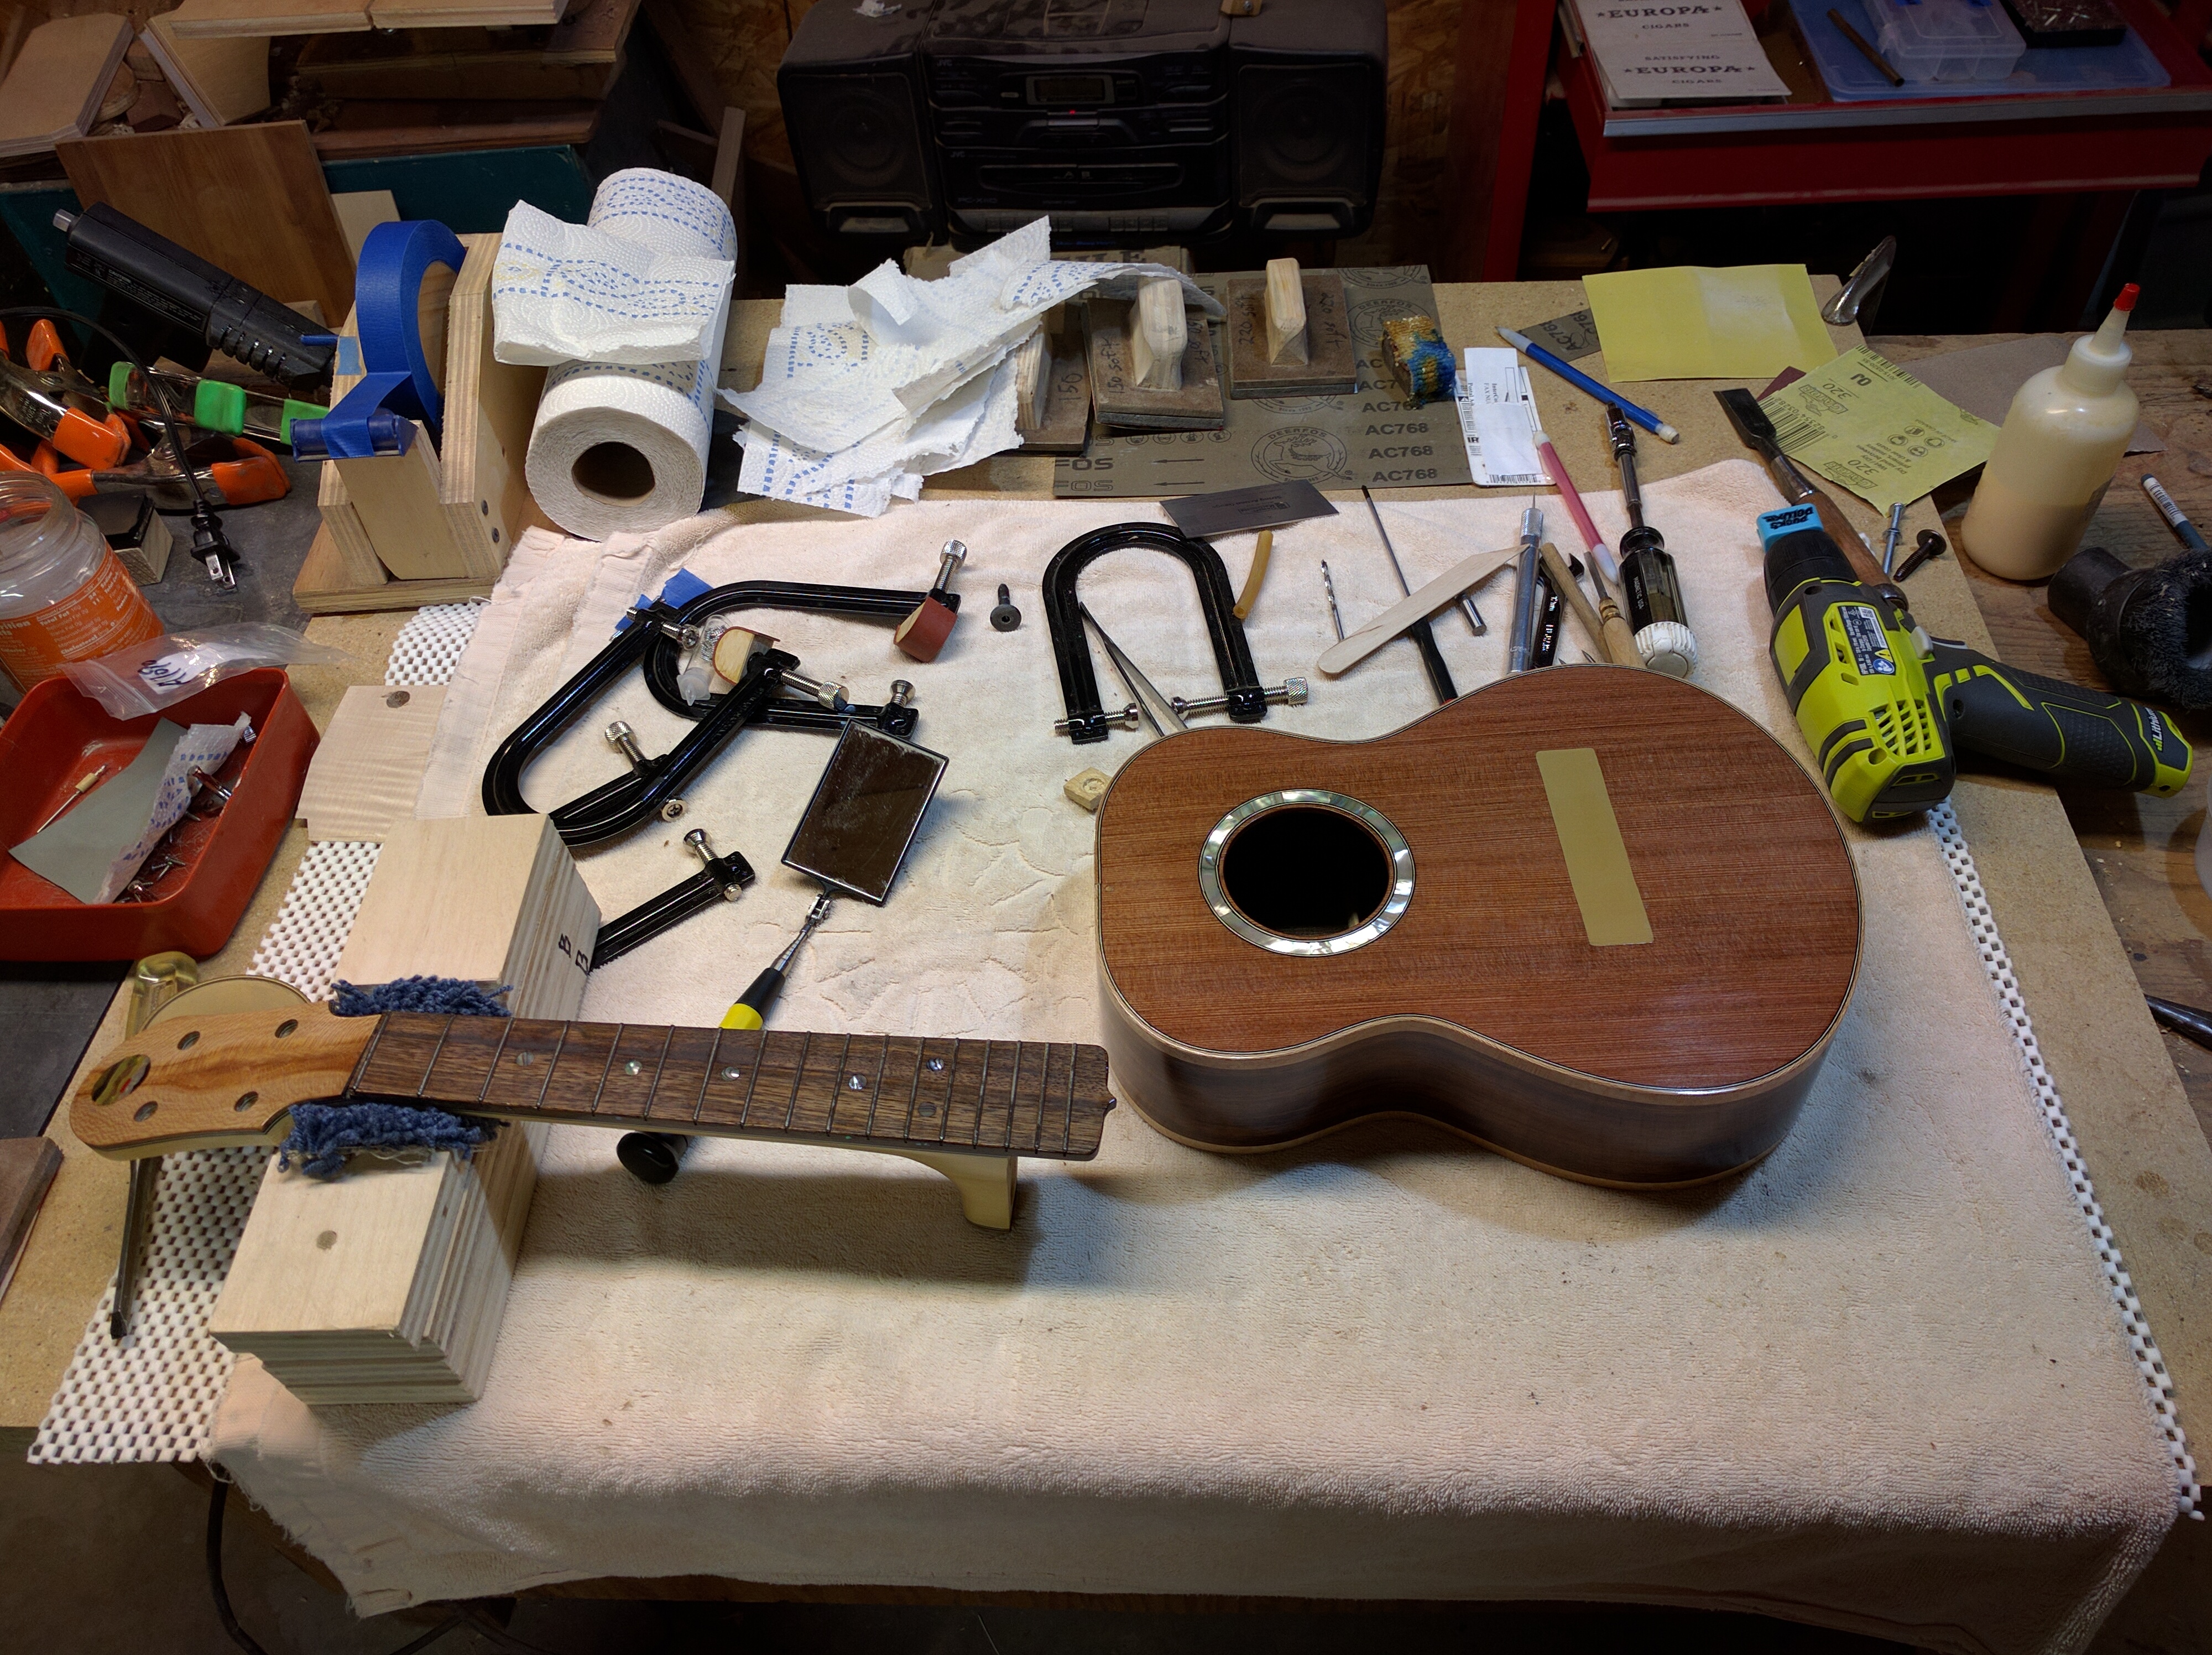
Getting to the end. Now I just have to ‘assemble’ things. Glue on the bridges, cut nuts and saddles, install tuner machines, and then string them up! The tape on the top covers the area where the bridge will be glued on, so I do not have to scrape off the finish to get the glue to hold.