A new project. A customer wondered about building a steel string baritone. Hmmmm… Kind of an interesting project, so I agreed. At the same time I’m building a steel string tenor, just for fun and investigation. This blog entry will be evolving (I’ll edit the end of it) to follow the steel string story. I’m going to try an include a fair amount of my thinking, not just what I will do, both since it might be of interest to you the reader and also to provide a record that I myself can refer back to in the future.
To start with, the requesting customer and I had to decide on what sorts of woods this little experiment would be built out of. Since this is a new thing for me, I’m taking some lessons from steel string guitars. I know that a ukulele is not a little guitar, they have their own considerations, but I figure a steel string guitar can provide some general direction. In all of the thinking the overriding consideration is the increased string tension of steel strings.
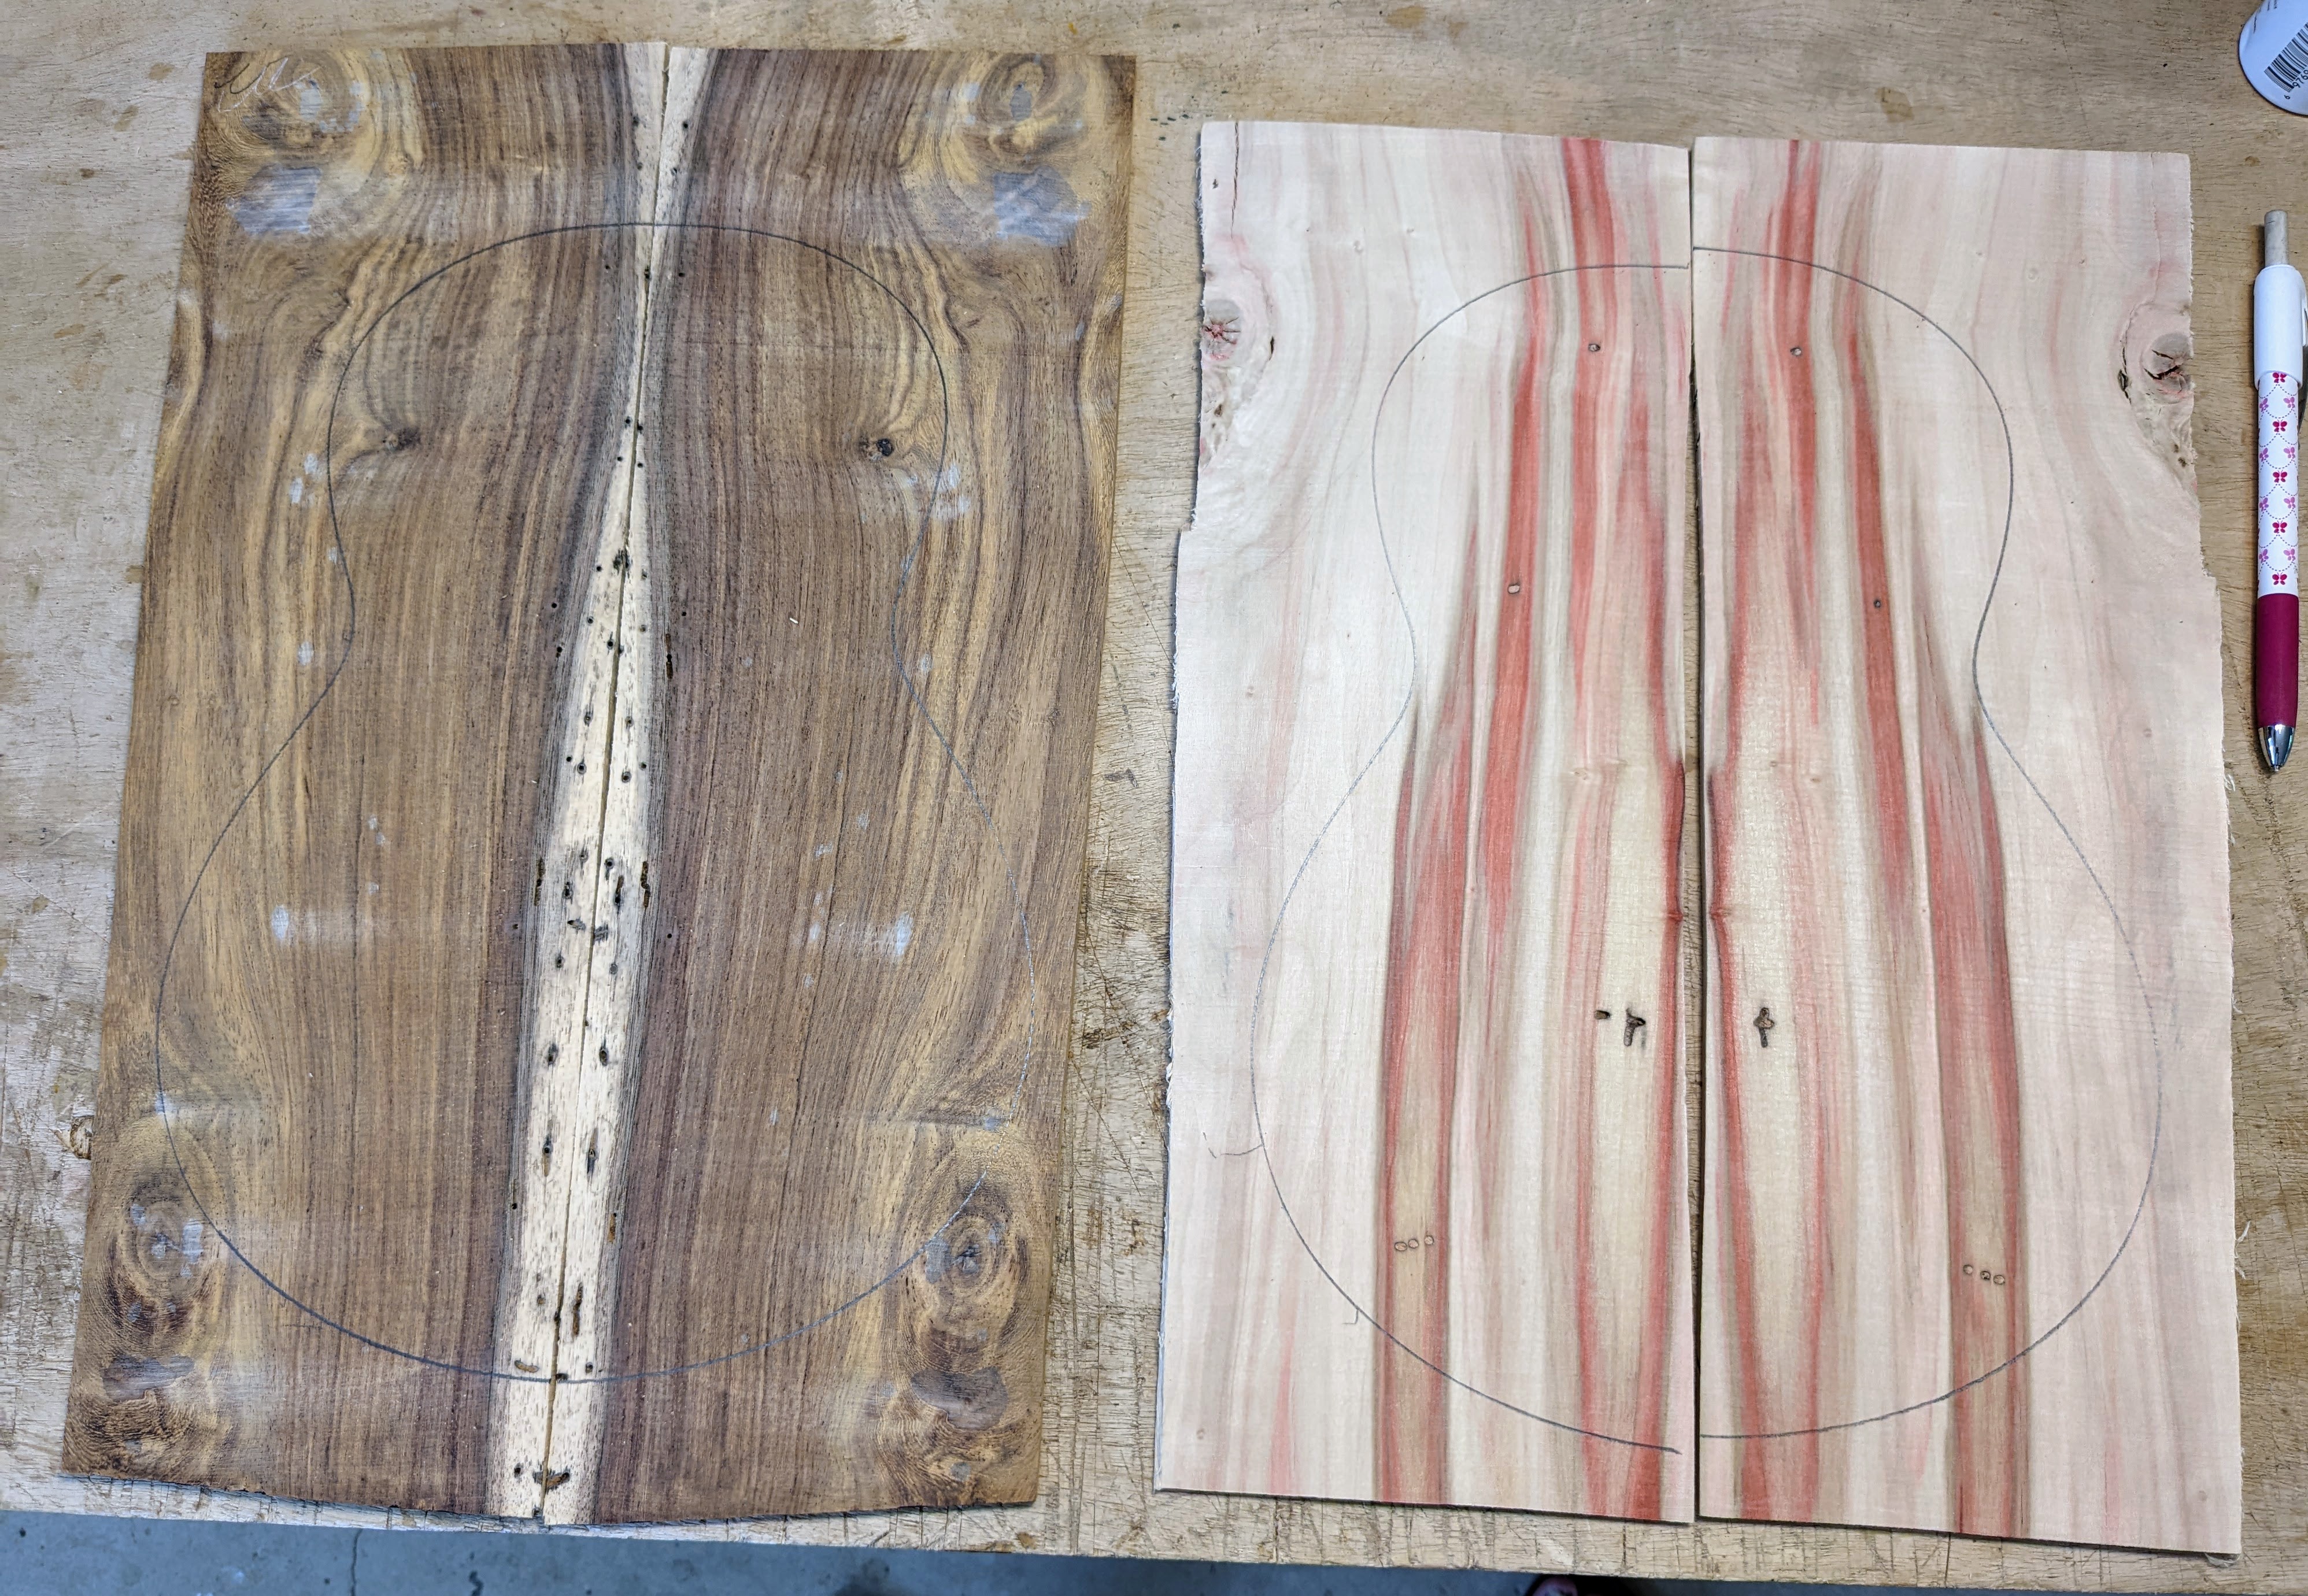
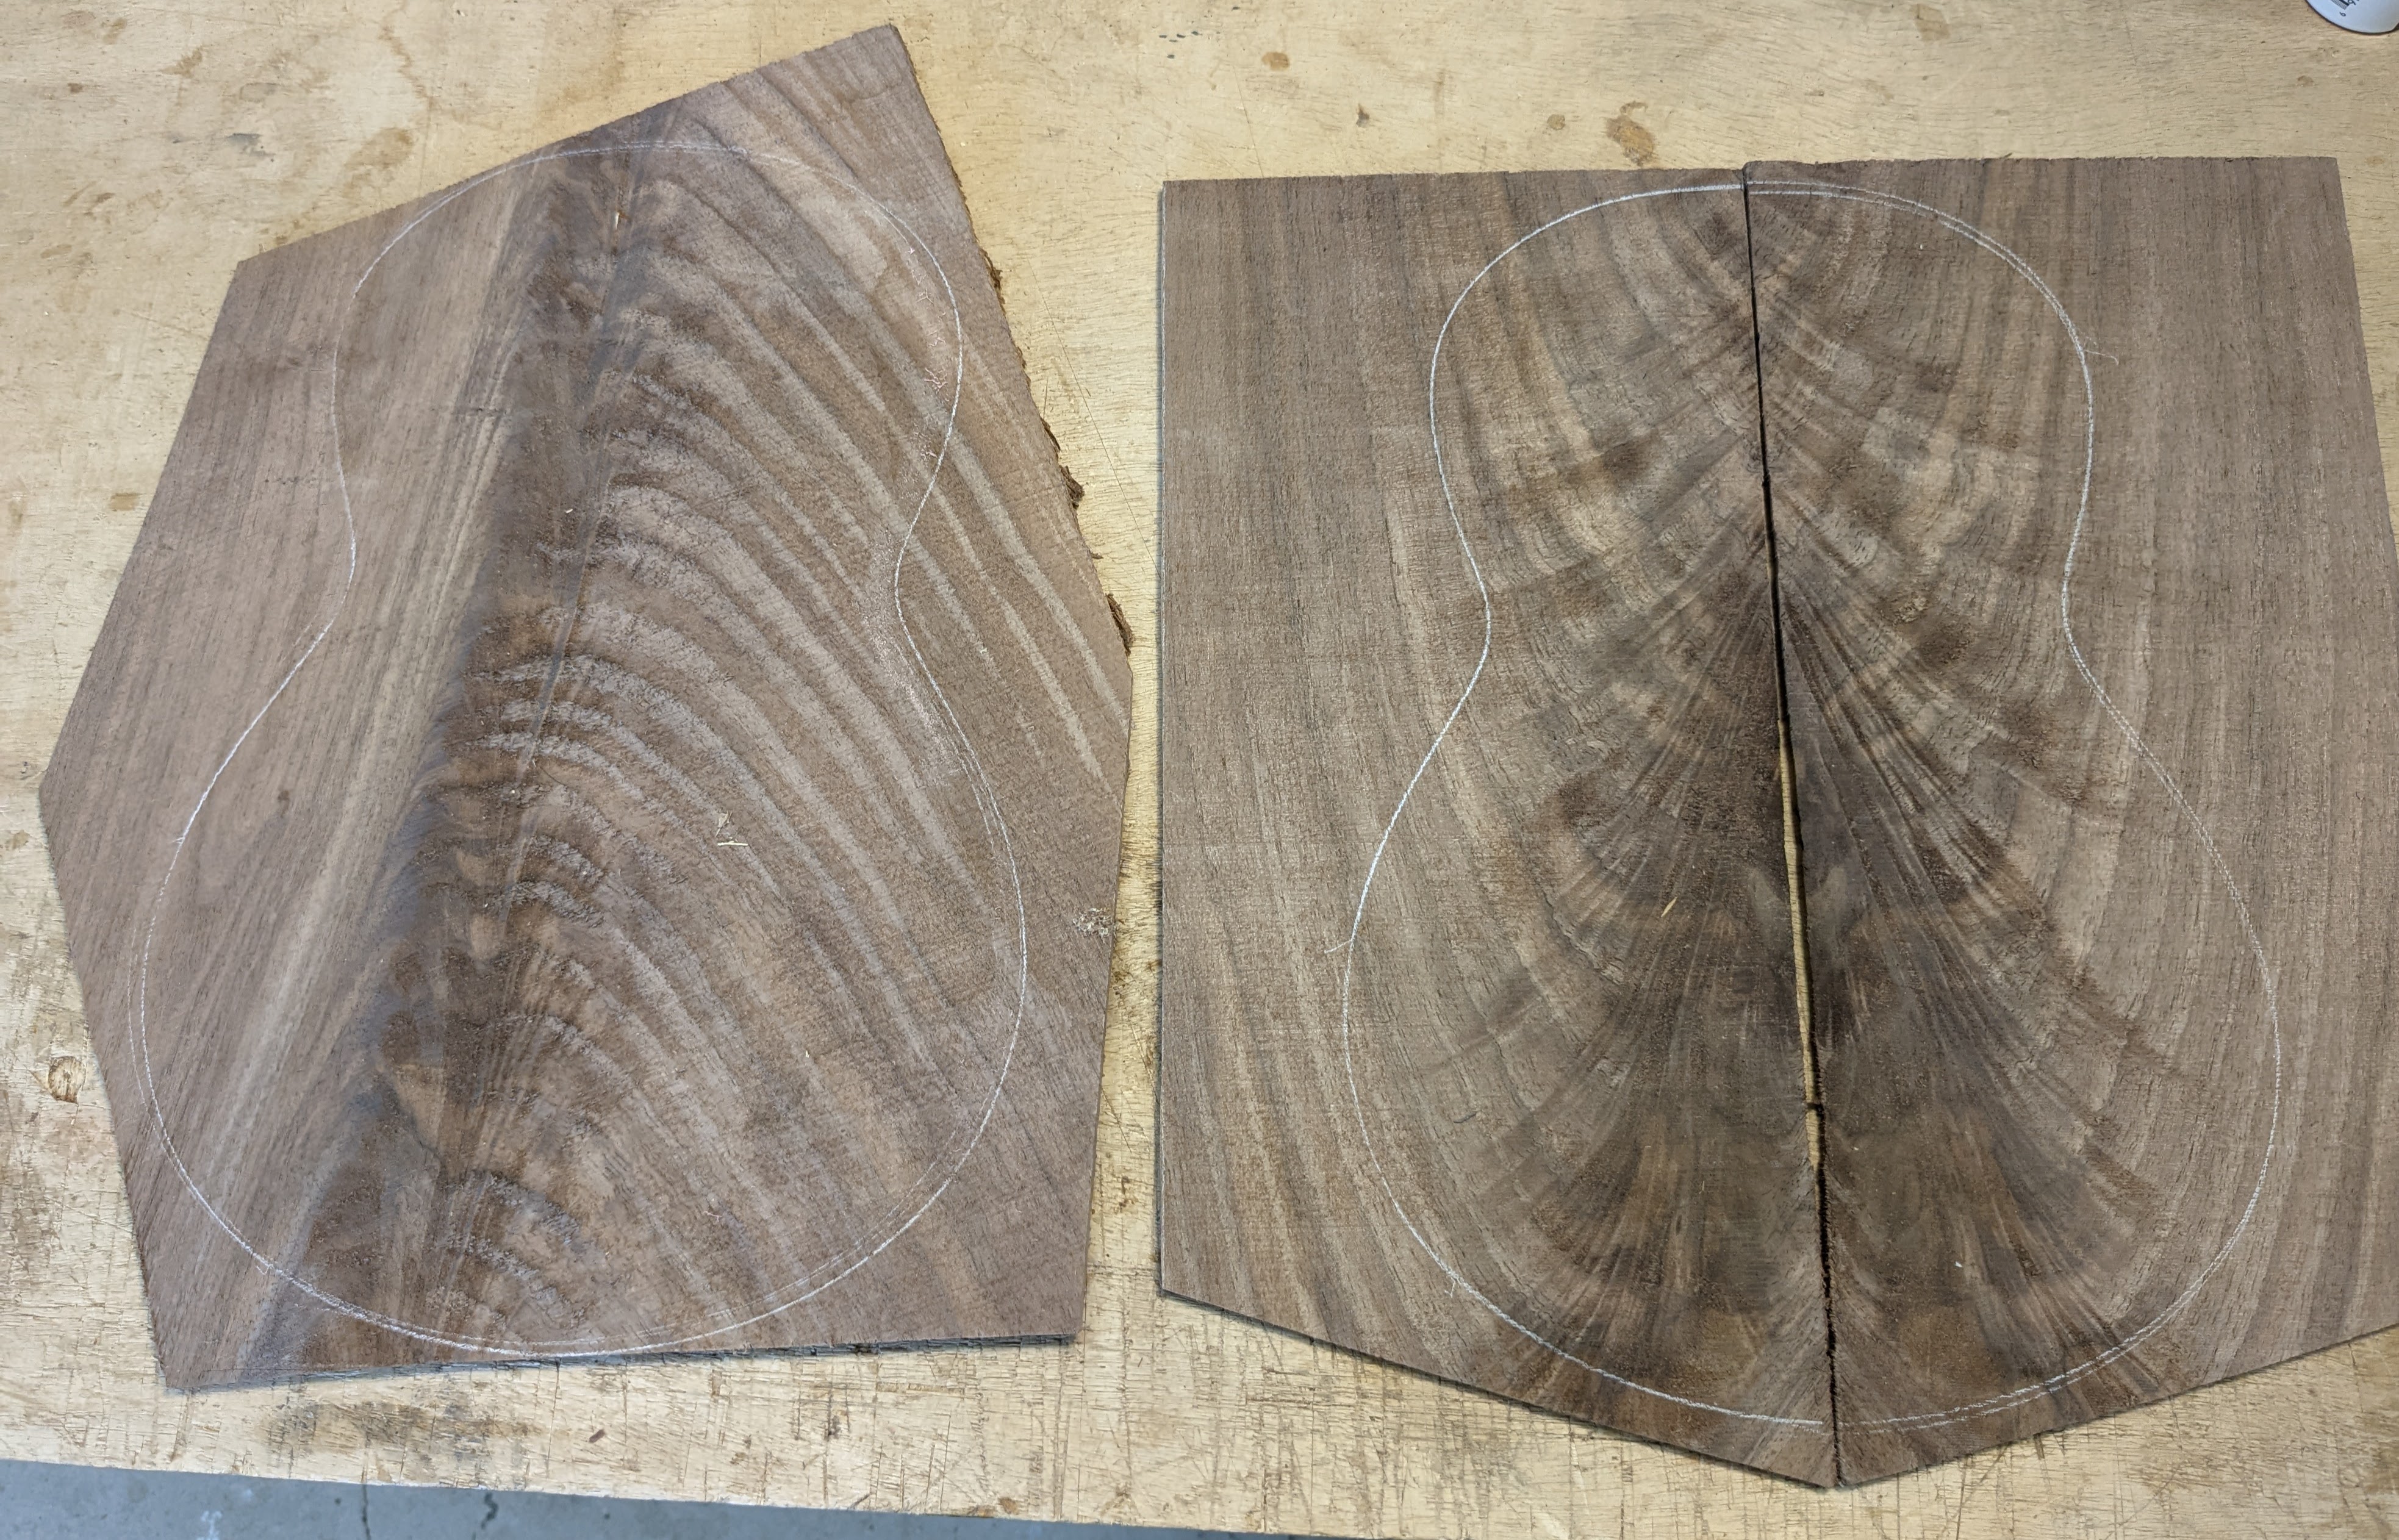
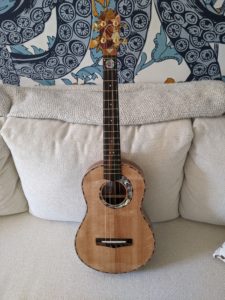
For the top we selected some old sitka spruce. Sitka is a classic steel string guitar top, so I figure it is well suited to deal with the string tension. I had some sitka that I got from a friend a while back, and he had been storing it for a very long time. It is at least 40 years old, feels very stiff, and is perfectly quarter-sawn.
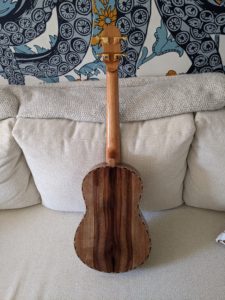
For back and sides, from the steel string guitar perspective, one wants something stiff and dense, like the rosewoods. I have some casuarina that I cut some years ago that is baritone sized, and is very stiff and dense so we went with casuarina back and sides.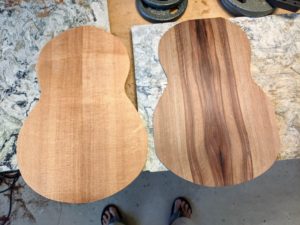
Bracing – The back bracing can be pretty close to what I normally use for a nylon string baritone as the back itself does not participate in the string tension.
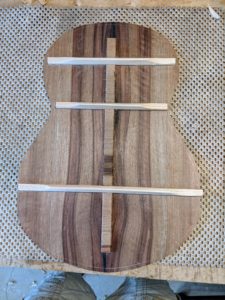
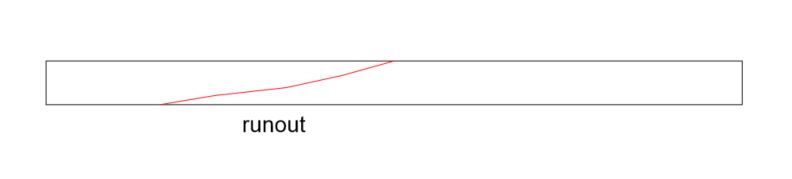
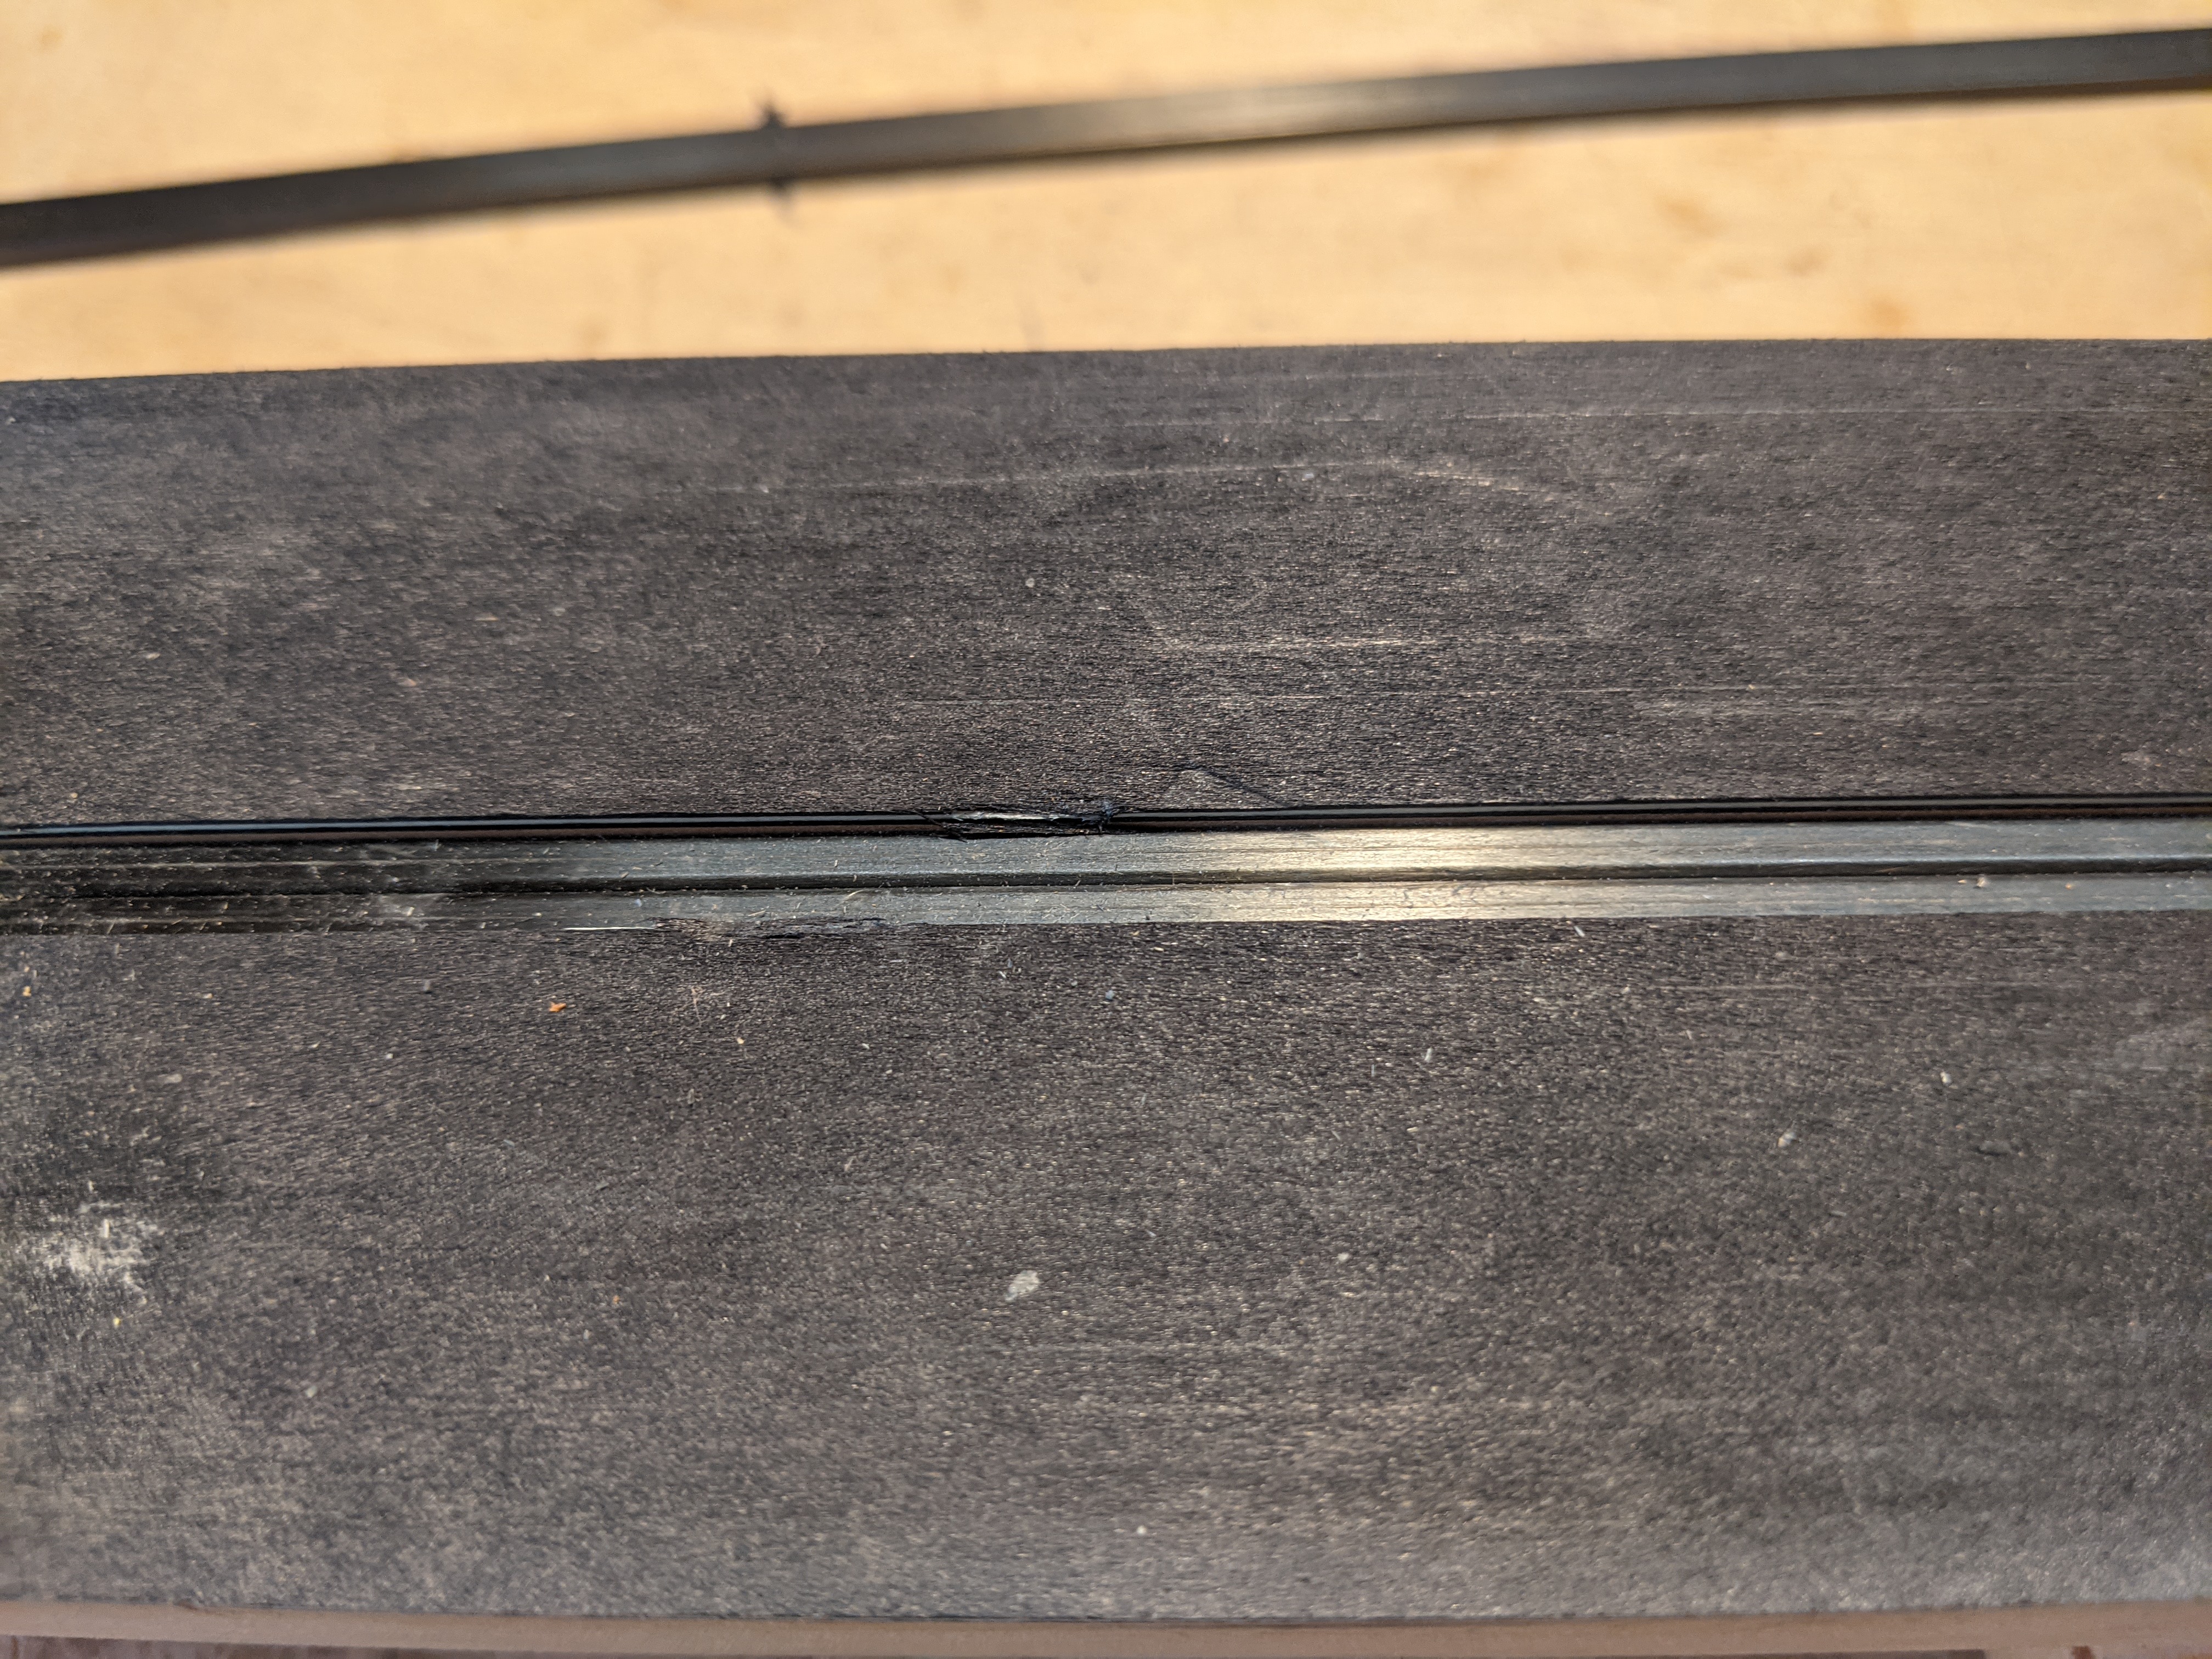
The top bracing however is another story. The top is where the increased string tension is centered. I have been doing some reading, and thinking, and I decided to make up some brace stock where the braces were split out of a larger piece of wood, rather that sawn. I had some bigger pieces of nice fine grained sitka spruce. Splitting wood ensures that the wood fibers extend the length of the brace, rather than being on an angle, which is called ‘runout’. Under stress a brace with runout will tend to crack along the wood fiber lines, which are across the brace. If one looks at guitar repair videos where braces are being fixed, the crack is almost always across the brace, due to runout. After making them up the split braces feel particularly stiff. Maybe it is the piece of sitka spruce, maybe it is the fact that the wood fibers run from end-to-end.

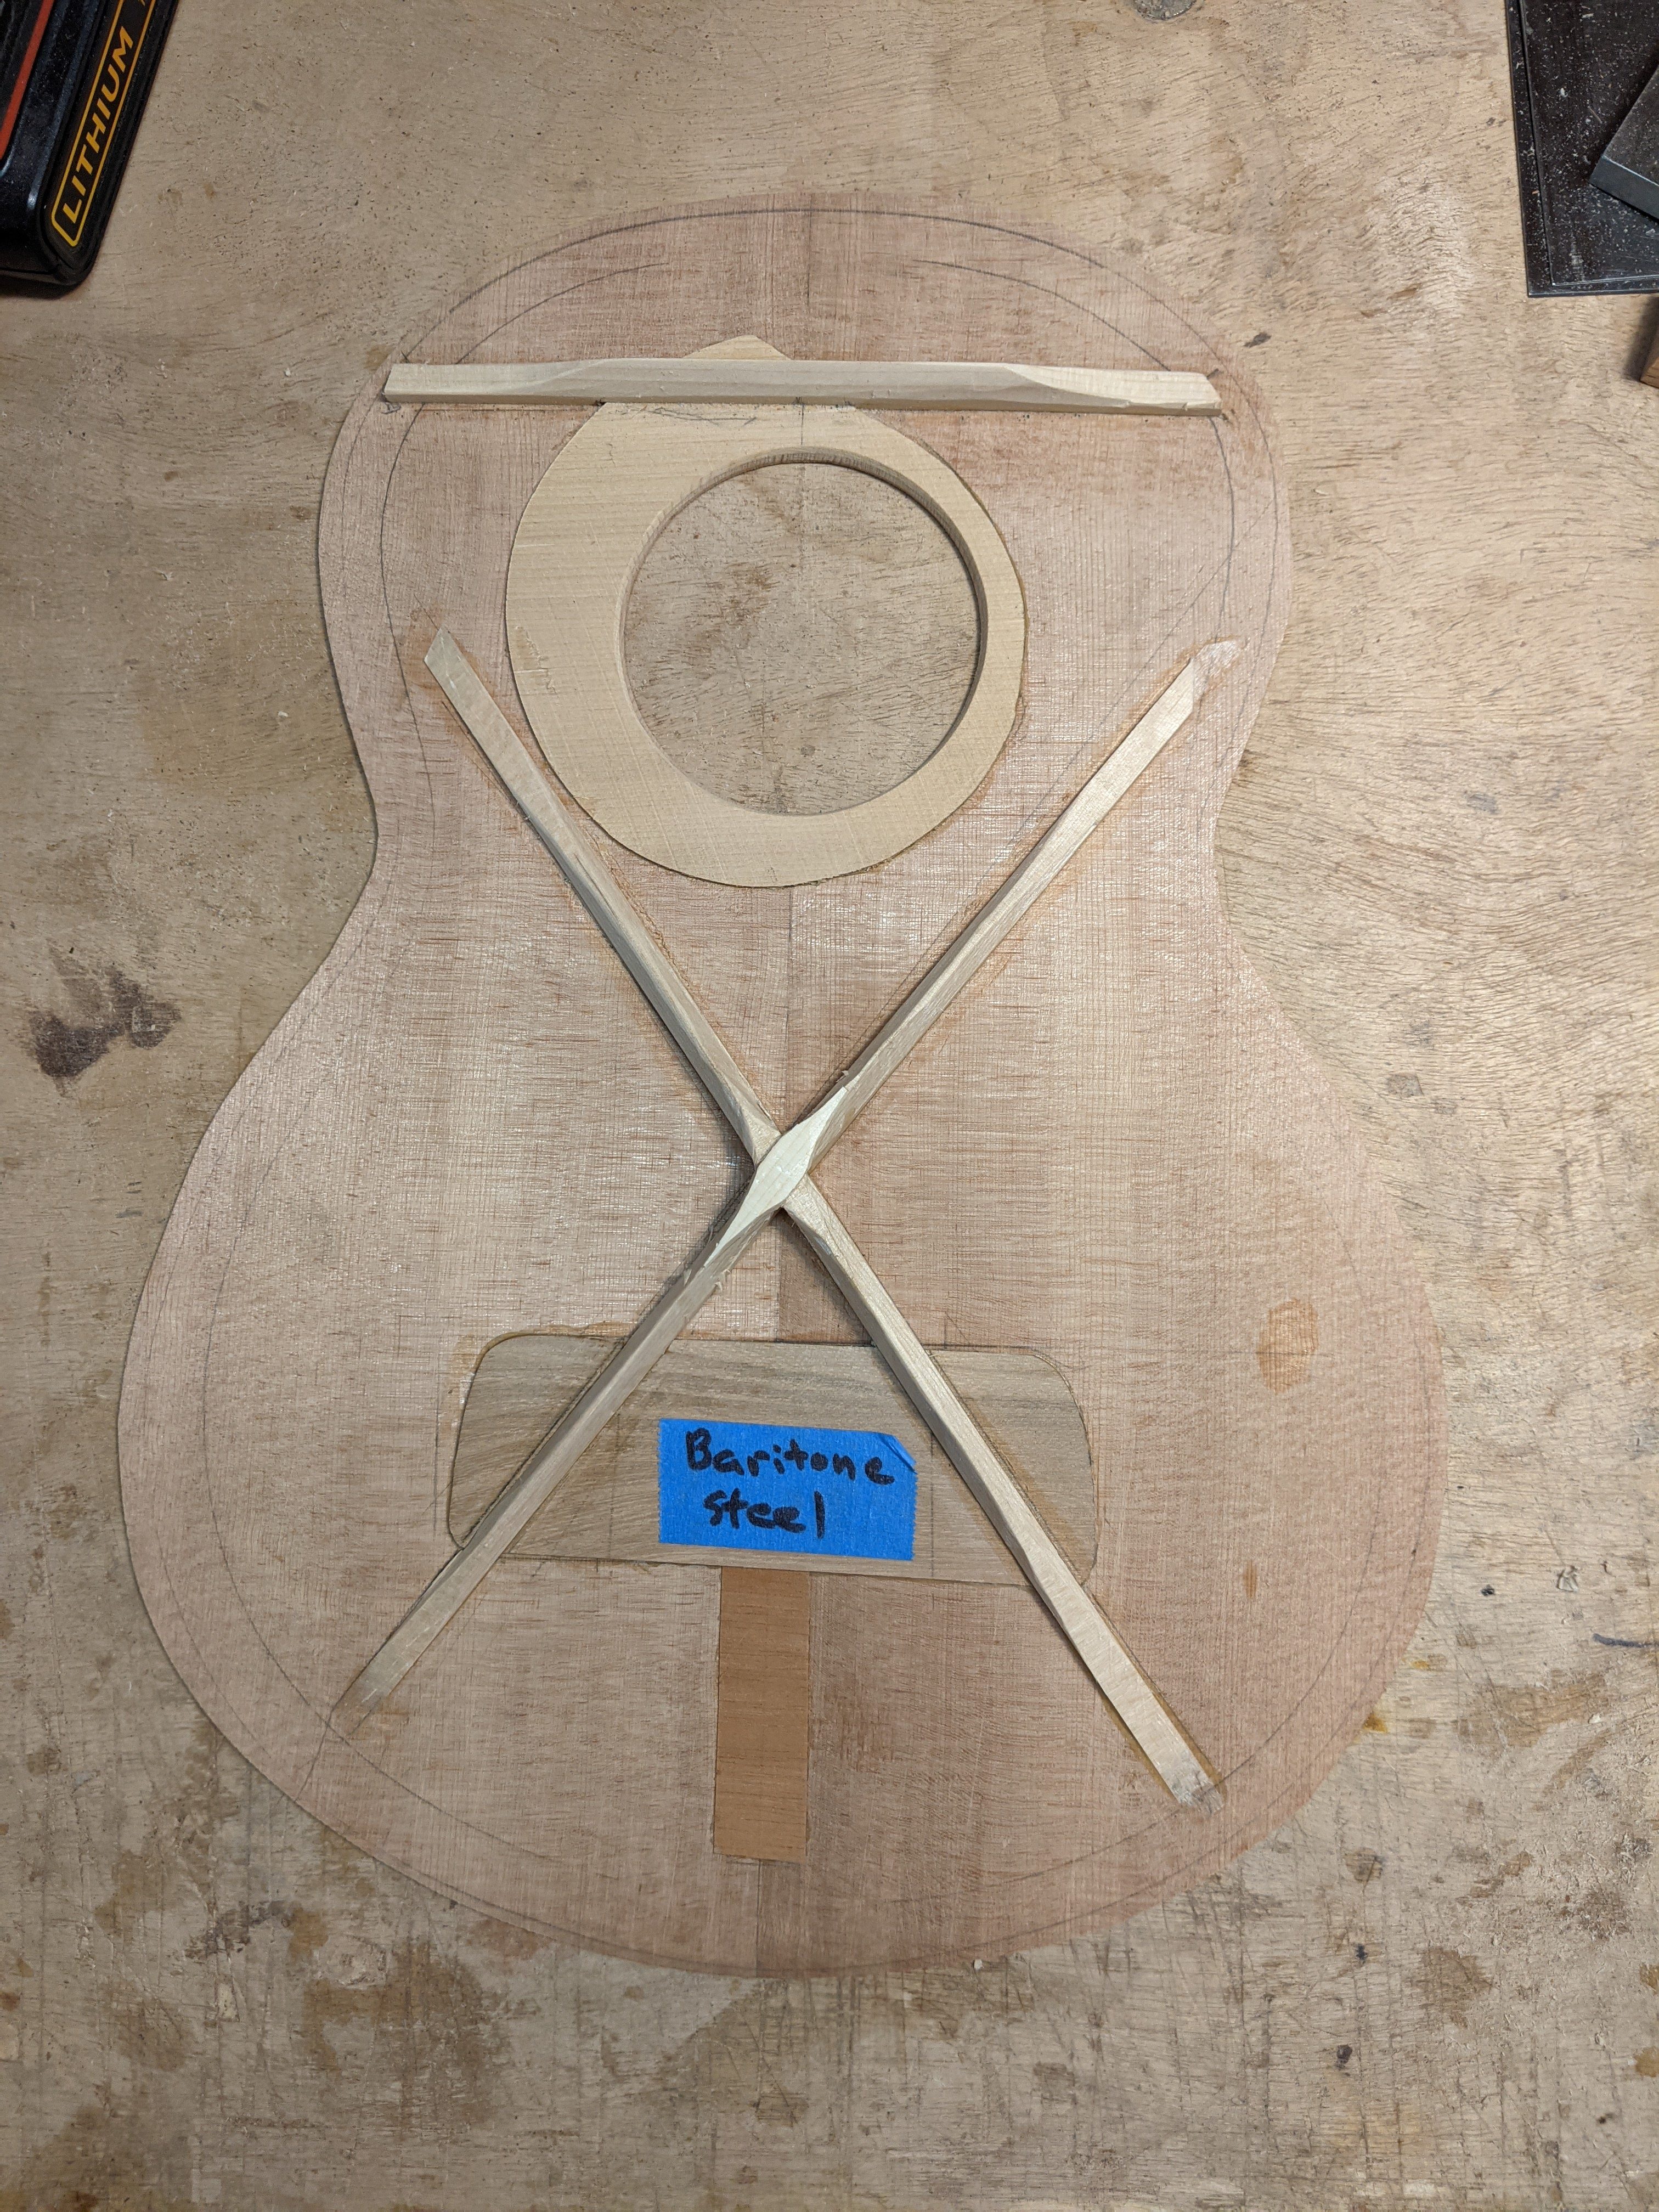
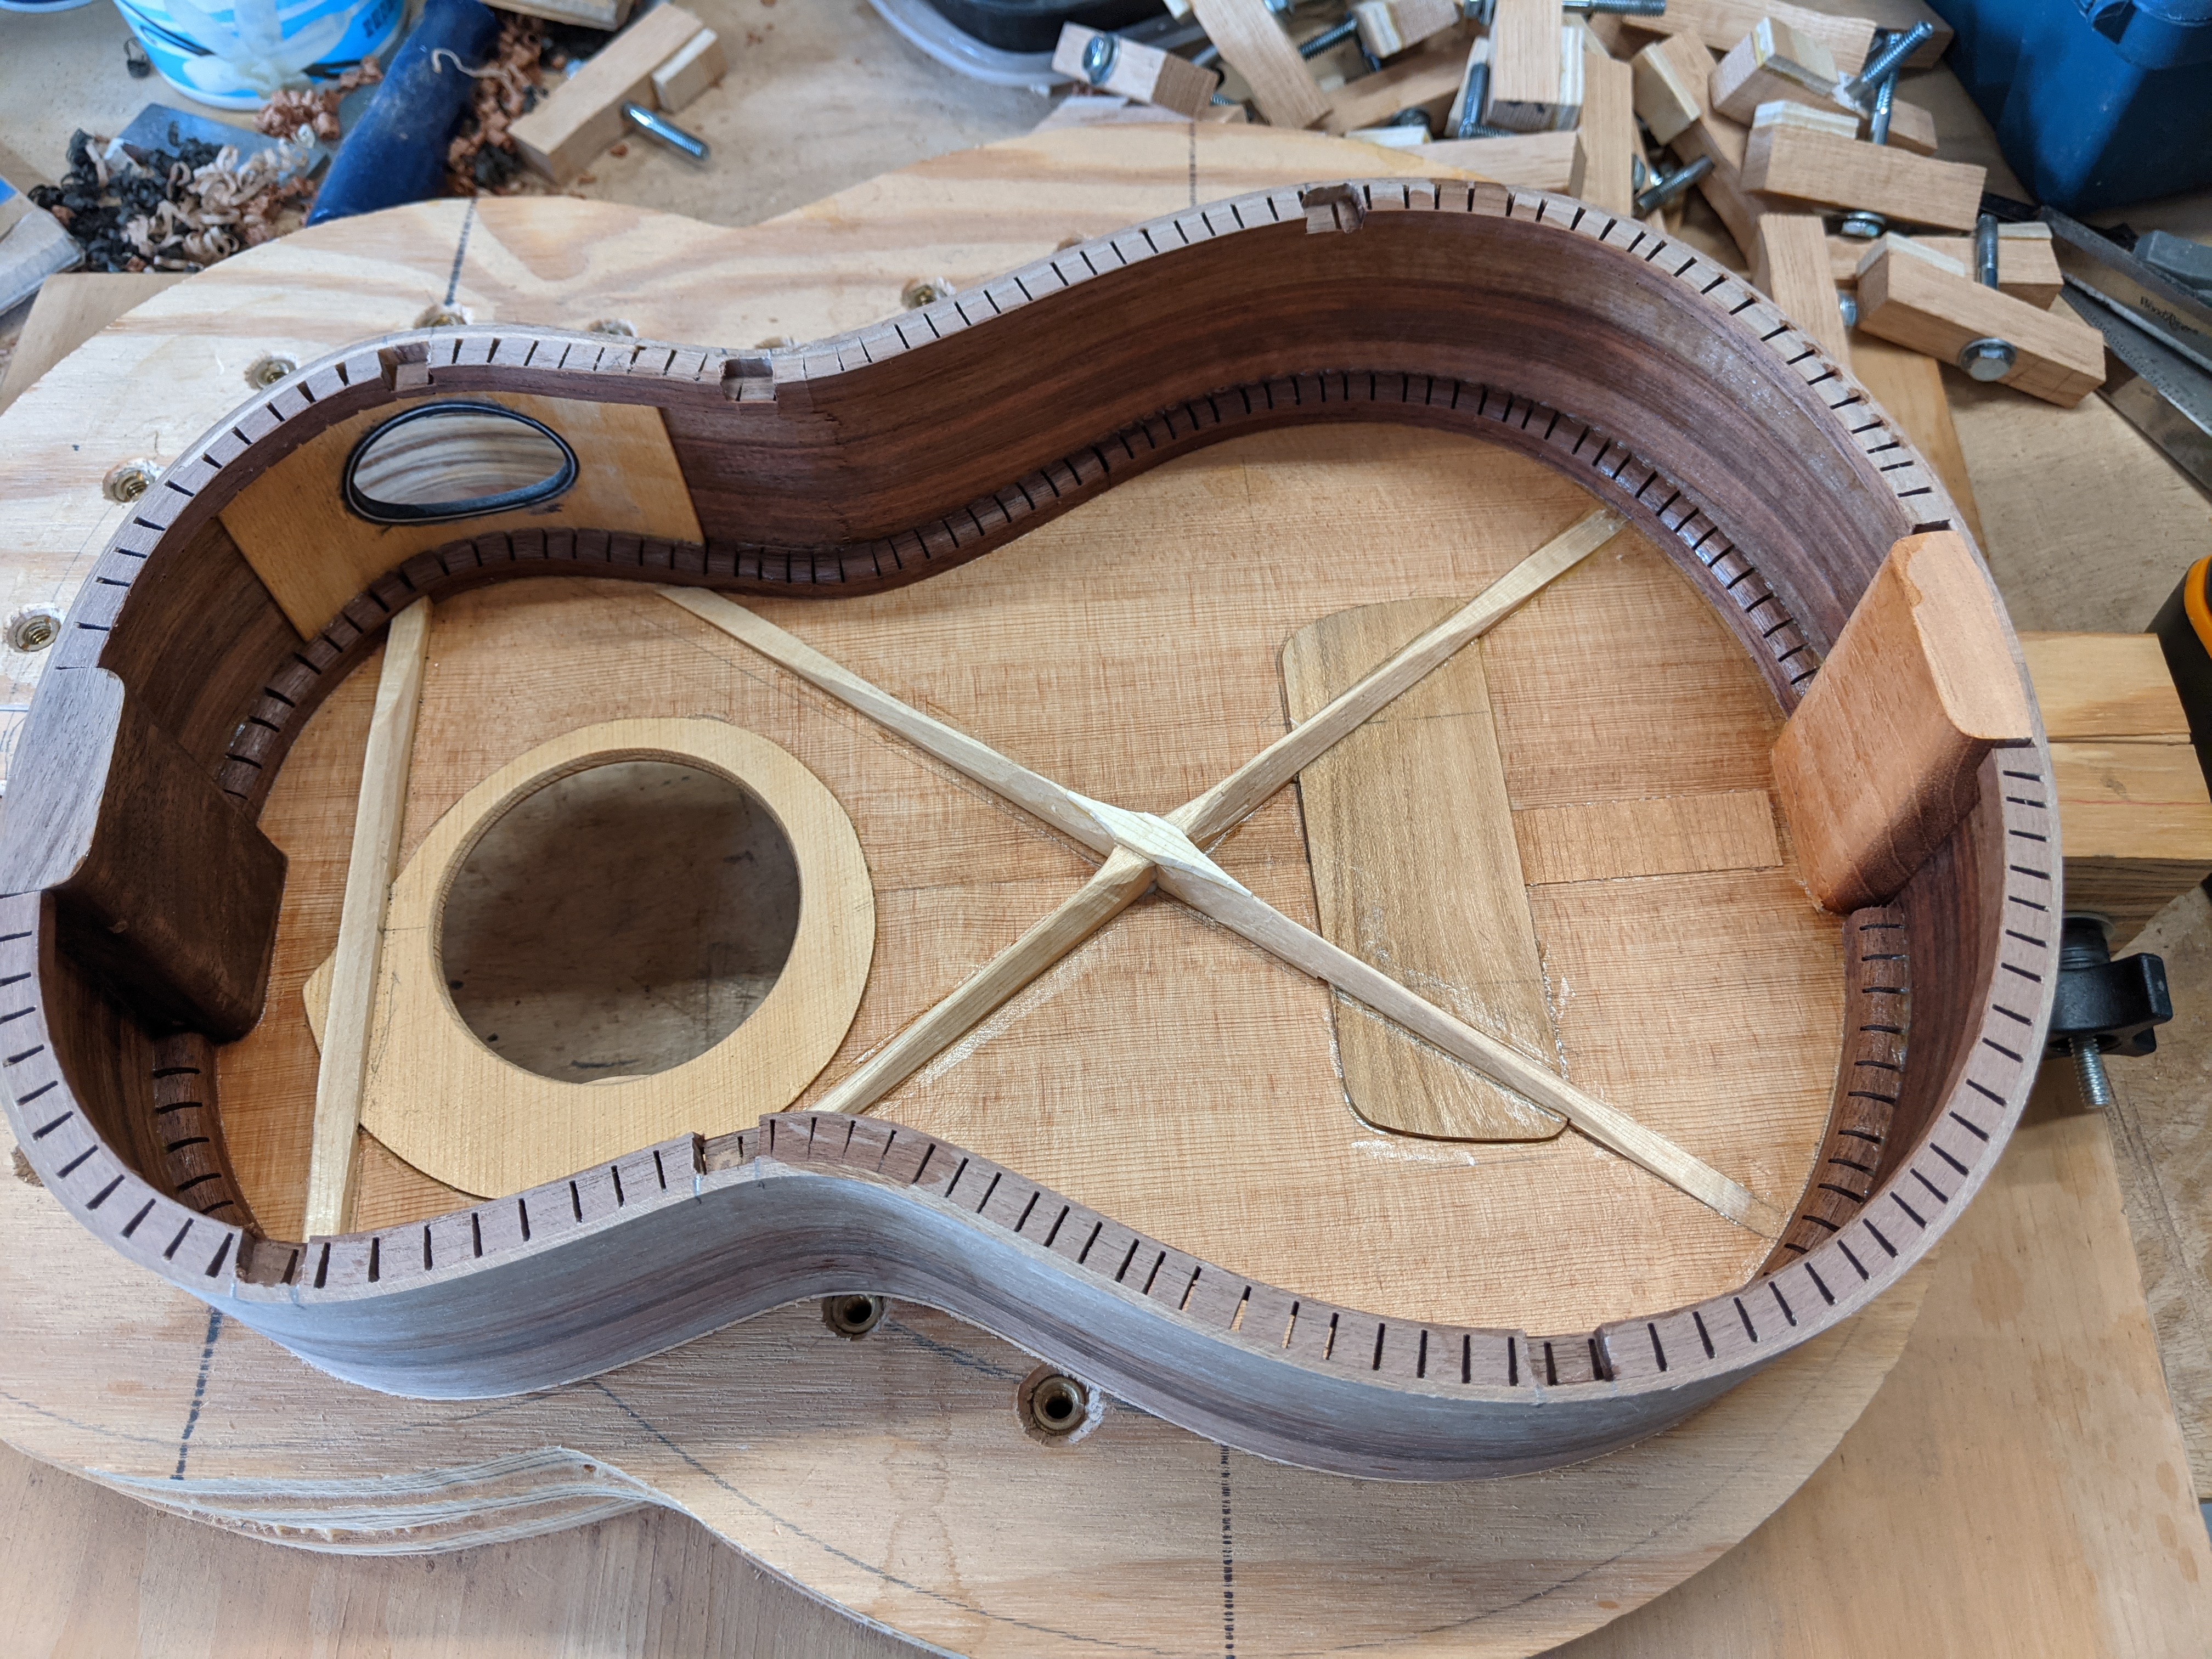
A steel string instrument will have a pined bridge, like a guitar, where the ball end of the string is up against a bridge plate on the bottom of the top, and a tapered pin holds the string in place. There are two considerations here in my thinking. For one, the ball end of the strings produces a concentrated pressure in a small area of the bridge plate. Therefore I wanted something both hard and tough for the bridge plate. Secondly, the bridge plate, like all of the other components of the top, will have to vibrate to produce sound. My current thinking is that the lighter the bridge, and by extension the bridge plate, the less mass there is that needs to be vibrated, and thus the easier the whole top can be vibrated. I chose to use some Pennsylvania black locust as the bridge plate. Locust is quite hard and tough, but is not too heavy.
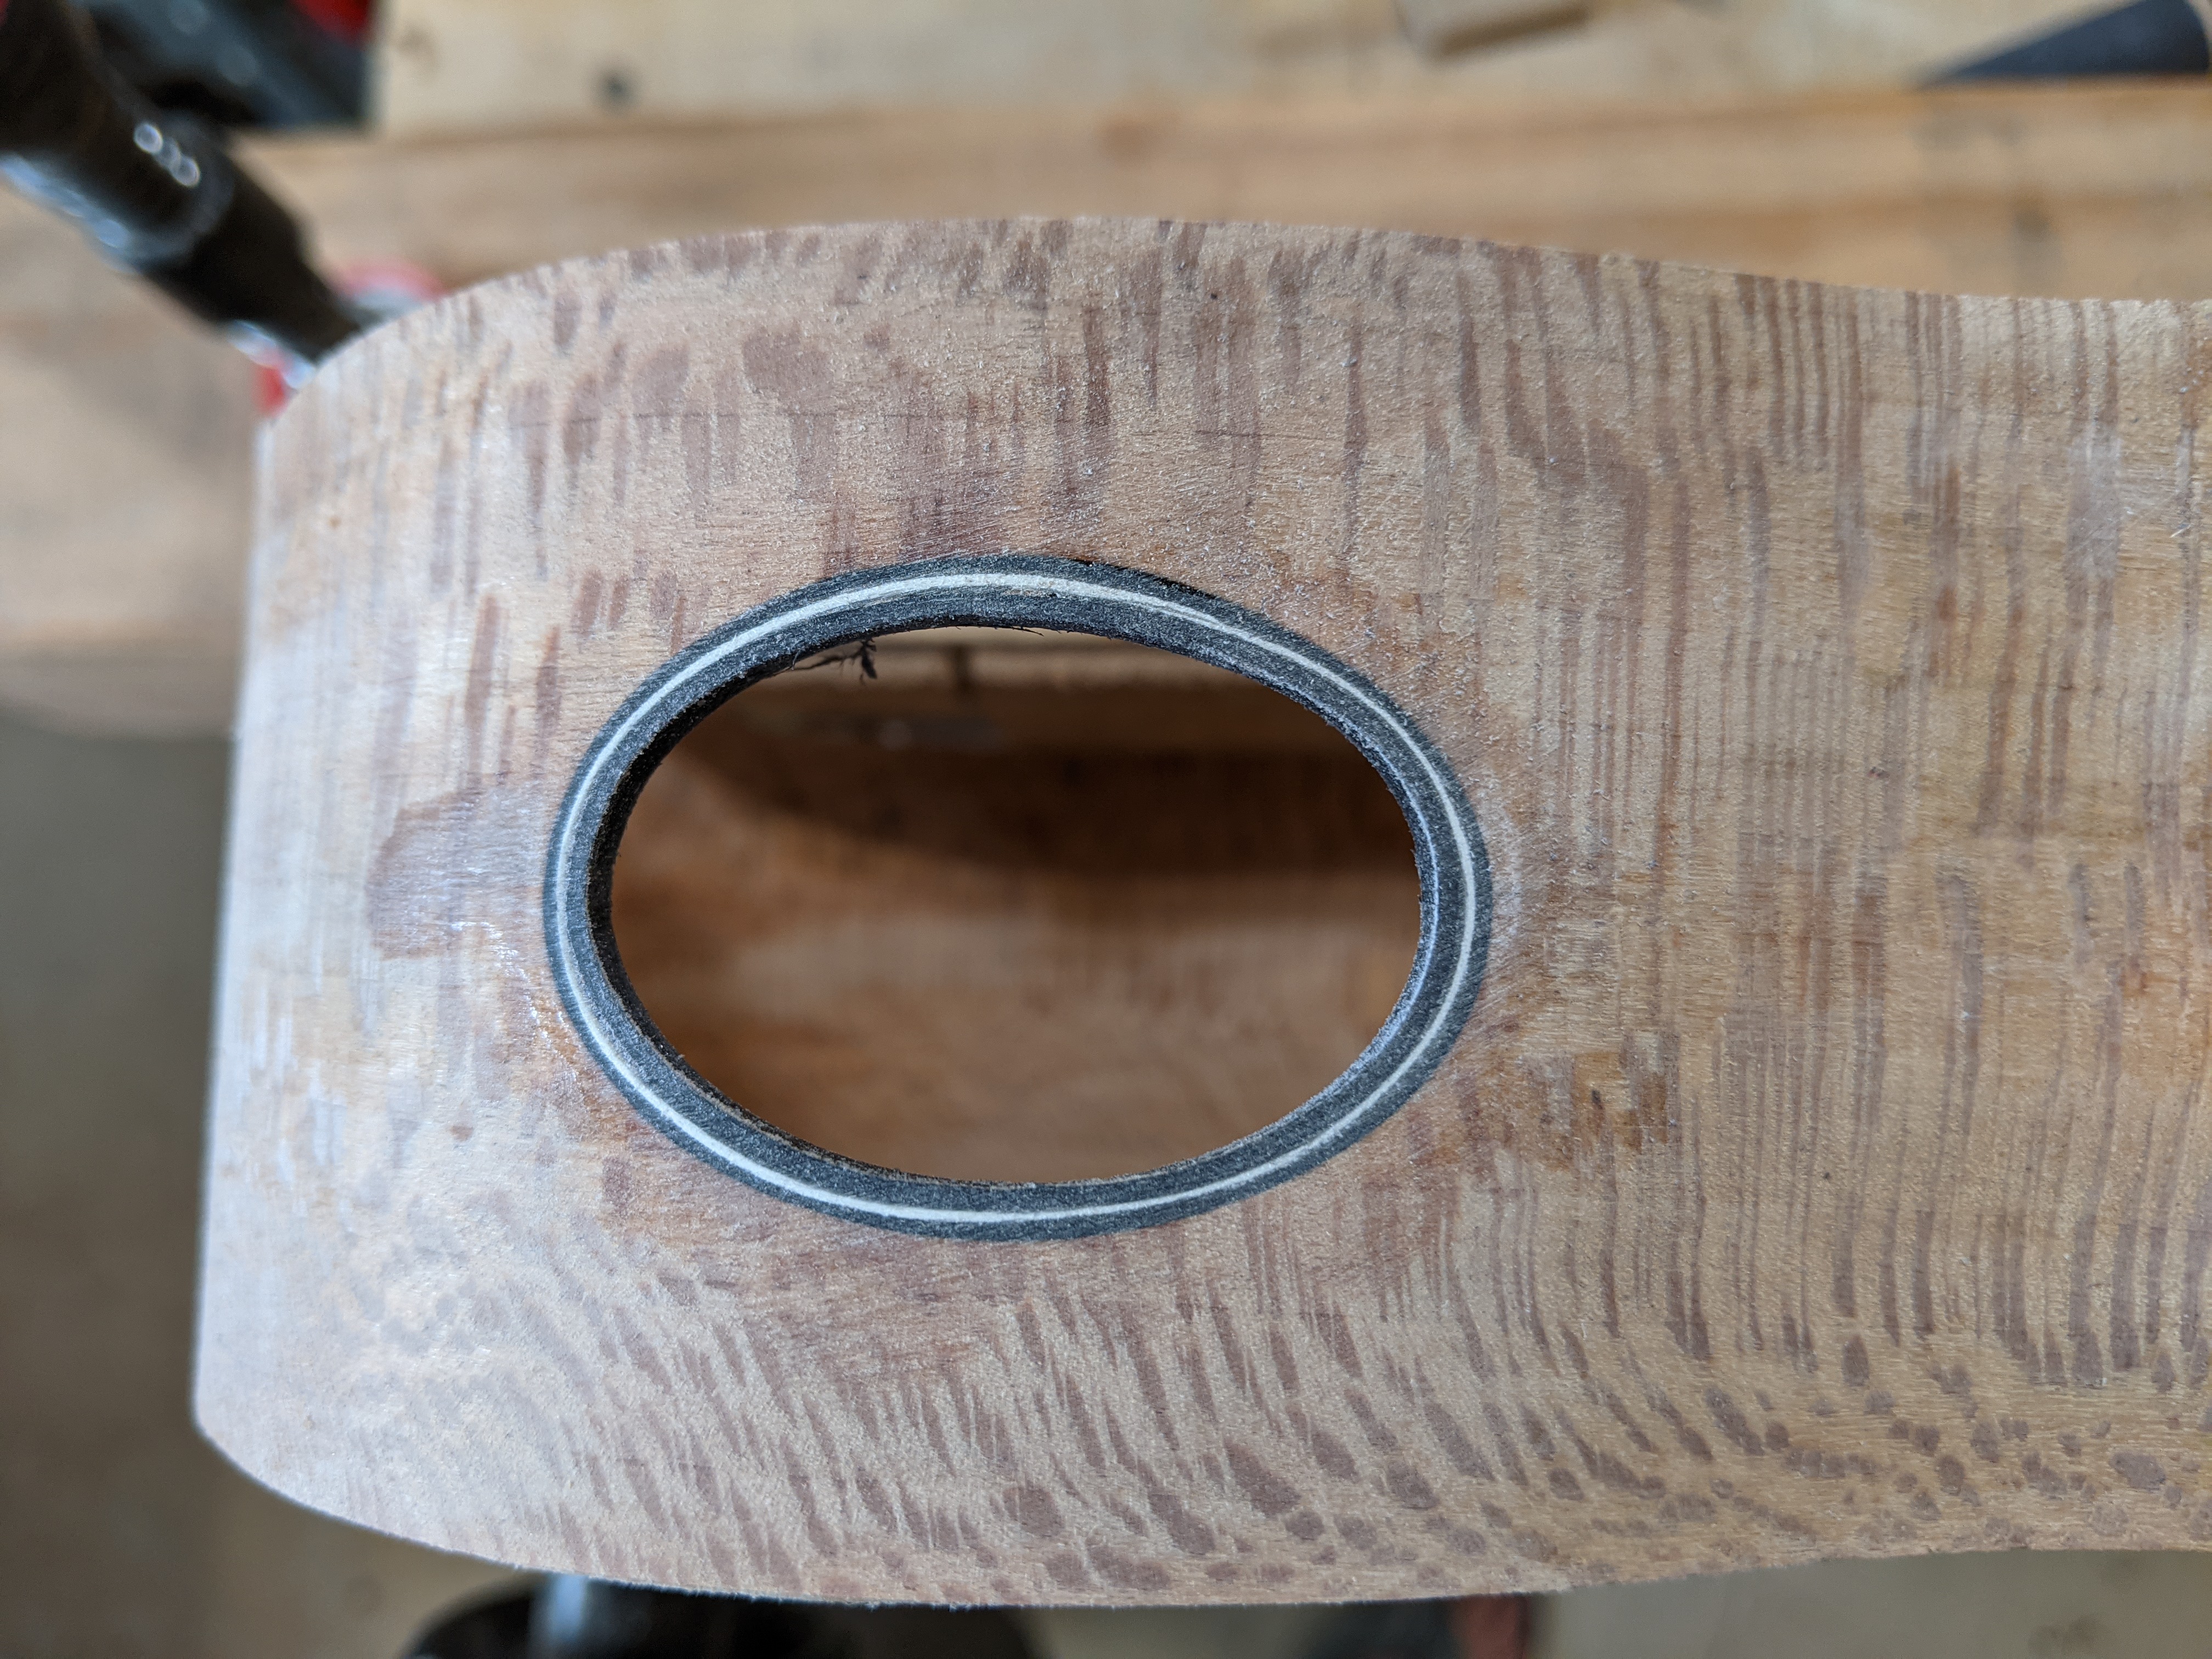
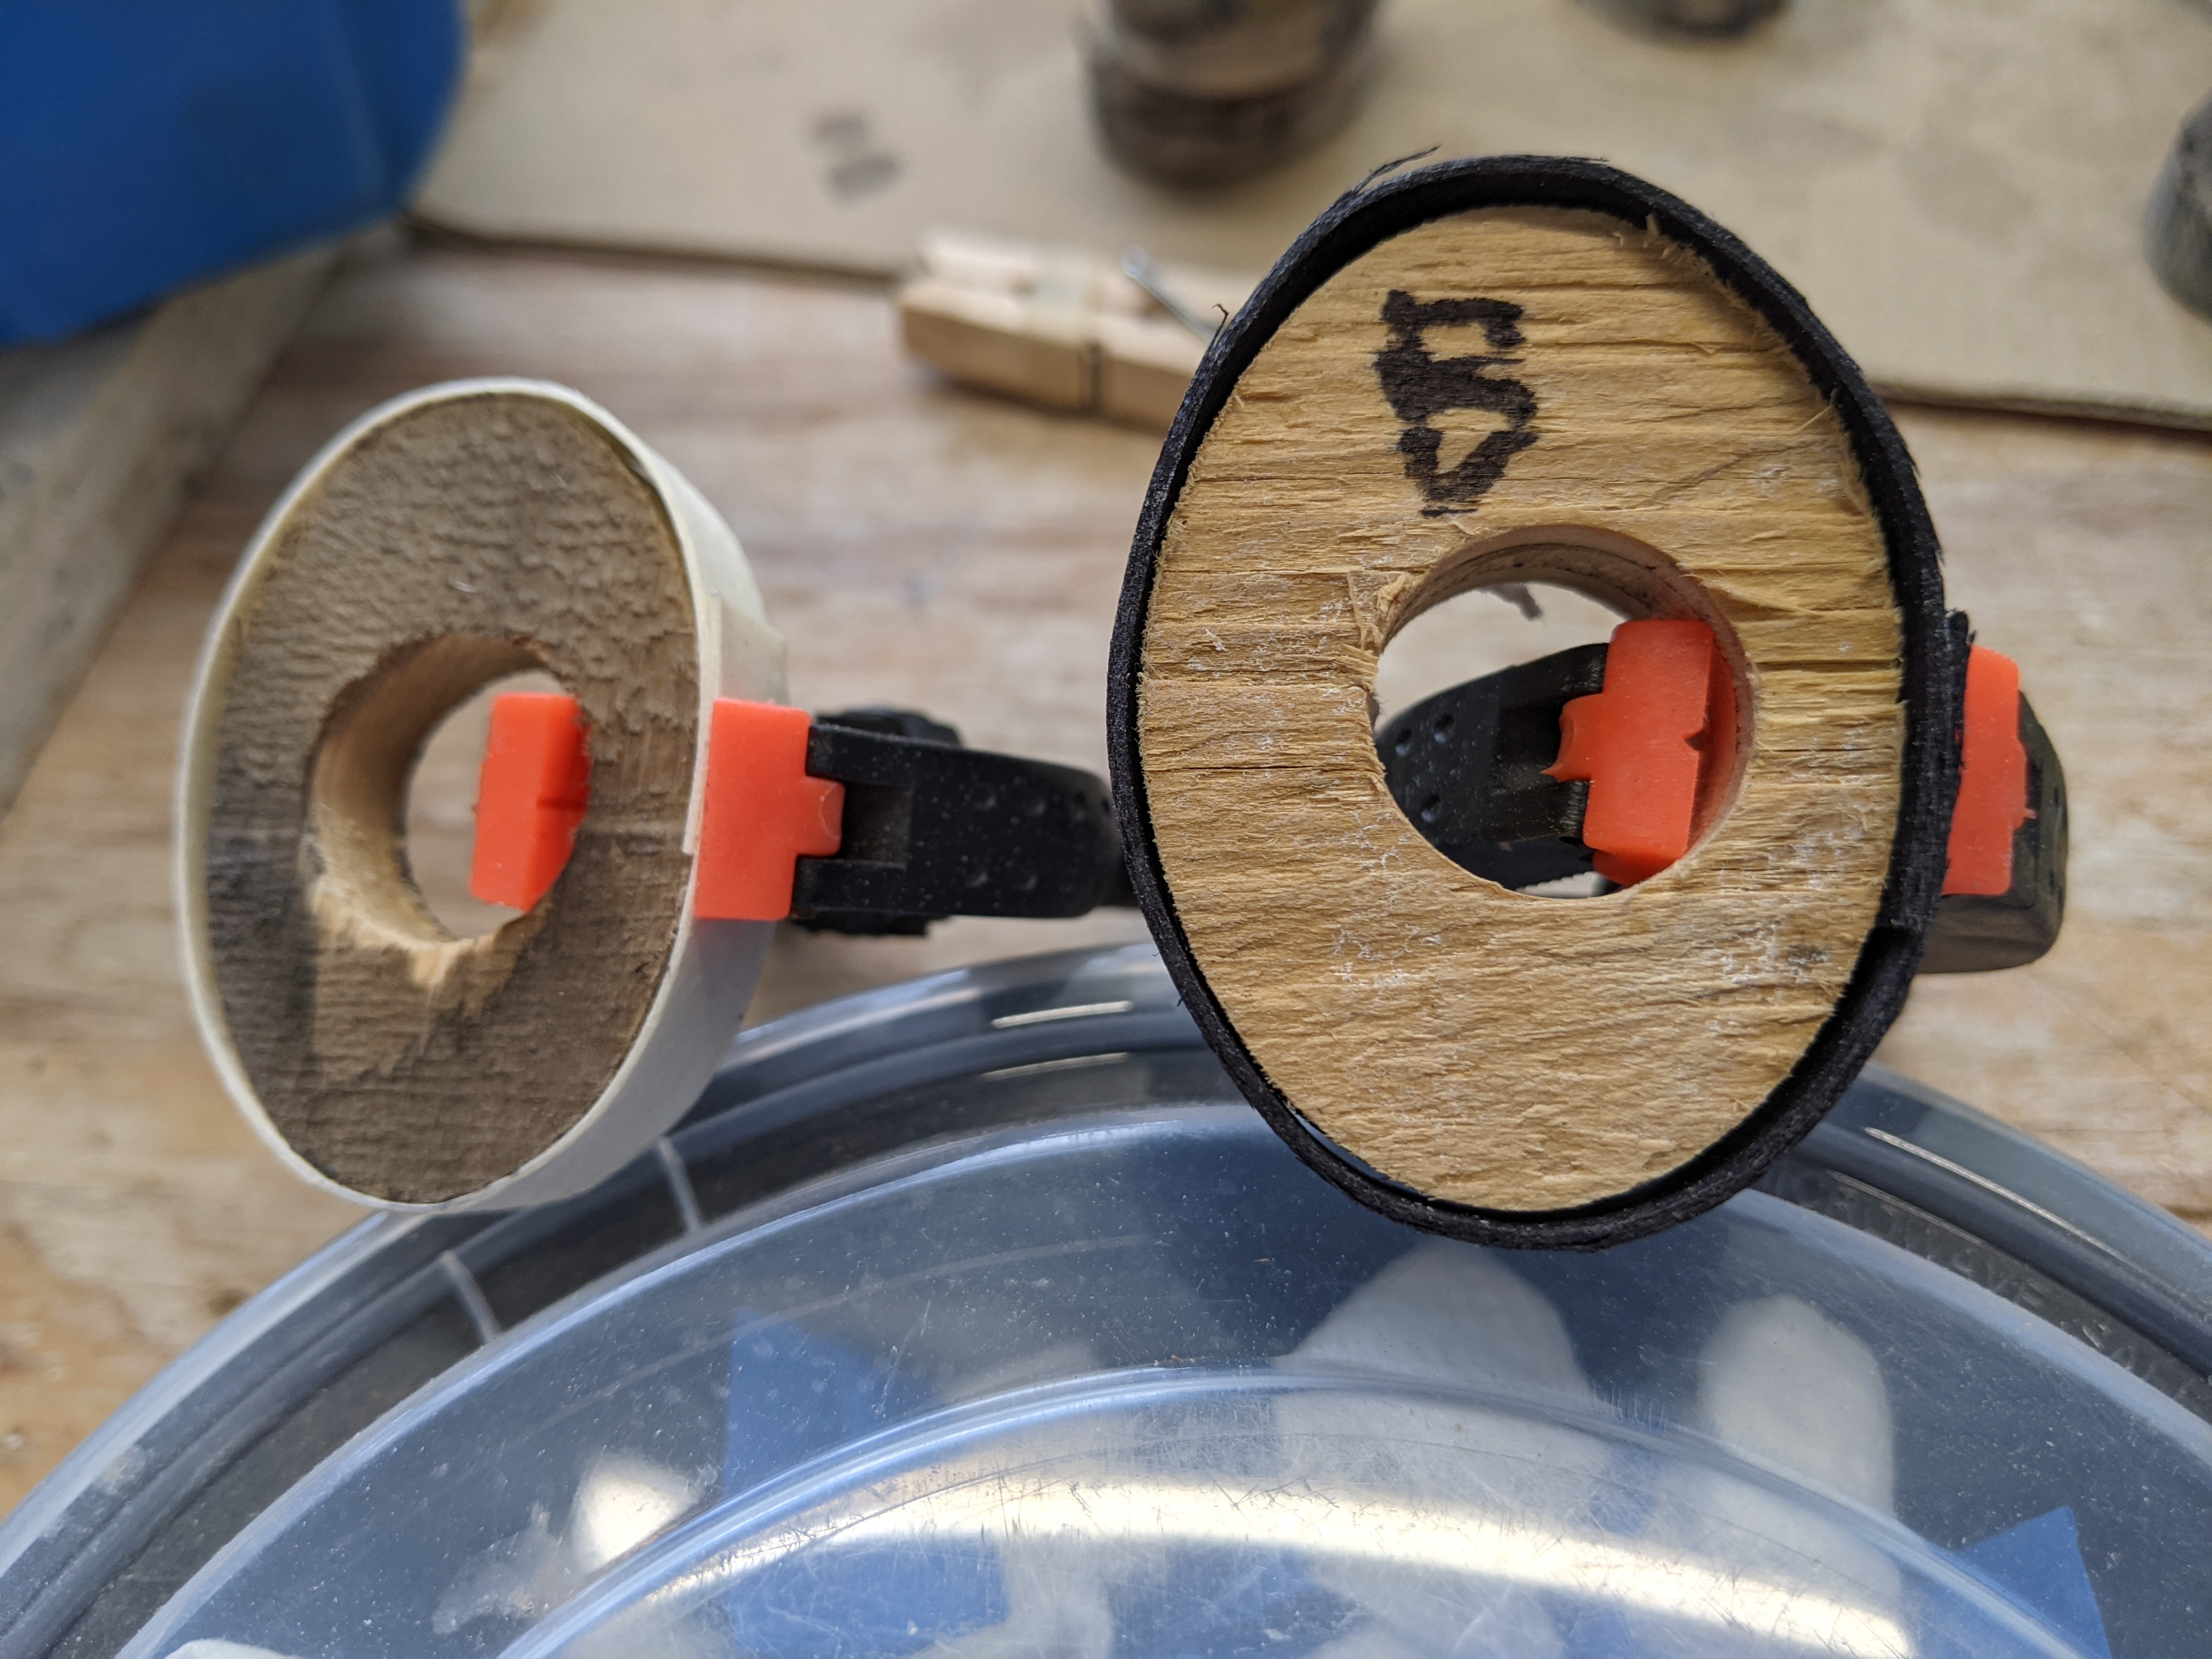
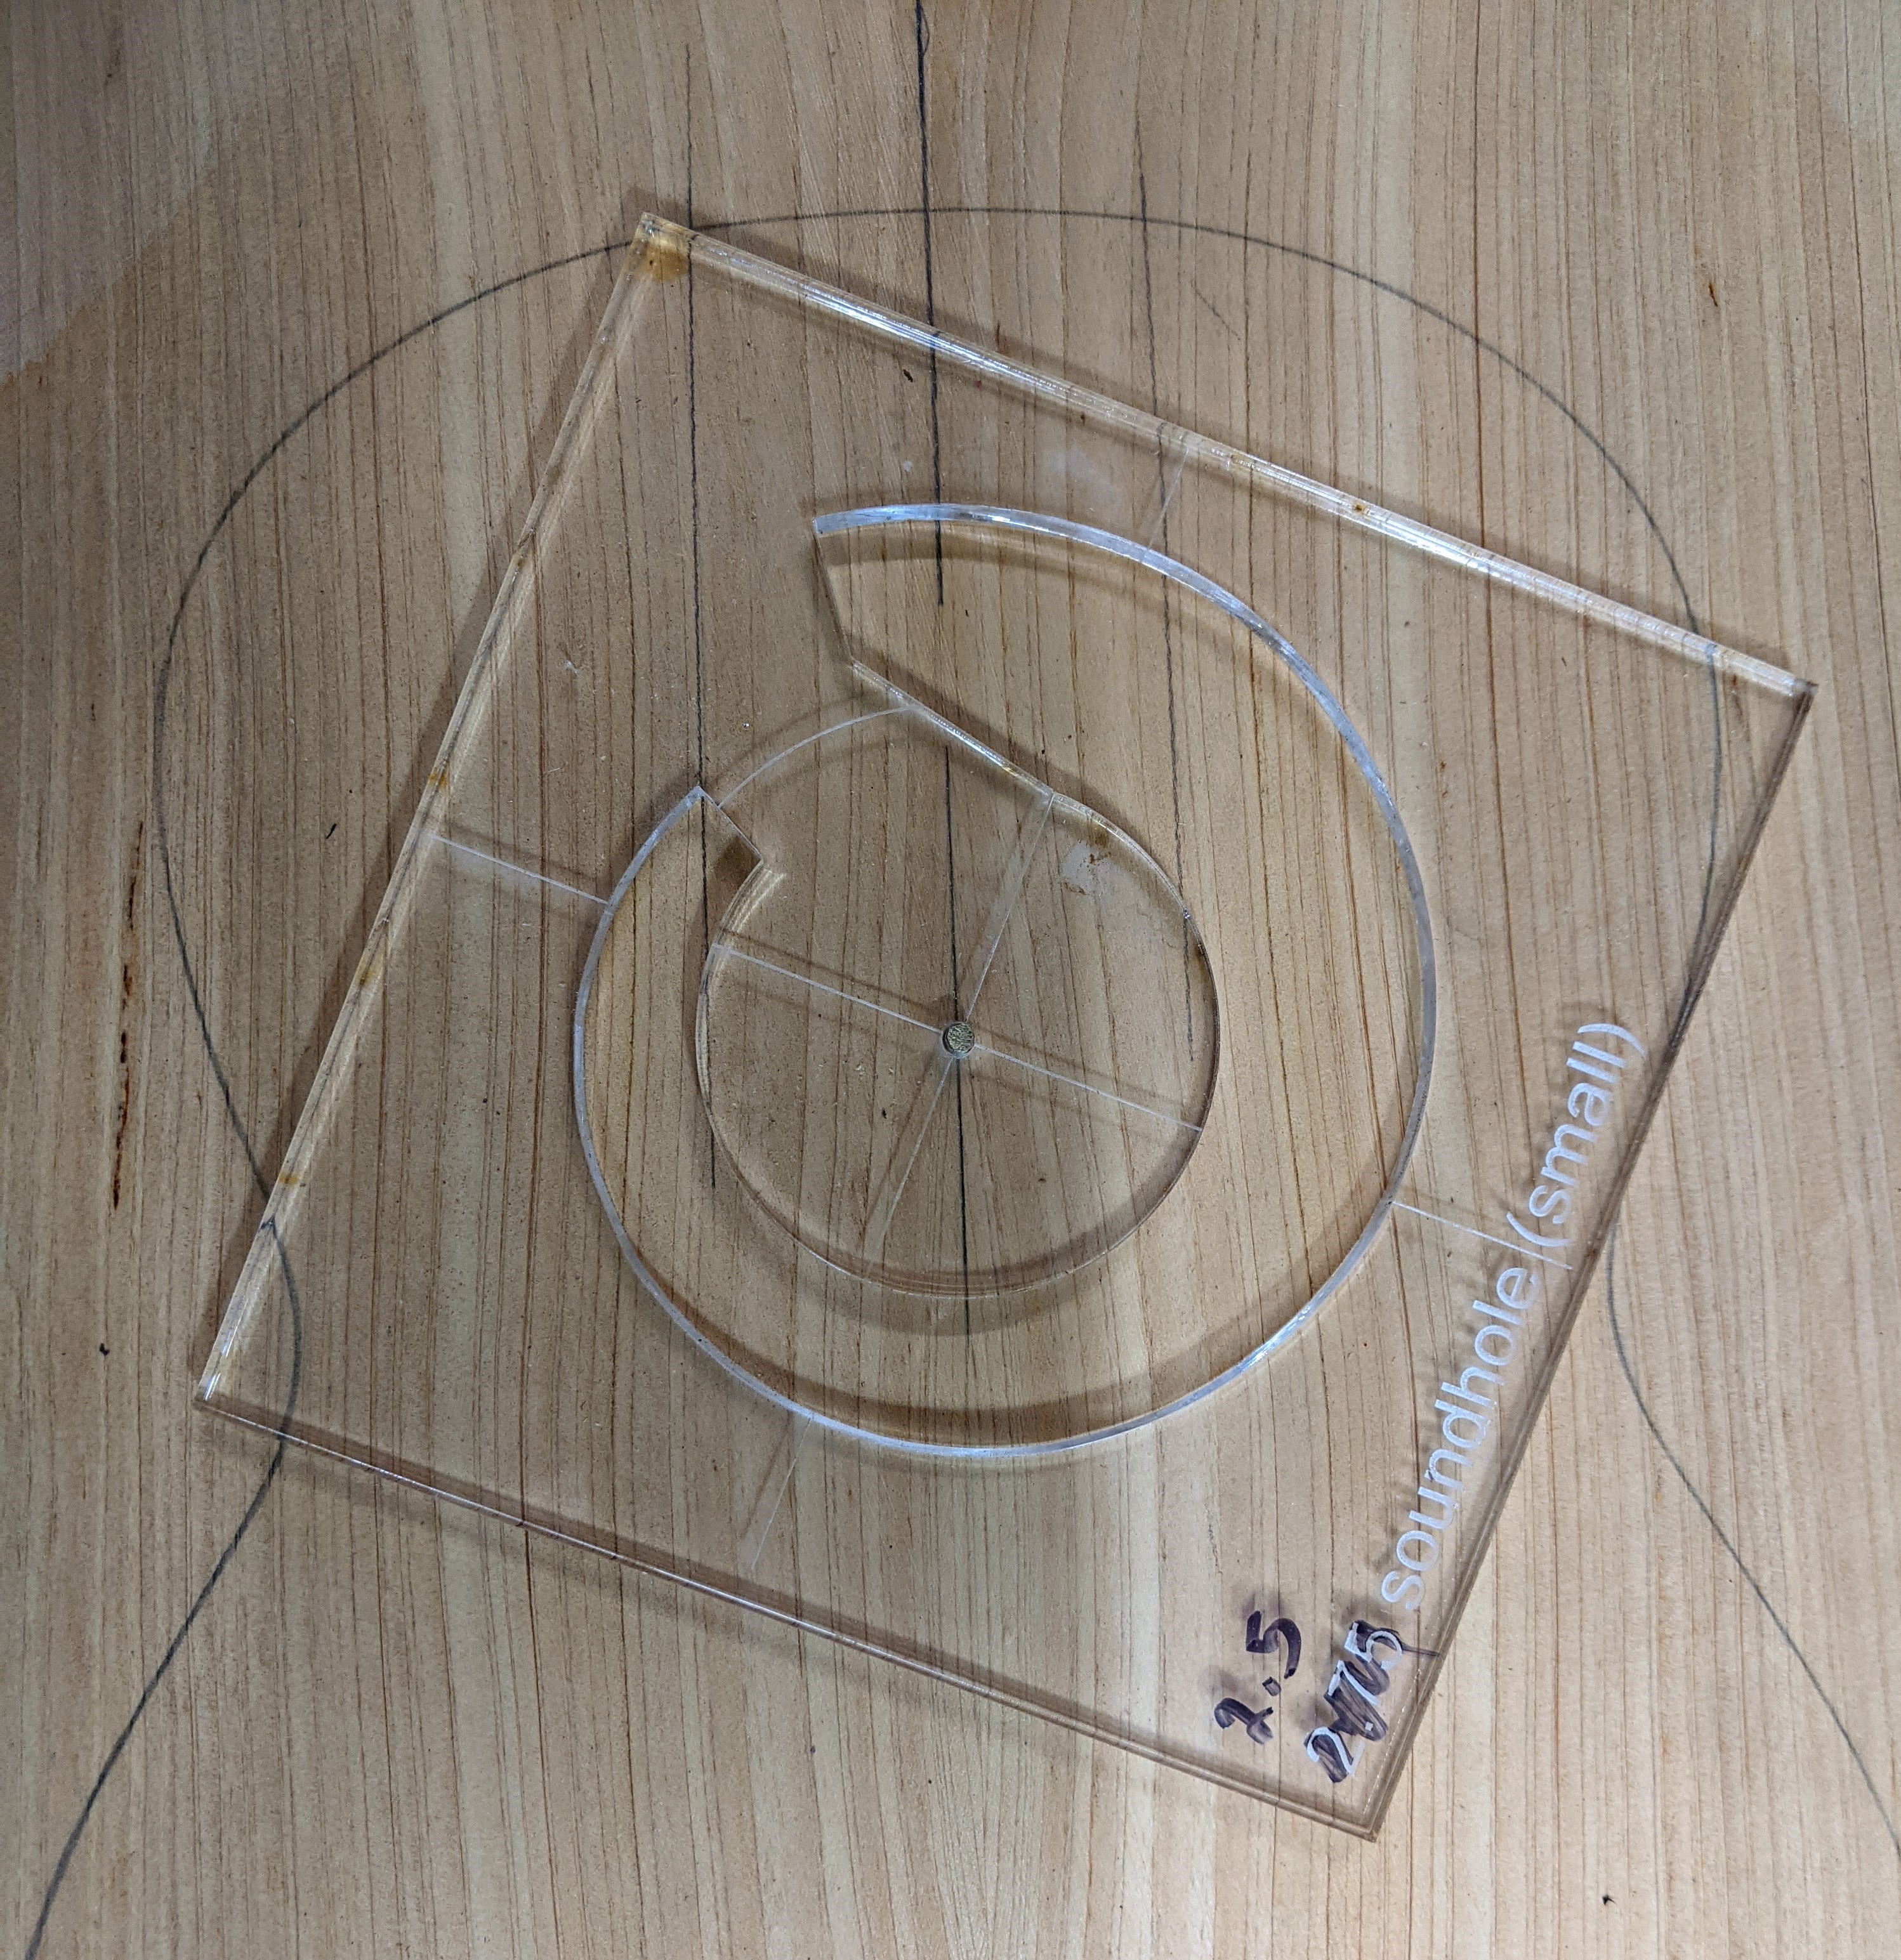
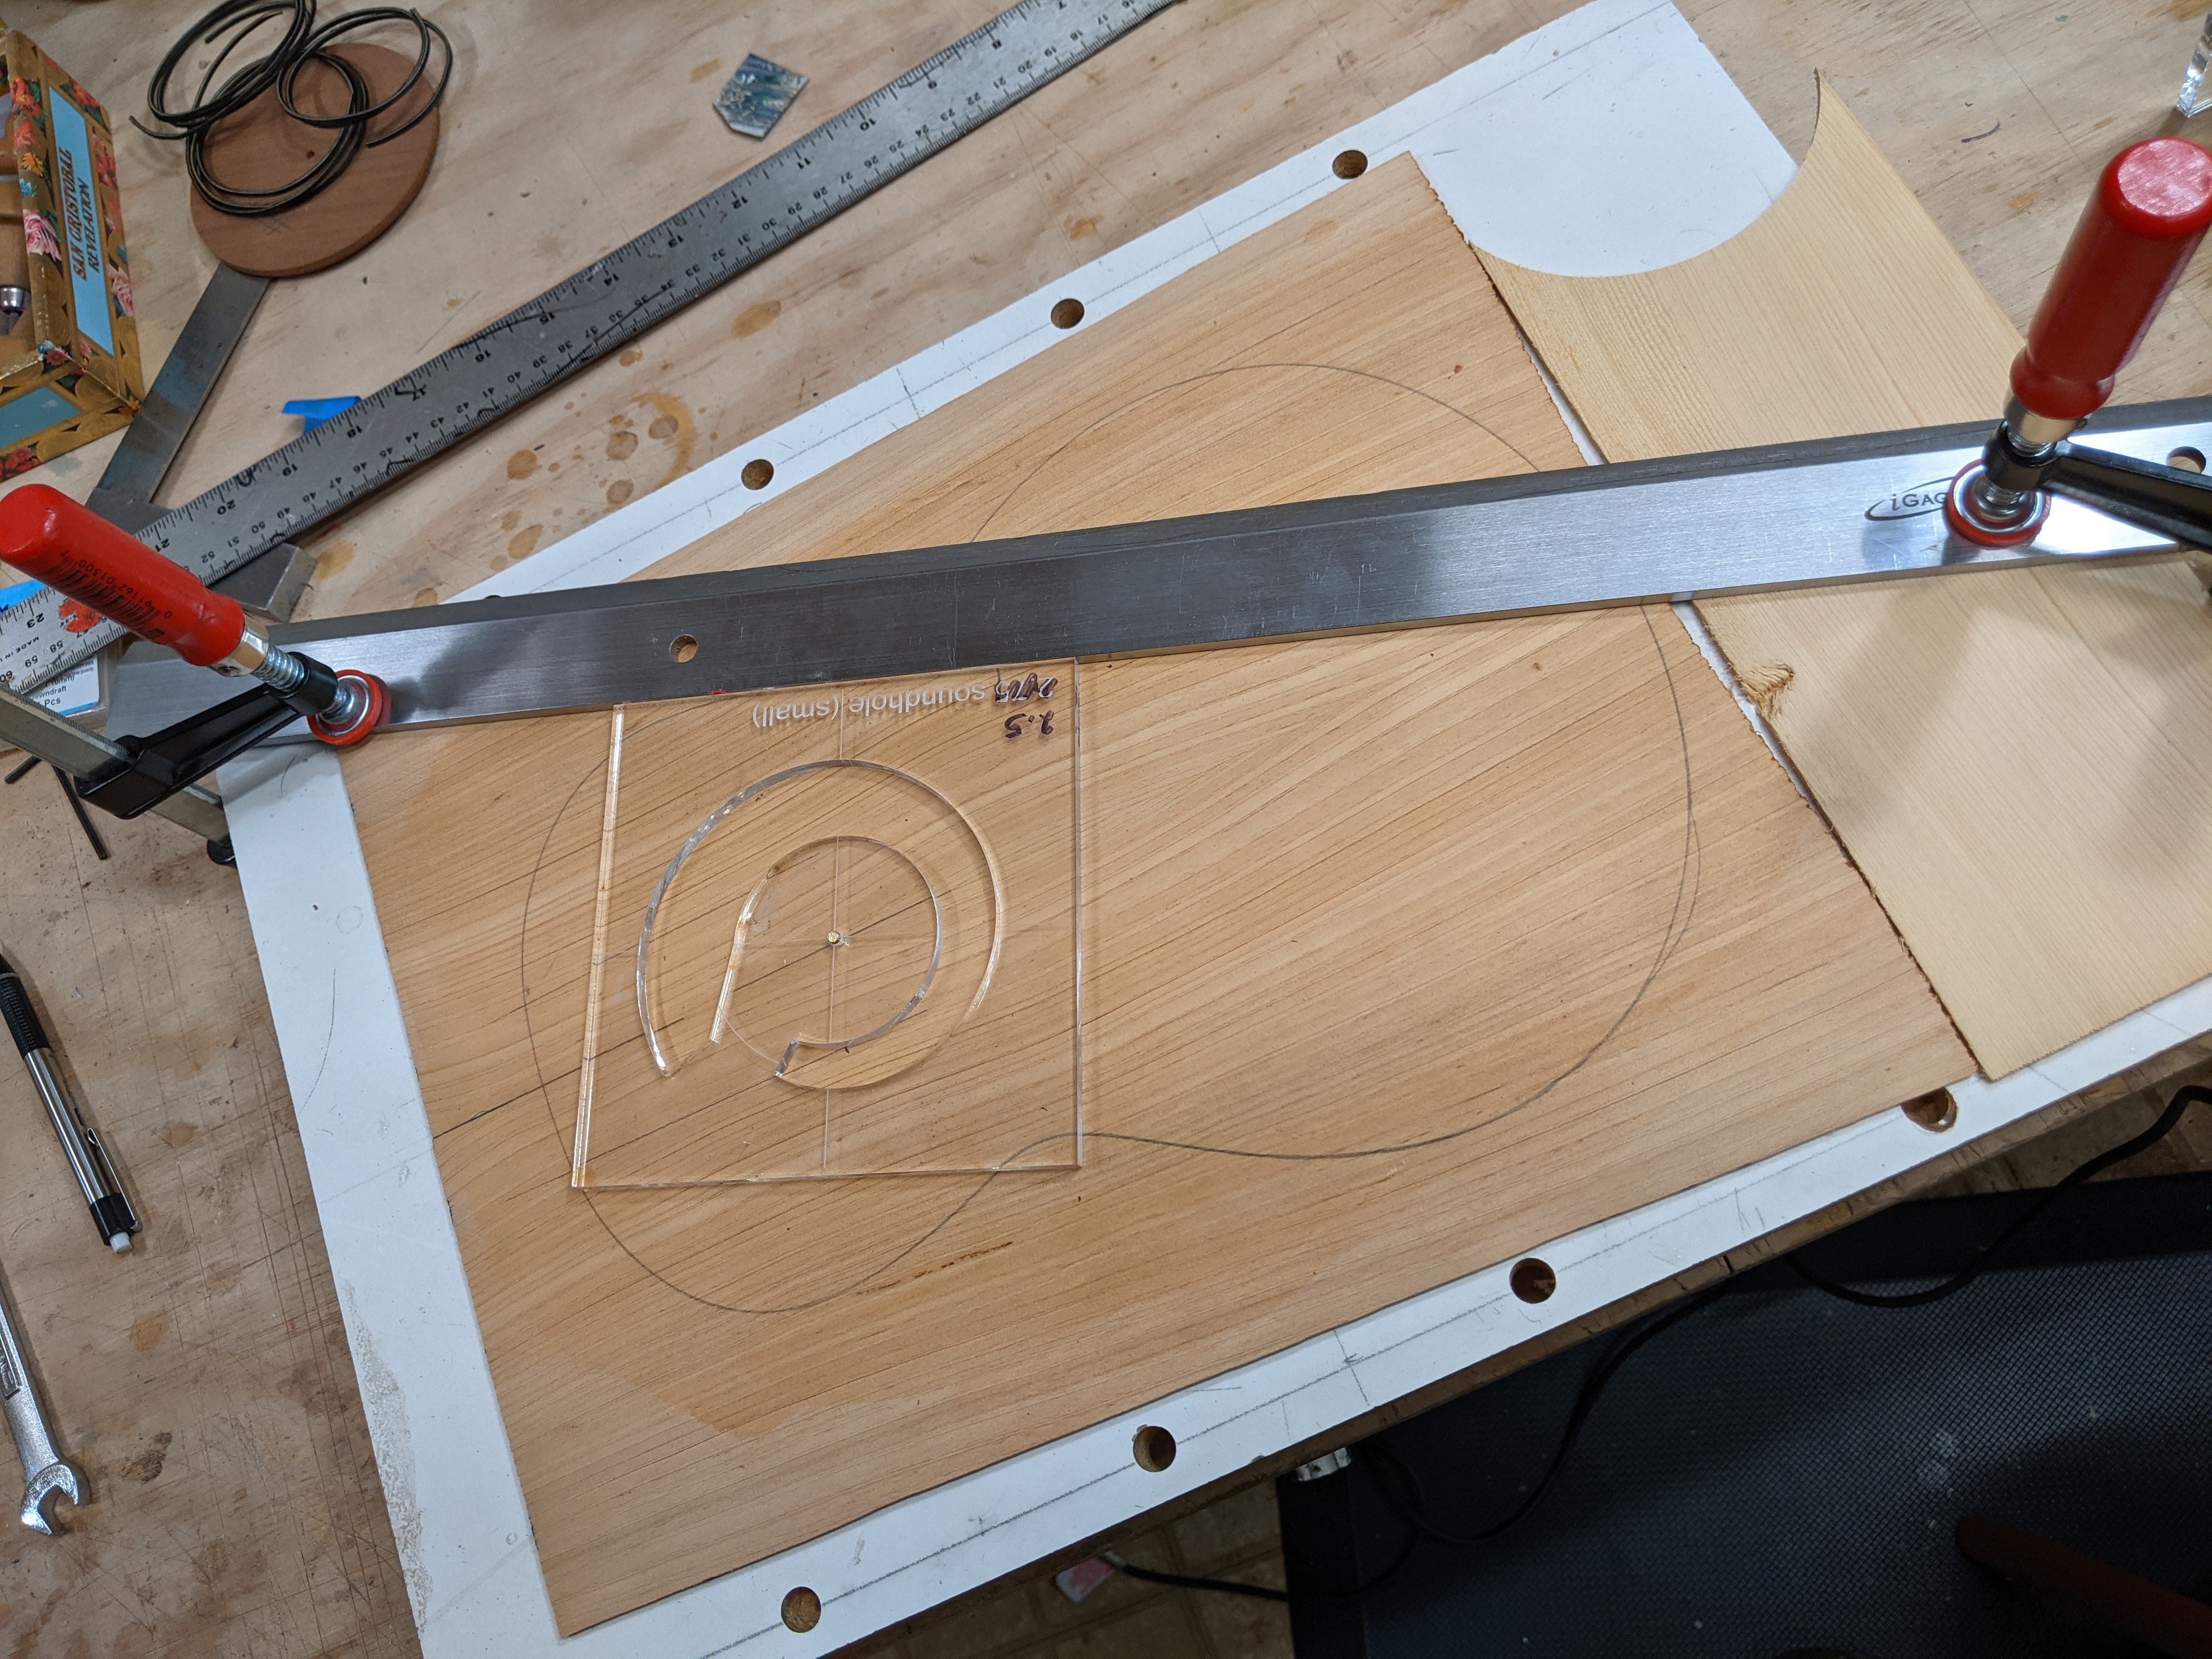
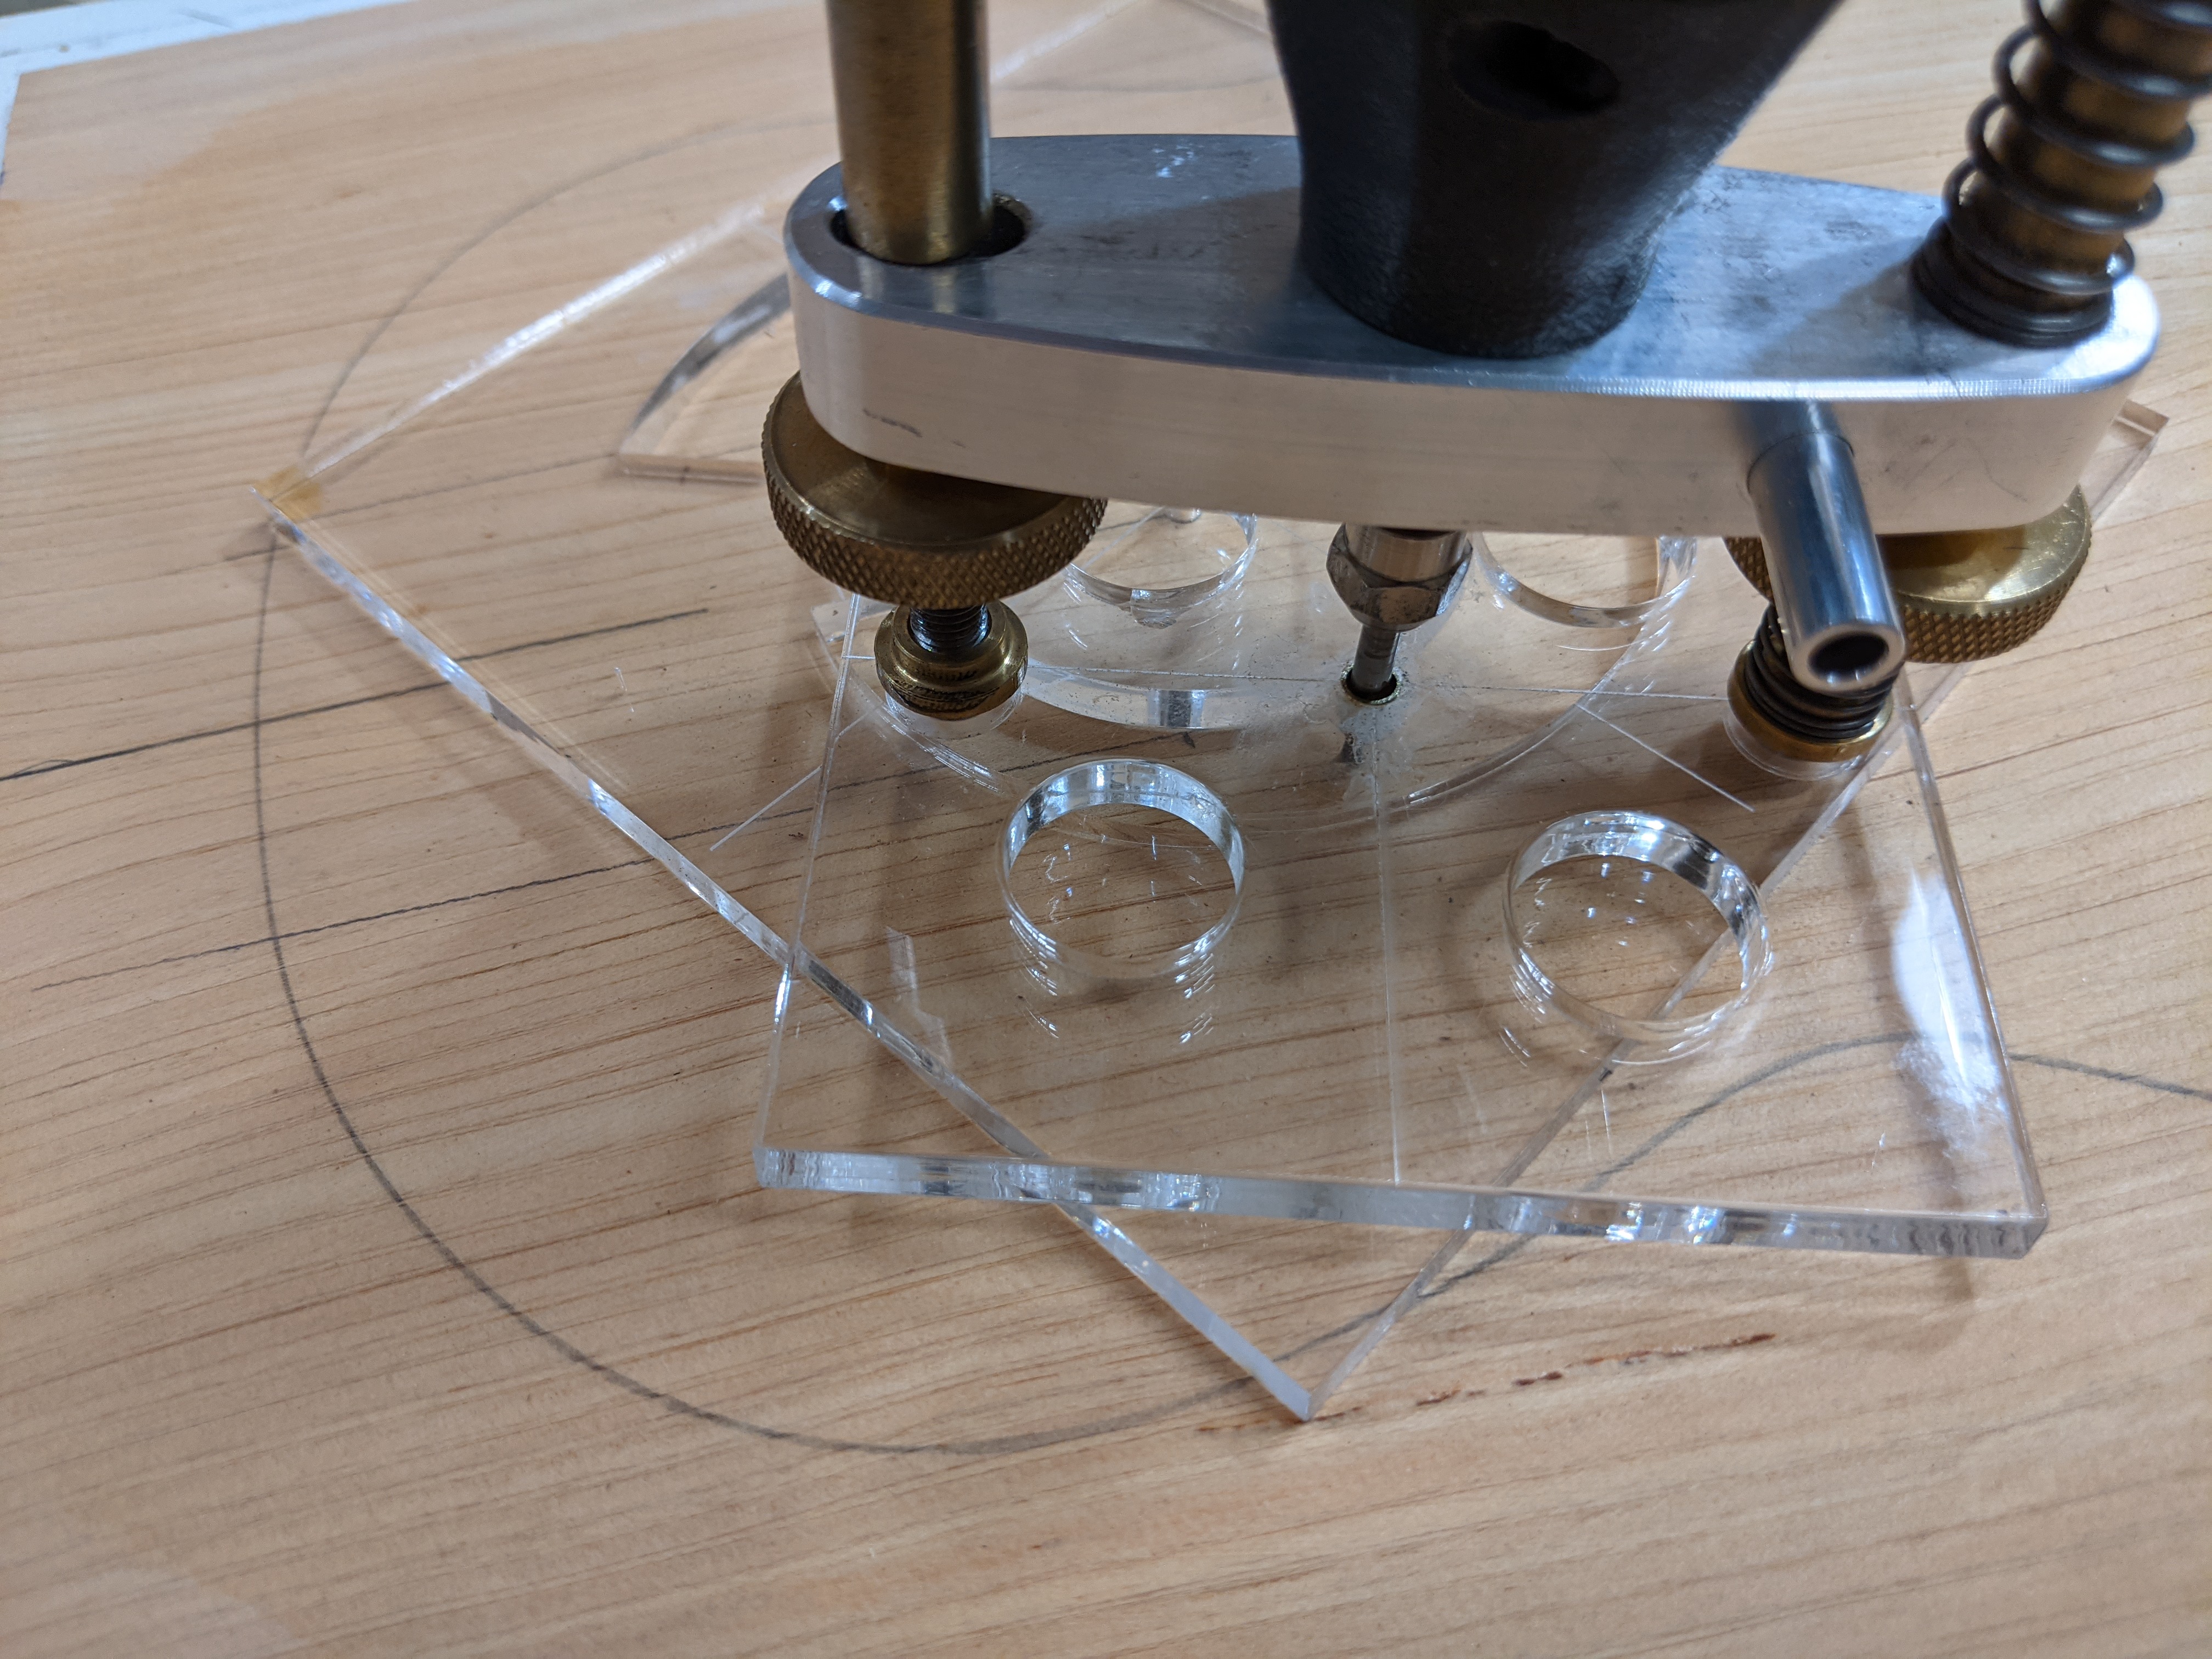
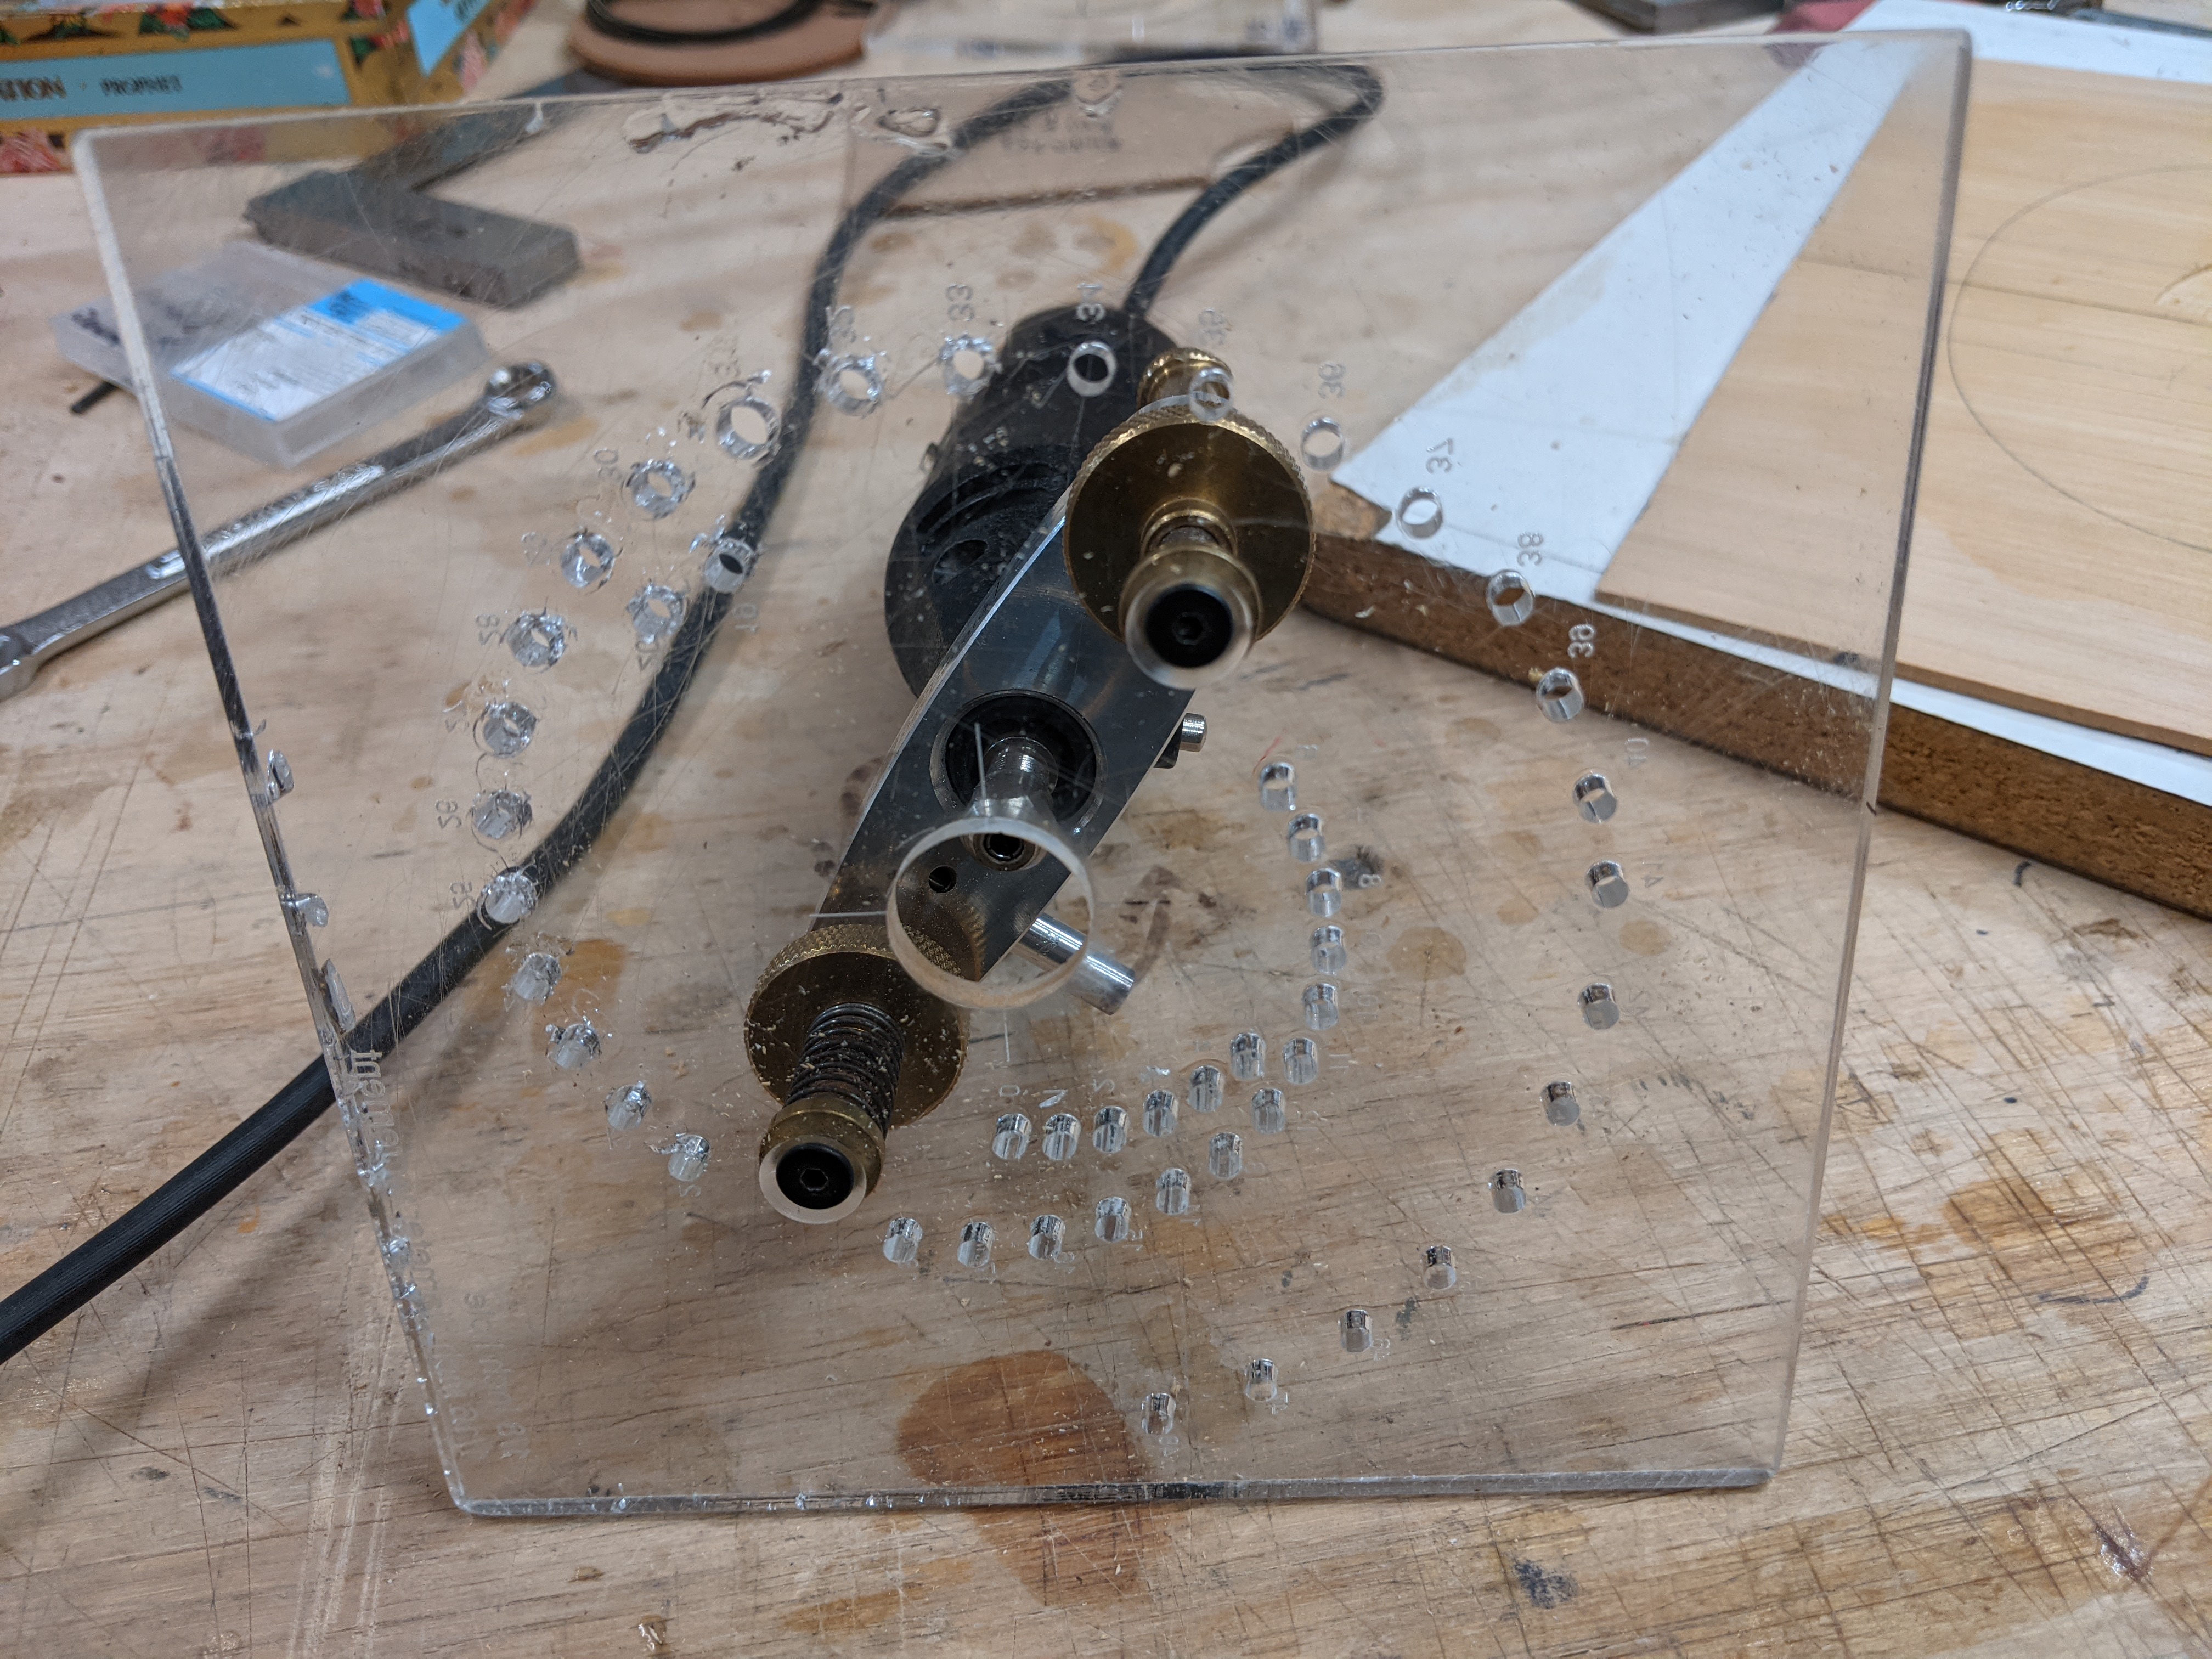
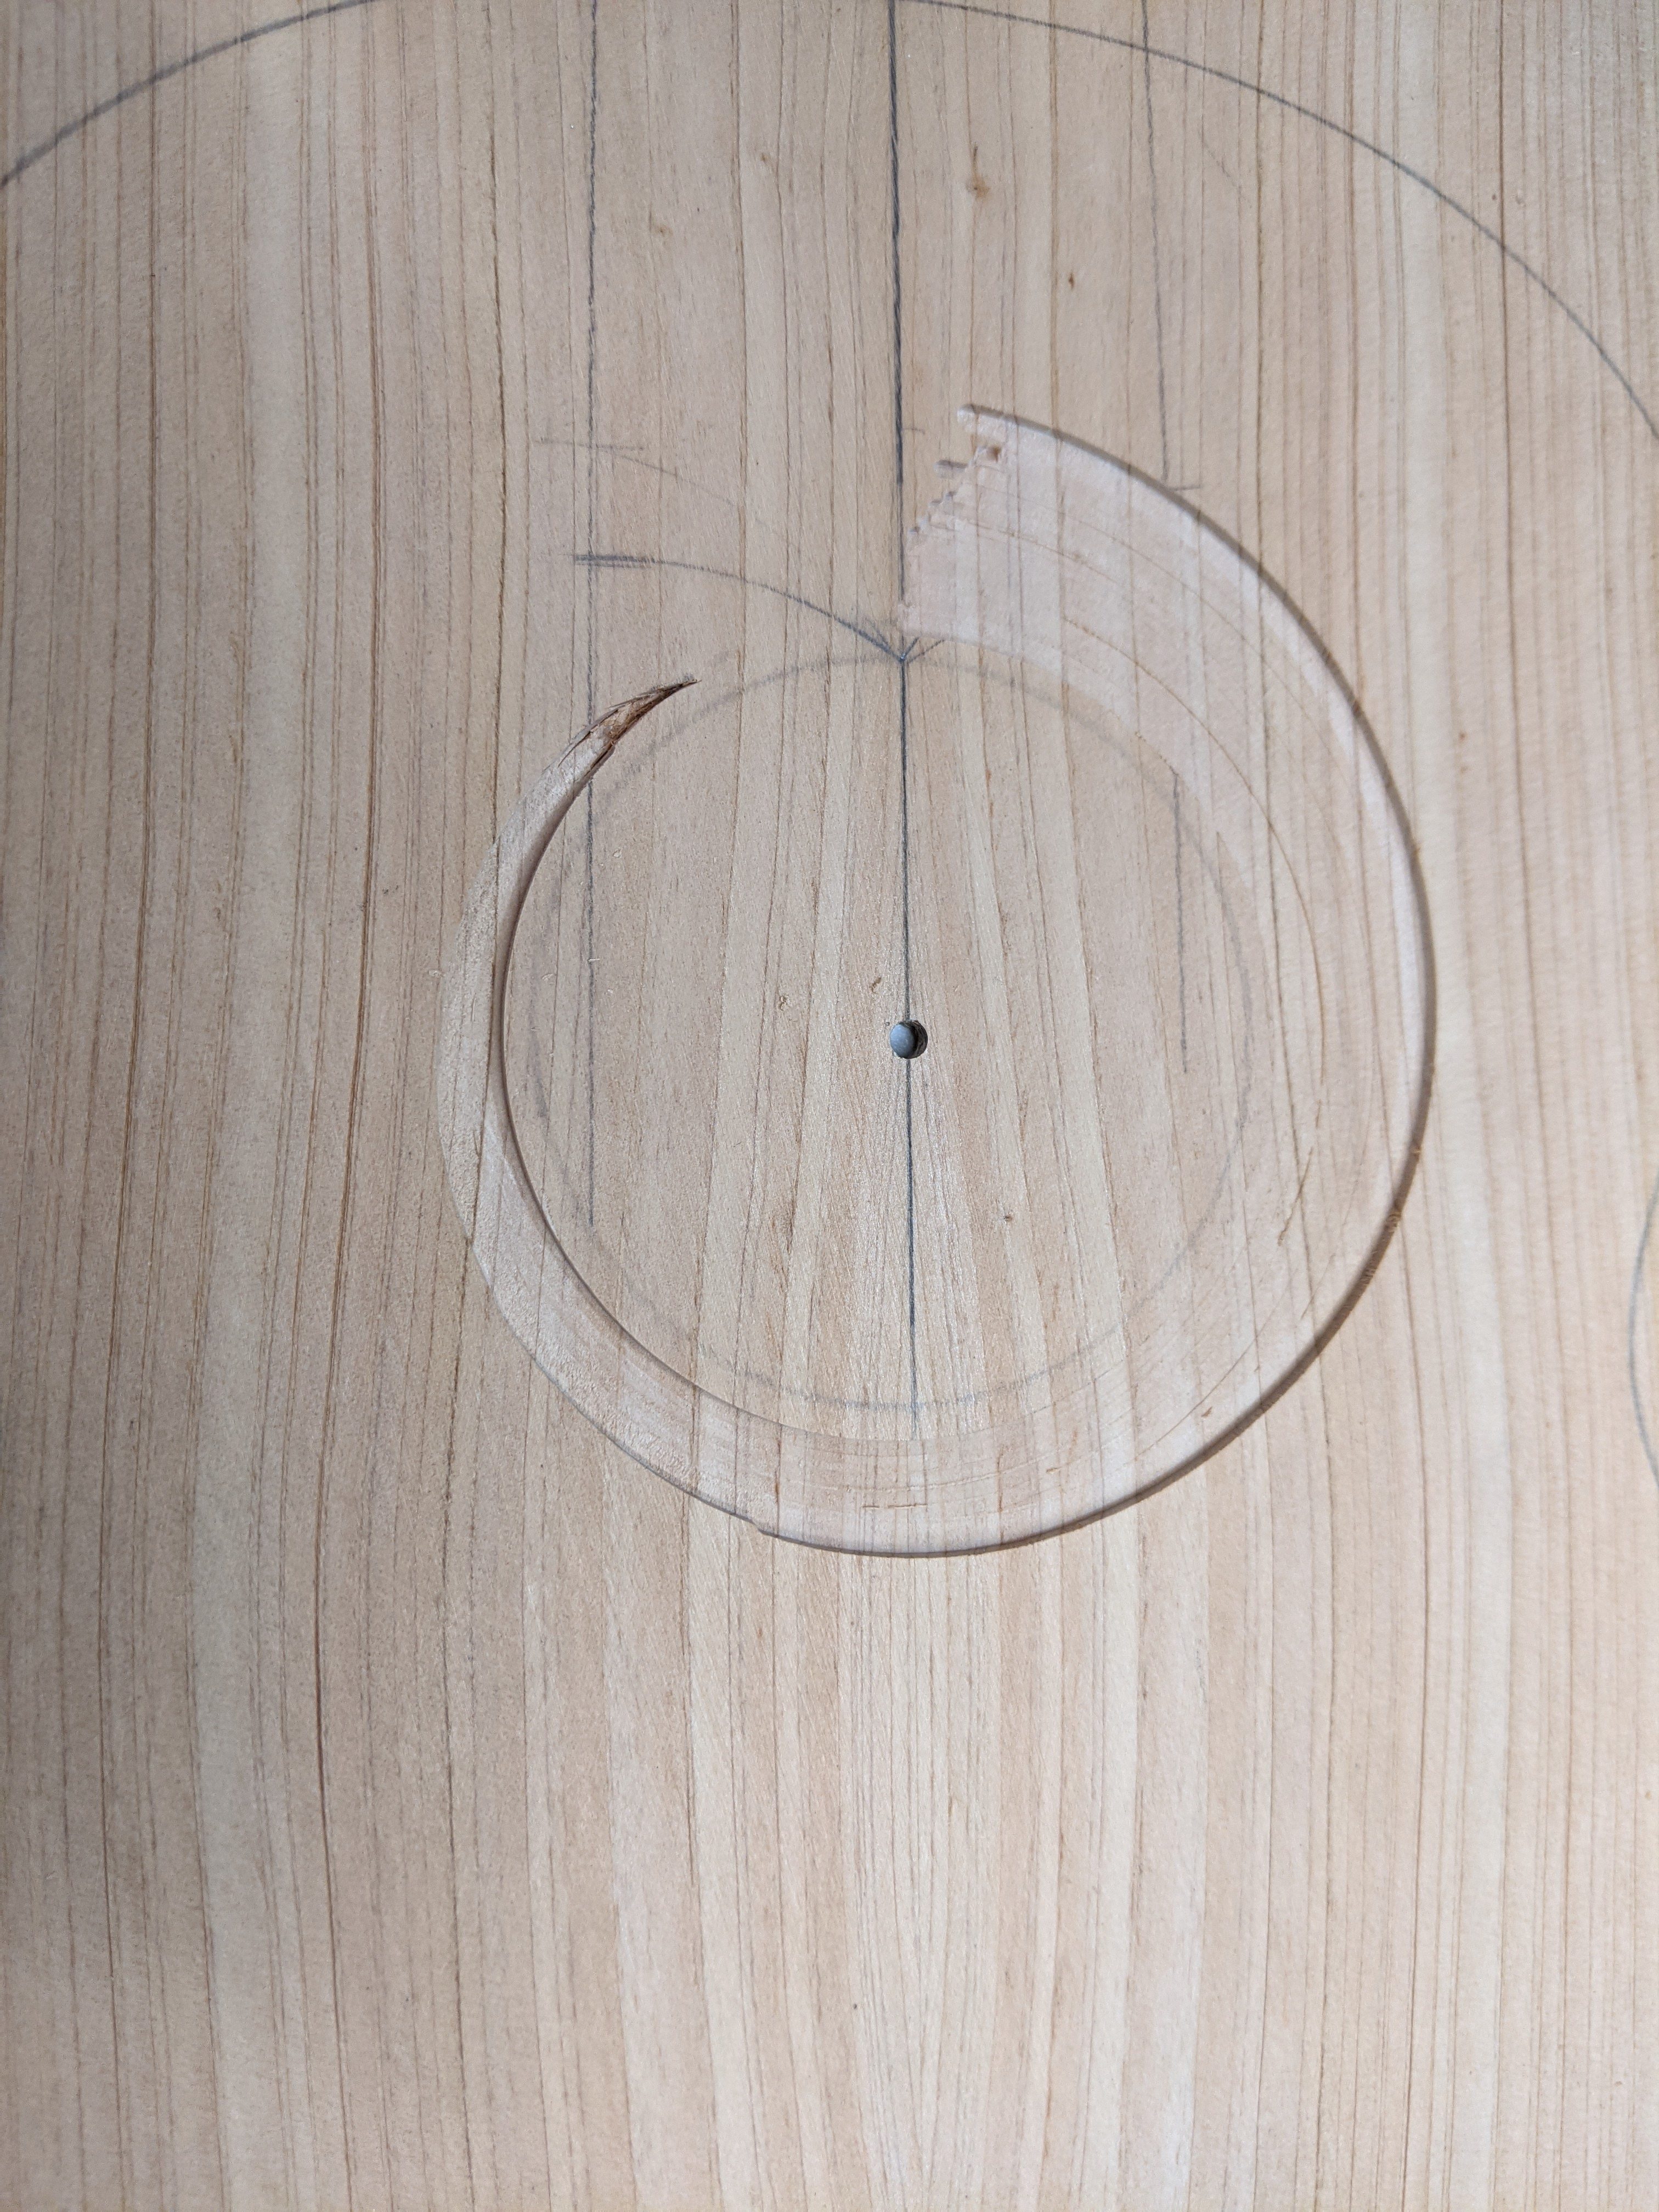
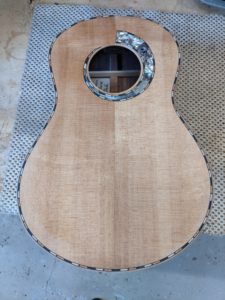
For both the reinforcement around the sound hole, and the bridge plate, I glue down somewhat thicker pieces and then run the top through the thickness sander to thin these pieces out. Gluing down thicker pieces is much easier than trying to glue down quite thin pieces. In this case I wanted the sound hole reinforcement thinner that the bridge plate, so I glued it down first, thinned it with the thickness sander, then glued the bridge plate down, and finally thinned it.
The bridge plate also needs to be larger that what I would use for a nylon stringed instrument, since the tapered pins will come through it and one does not what the pin holes too close to the edge of the bridge plate. On steel string guitars the bridge plate is between the X braces, but I have been extending the bridge plate and notching the braces over the bridge plate on all my instruments. I think this adds to the stiffness because any rotation of the bridge/bridge plate will directly have to bend the braces.
For a bracing pattern I am using what is my normal nylon string bracing, an X braced system, without any transverse brace below the sound hole. This brace pattern has produced very nice results in the nylon string world, and I figure that vibrations are vibrations whether started with nylon strings or steel strings so it should work well in a steel string environment. Also, a whole lot of steel string guitars use an X brace pattern.
When making up the X one notches both of the the two braces half way through and then fits them together. This has the unfortunate side effect of basically cutting the brace in half in the middle. To make this X join point stronger I usually glue an extra little piece of wood across the top of the X to span the two sides of the brace where the cut faces up. From an engineering standpoint this will greatly strengthen the brace beam. In the case of this steel string baritone, as added stiffening/insurance, I per-glued the X together with epoxy. Epoxy will fill any little spaces where the two notched braces fit together and will weld the whole thing into one structure.
The braces are shaped into a triangular cross section since the stiffness of a beam (brace) is dependent much more on the height of the beam than the width. By shaving this off into a triangular cross section the brace is made lighter (easier to vibrate) without sacrificing much strength.

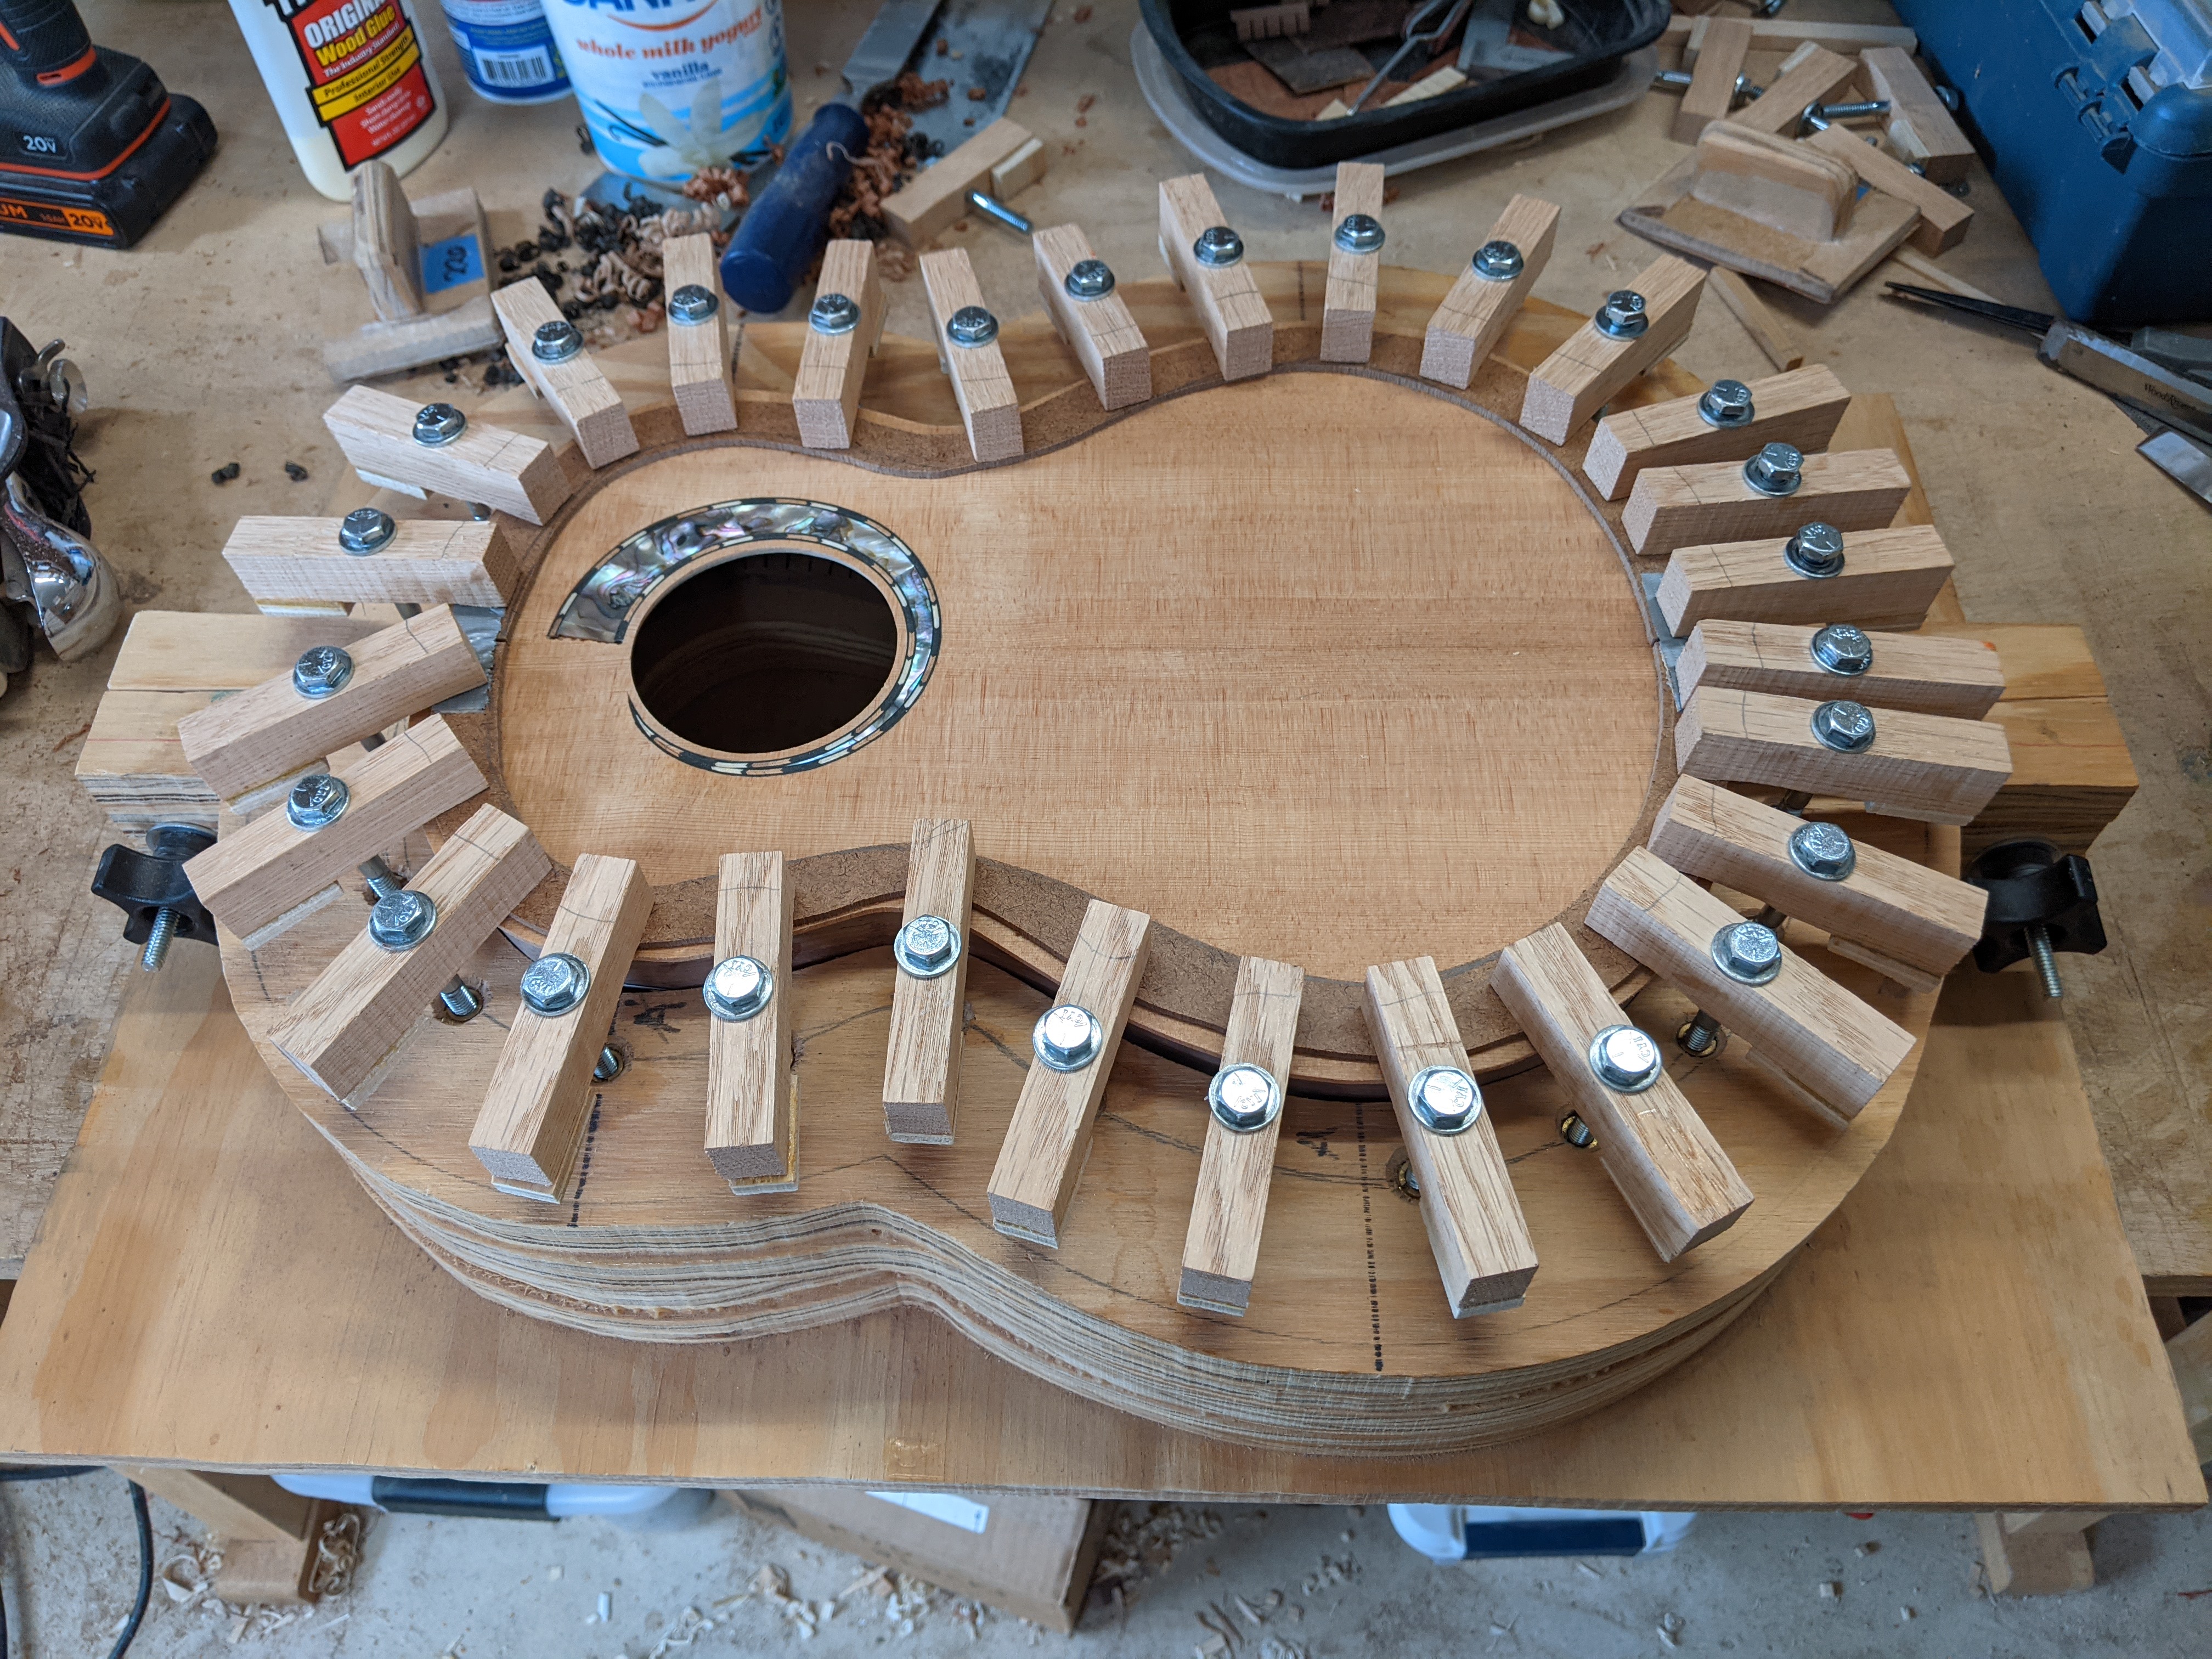
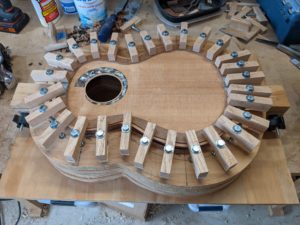
Gluing down the top
Once the top is glued down I shellac the interior. A coat of shellac should slow down expansion and contraction due to humidity changes. I have no proof that this is really necessary/beneficial, but a luthier who is much greater than I shellacs his interiors and it is a small thing, so why not.

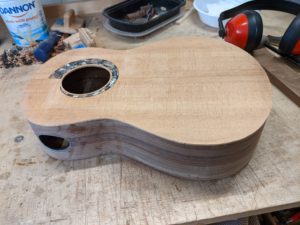
The back is shellaced before it is glued down (while fitting the brace ends into the kerfed lining). Glue on the back and this are all ‘boxed up’.
I am not a big believer in tap tones, at least as far a judging a top before it is glued onto the instrument. I do tap things trying to learn some patterns (I bought some xylophone hard rubber mallets to give a consistent tap) but the sound changes enormously between the top with bracing by itself, and when it is glued down as part of the instrument. Tapping on a closed box instrument I think gives some indication of what the eventual instrument will sound like. One thing I can say about this instrument from tapping it is that it is LOUD! Stiff spruce top, hard reflective back & sides (?) who knows but I think that the volume bodes well, since to me that is a sign of how well the box converts vibrational energy (from the top) into sonic energy.
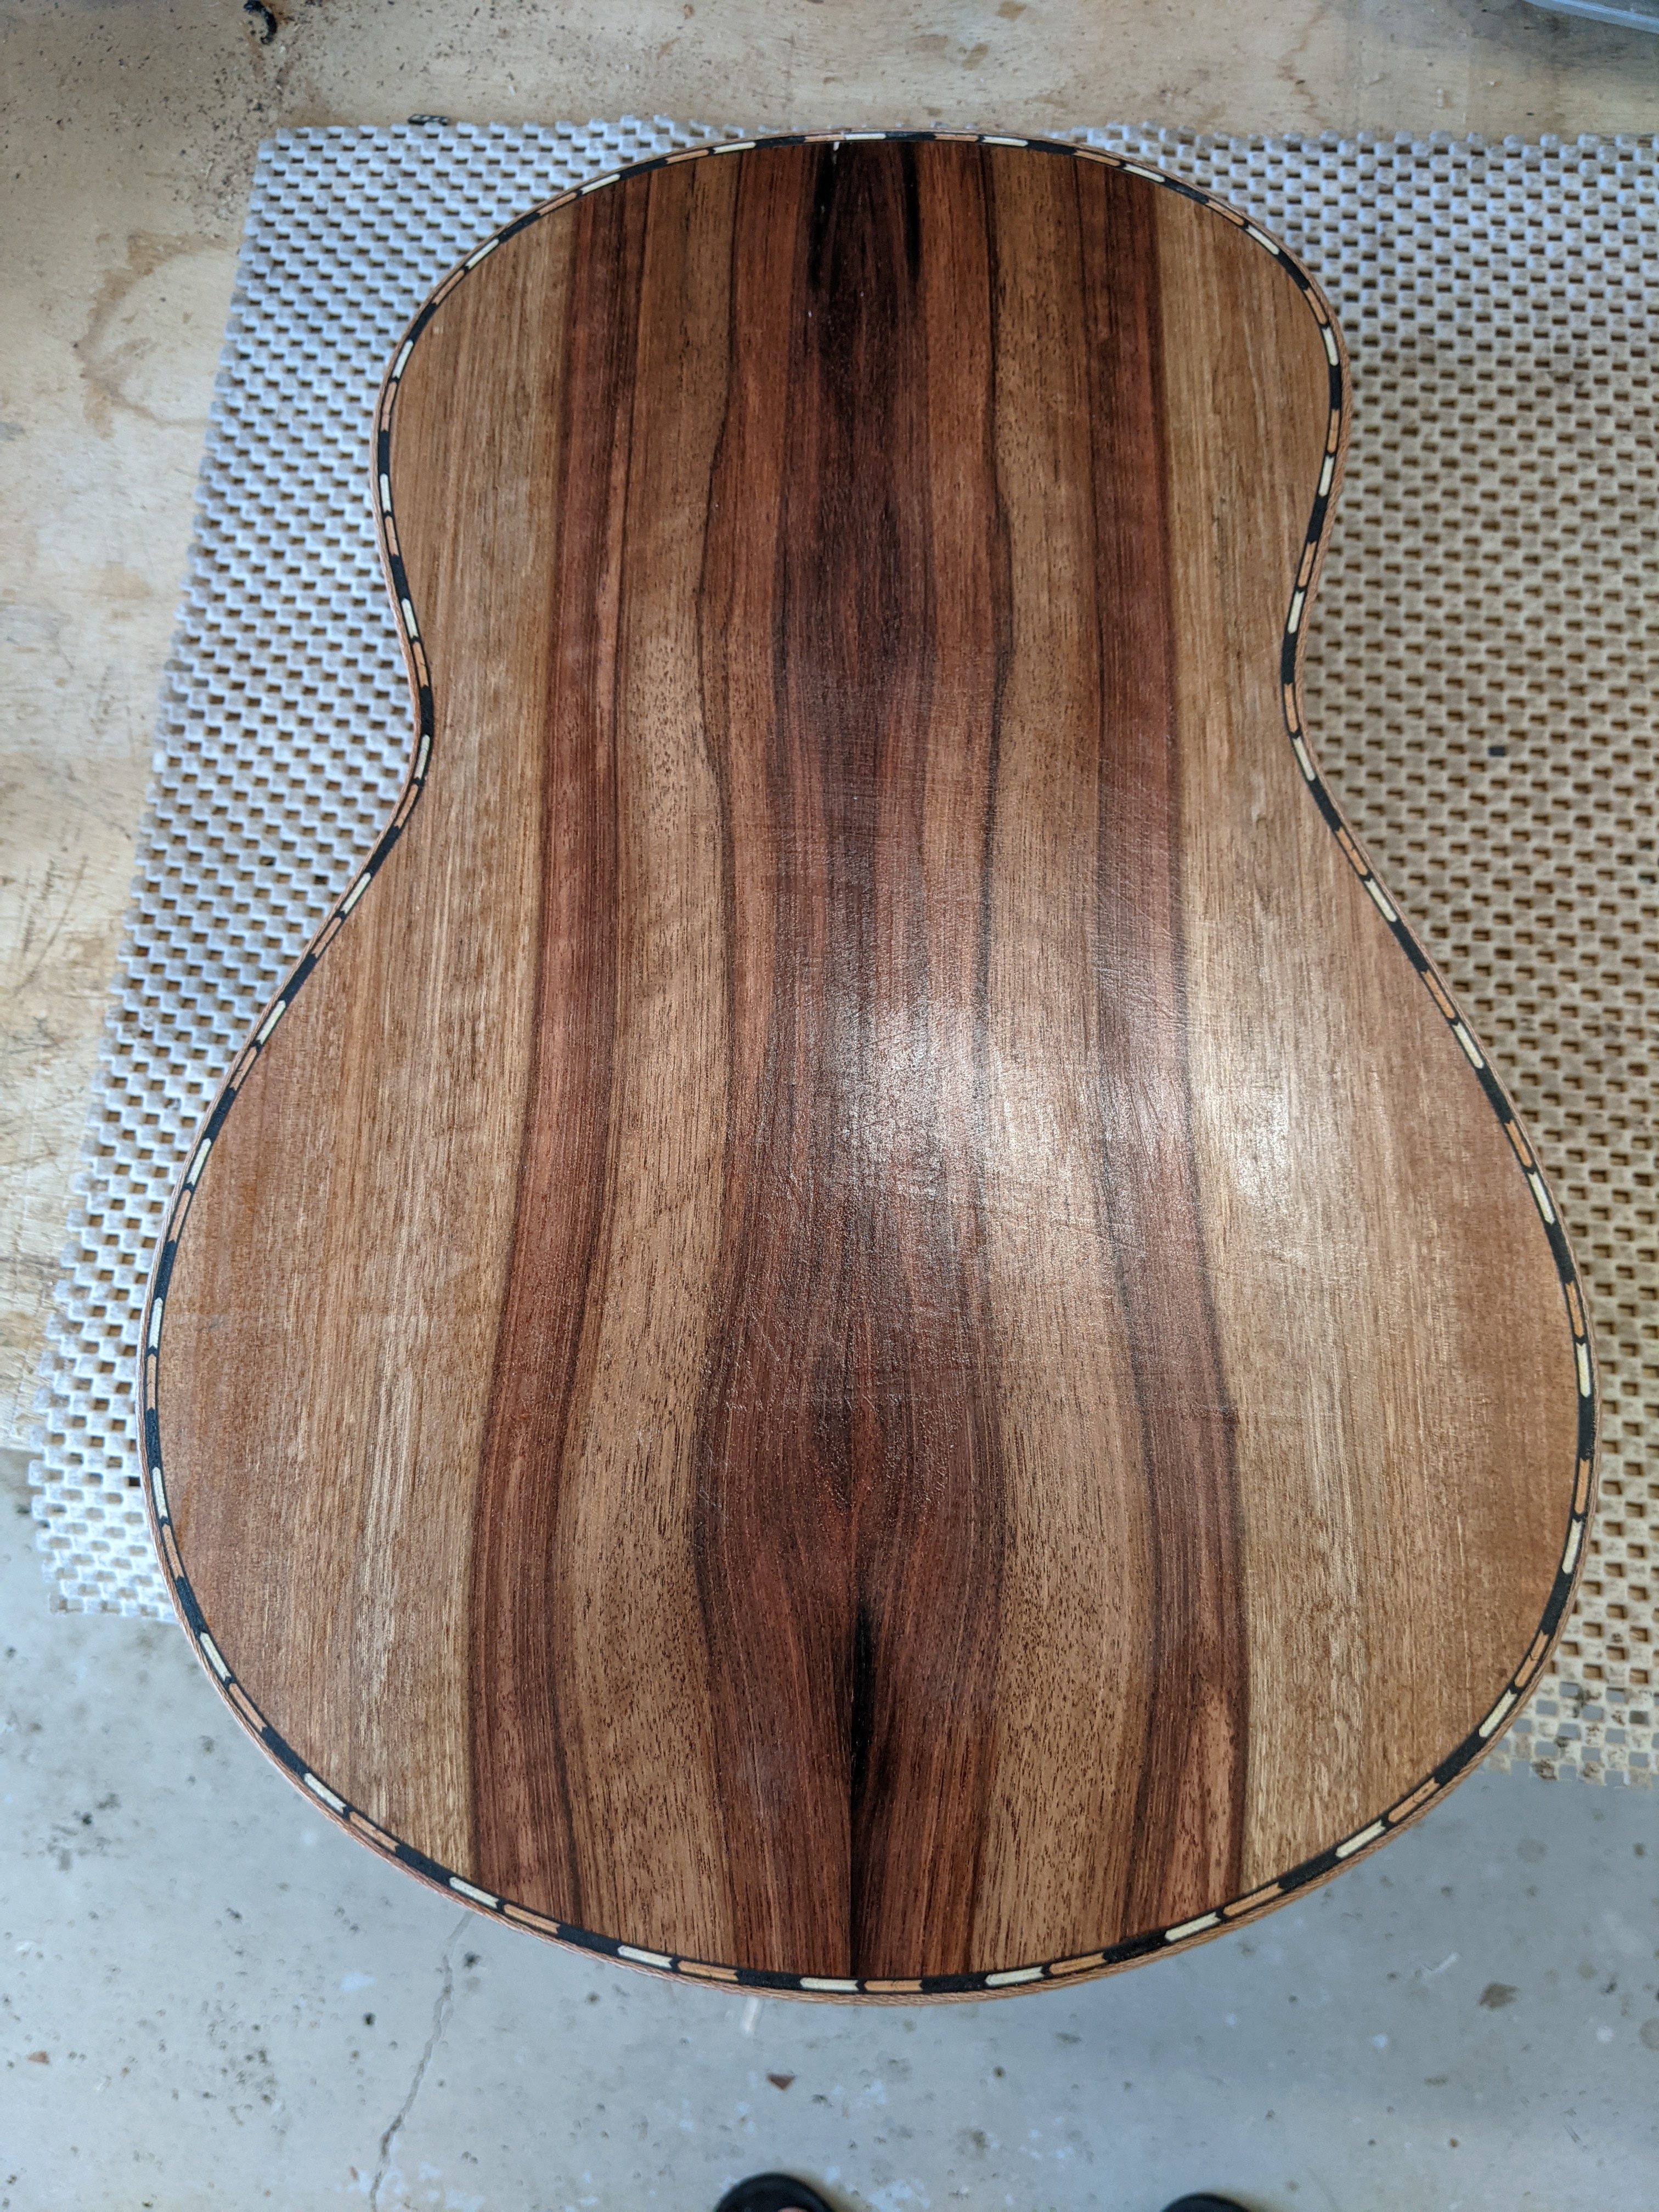
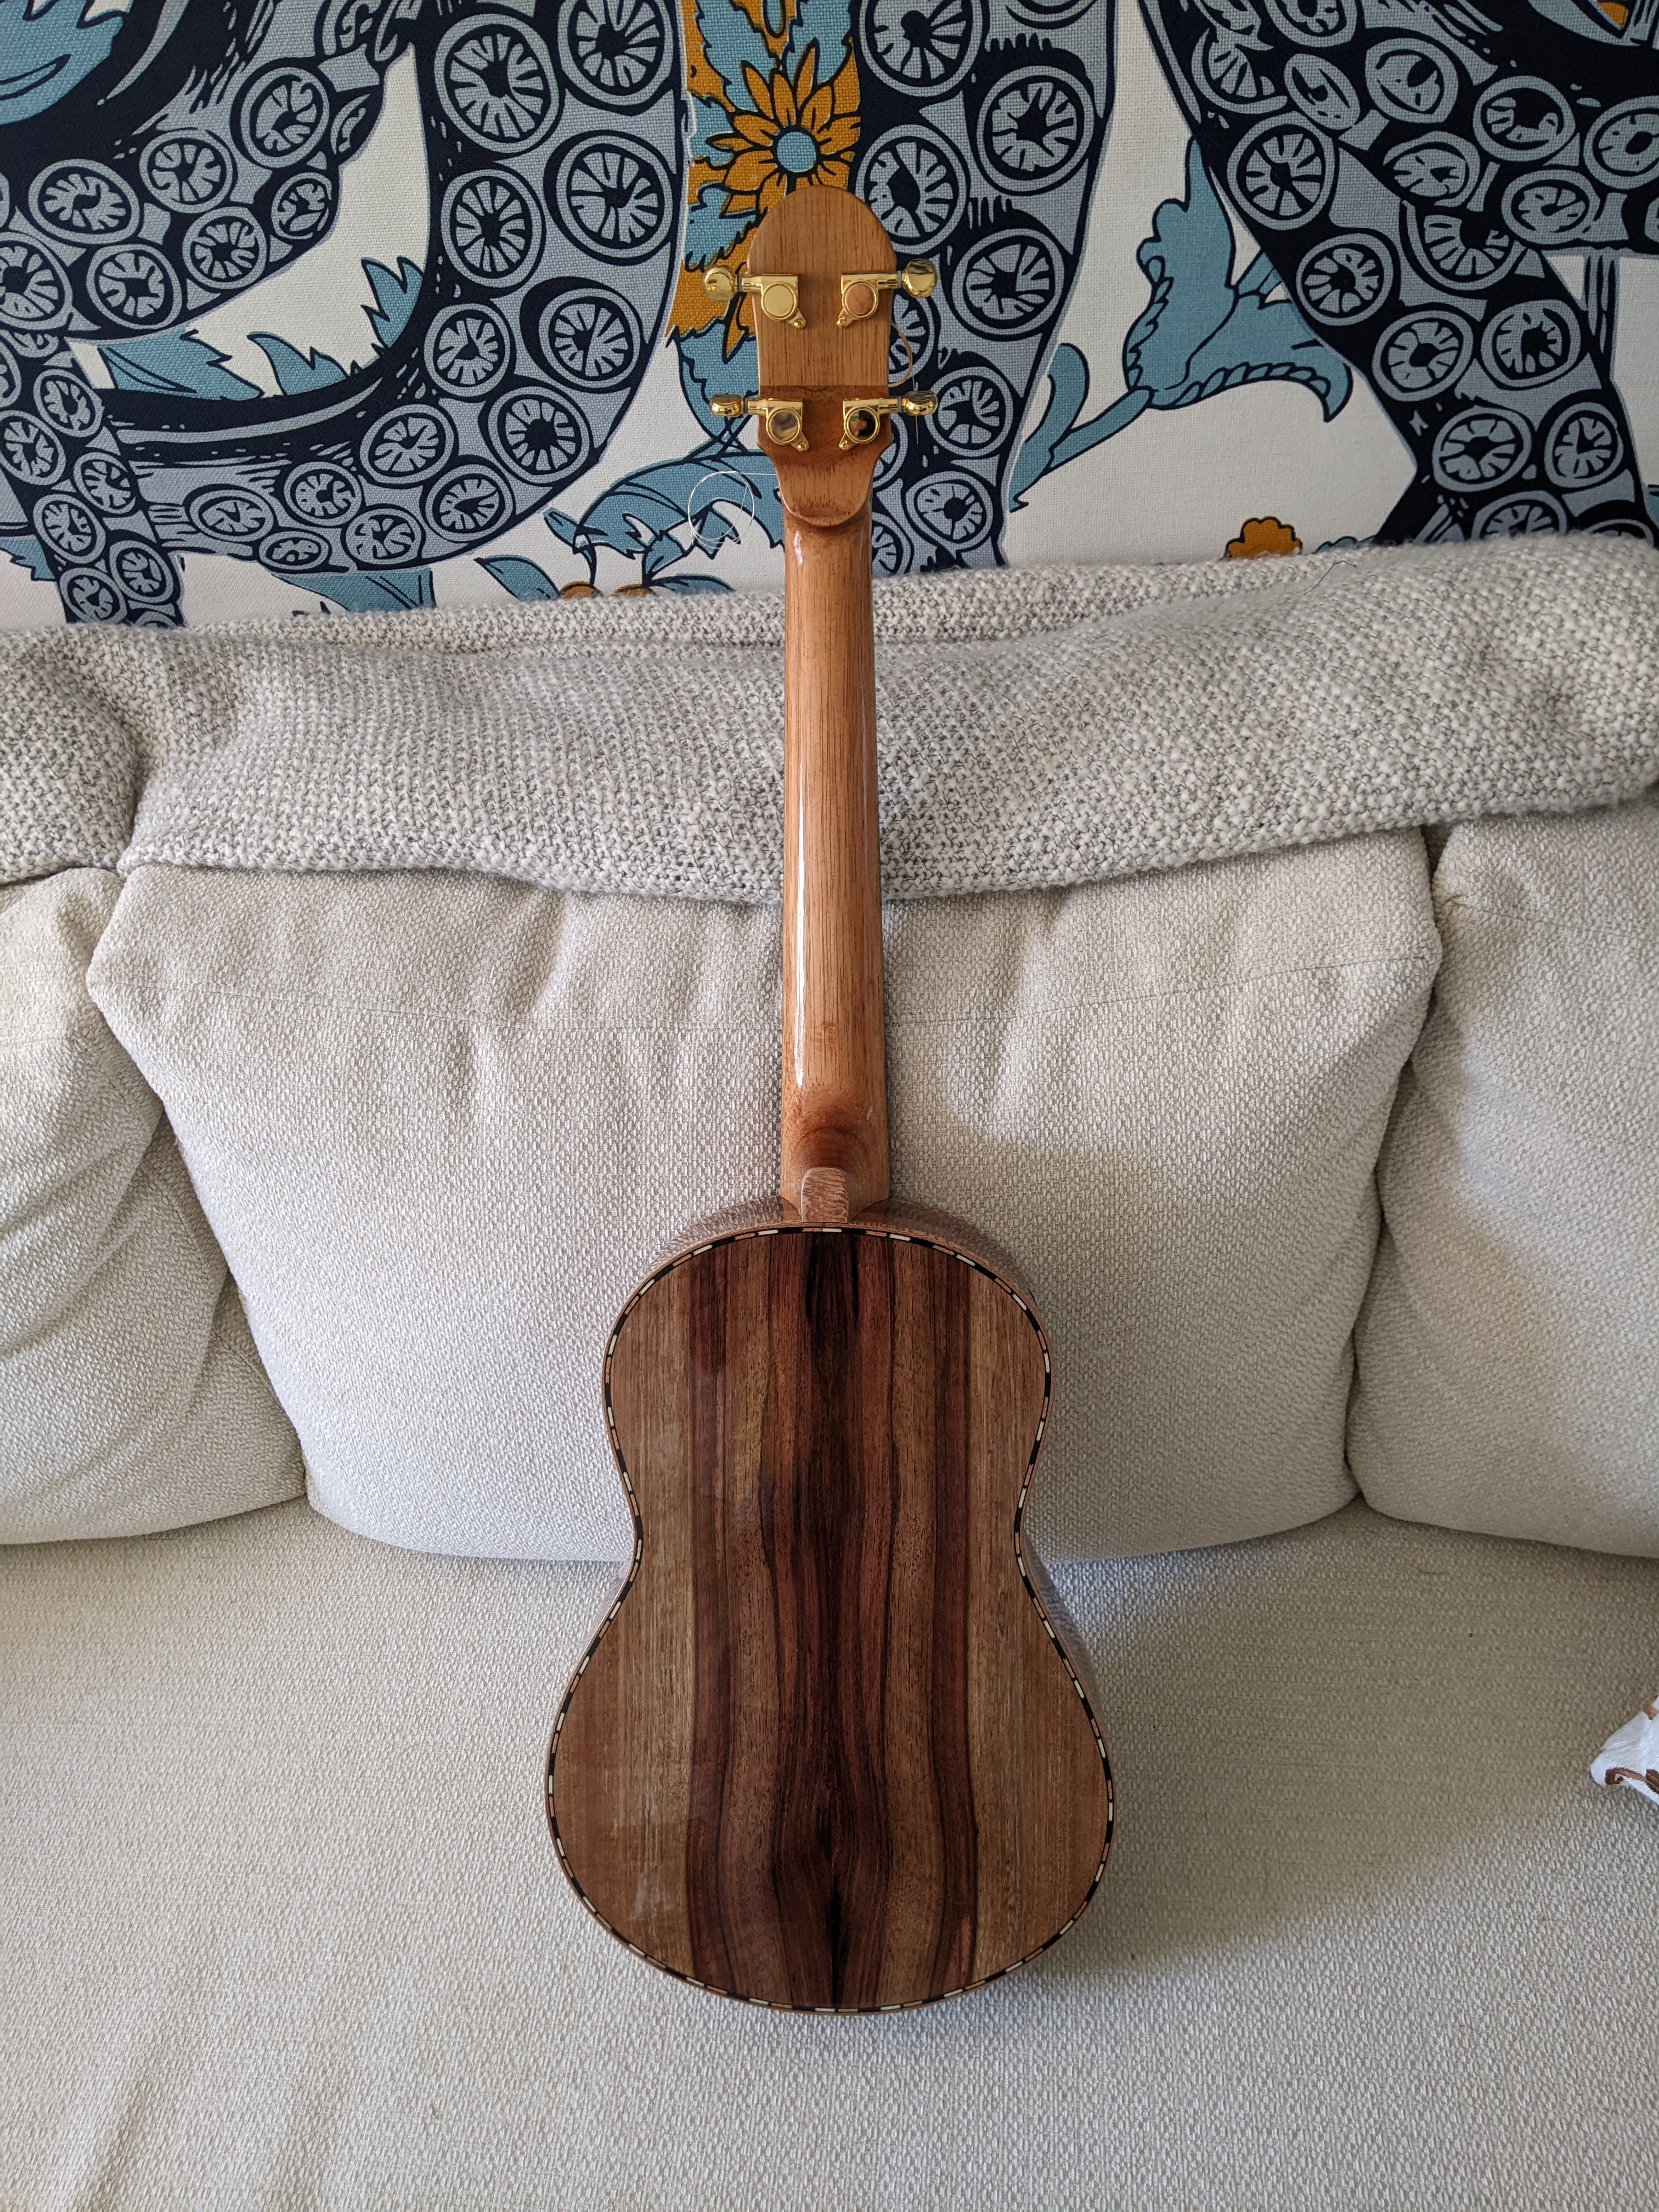
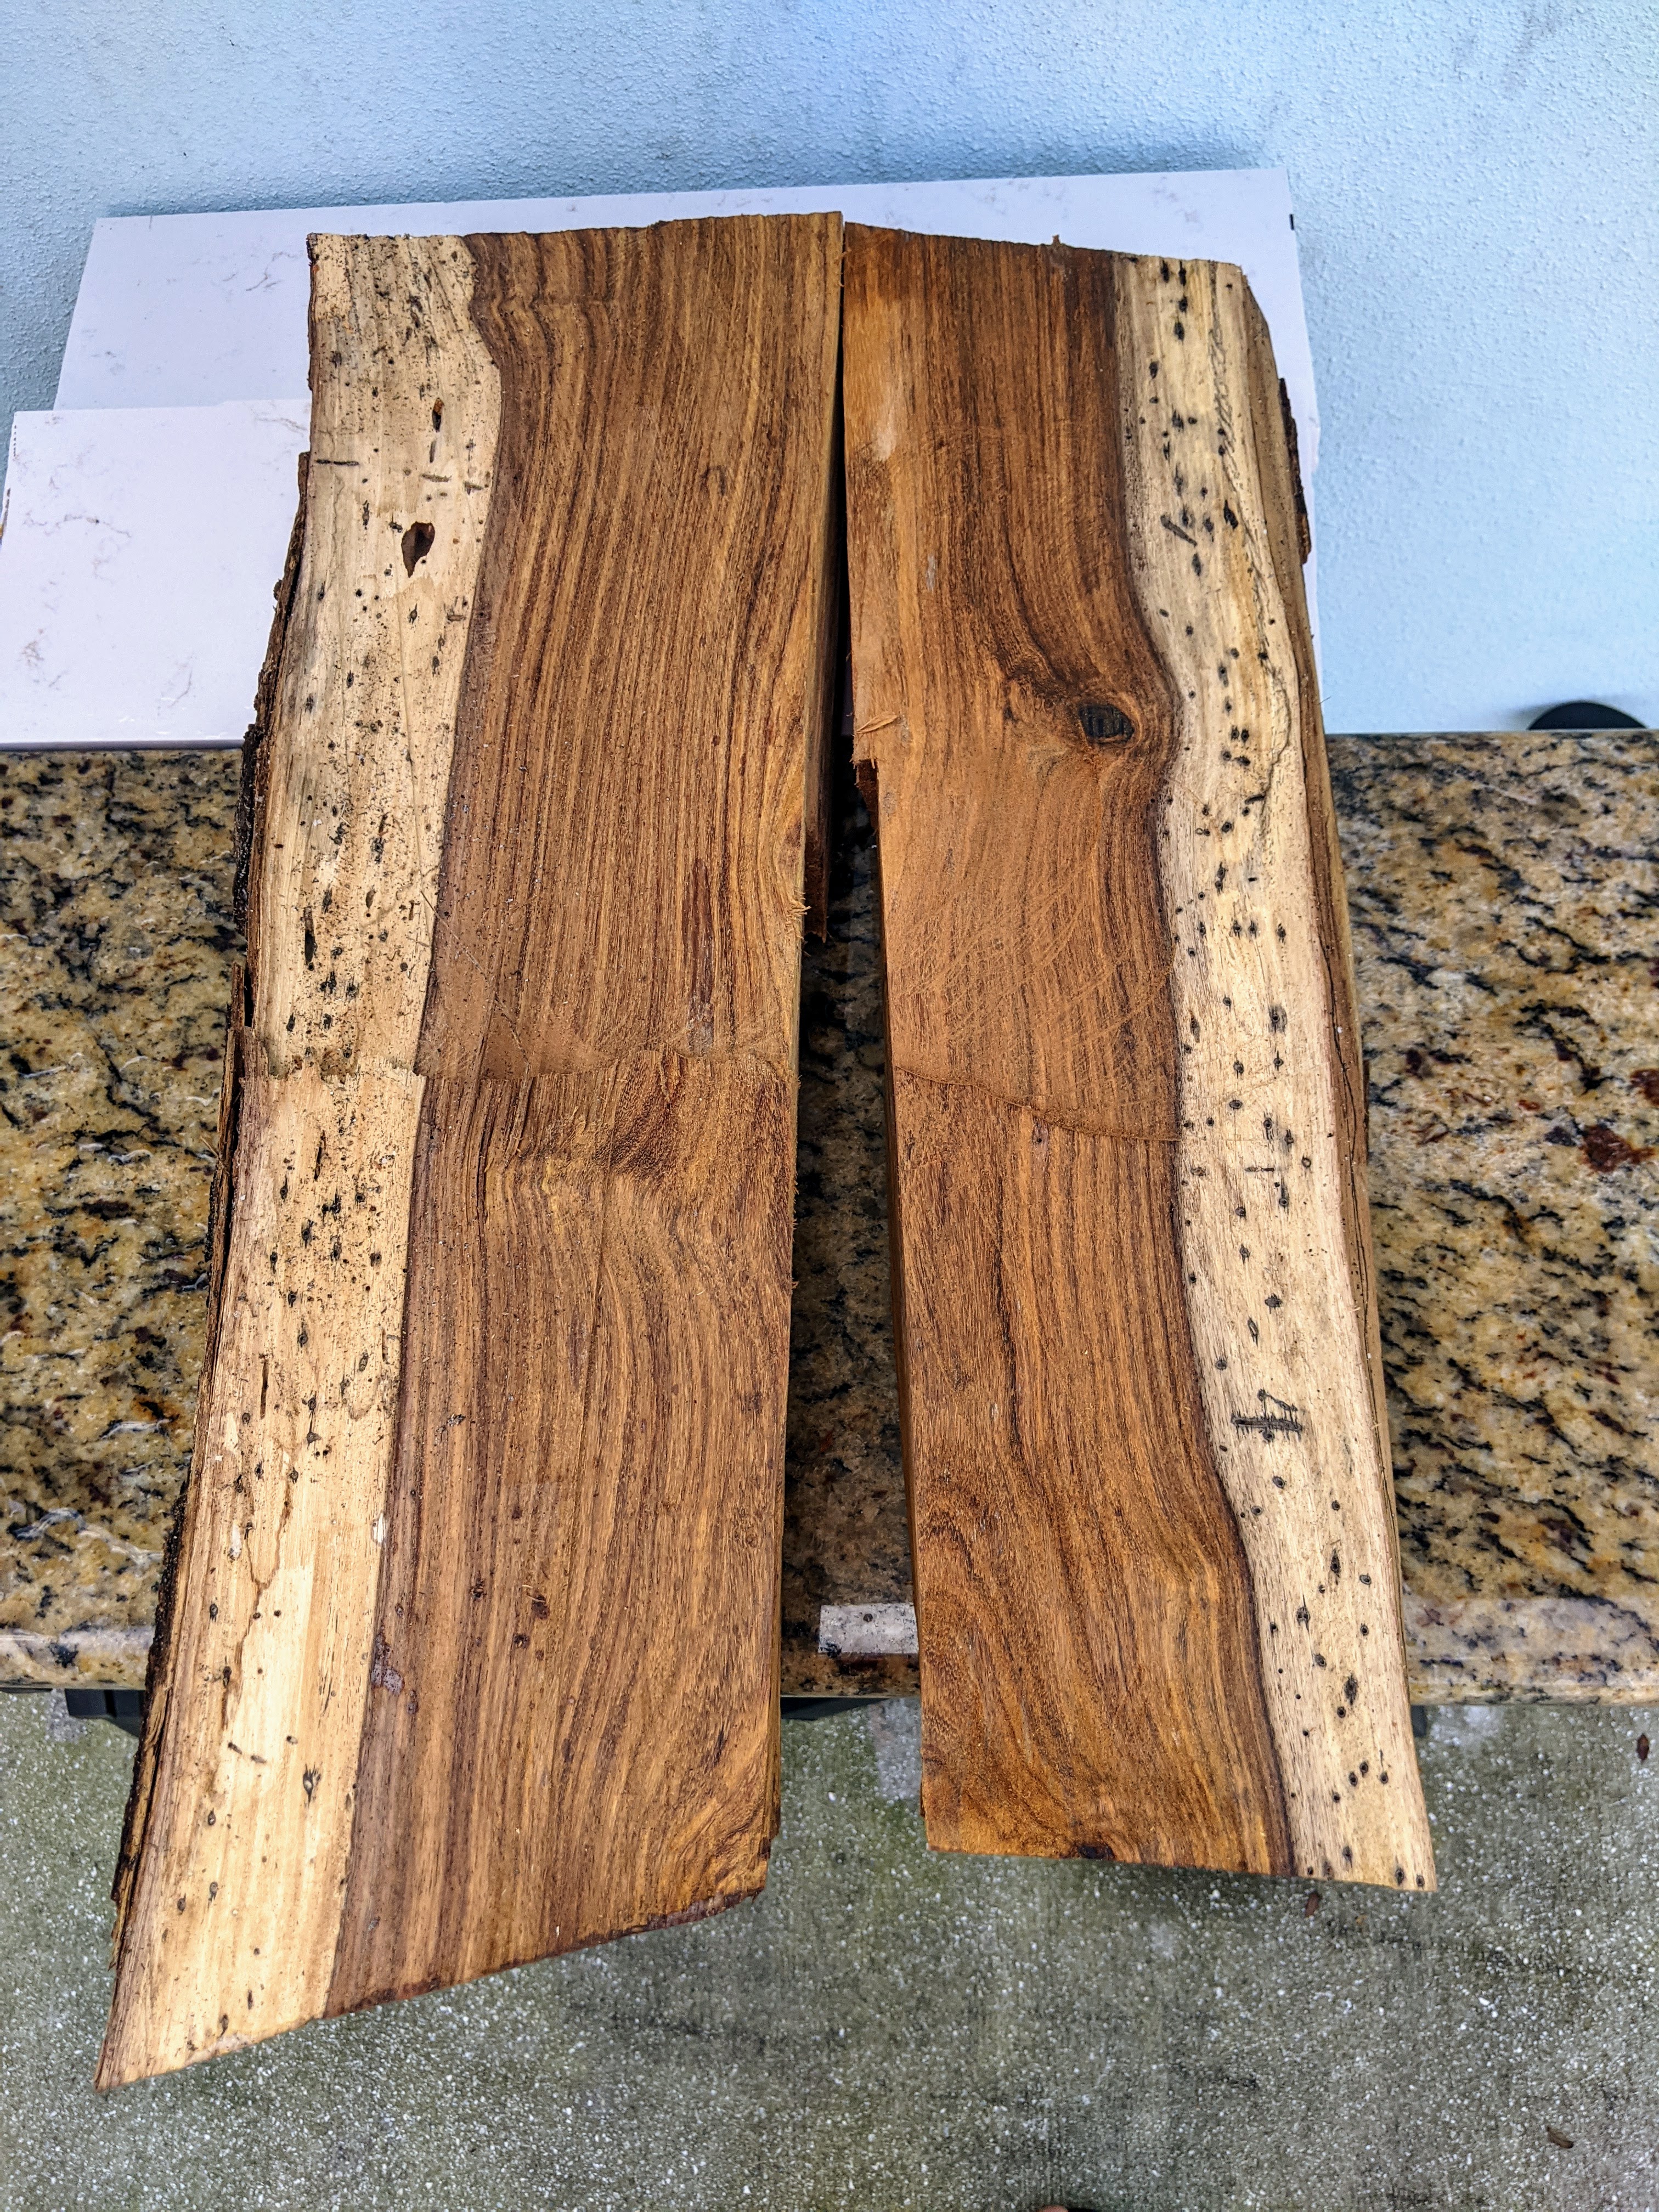
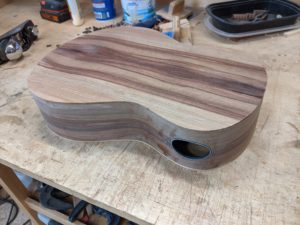
The back and sides are made of casuarina. Here in south Florida there are actually three closely related species of casuarina, C. equisetifolia, C. glauca, and C. cunninghamiana. All considered invasive, with C. glauca being the worst. One tells them apart with a very careful examination of the ‘leaves’, which look like pine needles, hence the local name of “Australian Pine”. They are similar but I see some differences in the wood of at least two, if not all three species (I just recently acquired some C. cunninghamiana). The casuarina I have used in the past has all been C. equisetifolia, quite hard and dense. The back and sides here are C. glauca. This is the first time I have worked with this species of casuaarina. This was cut a couple of years ago from a big blow-down after a glancing hurricane blow.
Trees of course differe even among the same species, but this C. glauca I have found to be really really hard. I started rough sanding the body of the baritone and this casuarina really dulls sandpaper quickly. Even with frequent sandpaper changes progress is slow. I think this is the hardest wood I have ever used for back & sides.
– – – – –
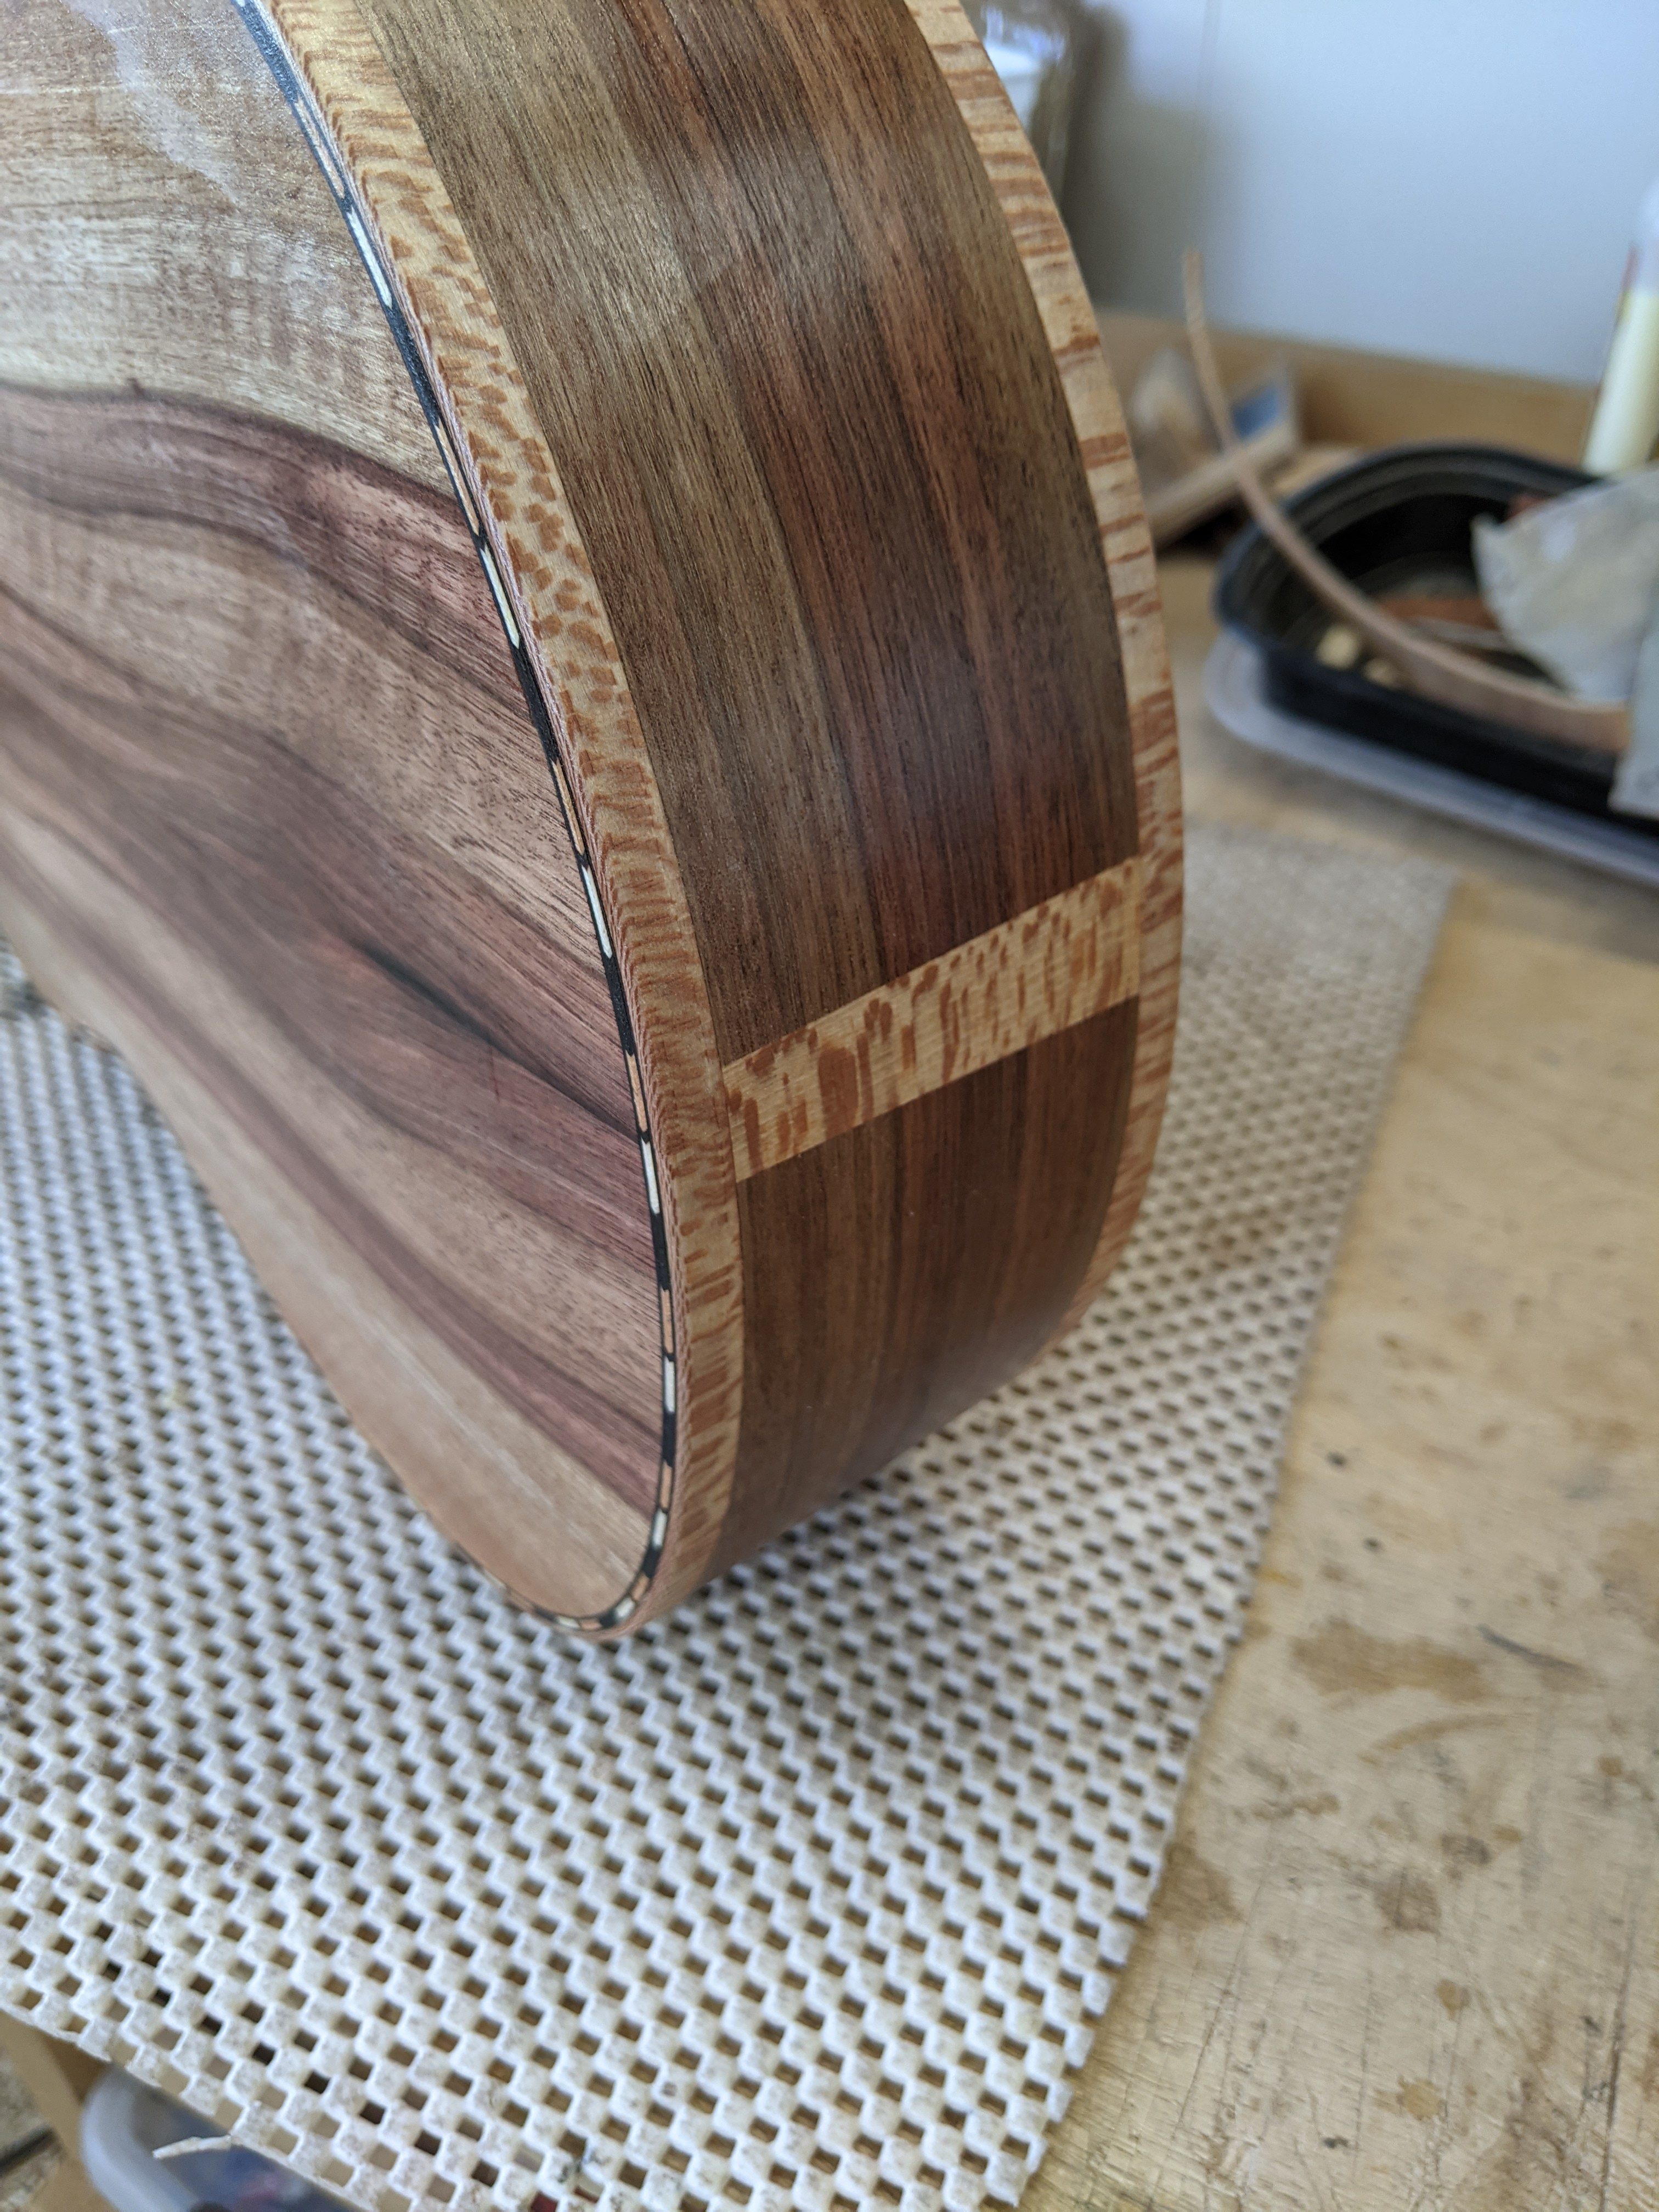
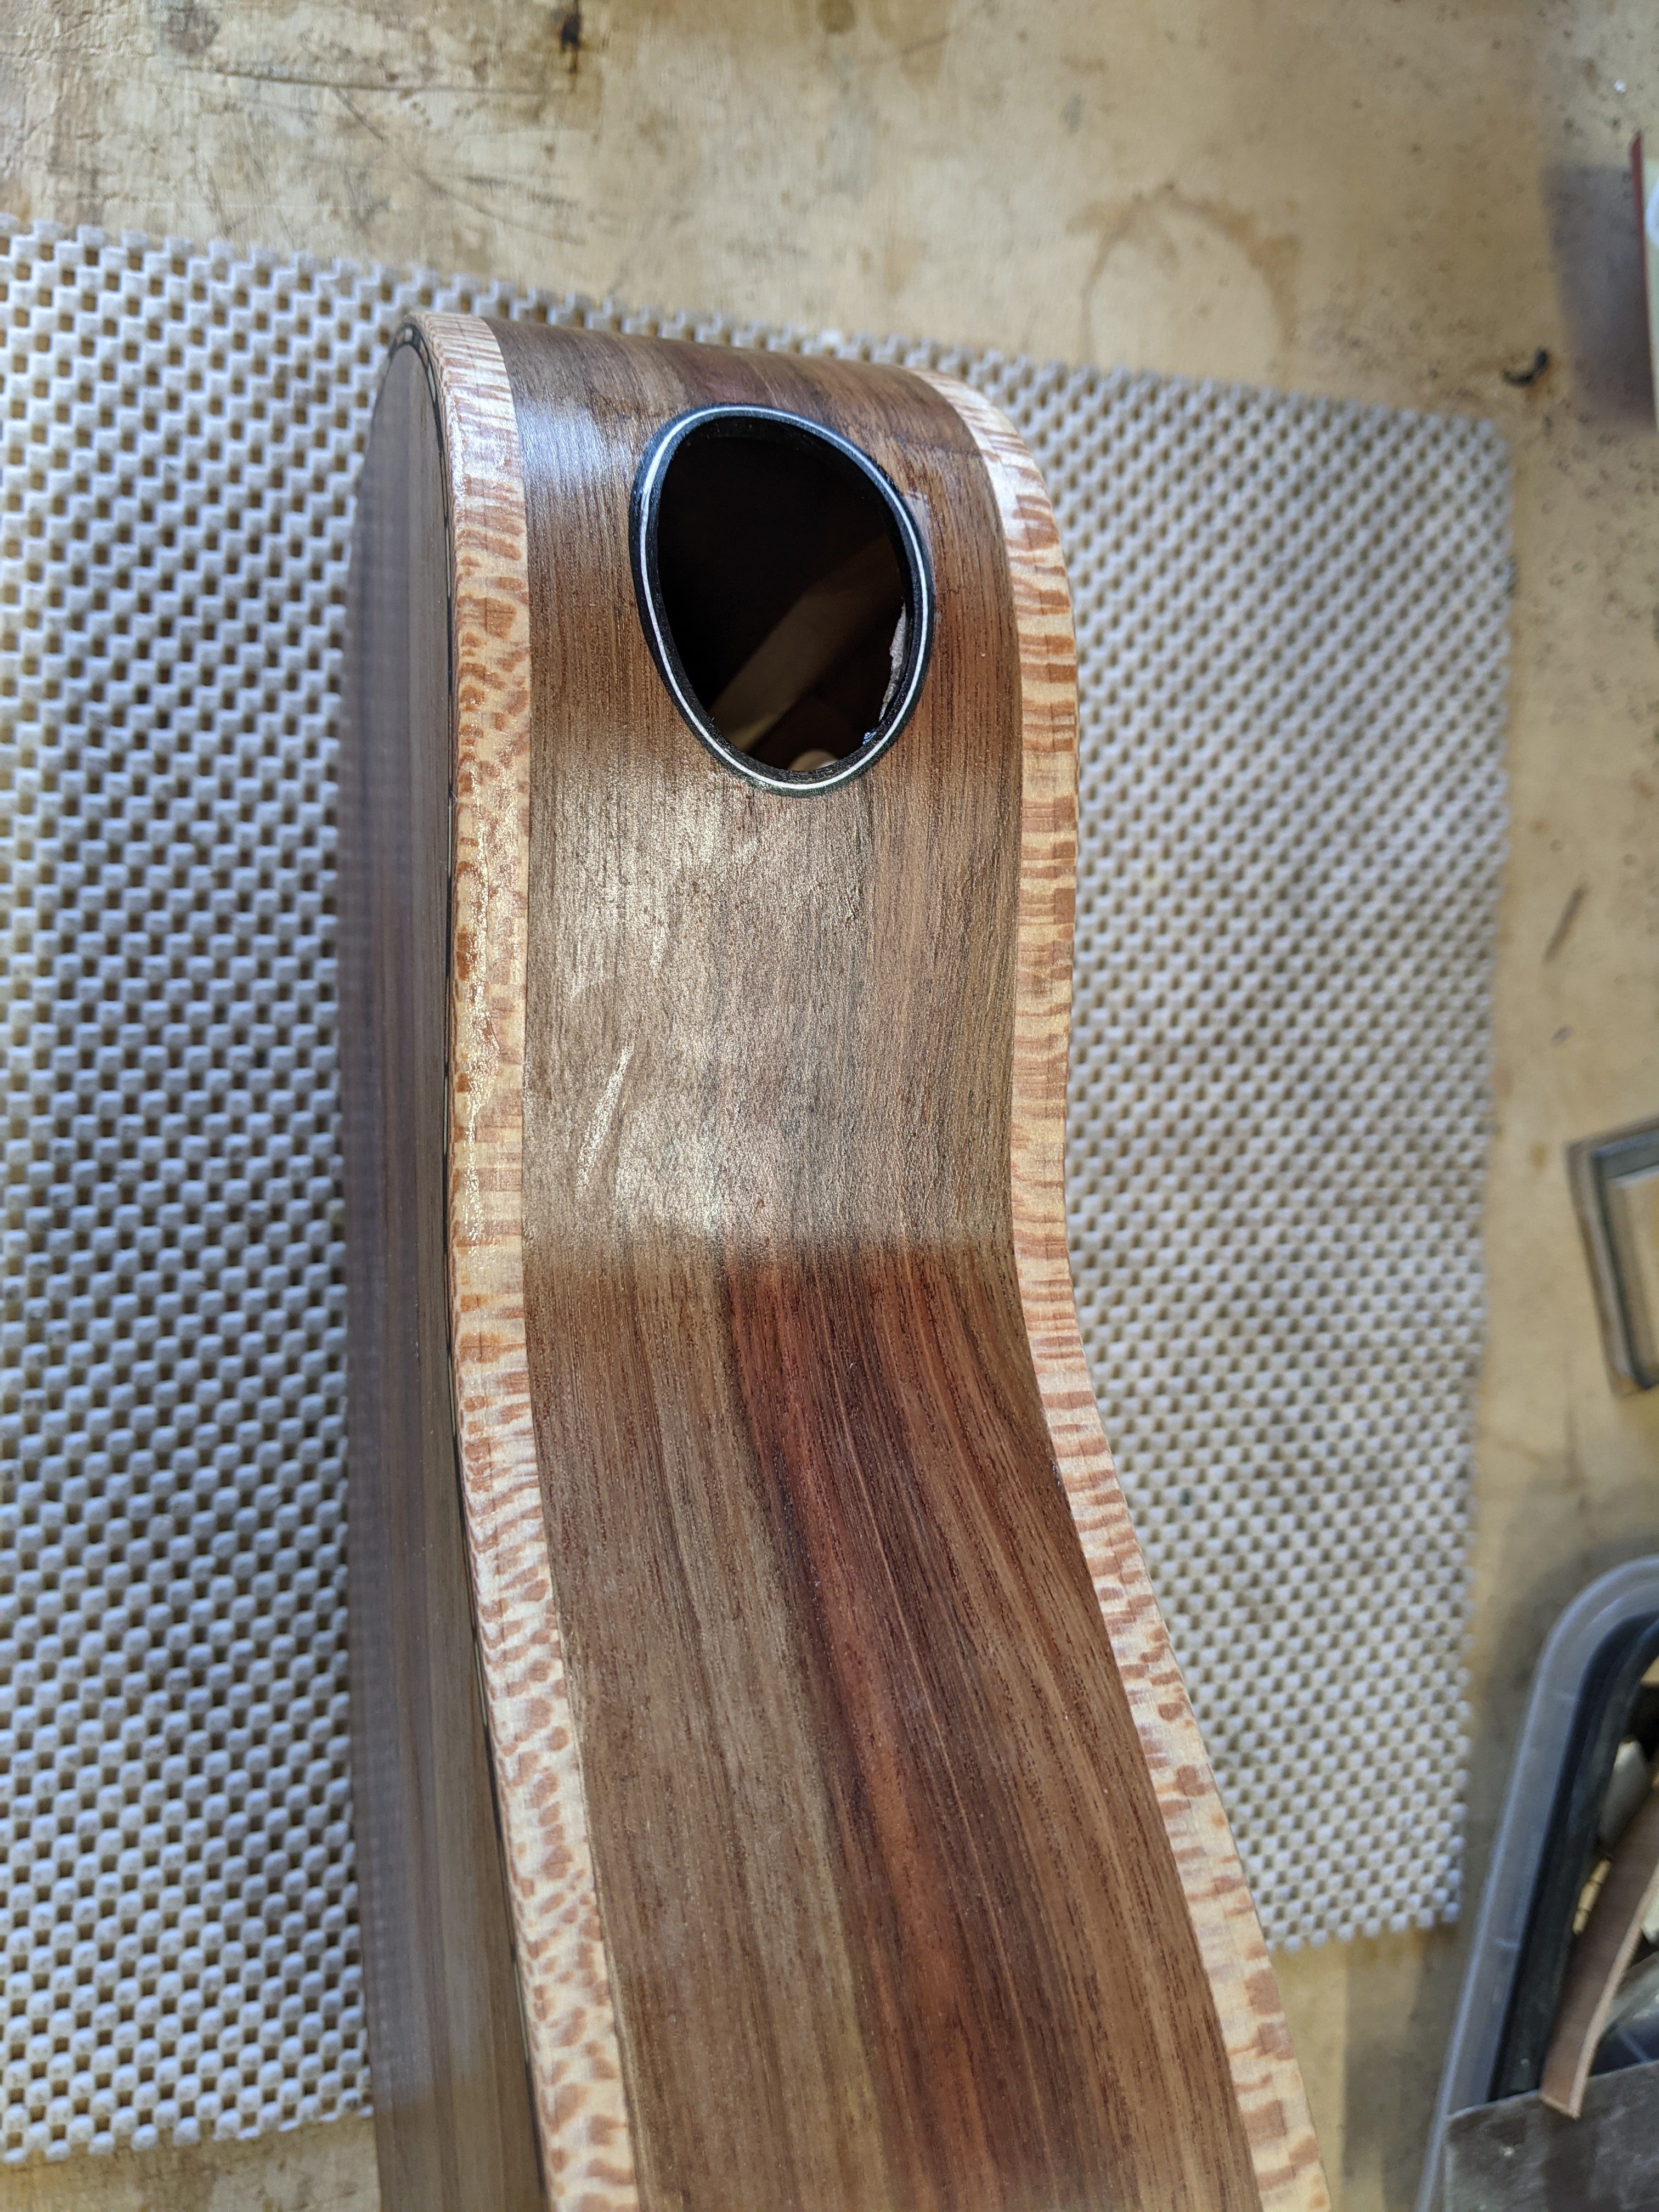
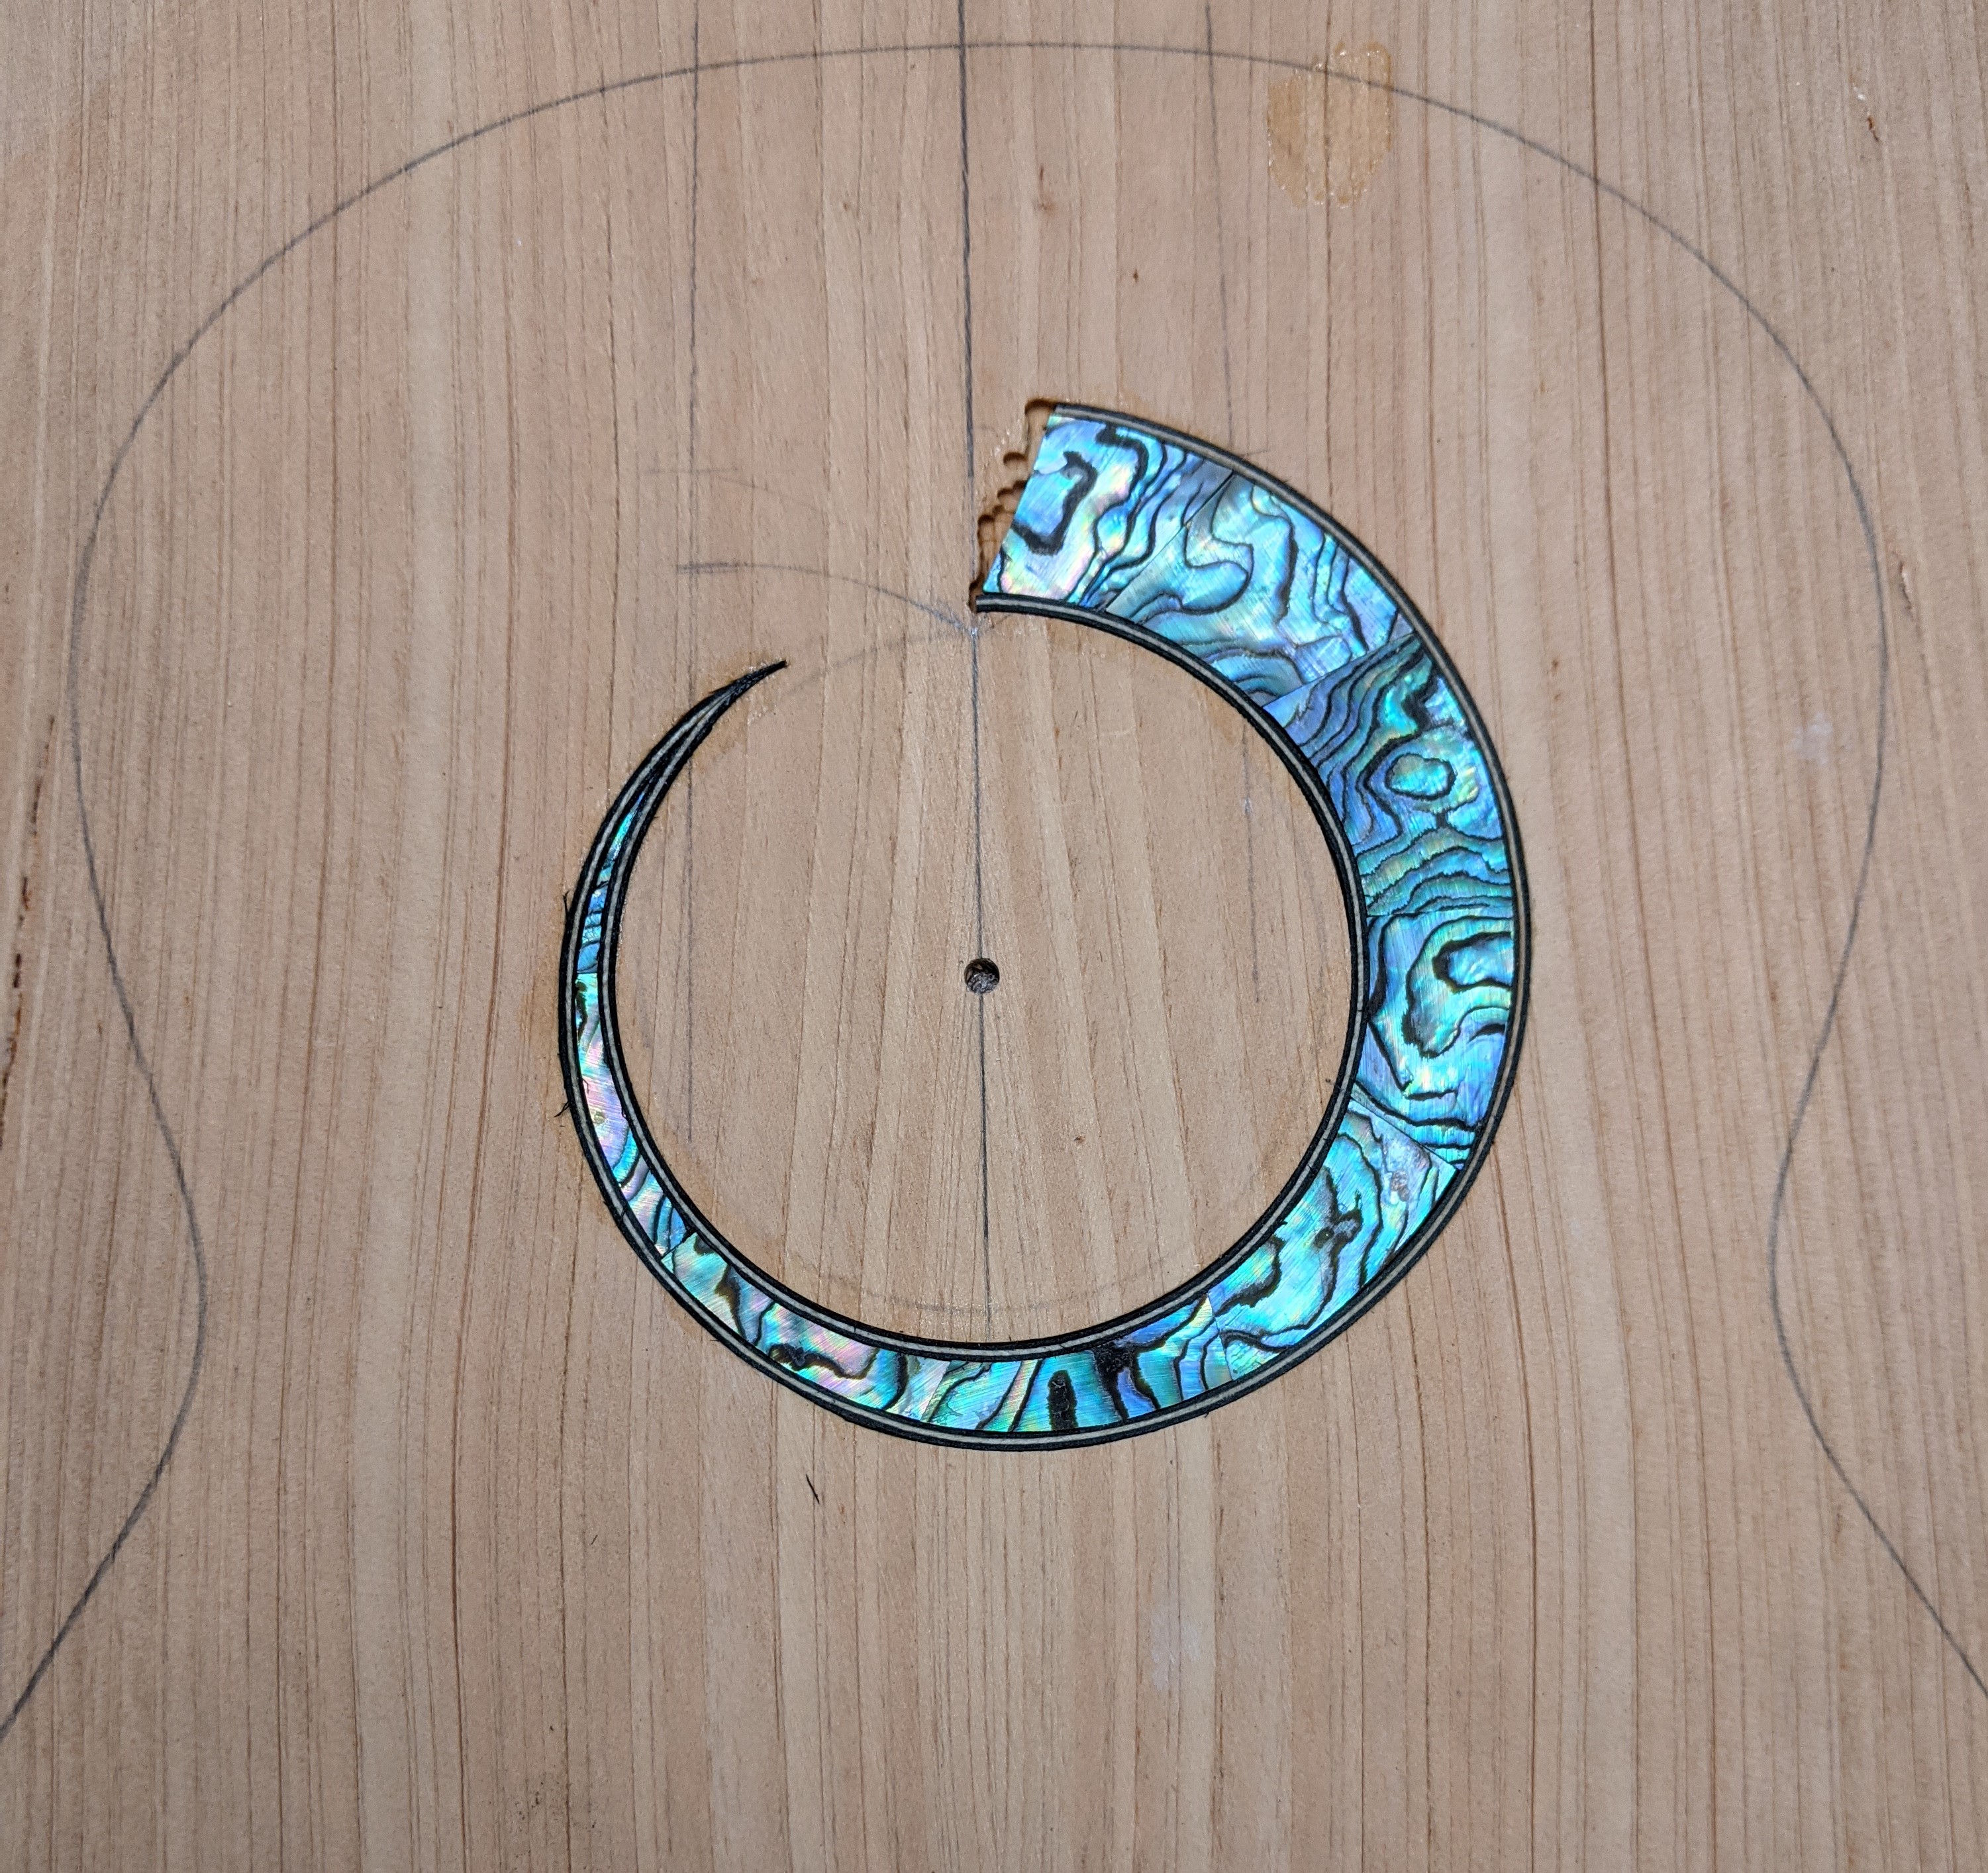
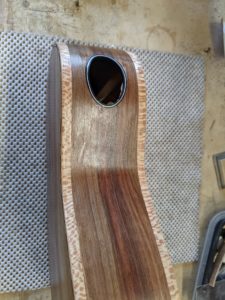
The binding is done. The actual binding wood along the edge has a couple of purposes. It covers the end grain of the top and back, and it provides a bit of edge bump protection. Of course, almost any wood will do to to meet these purposes. The choice of wood is about the look. The customer with whom I am working on this little project is not afraid of a little bling, and one does not get much more bling-ie than properly cut sycamore for binding. The purfling, that decorative strip inside the binding, is just that, purly decorative. Again, we went with a pretty bling-ie purfling.


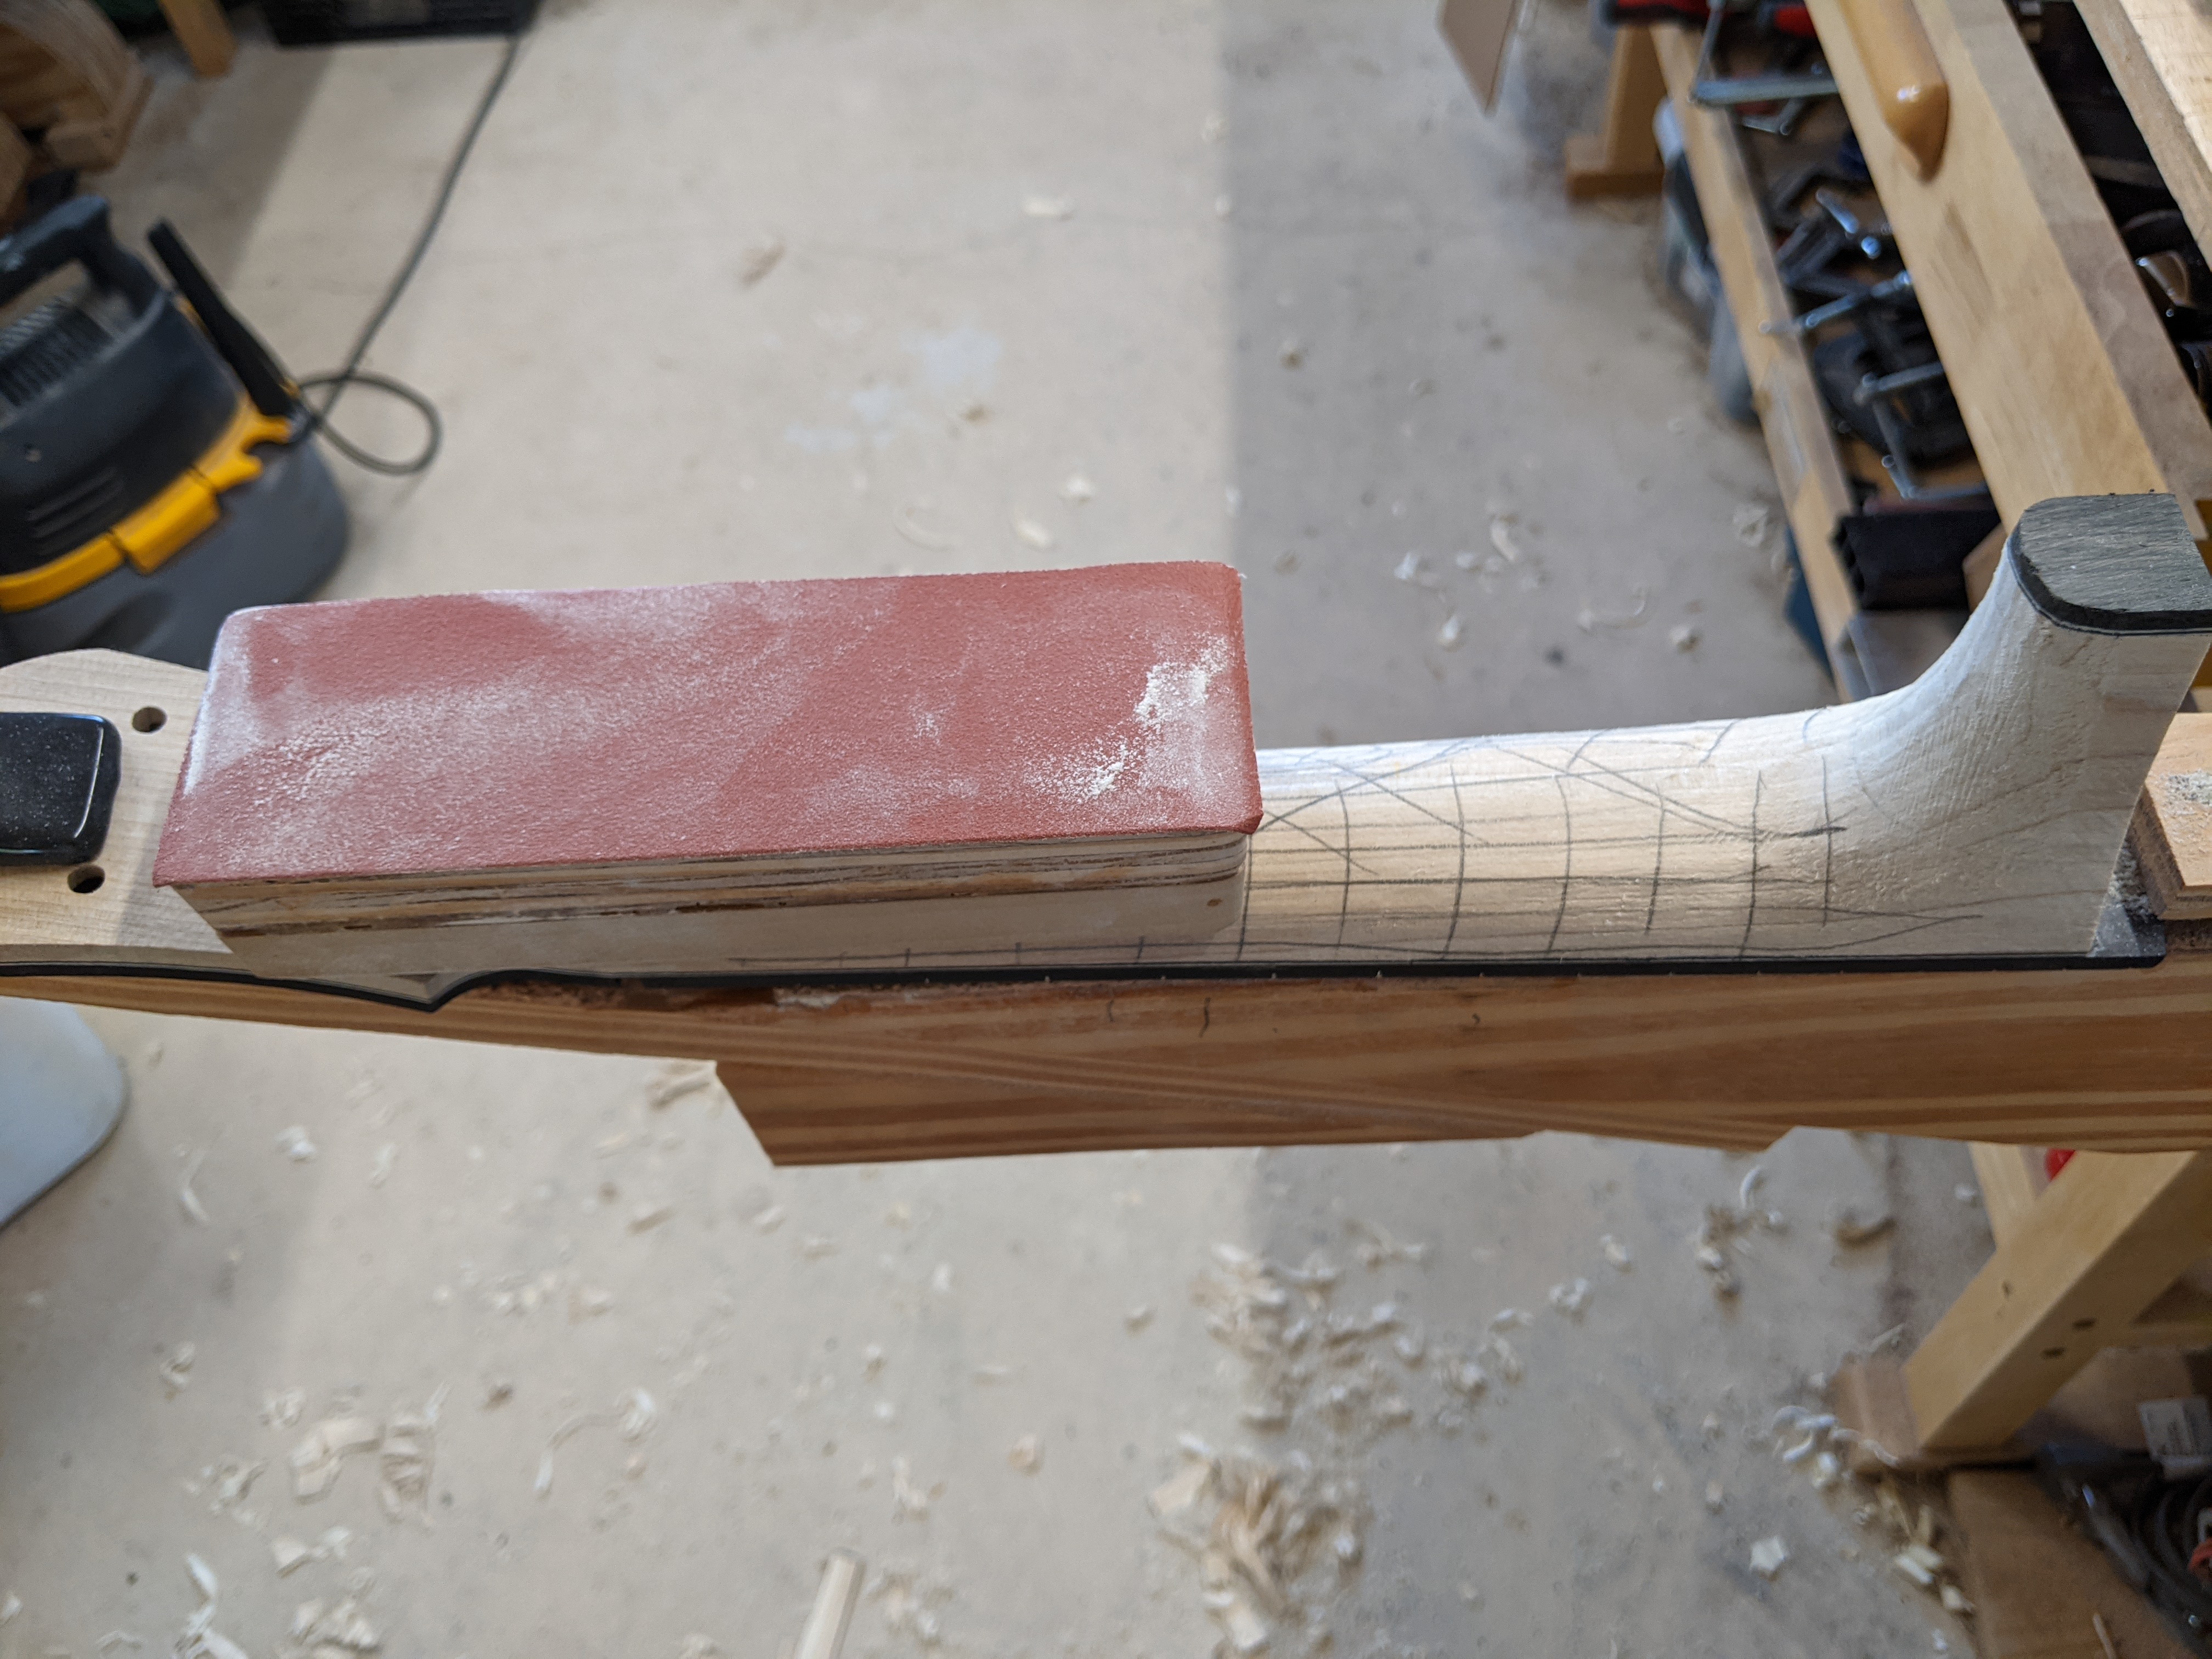
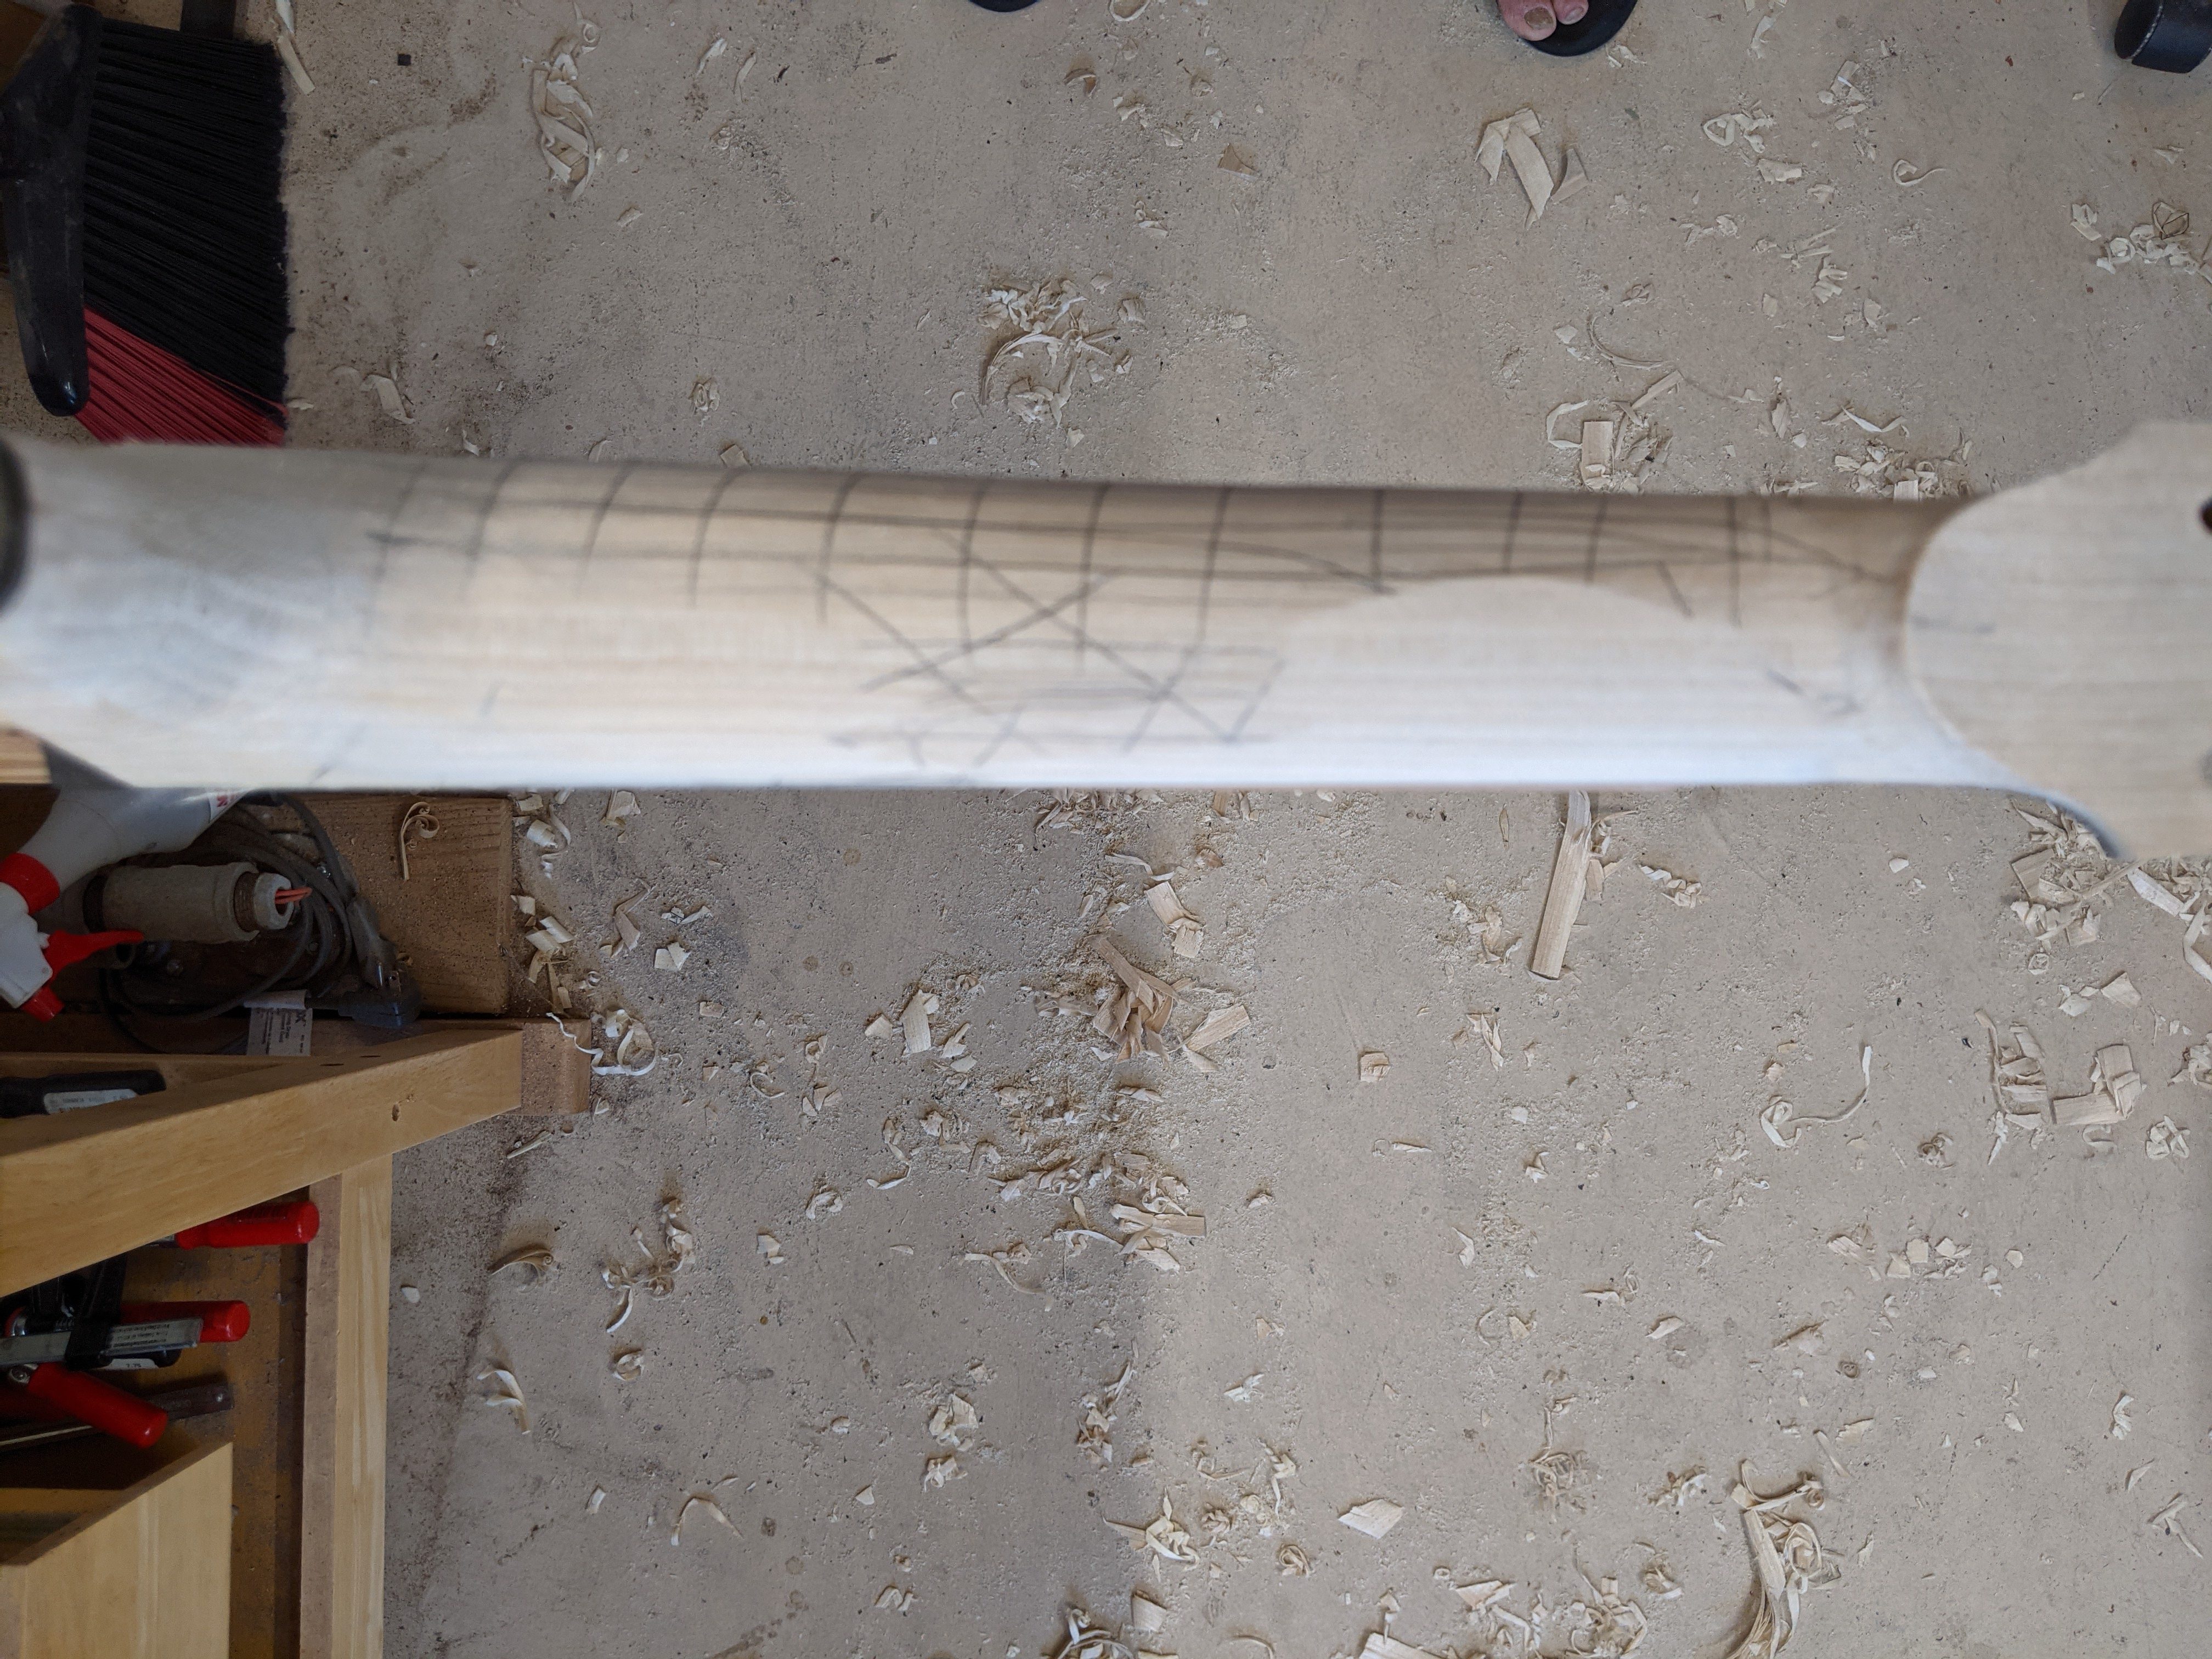
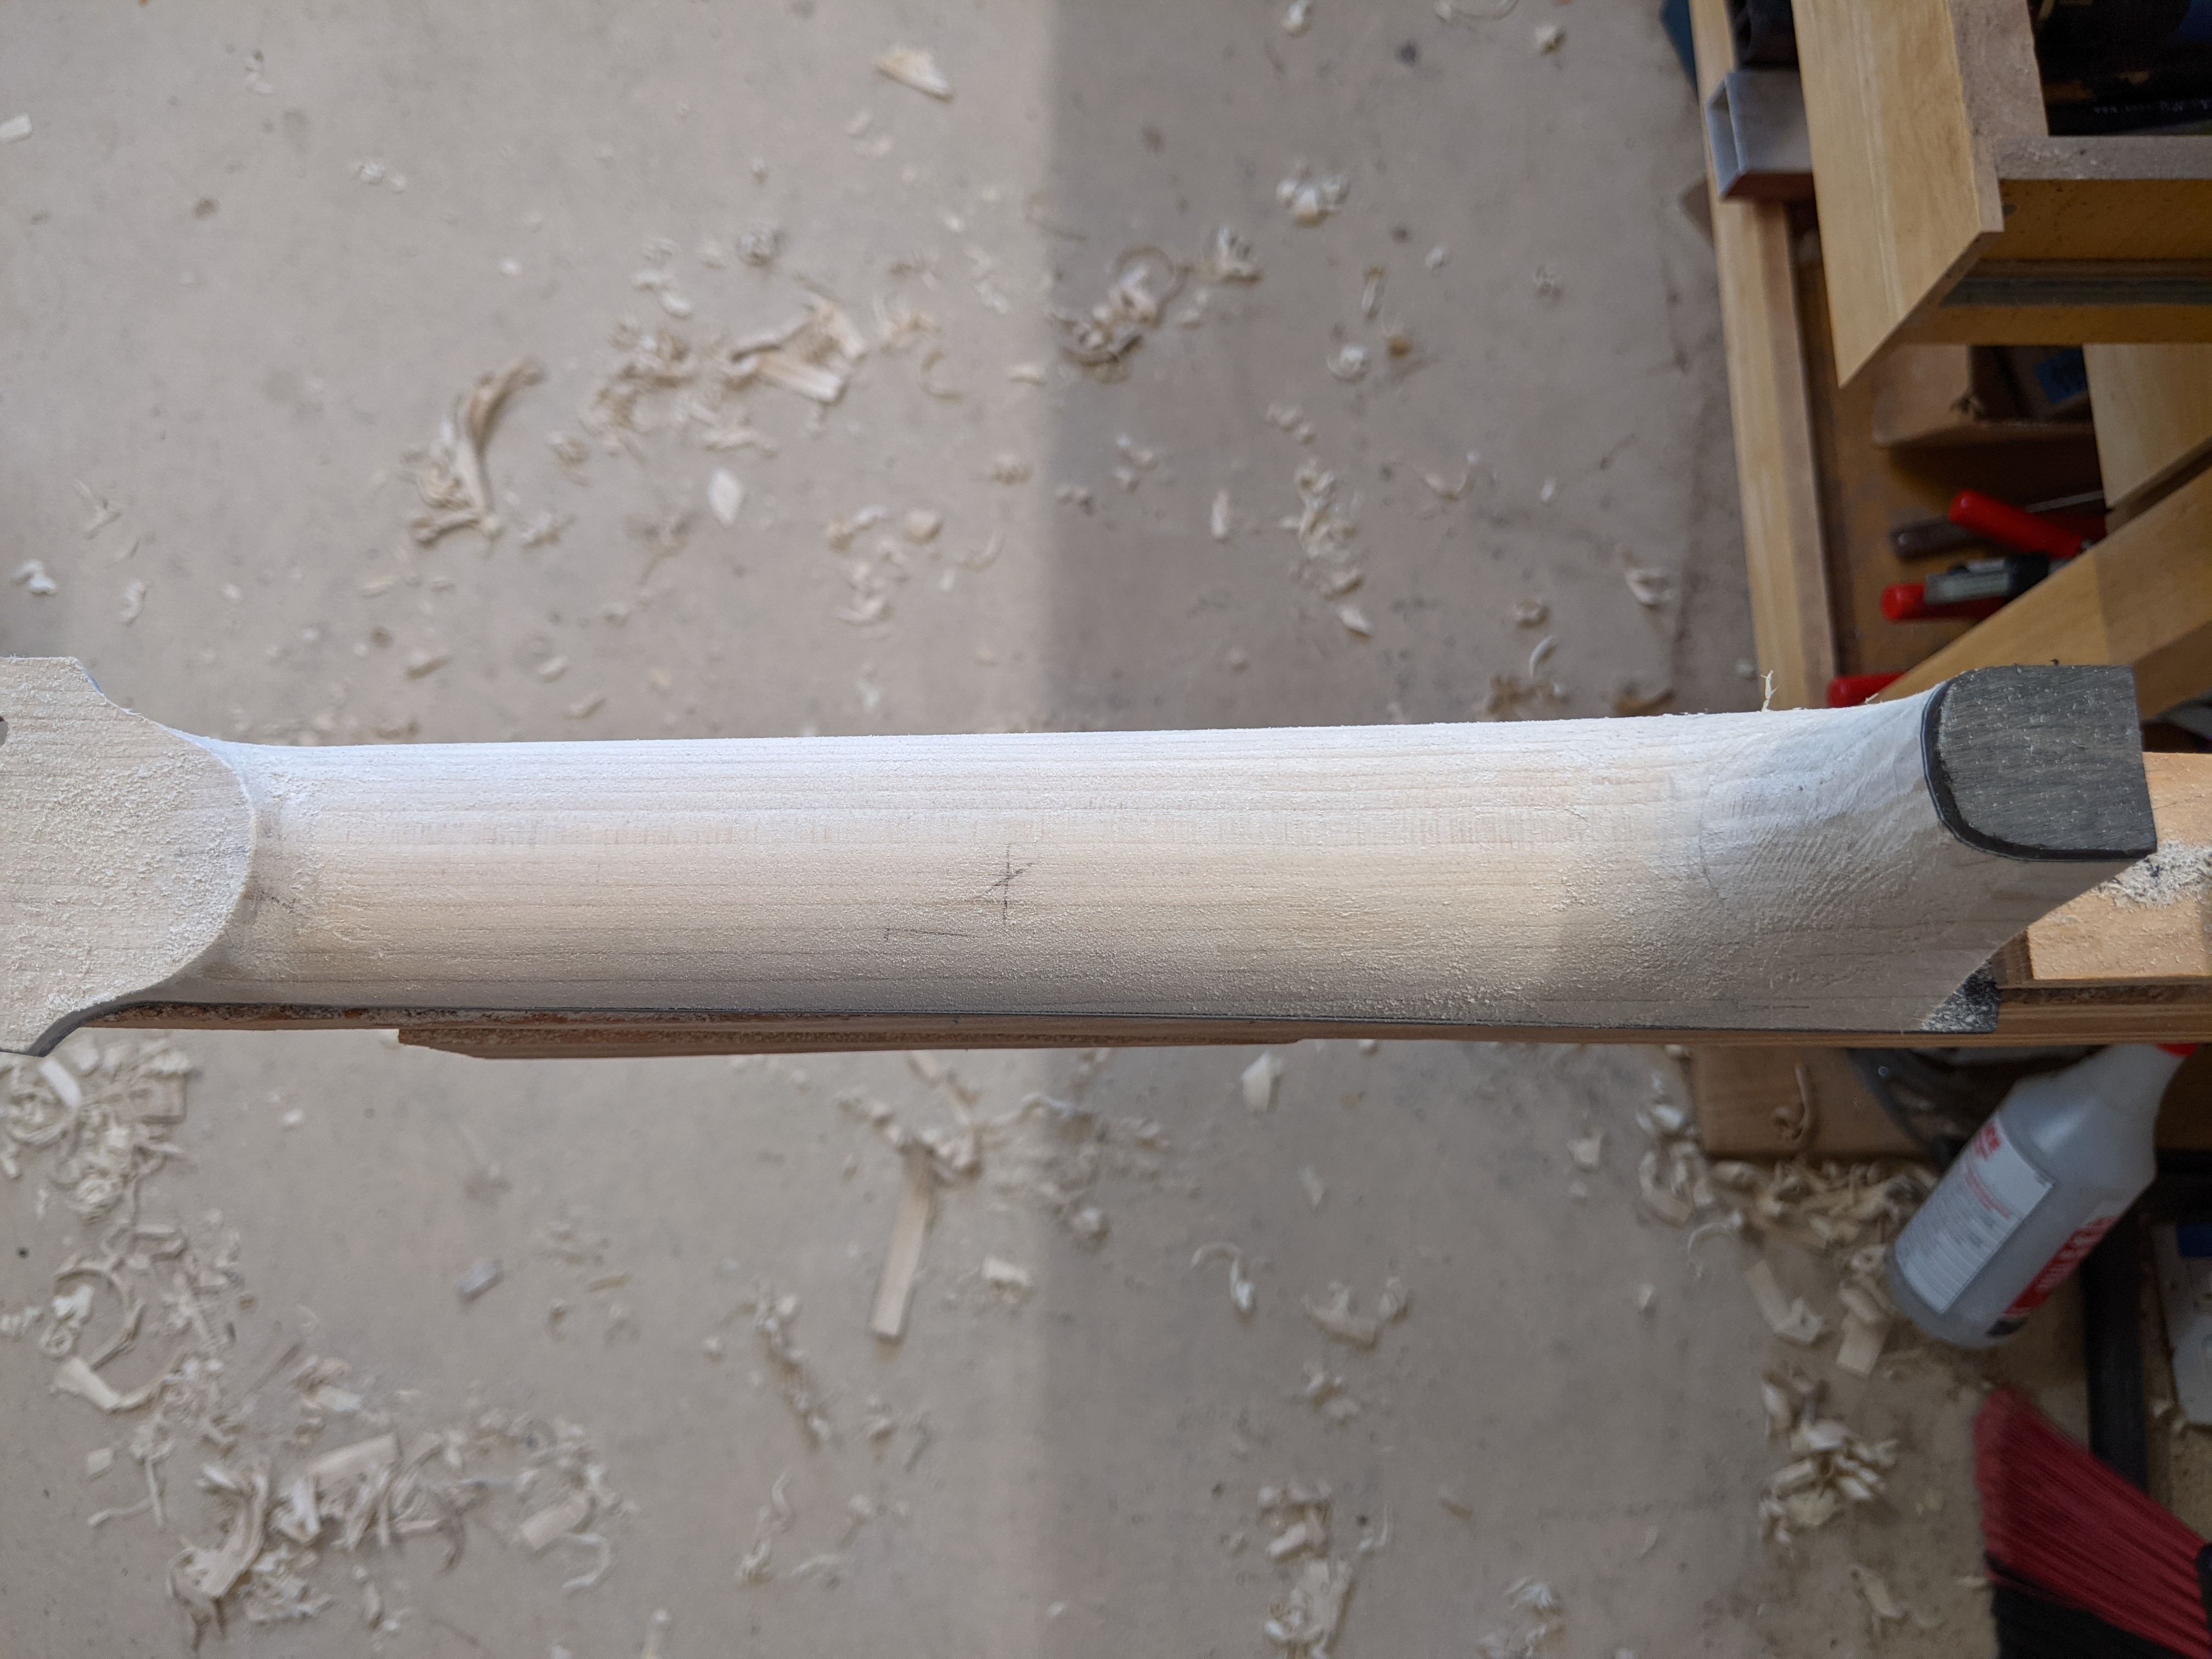
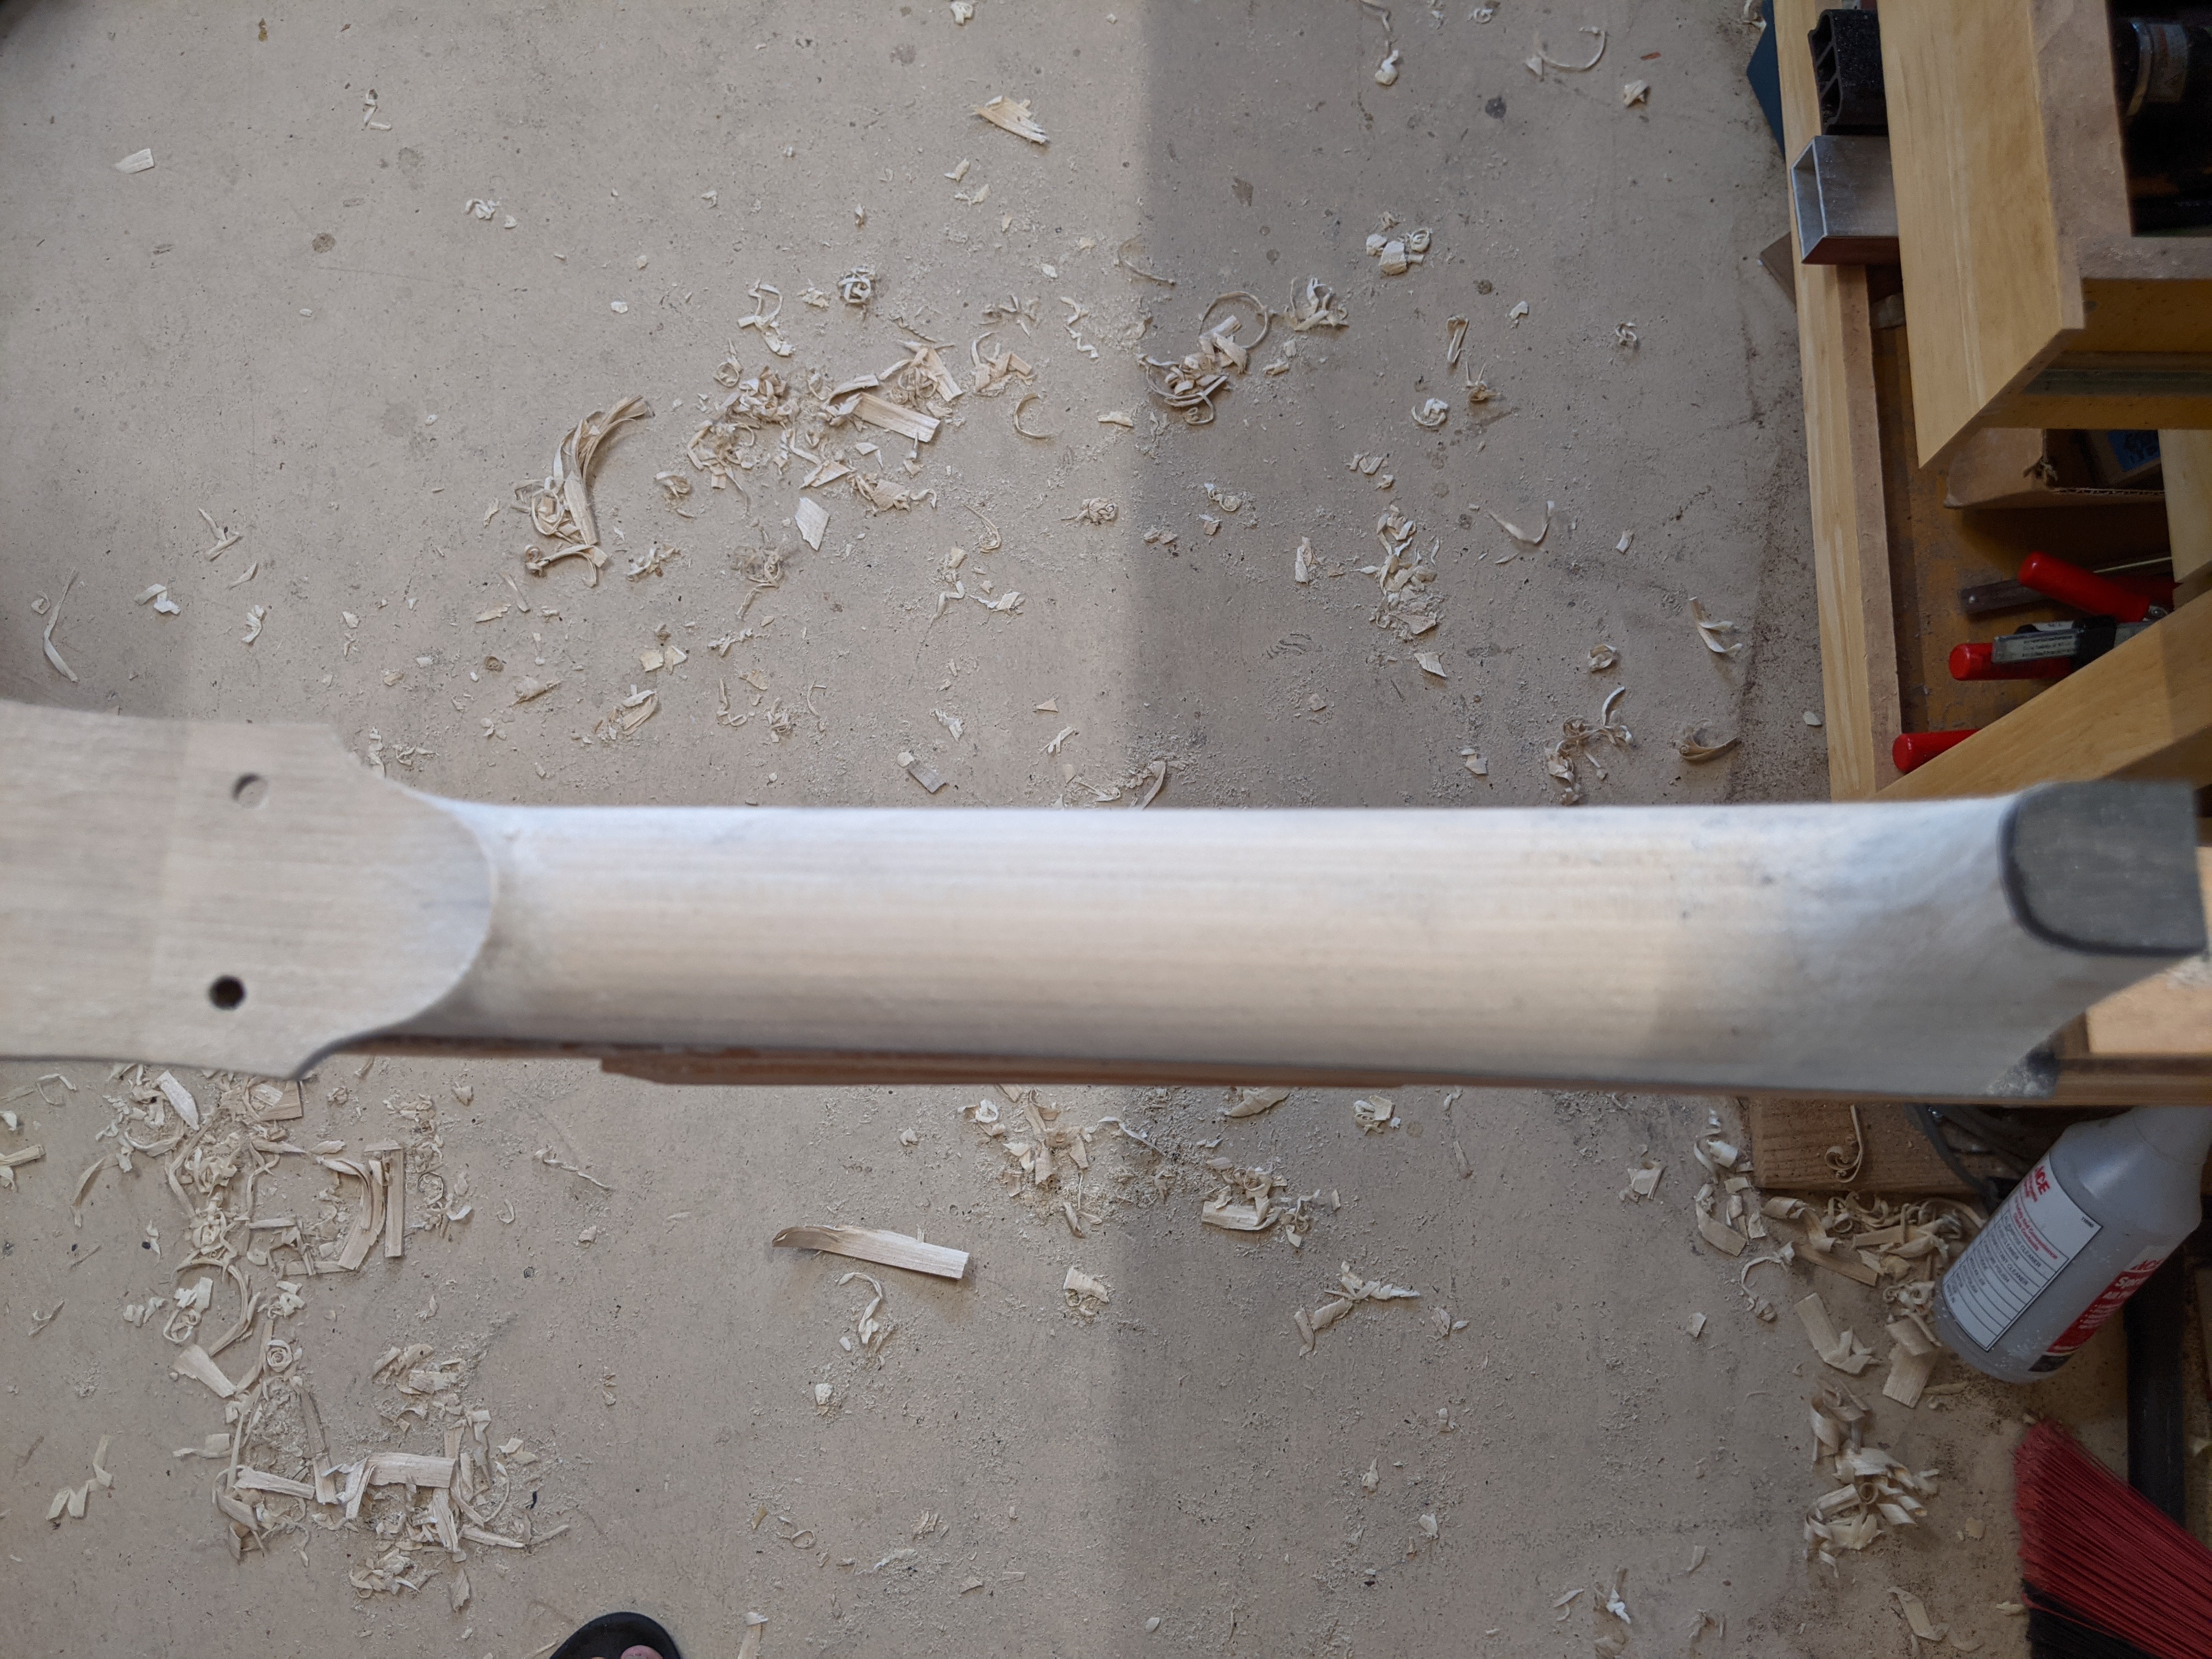
Neck
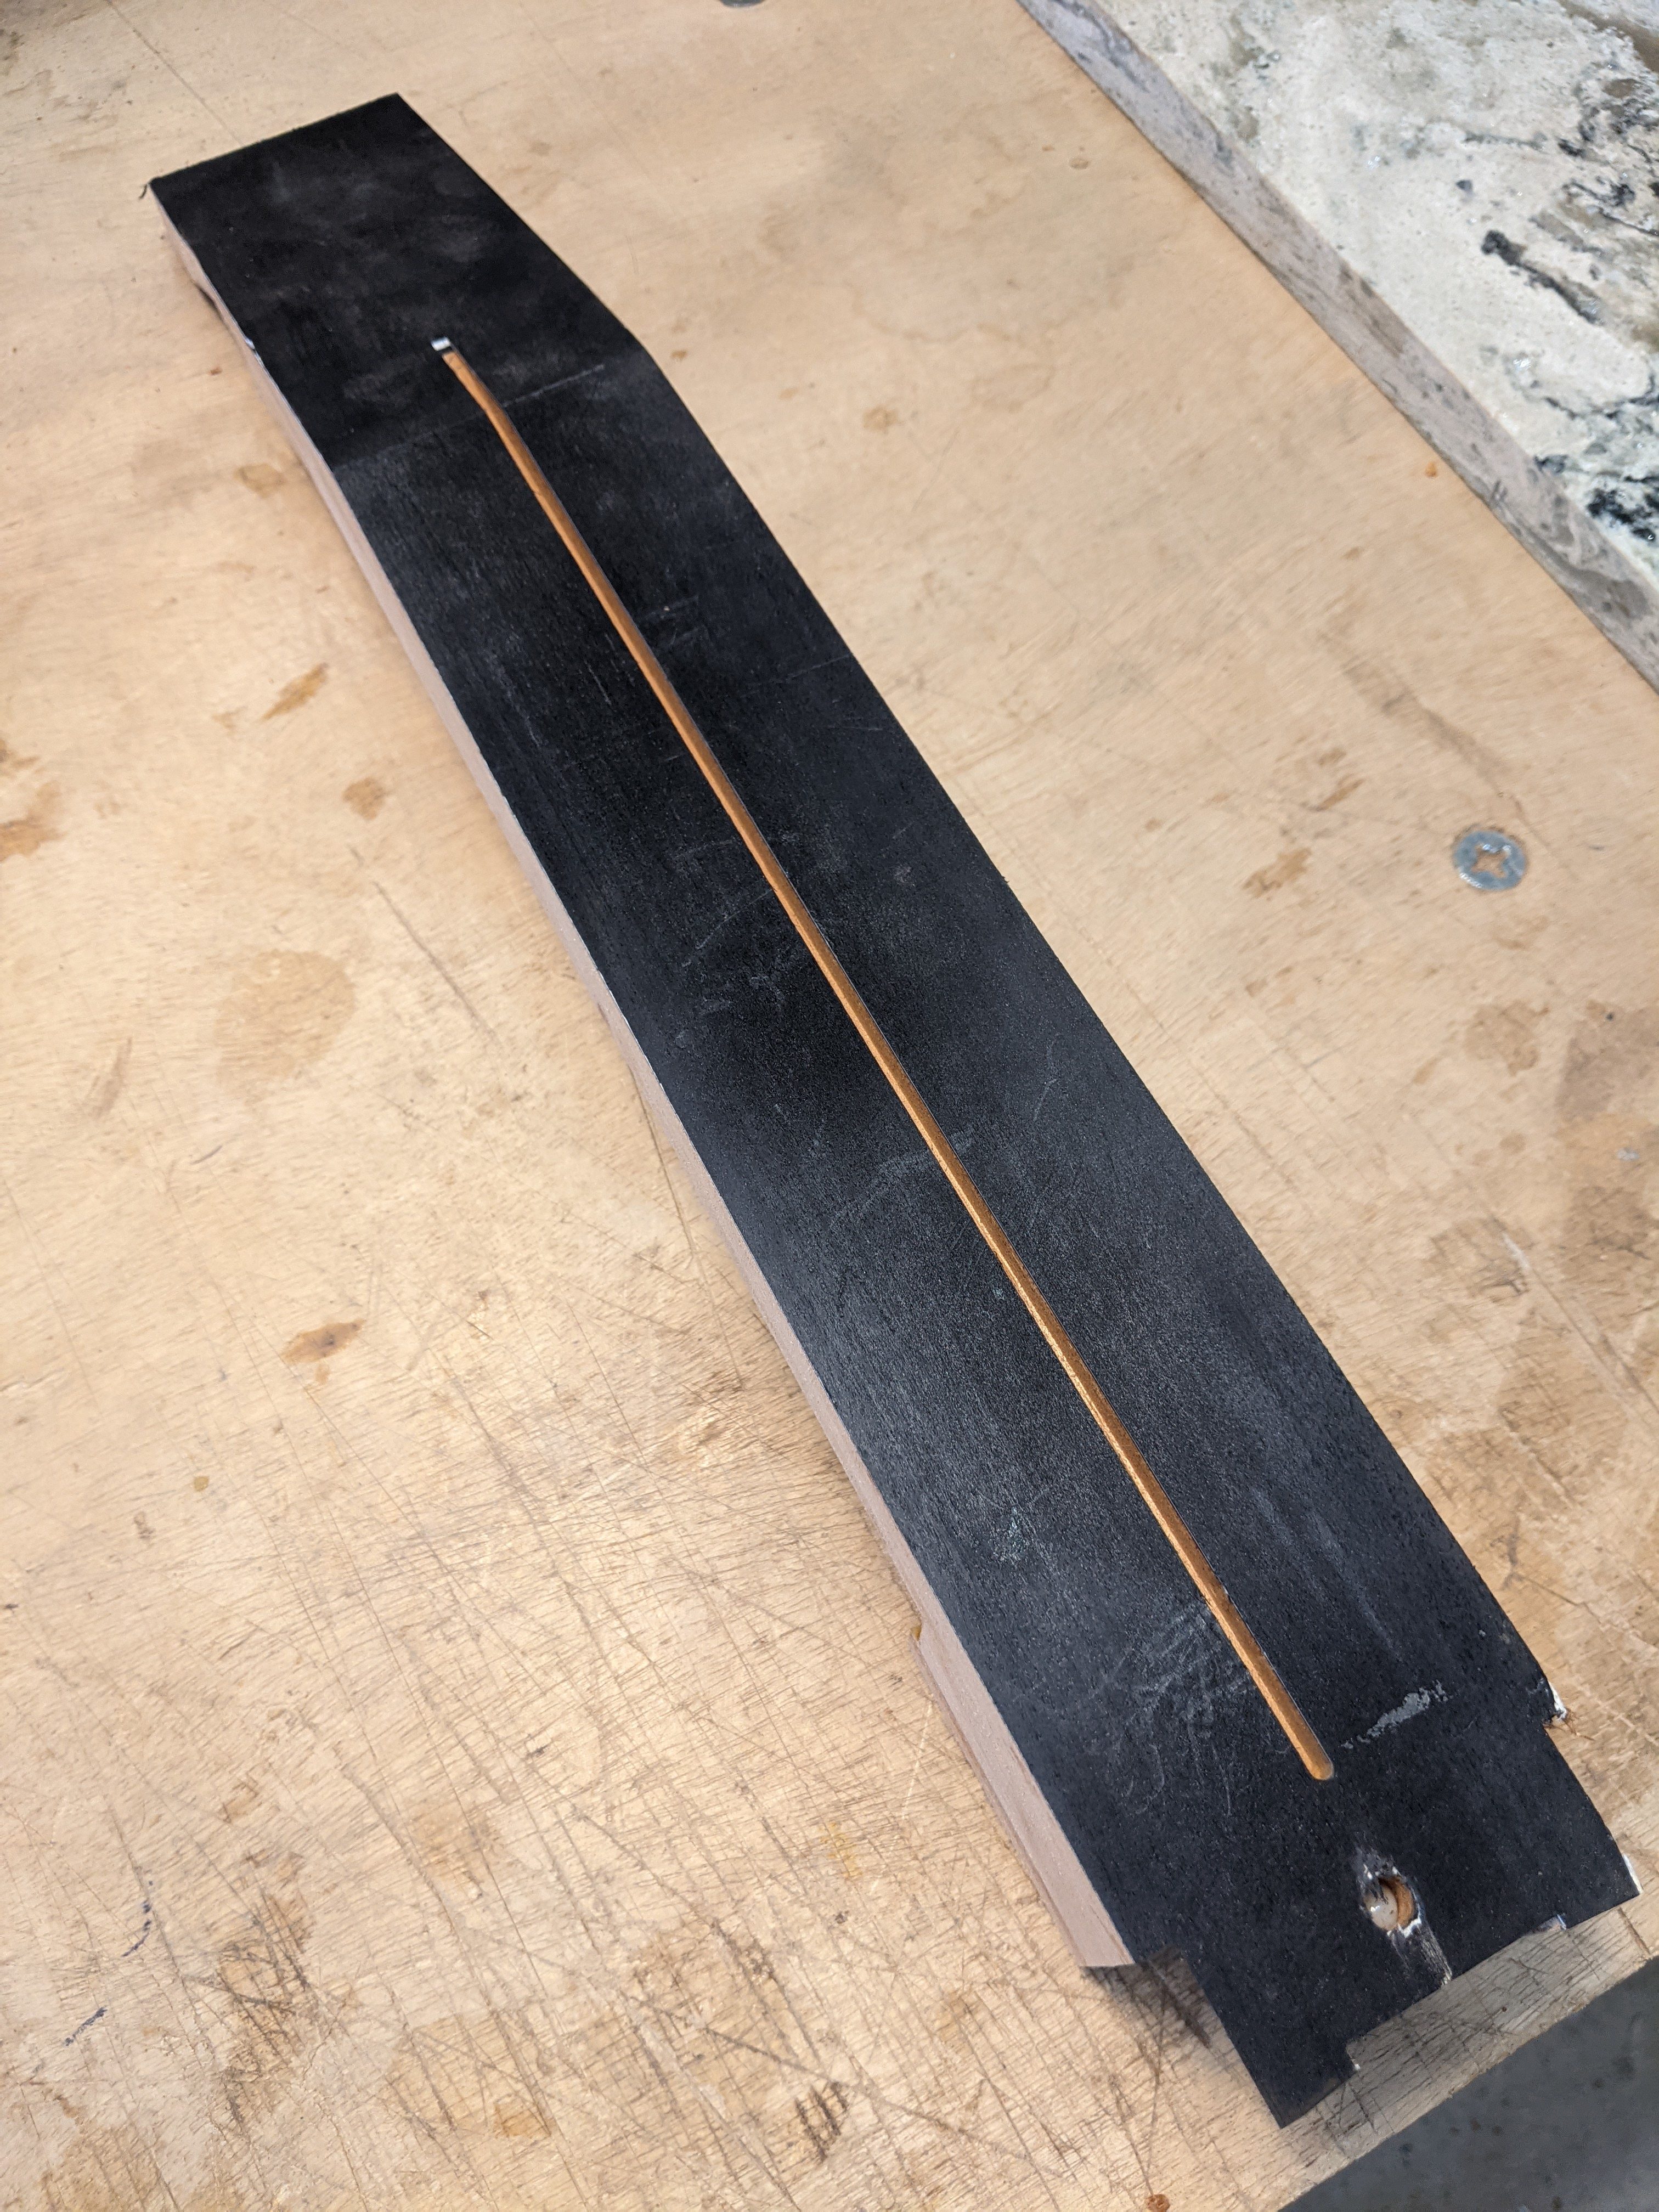
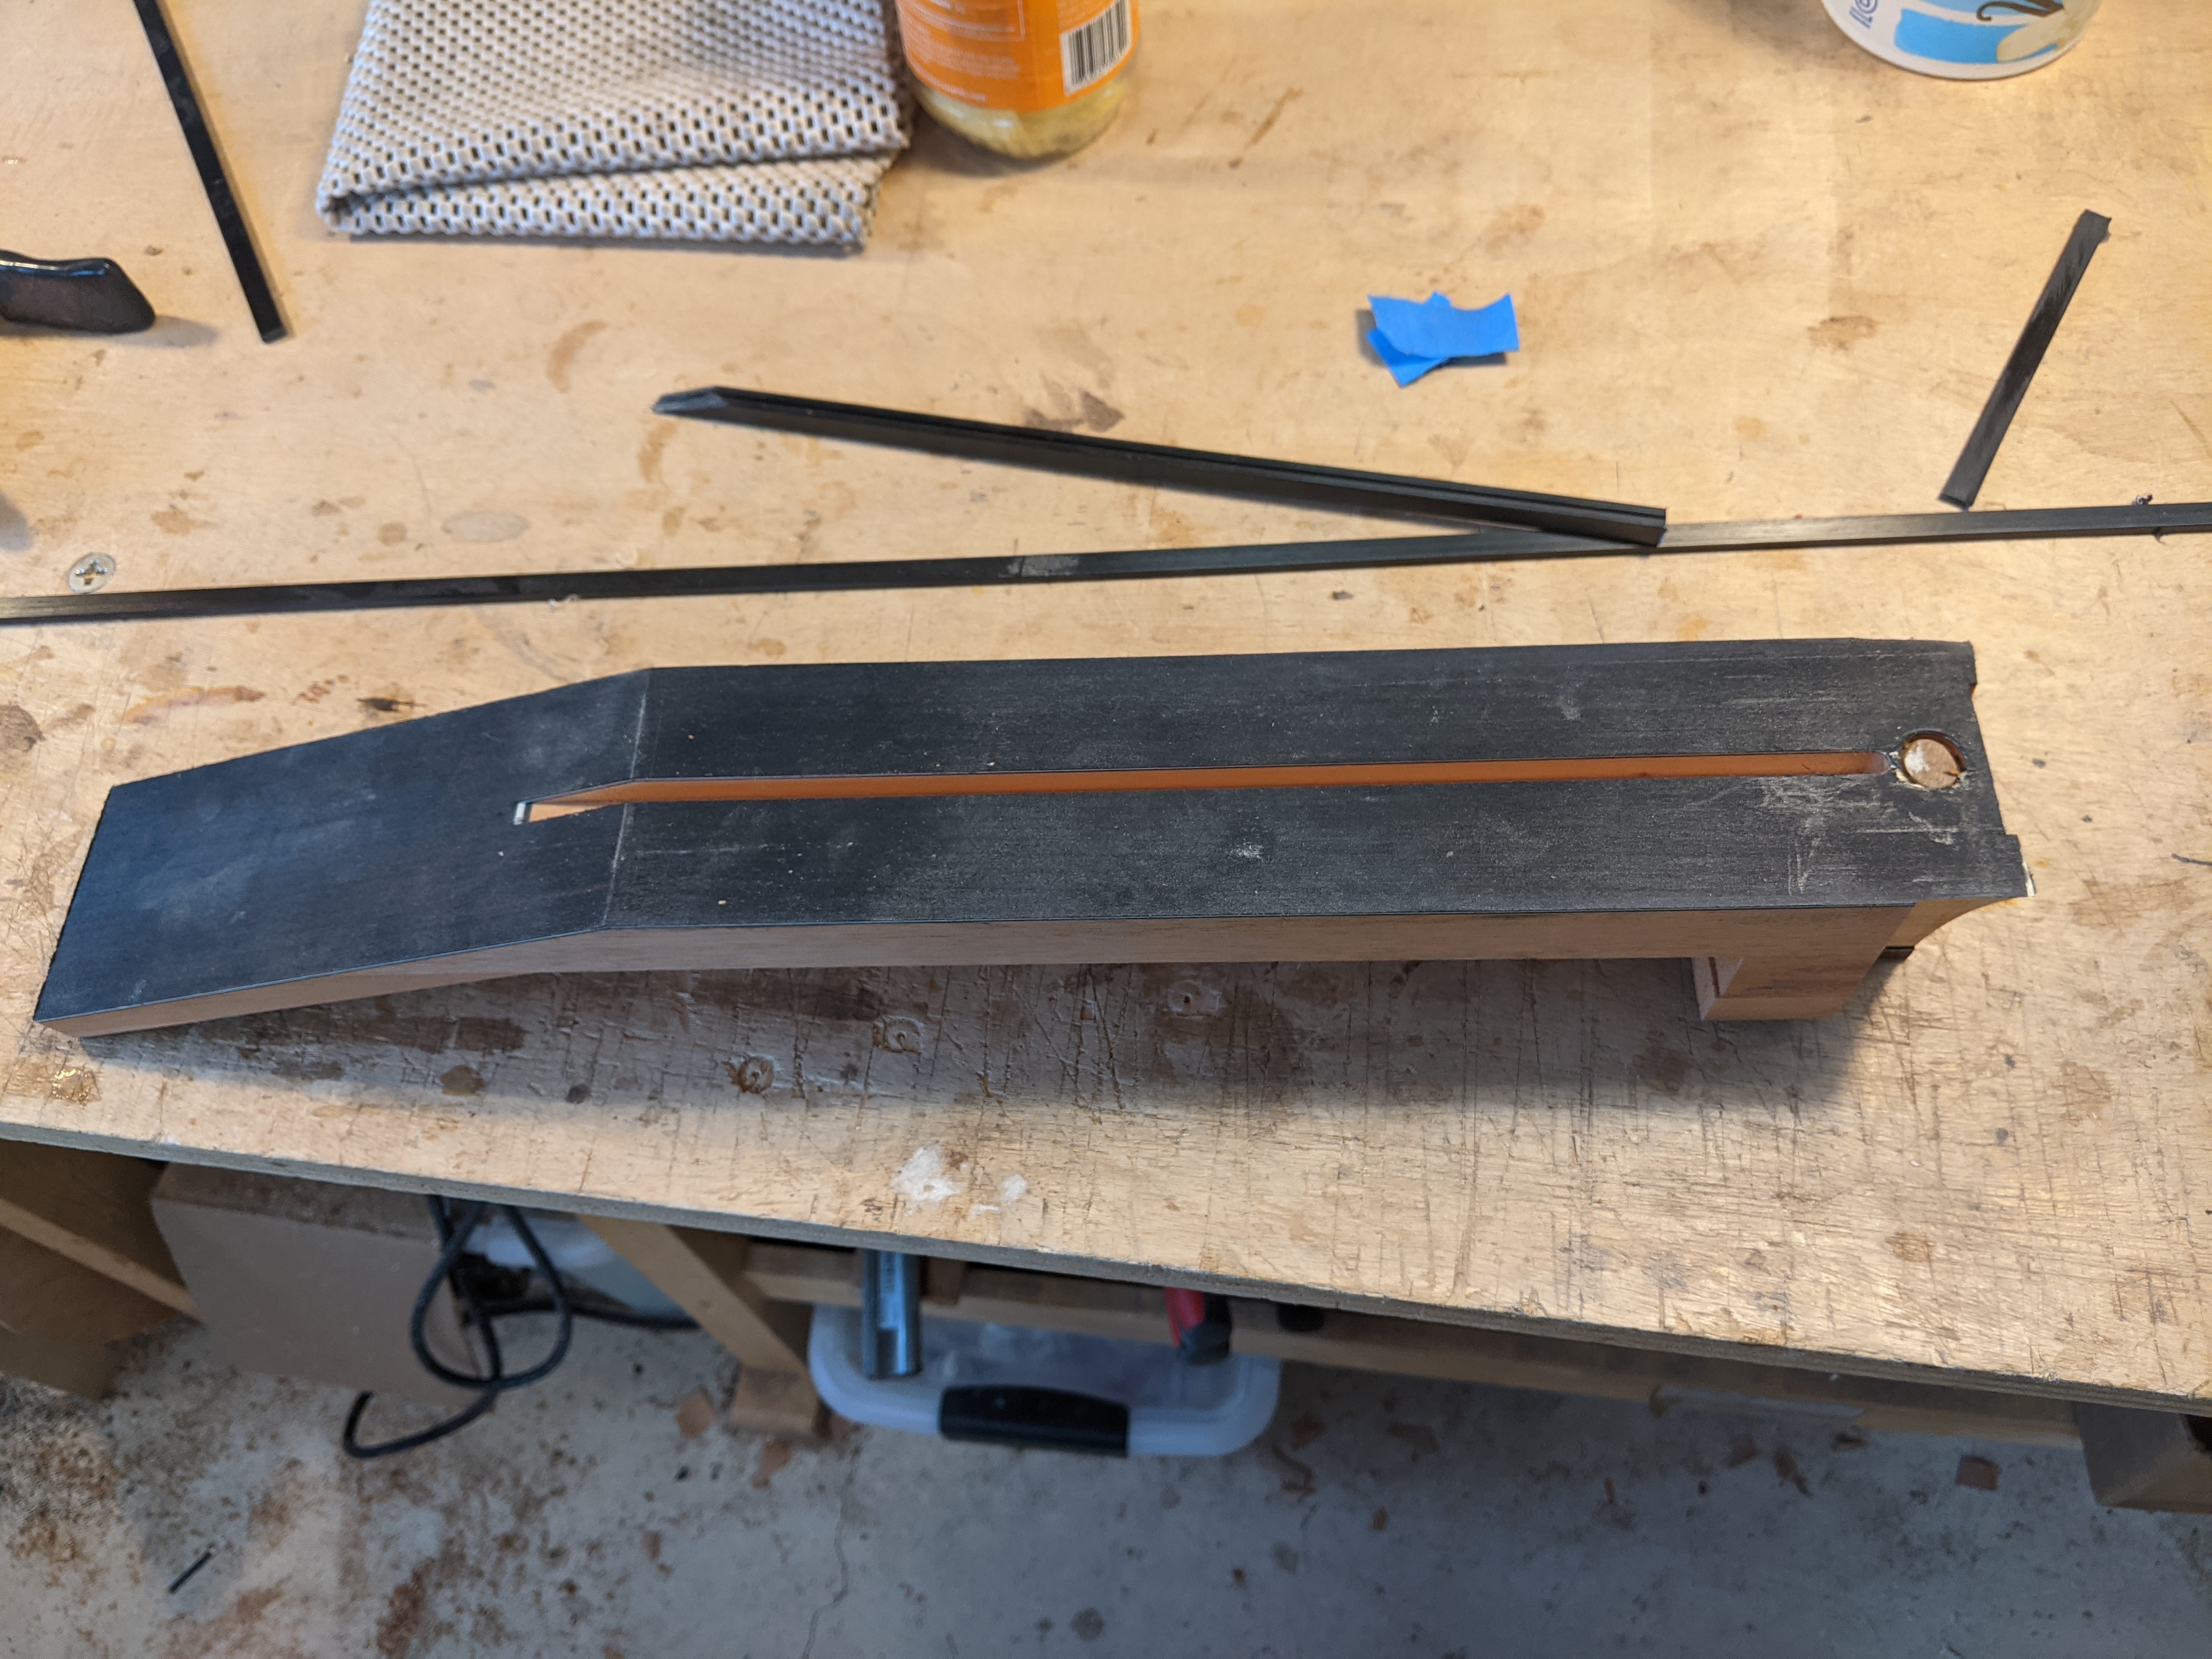
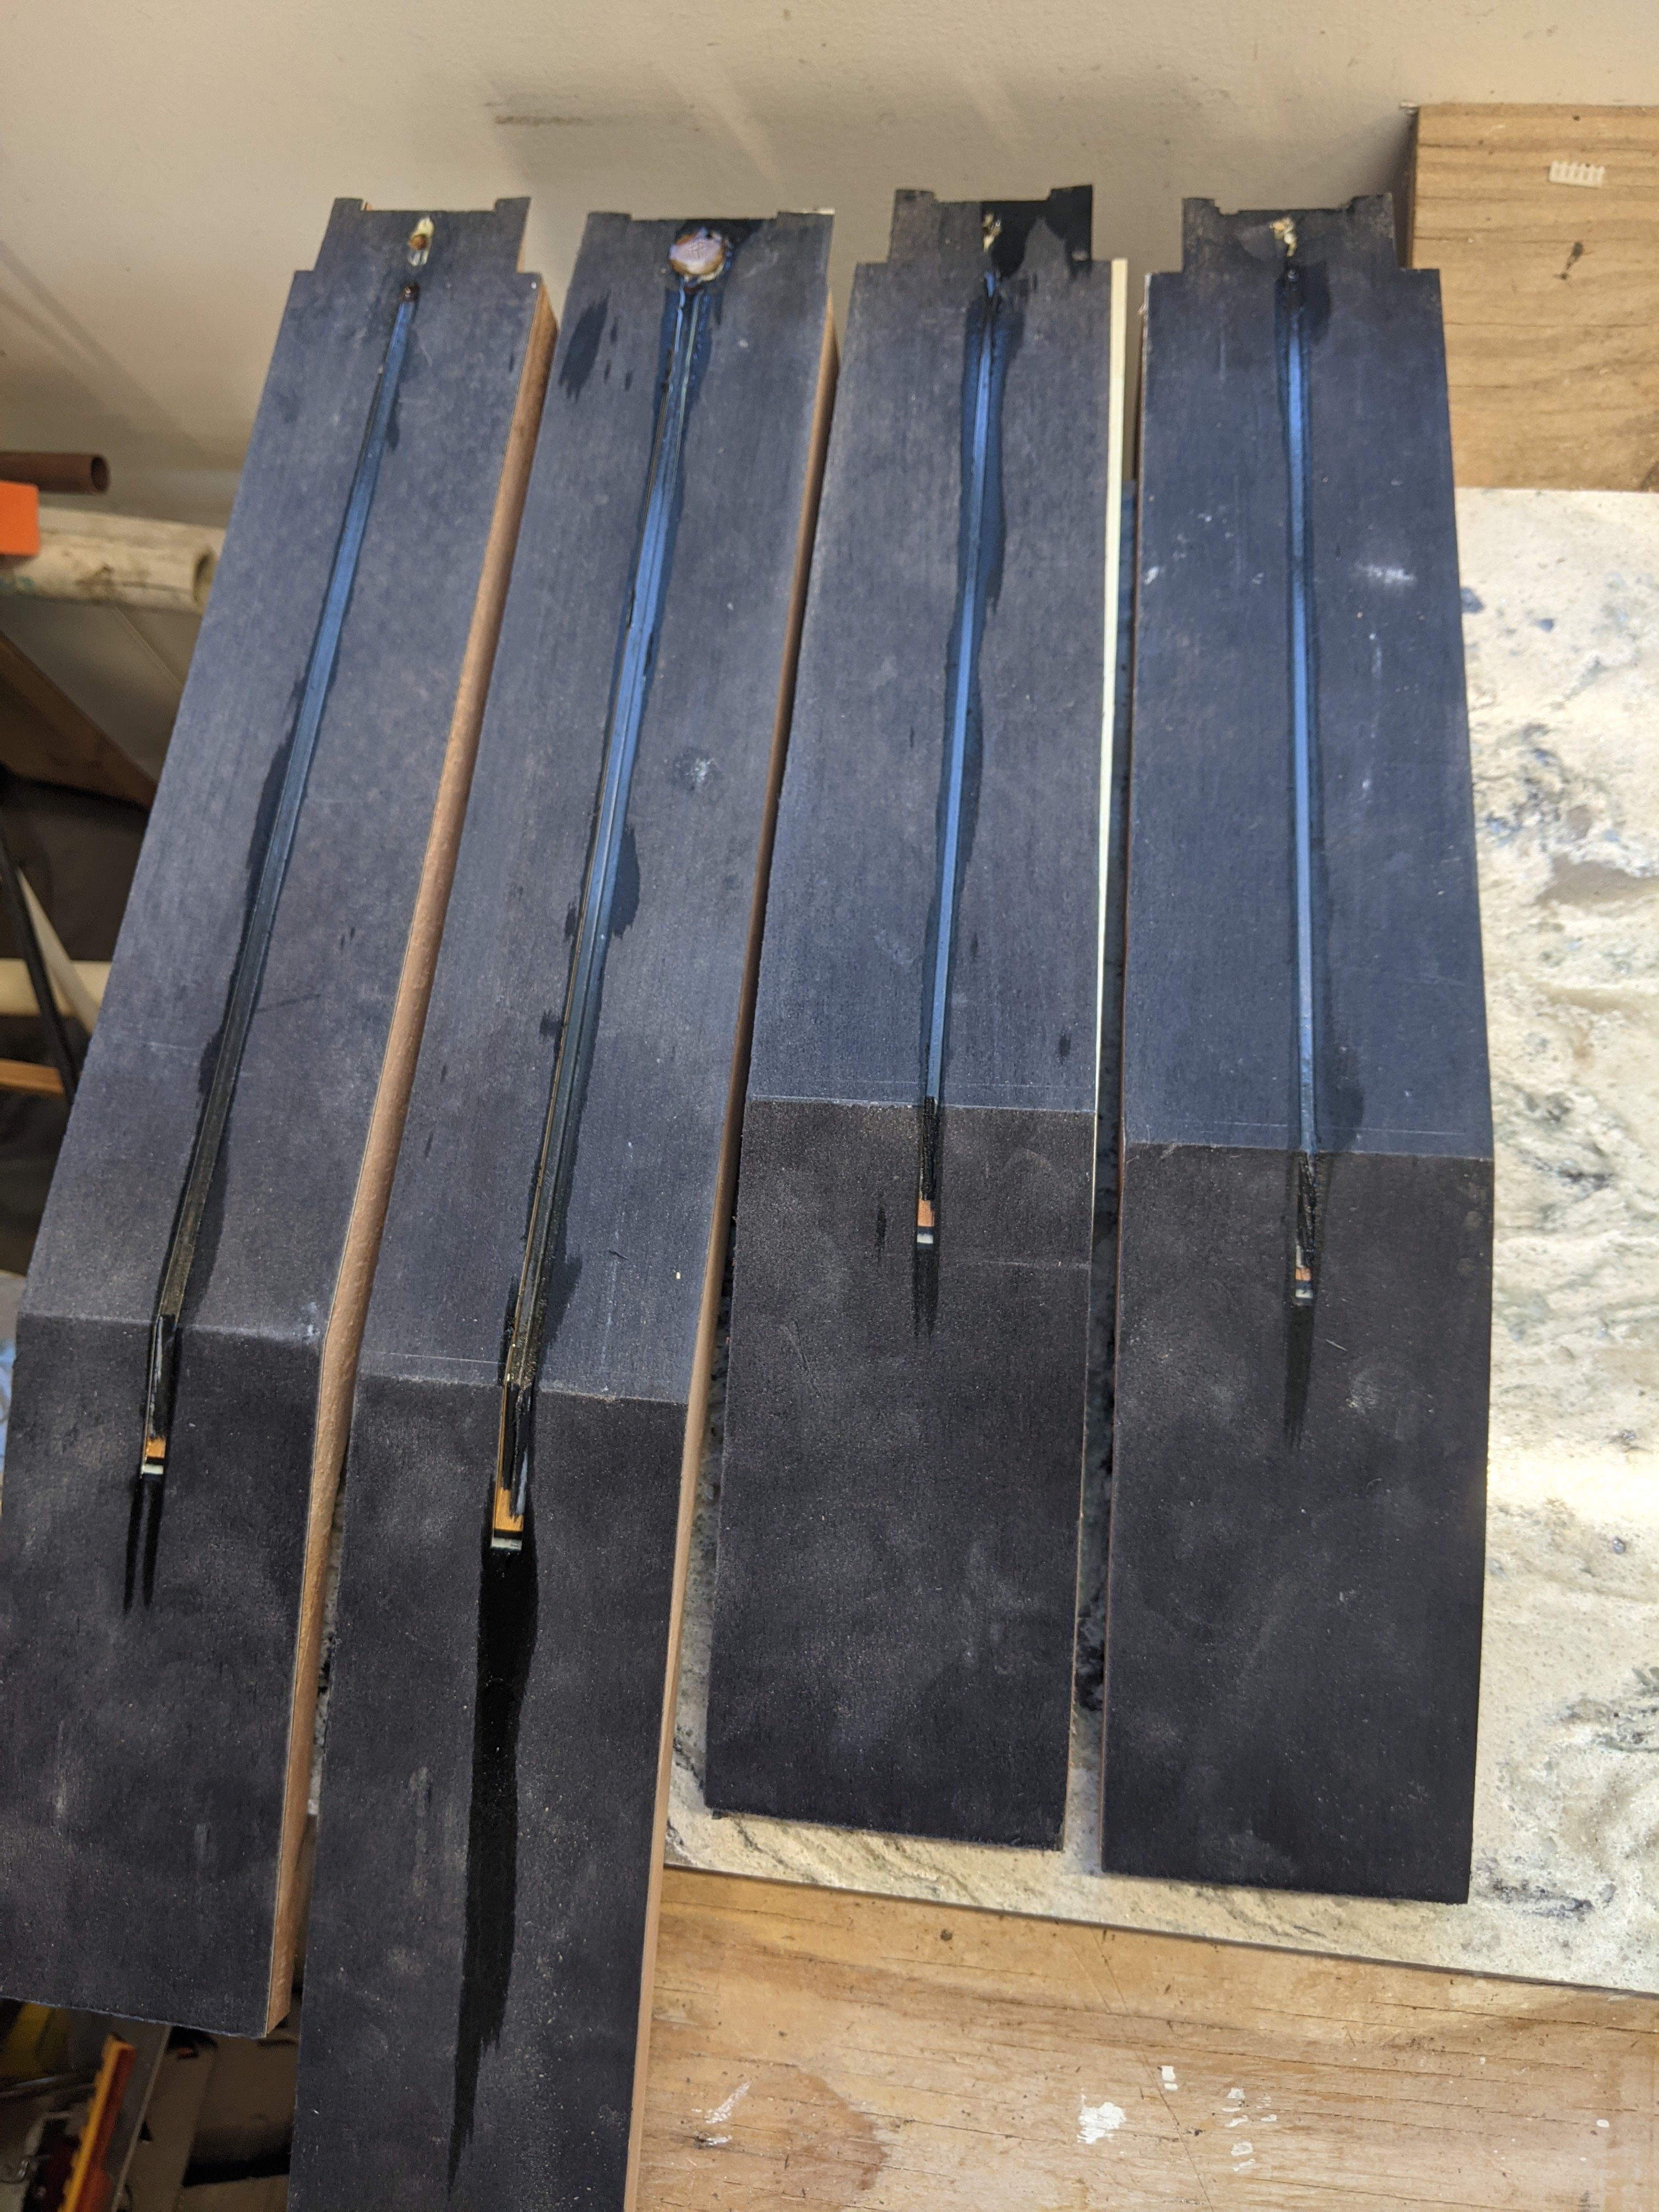
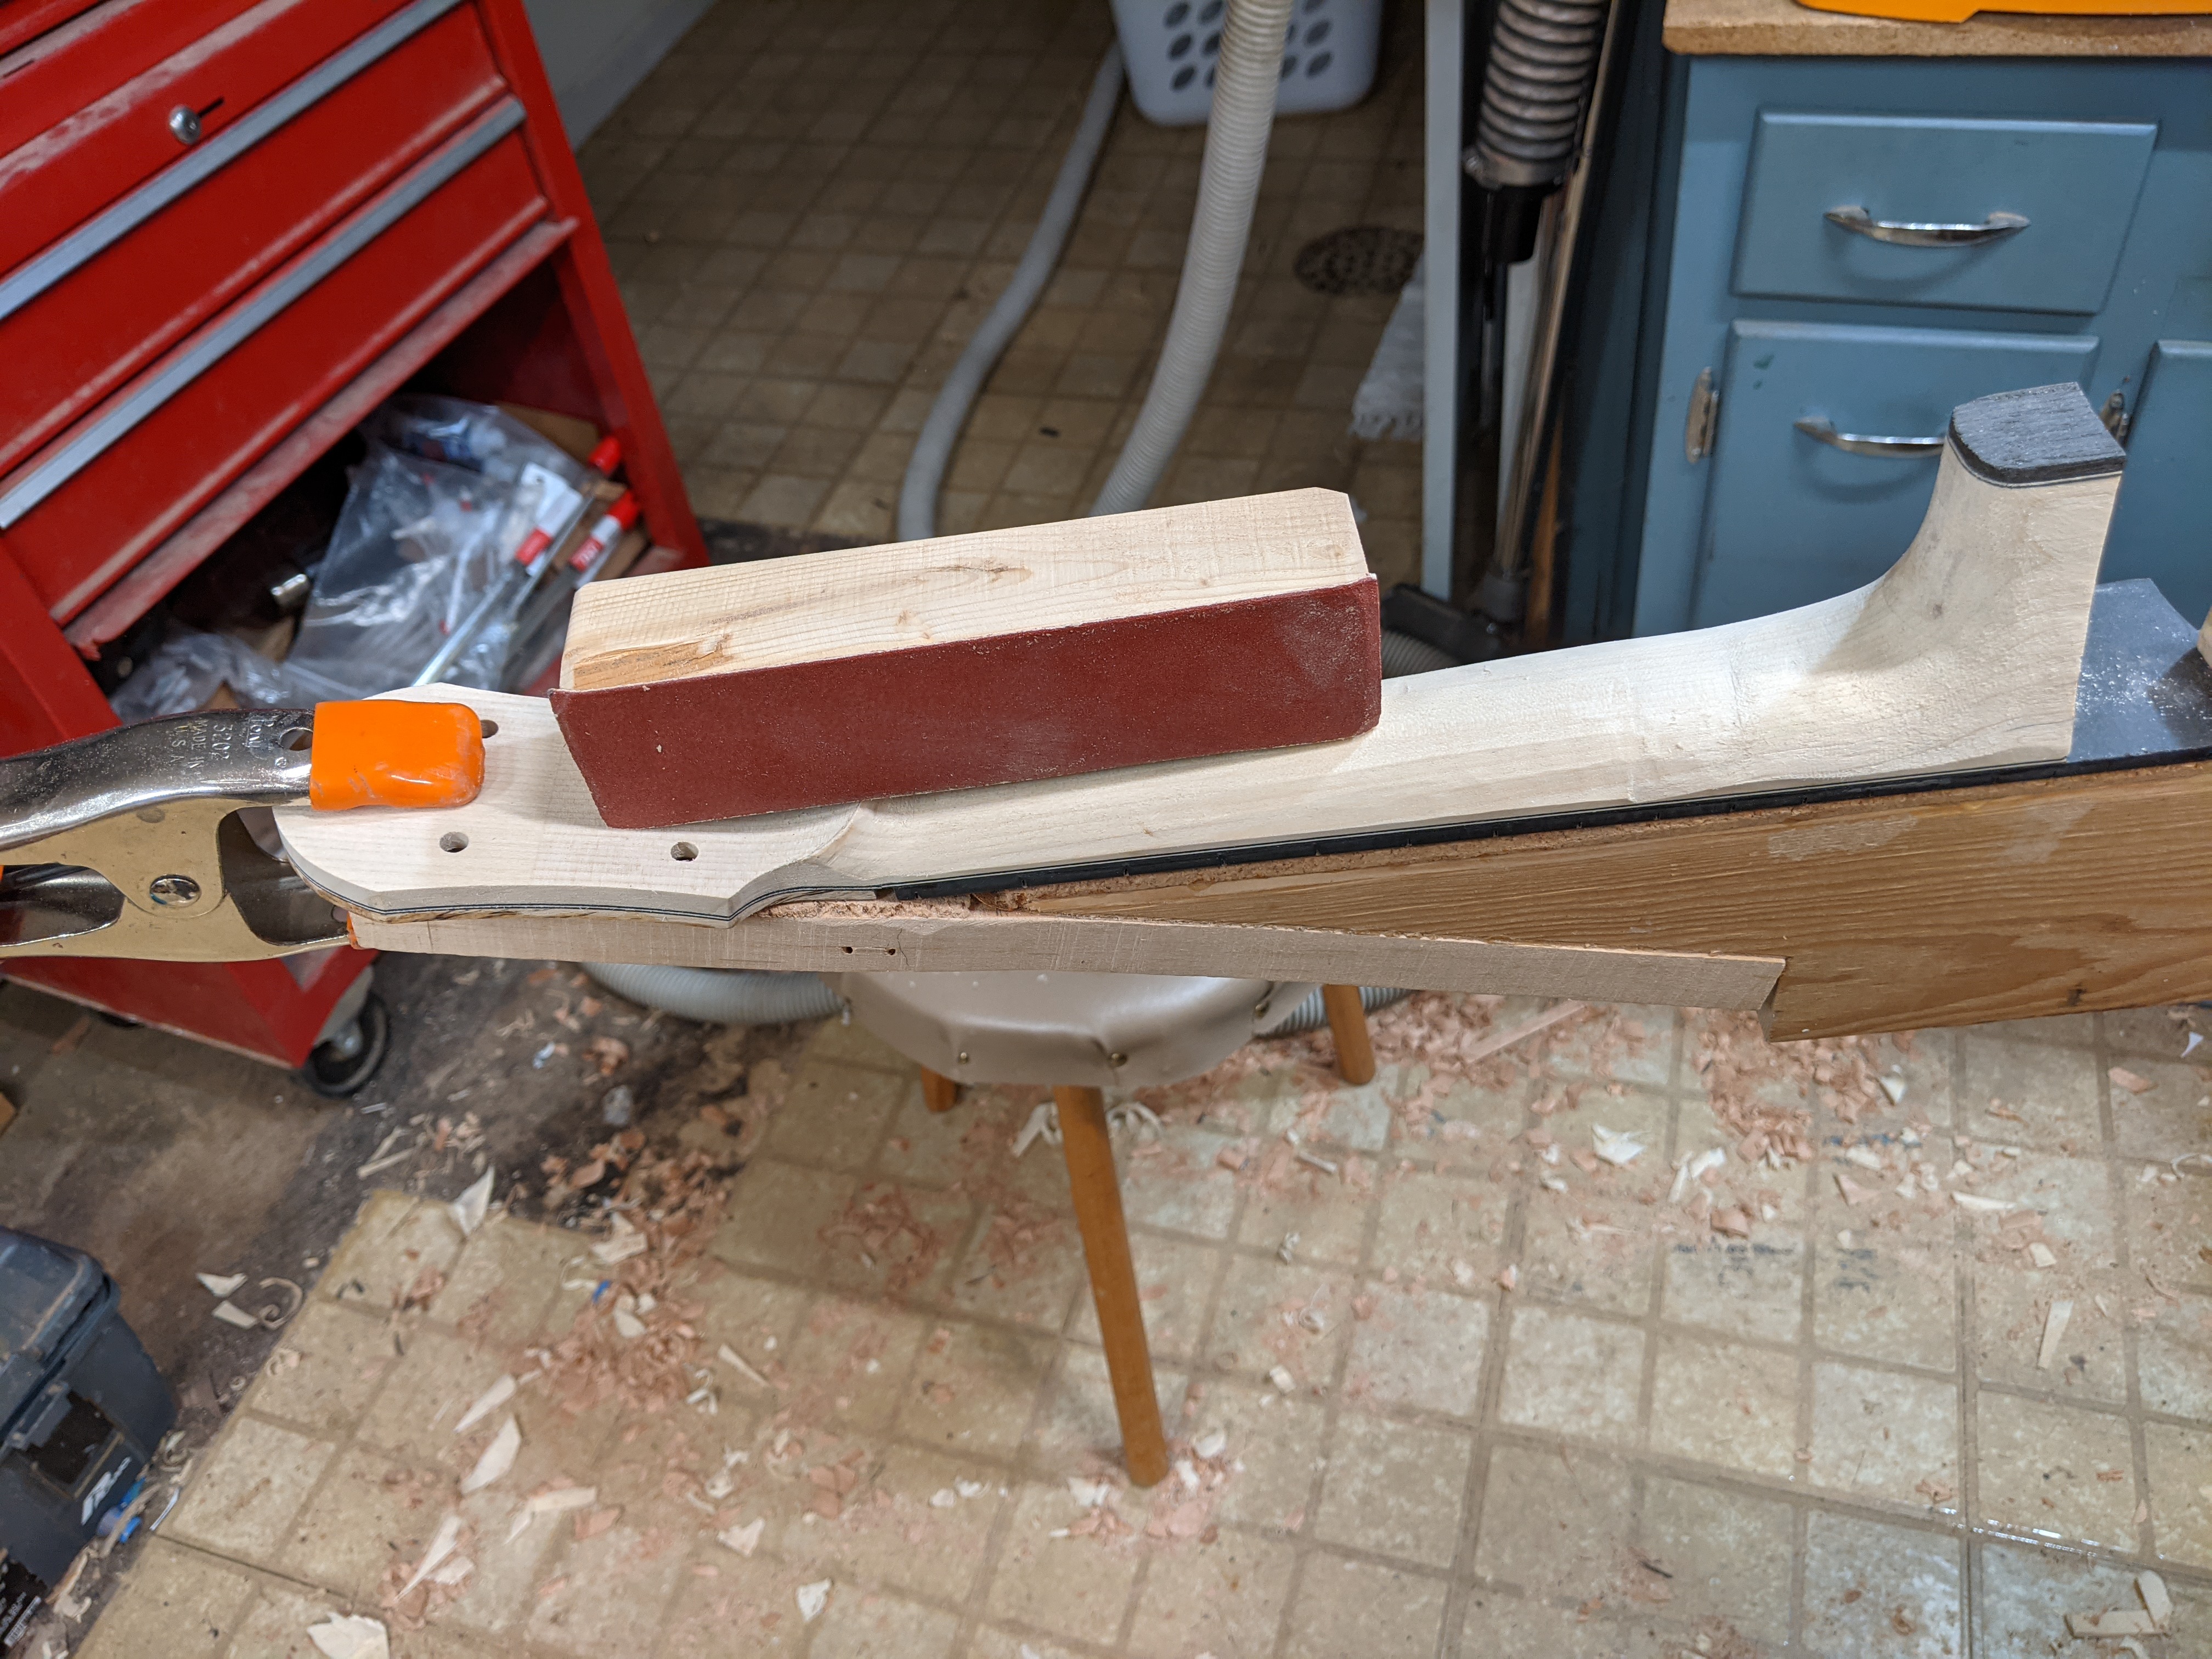
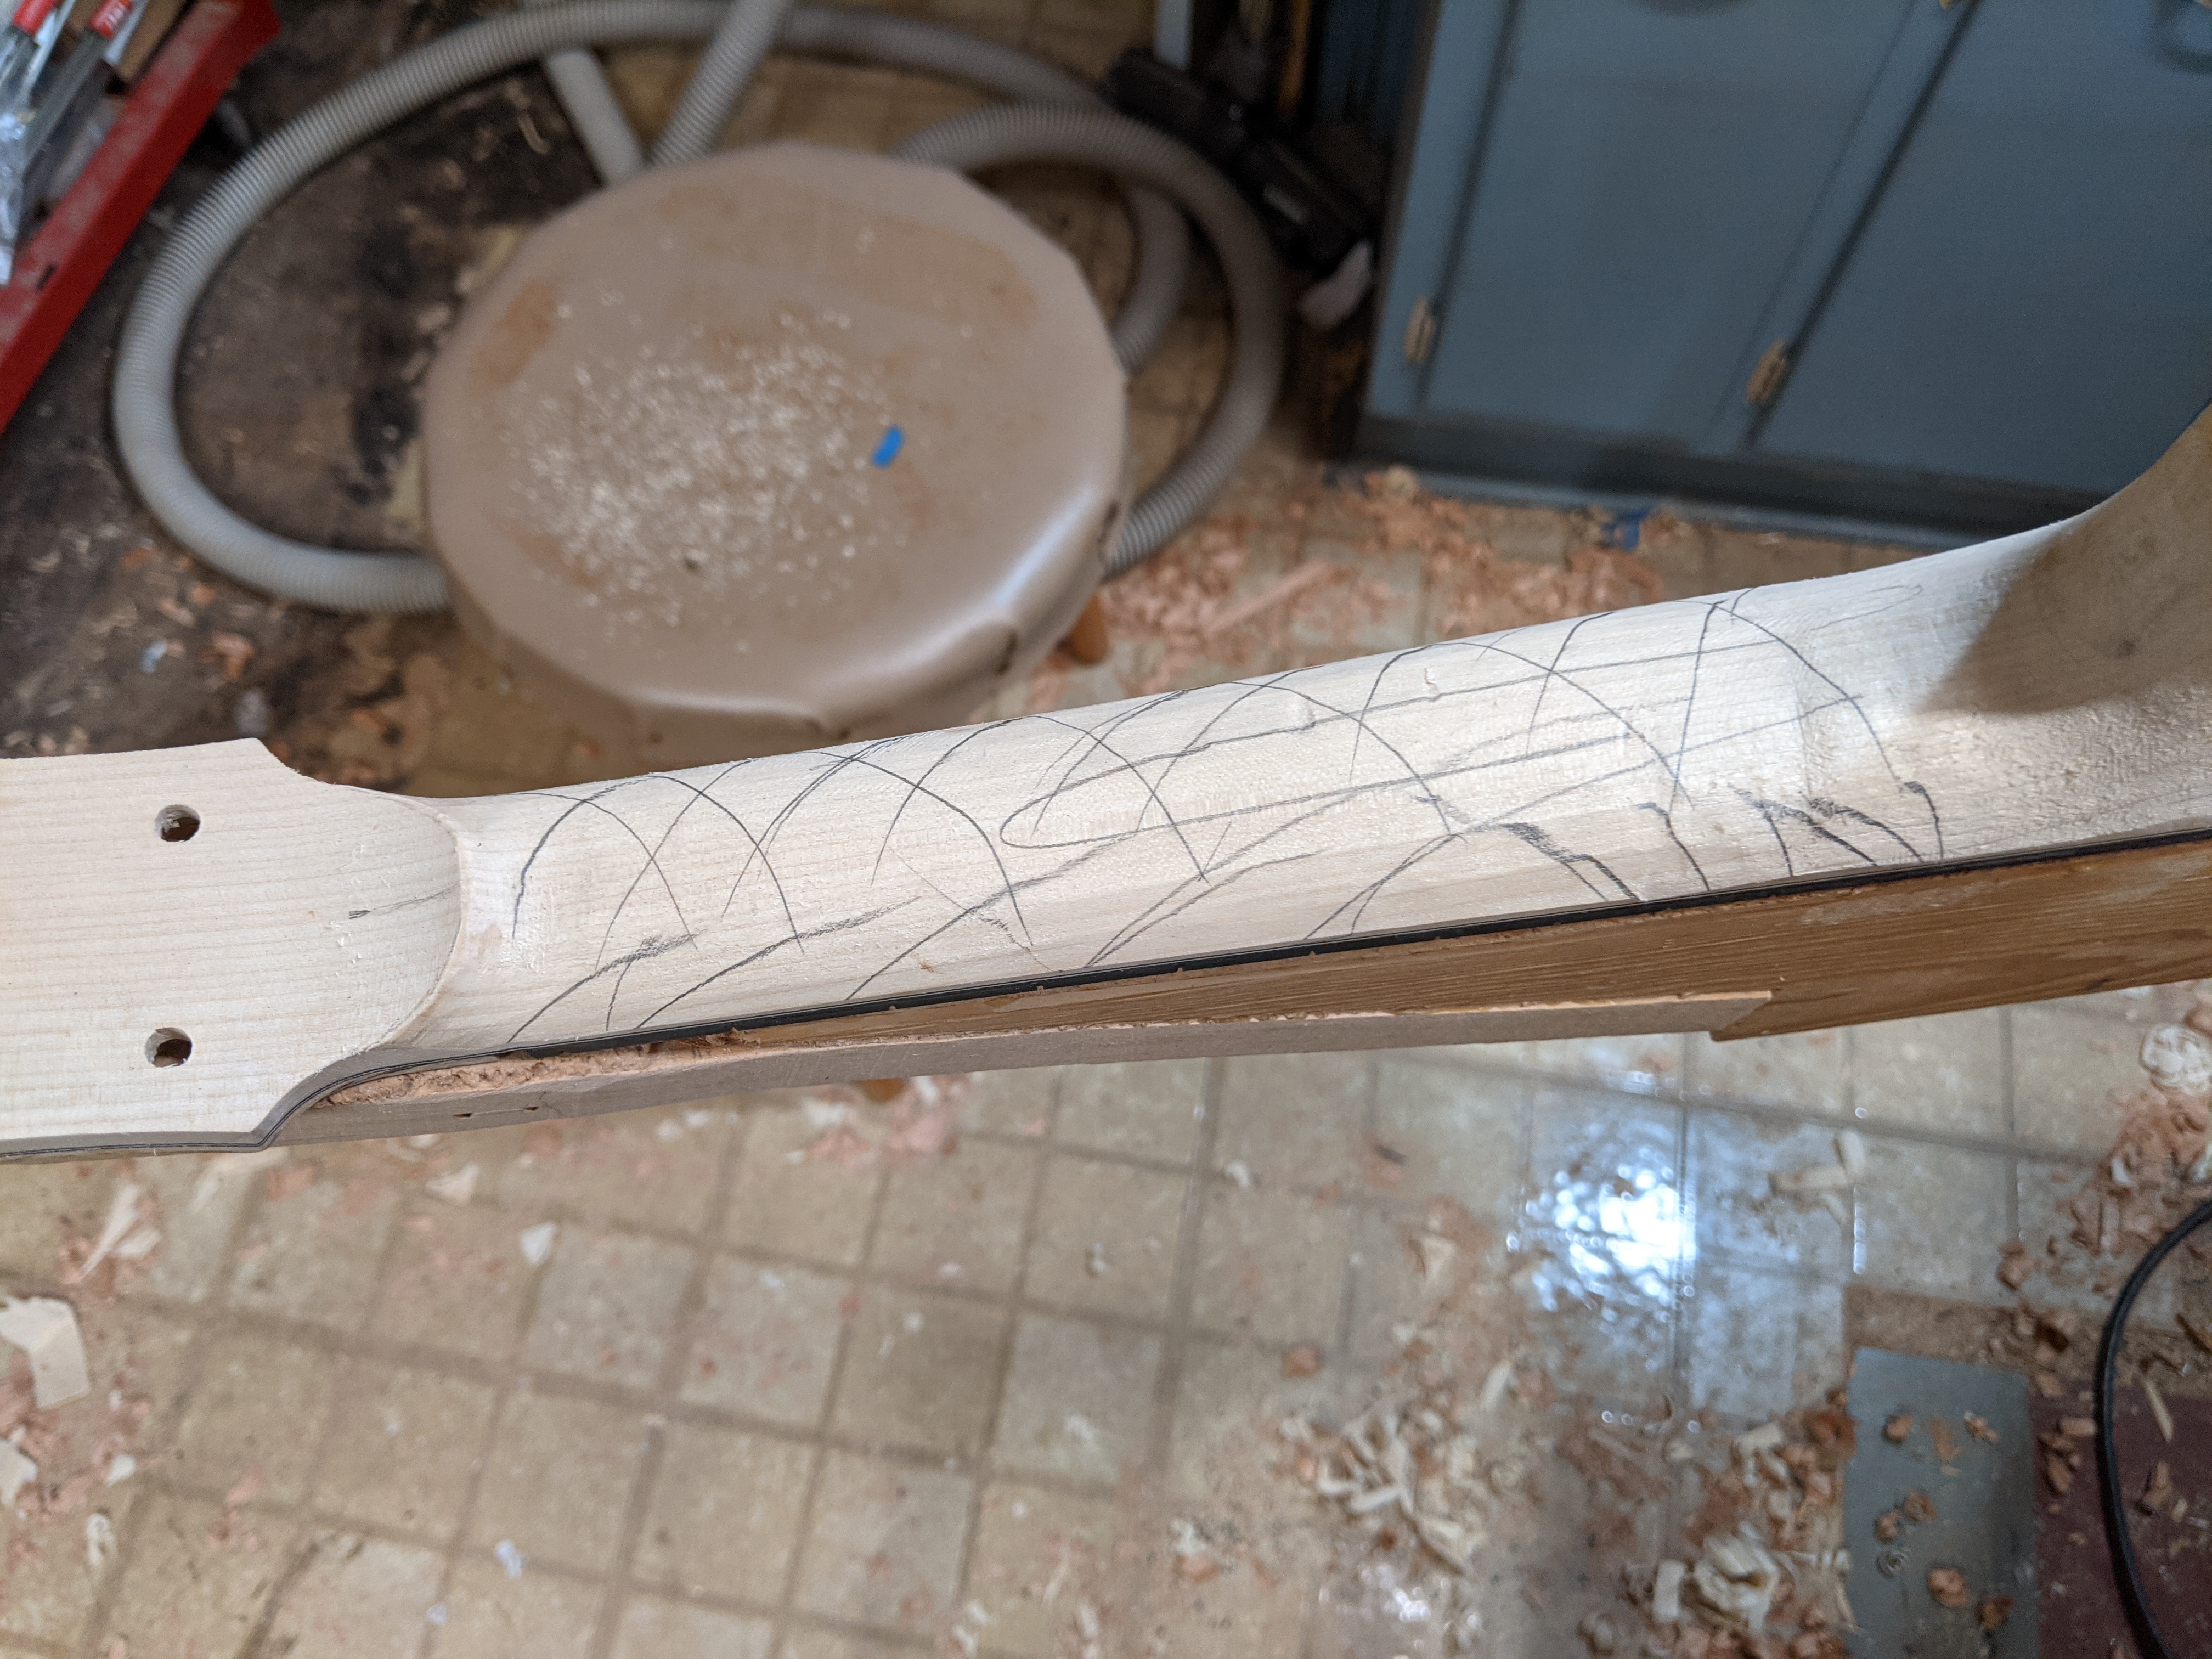
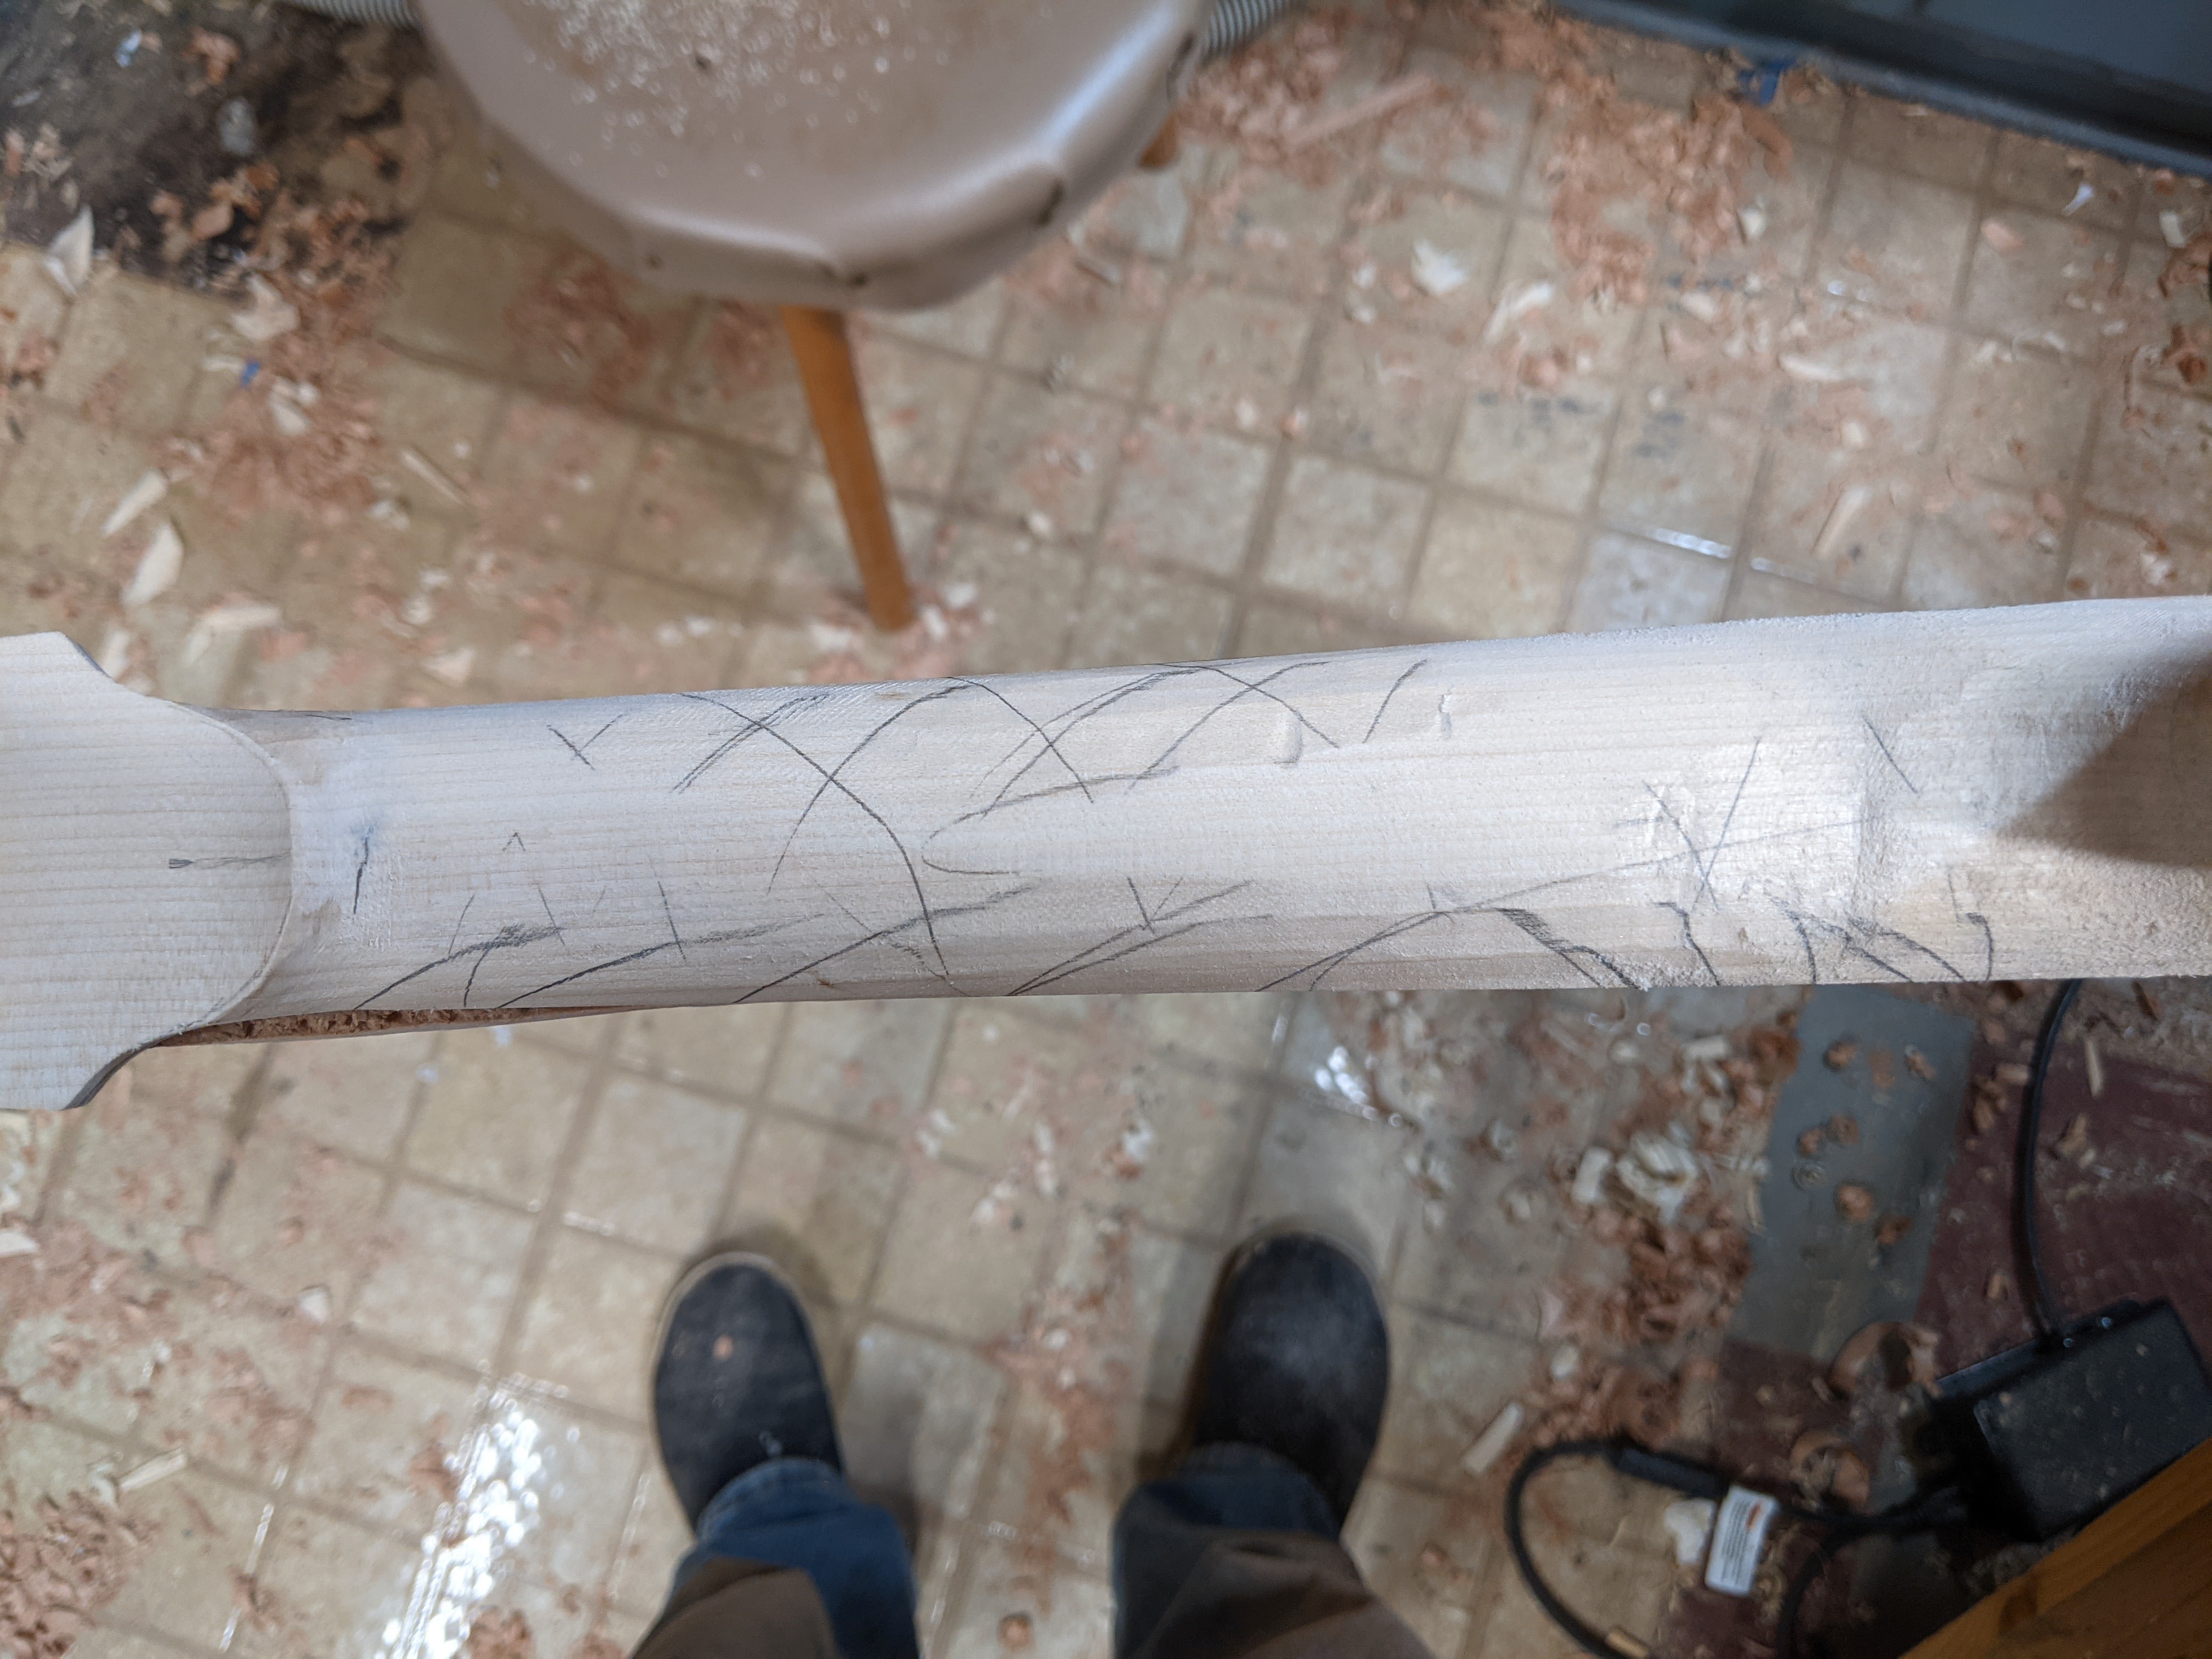
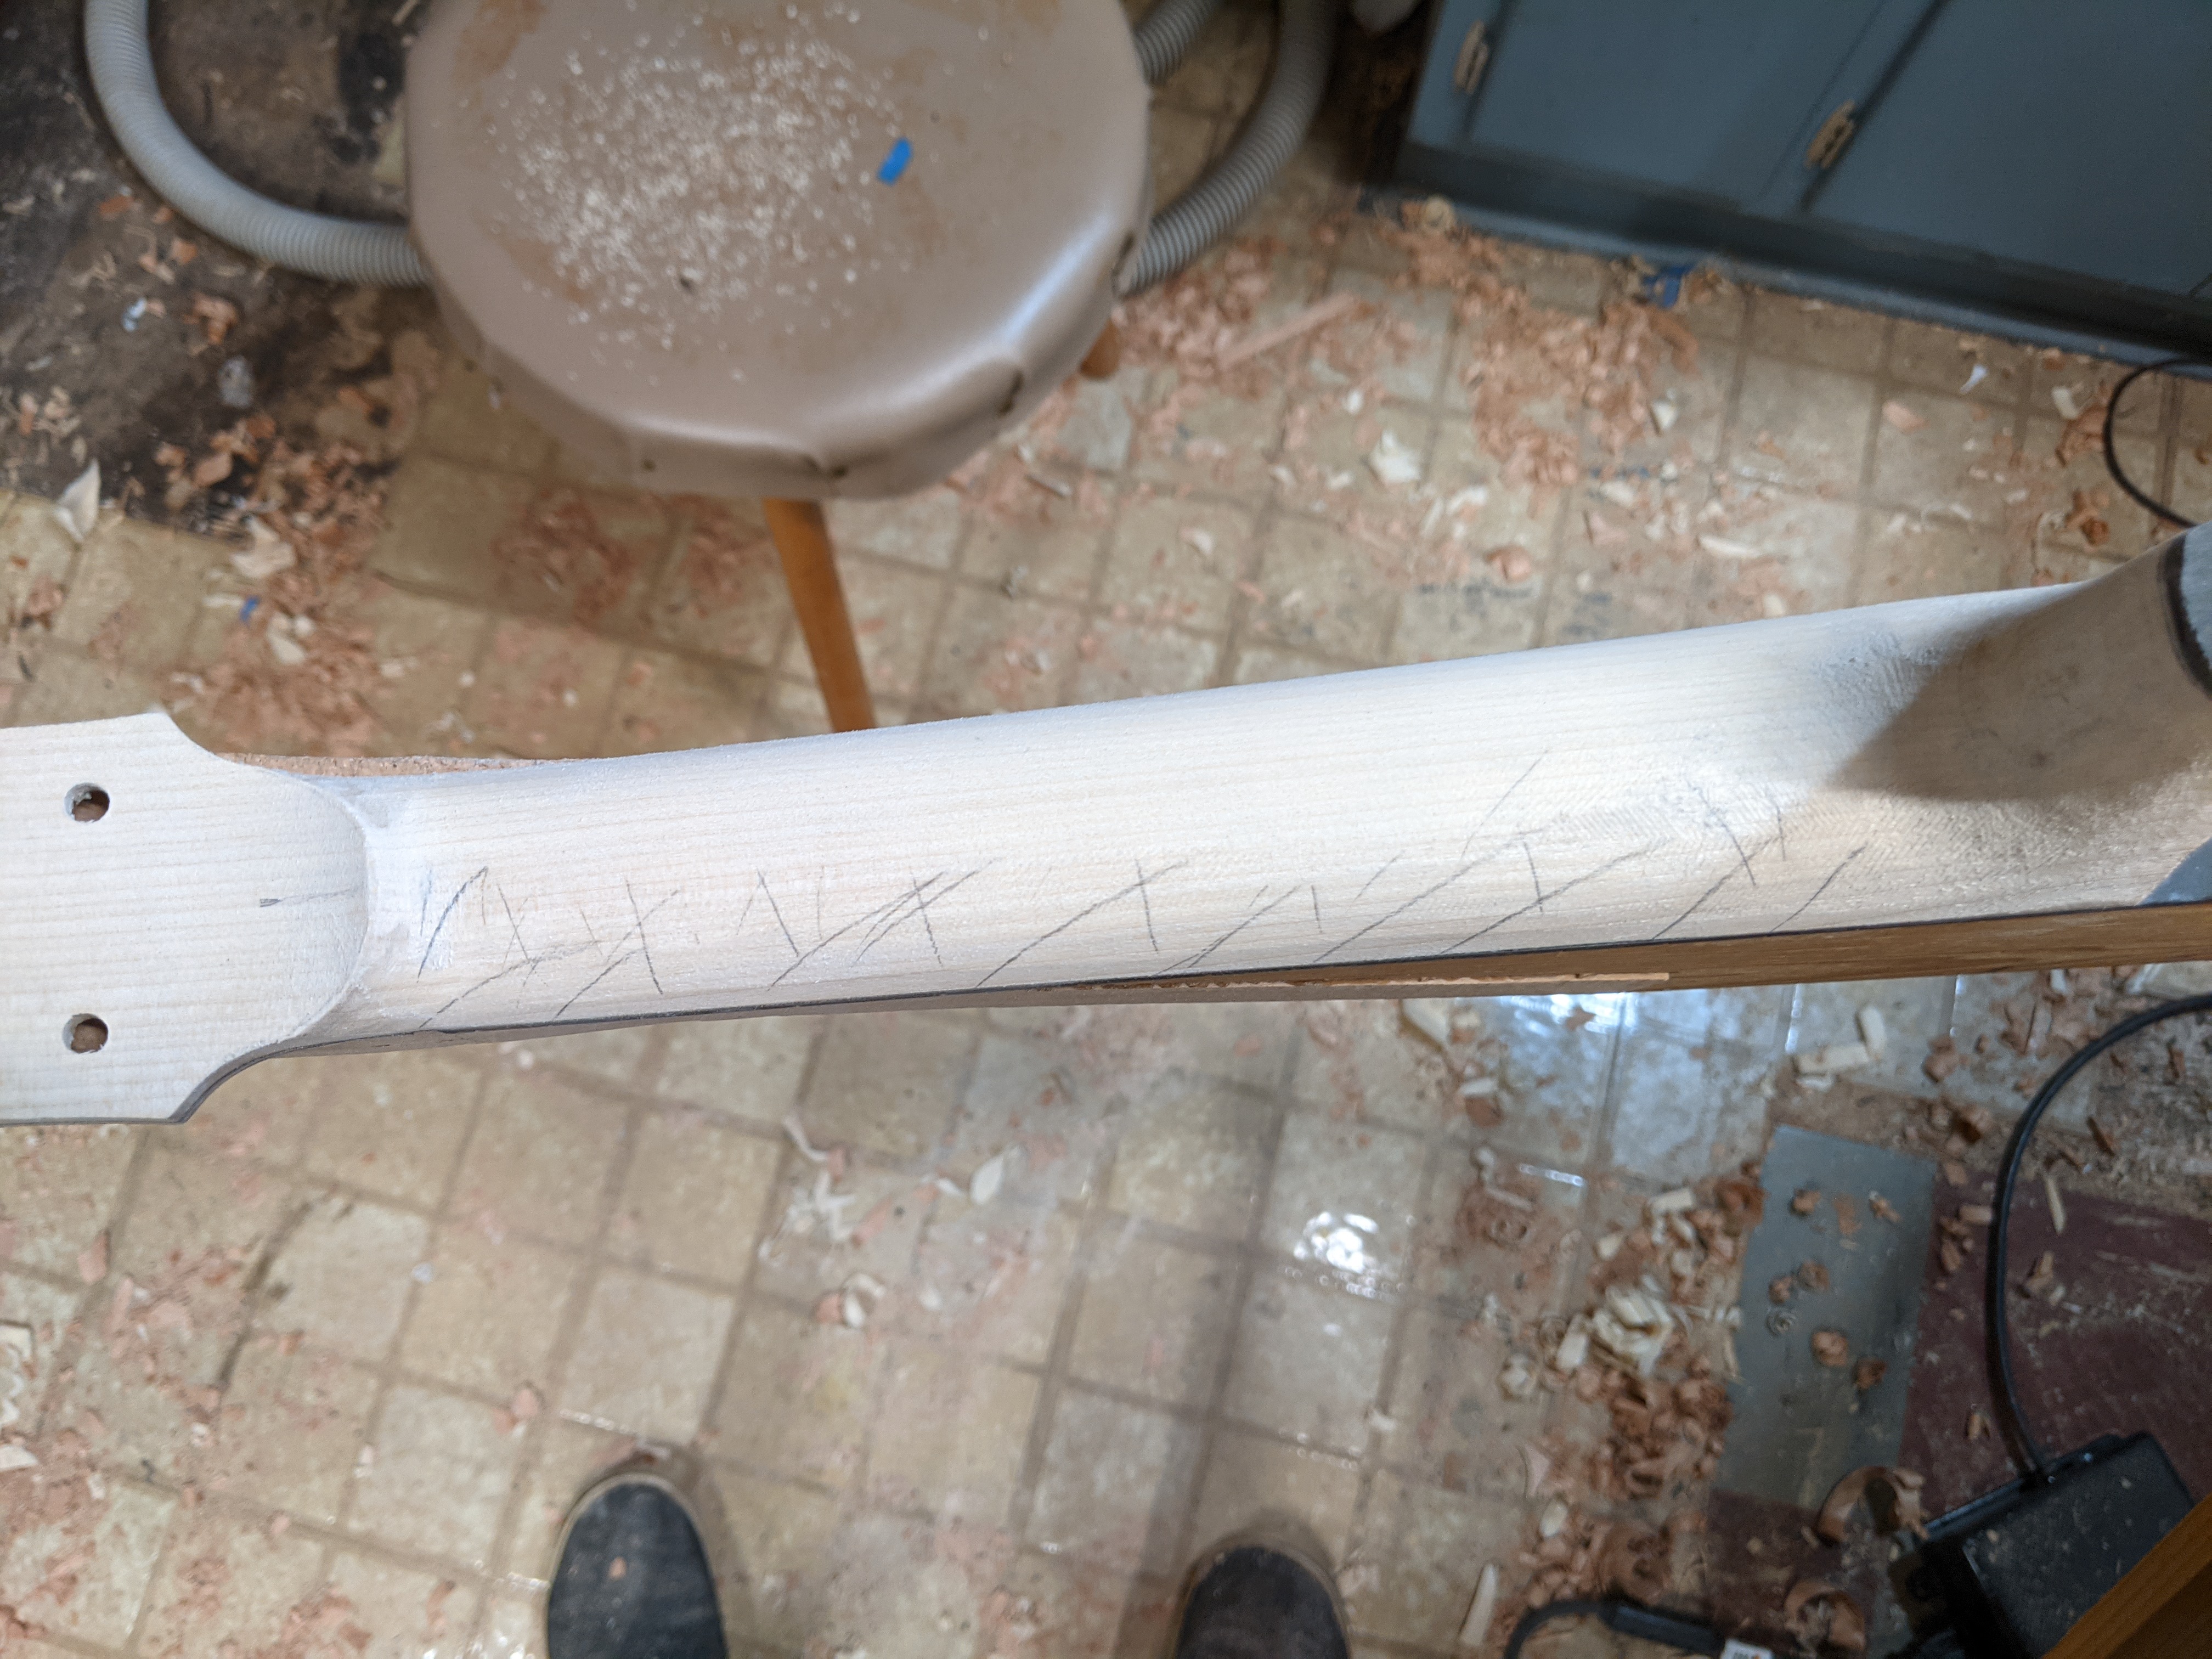
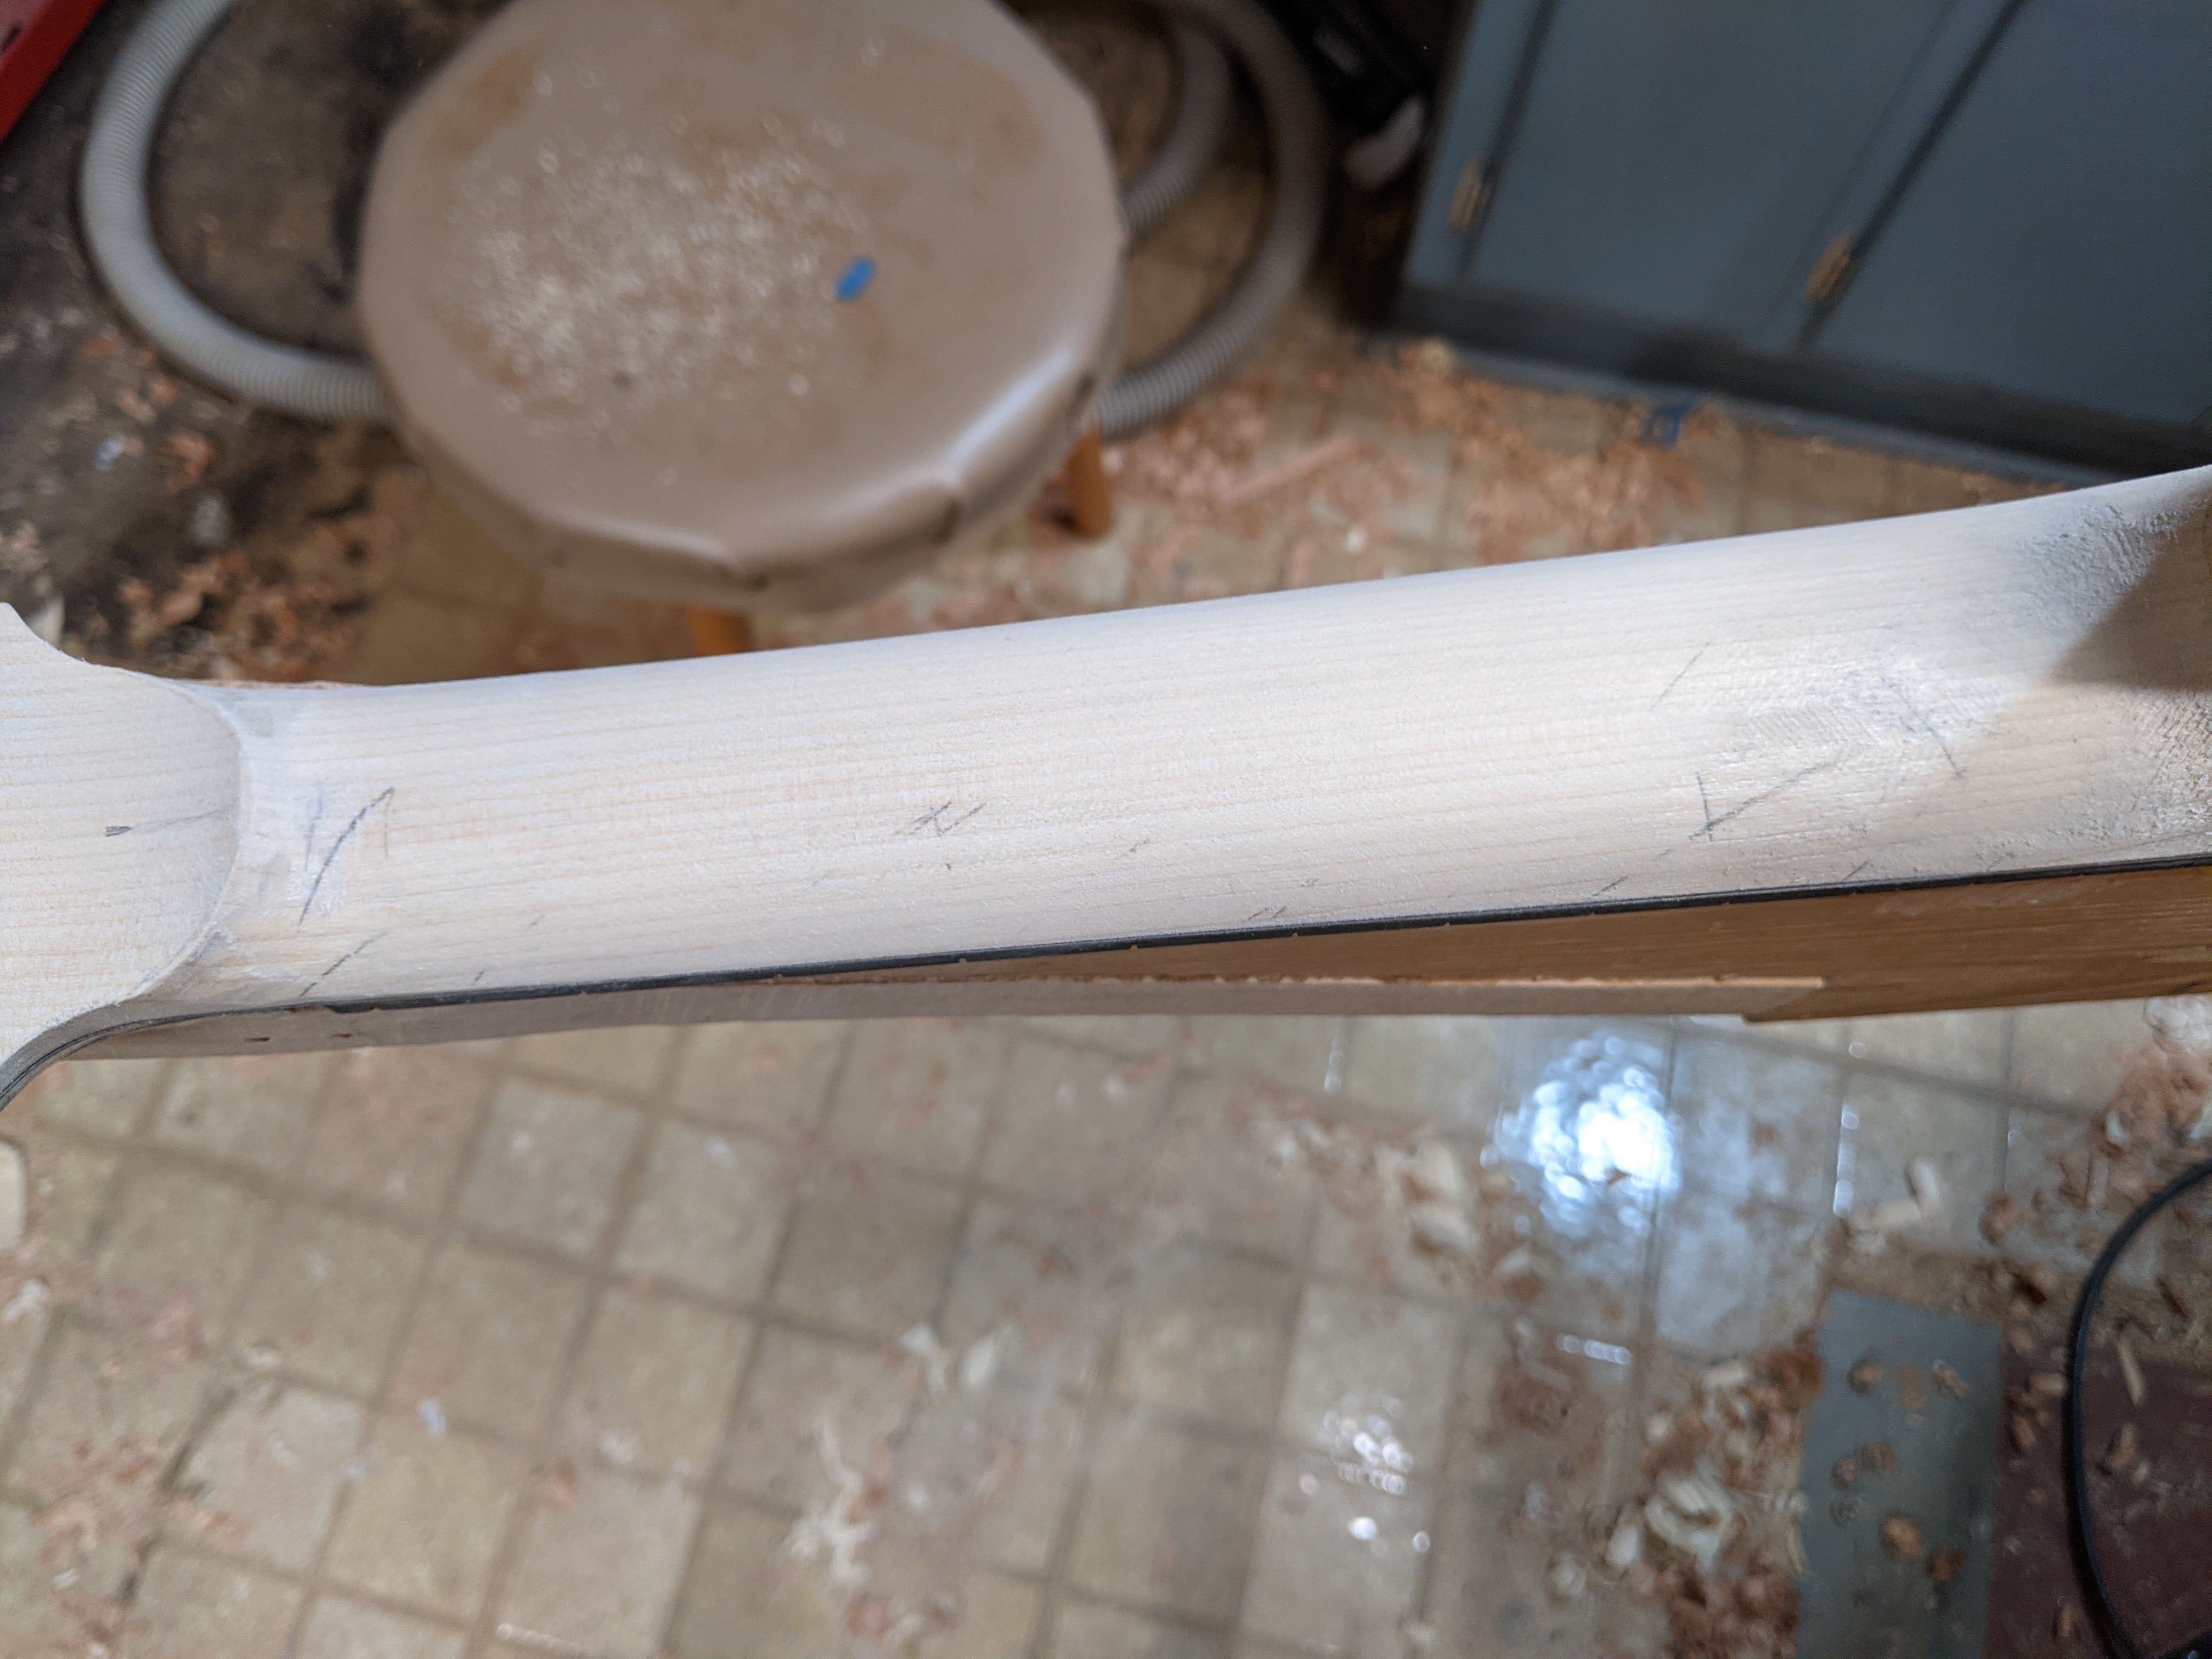
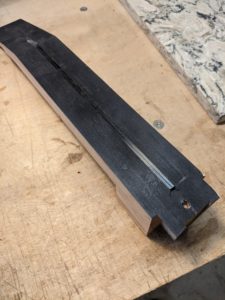
The neck of a steel string instrument will be subject to more tension because of the strings than the usual nylon stringed instrument. On all my instruments I insert a carbon fiber beam into the neck for added stiffness. My usual beam is 1/8 x 3/8 inches. Early on when preparing a neck blank a 1/8 inch slot is routed in the neck. This slot becomes the true center of the neck, regardless of where the edges of the blank may be. I have a number of jigs used when making and shaping the neck, all of which have 1/8” pins sticking out of them to index to that 1/8” slot.
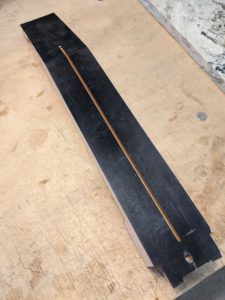
For added stiffness I realized that once all of the neck shaping that involved indexing to the 1/8 inch slot were finished I could re-route a wider channel. I made the channel ¼ inch wide so I could double the width of the carbon fiber beam.
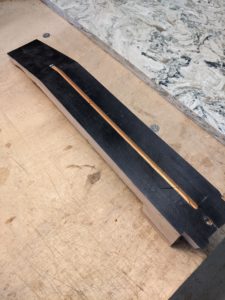
The beams fit tight into the slot (they have to be tapped in with a small hammer) and are then flooded with thin CA glue to weld everything together.
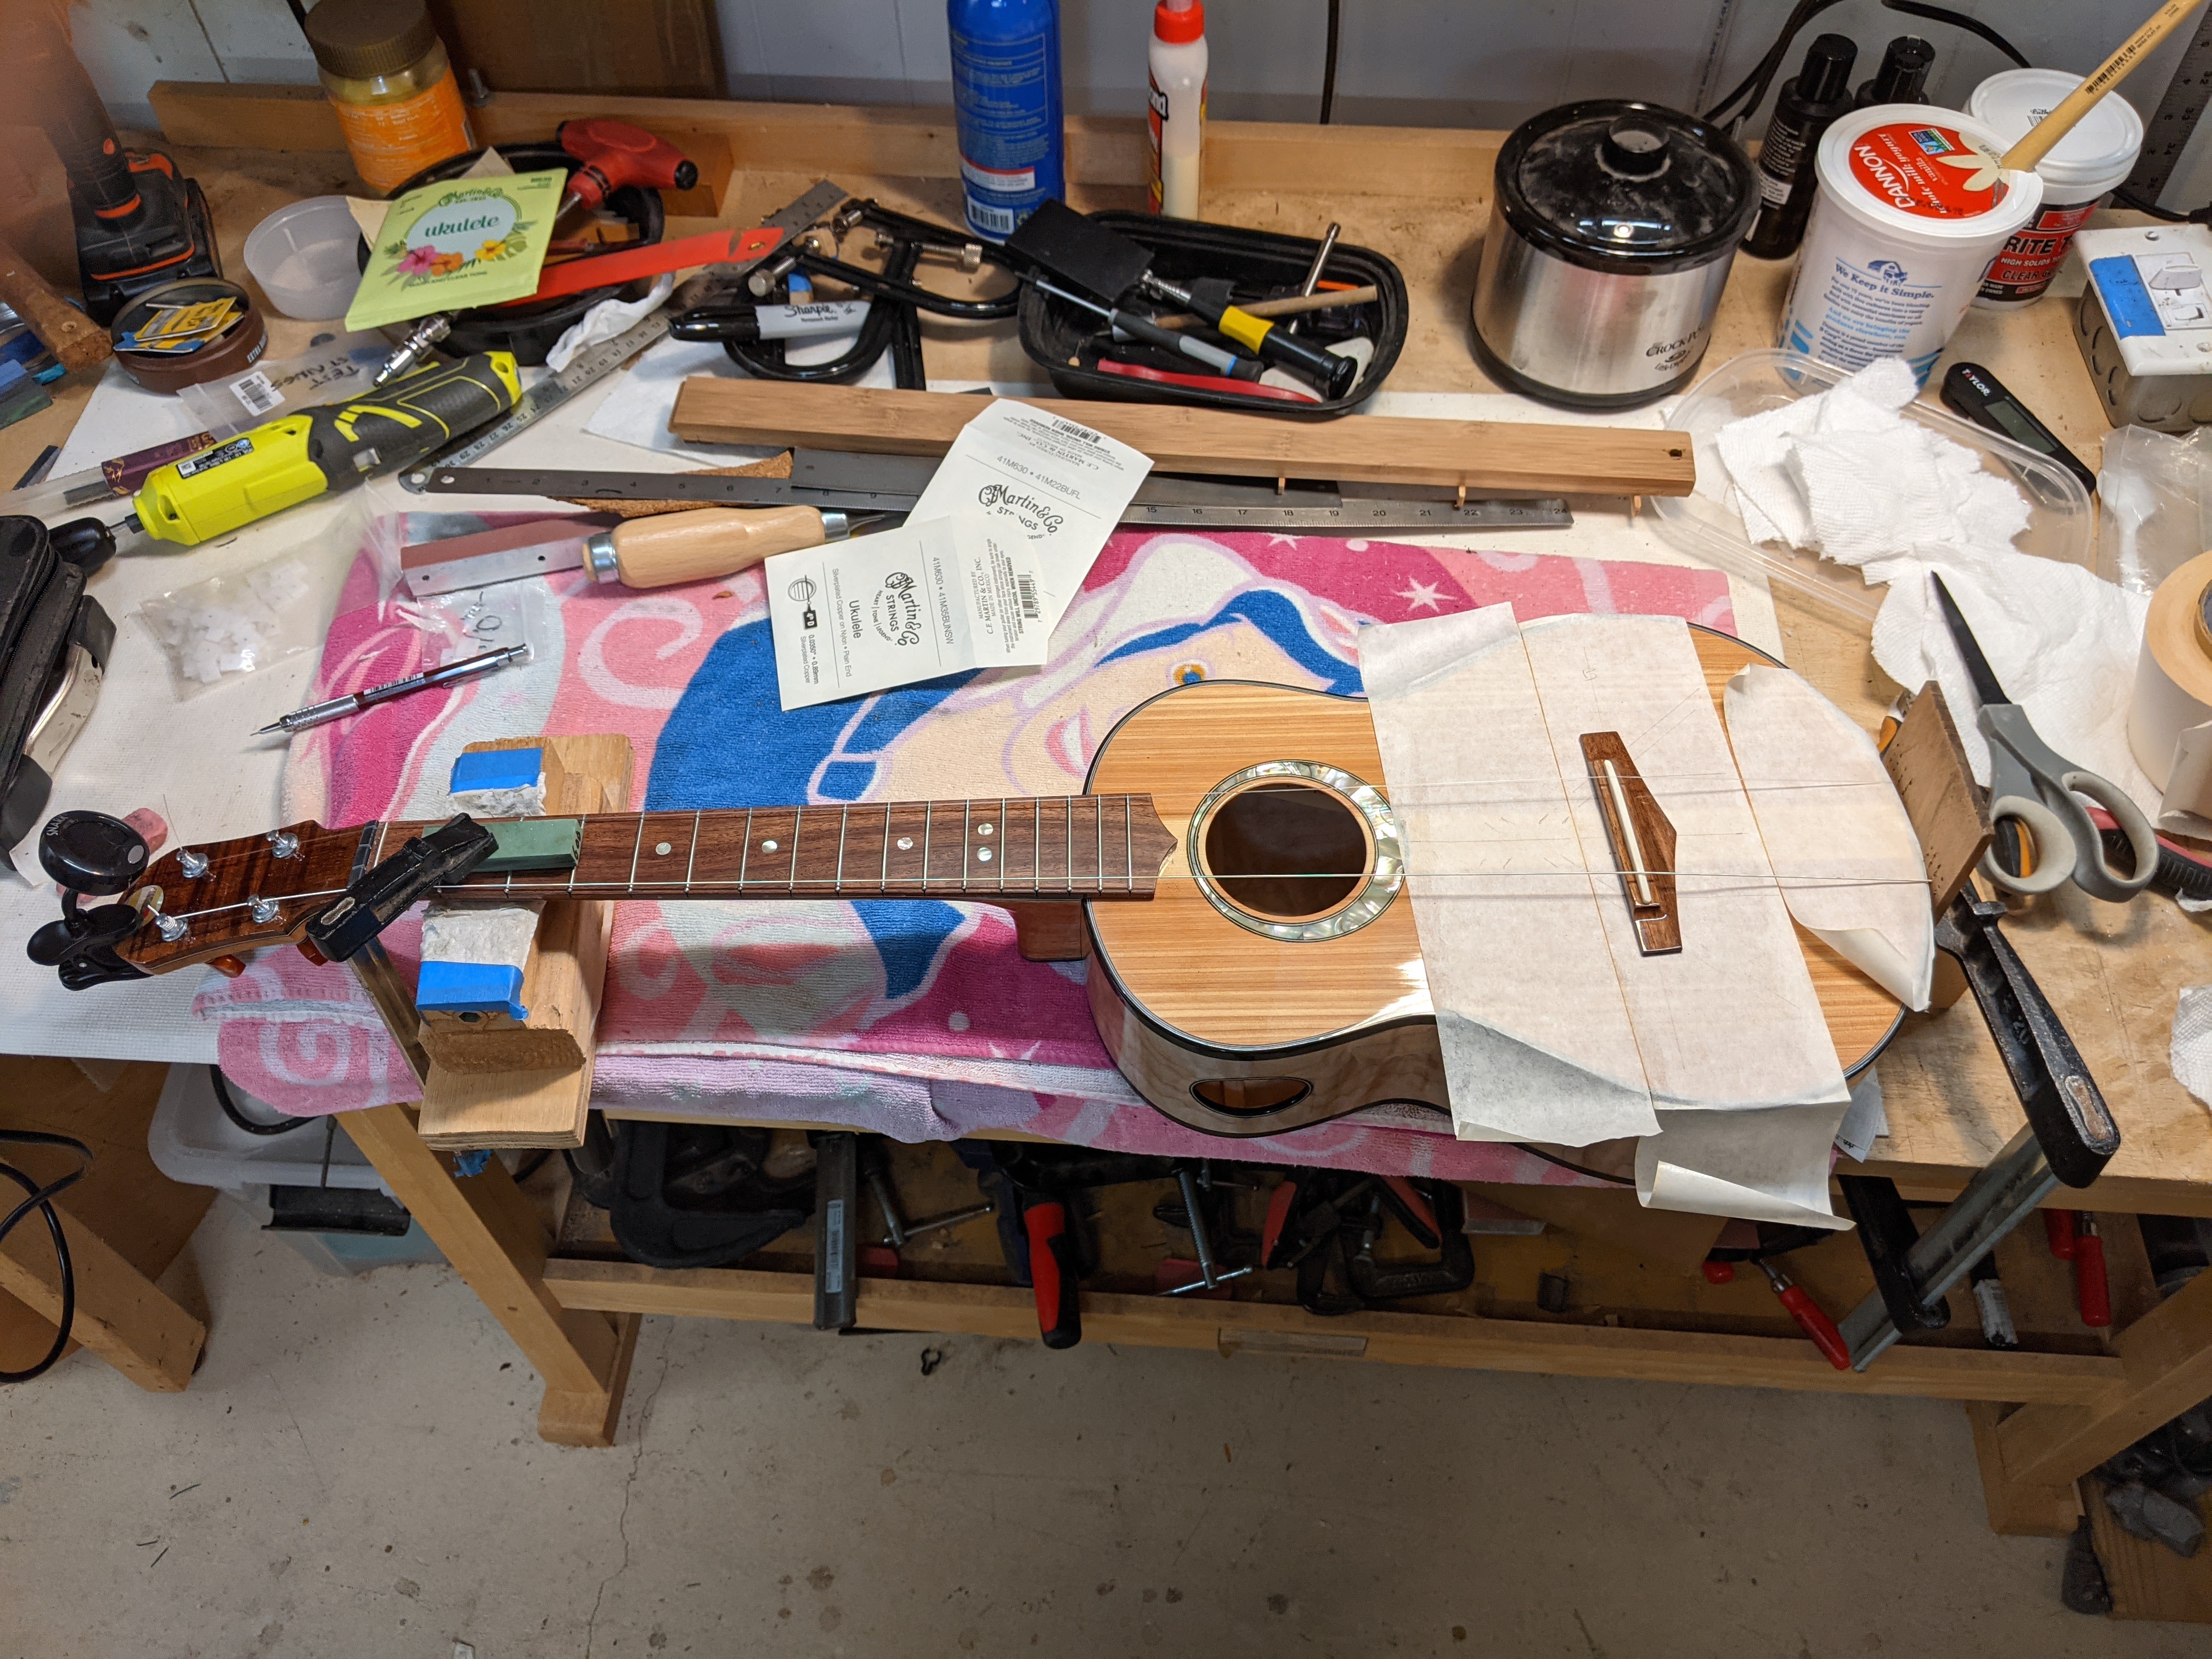
Intonation
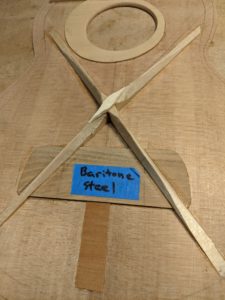
The position of the bridge in relation to the frets is absolutely critical if the instrument is to play in tune. On a theoretical basis the 12’th fret should be exactly ½ the distance from the nut to the saddle, and play exactly an octave above the string open. However, because the strings are above the frets, when a string is pressed down and fretted, it is stretched slightly which makes the note play a bit higher in pitch. To ‘compensate’ for this one adds a bit of compensation by moving the bridge/saddle slightly away from the nut so the fretted note is a little lower in pitch. The amount of this lengthening of the string, the compensation, is dependent on the type of string and how the instrument is set up. (A high action means the string will be stretched more, which will require more compensation.)
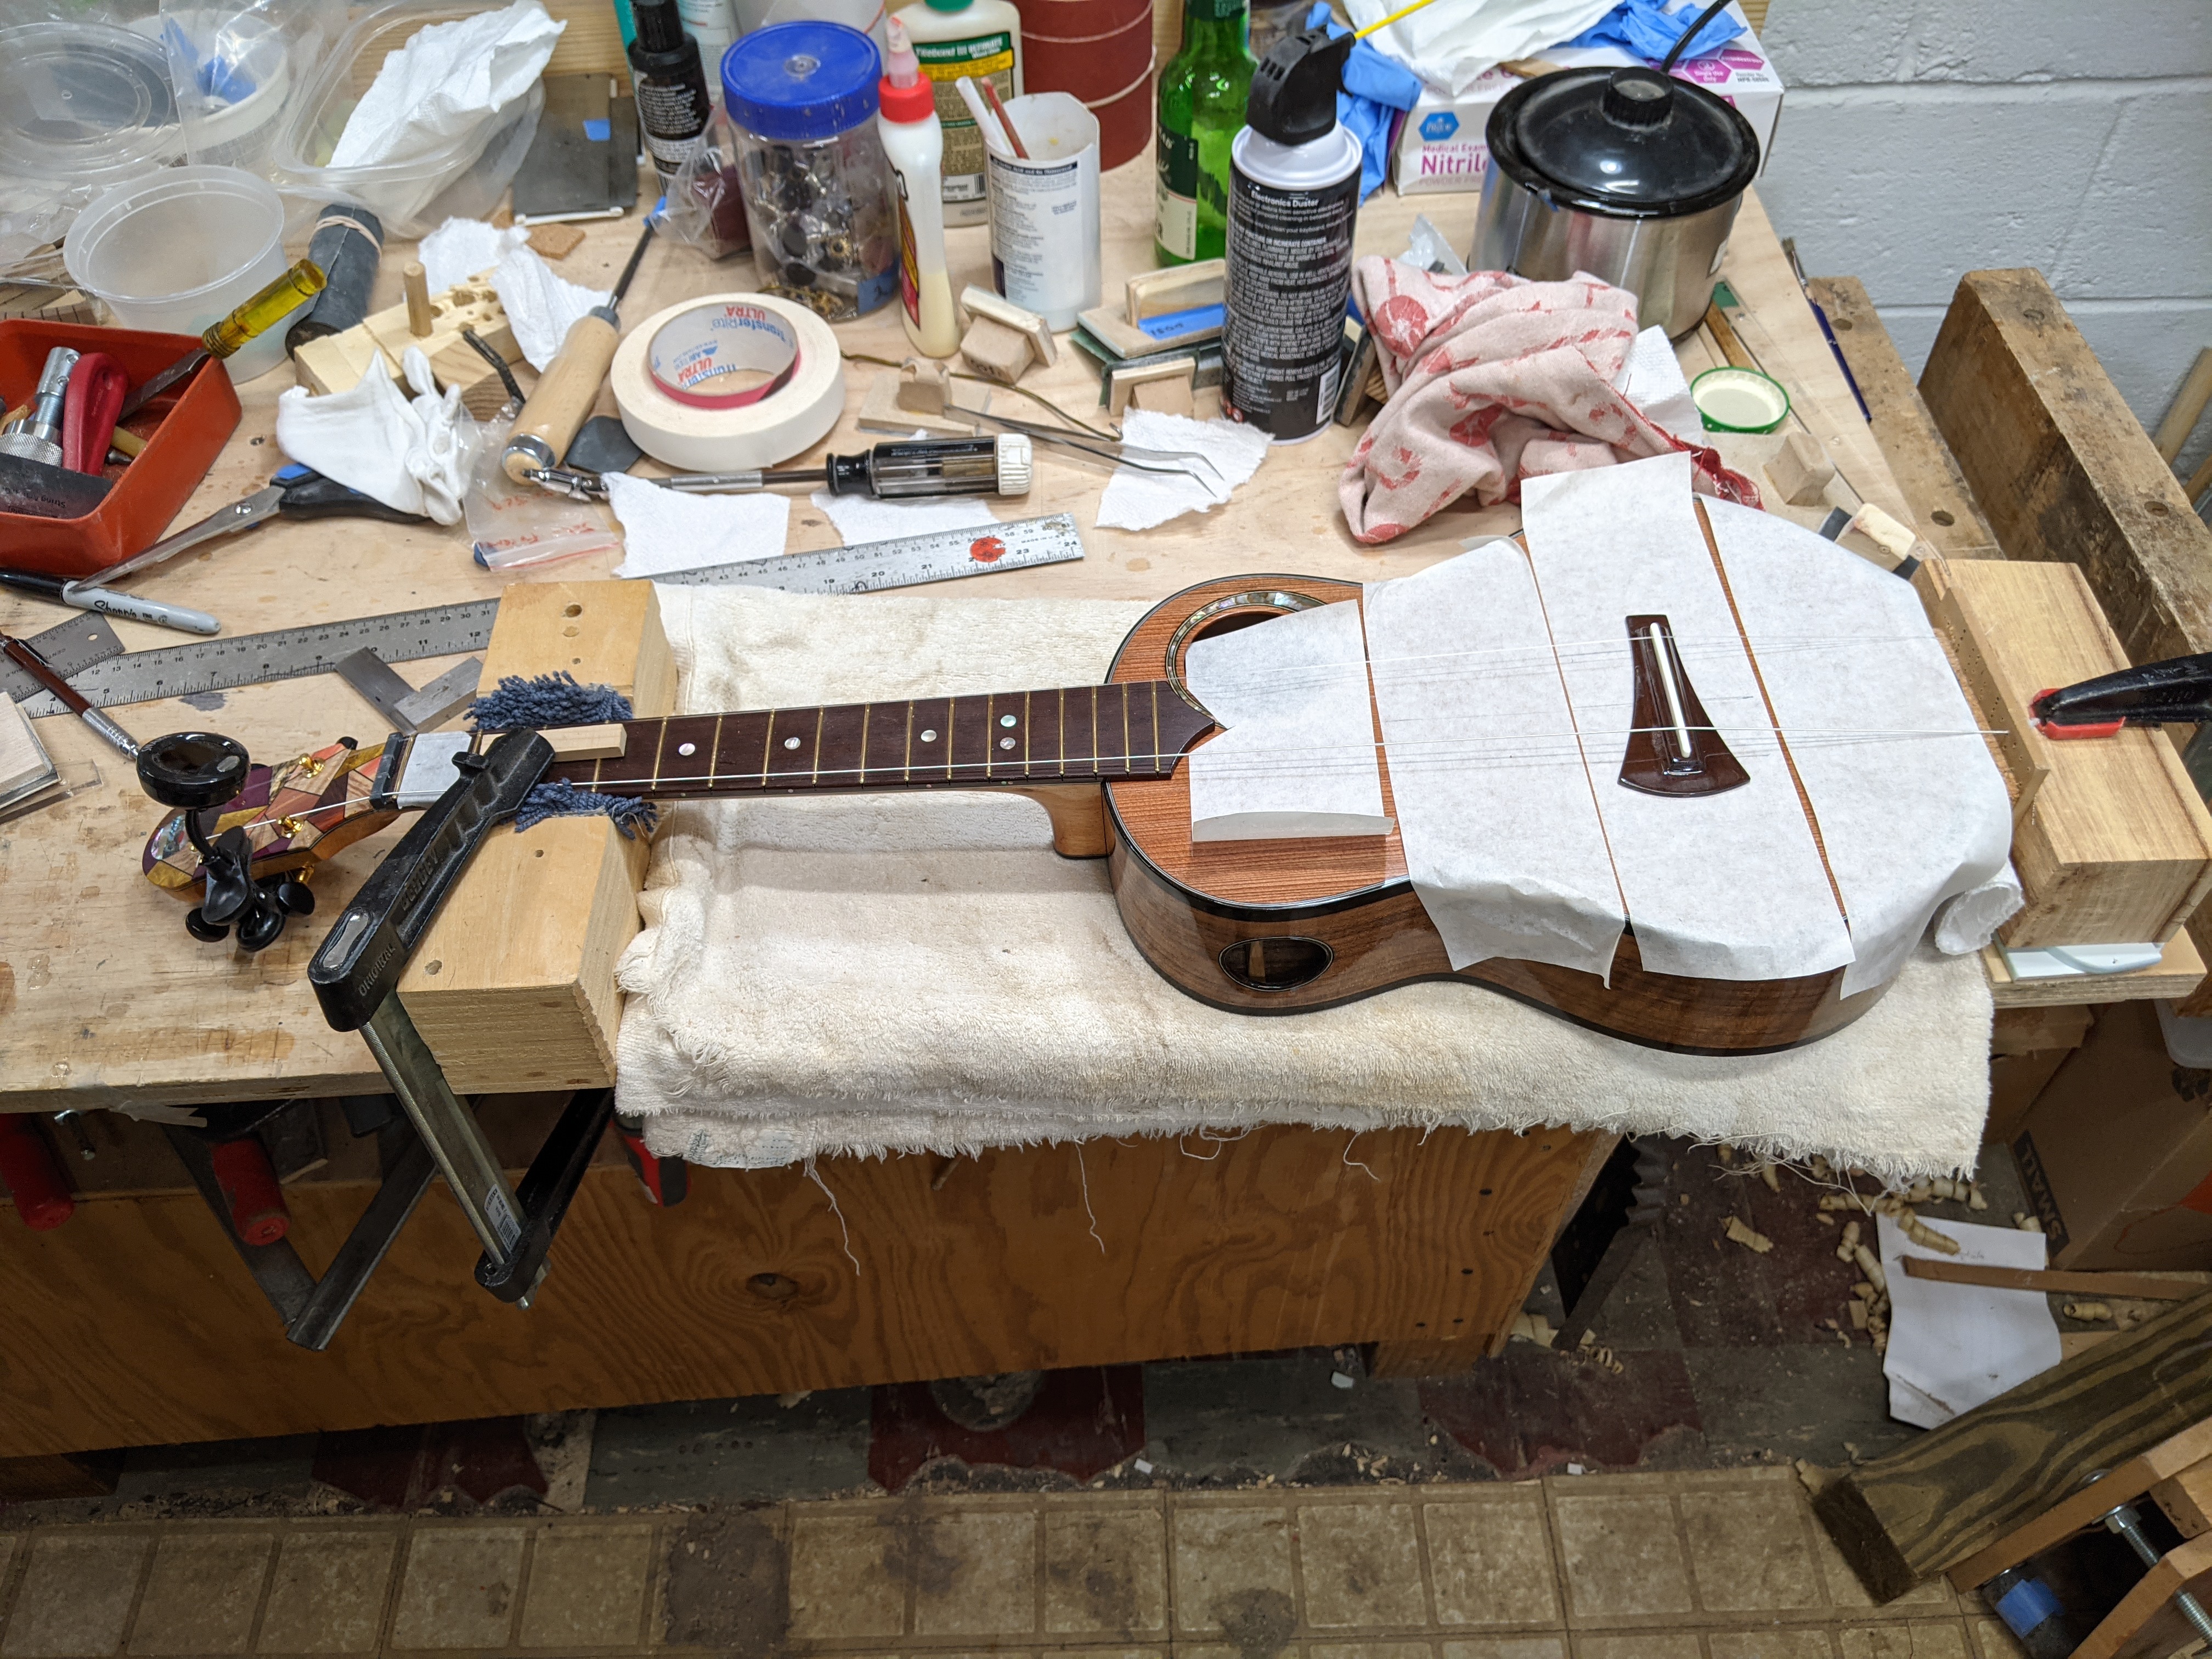
Since these steel strings are a whole new thing for me I utilized a setup I came up with a while back for setting the compensation. I have a false tail-piece and stretch the strings over the bridge/saddle to the tuners. I can tune the strings up (I do only the 1’st and 4’th strings) and move the bridge/saddle back and forth so that the note open and fretted at the 12’th fret are exactly an octave apart. I bought a high quality stroboscopic tuner so get this really correct. Here is an older picture of the setup, not this steel string instrument but the setup is the same.

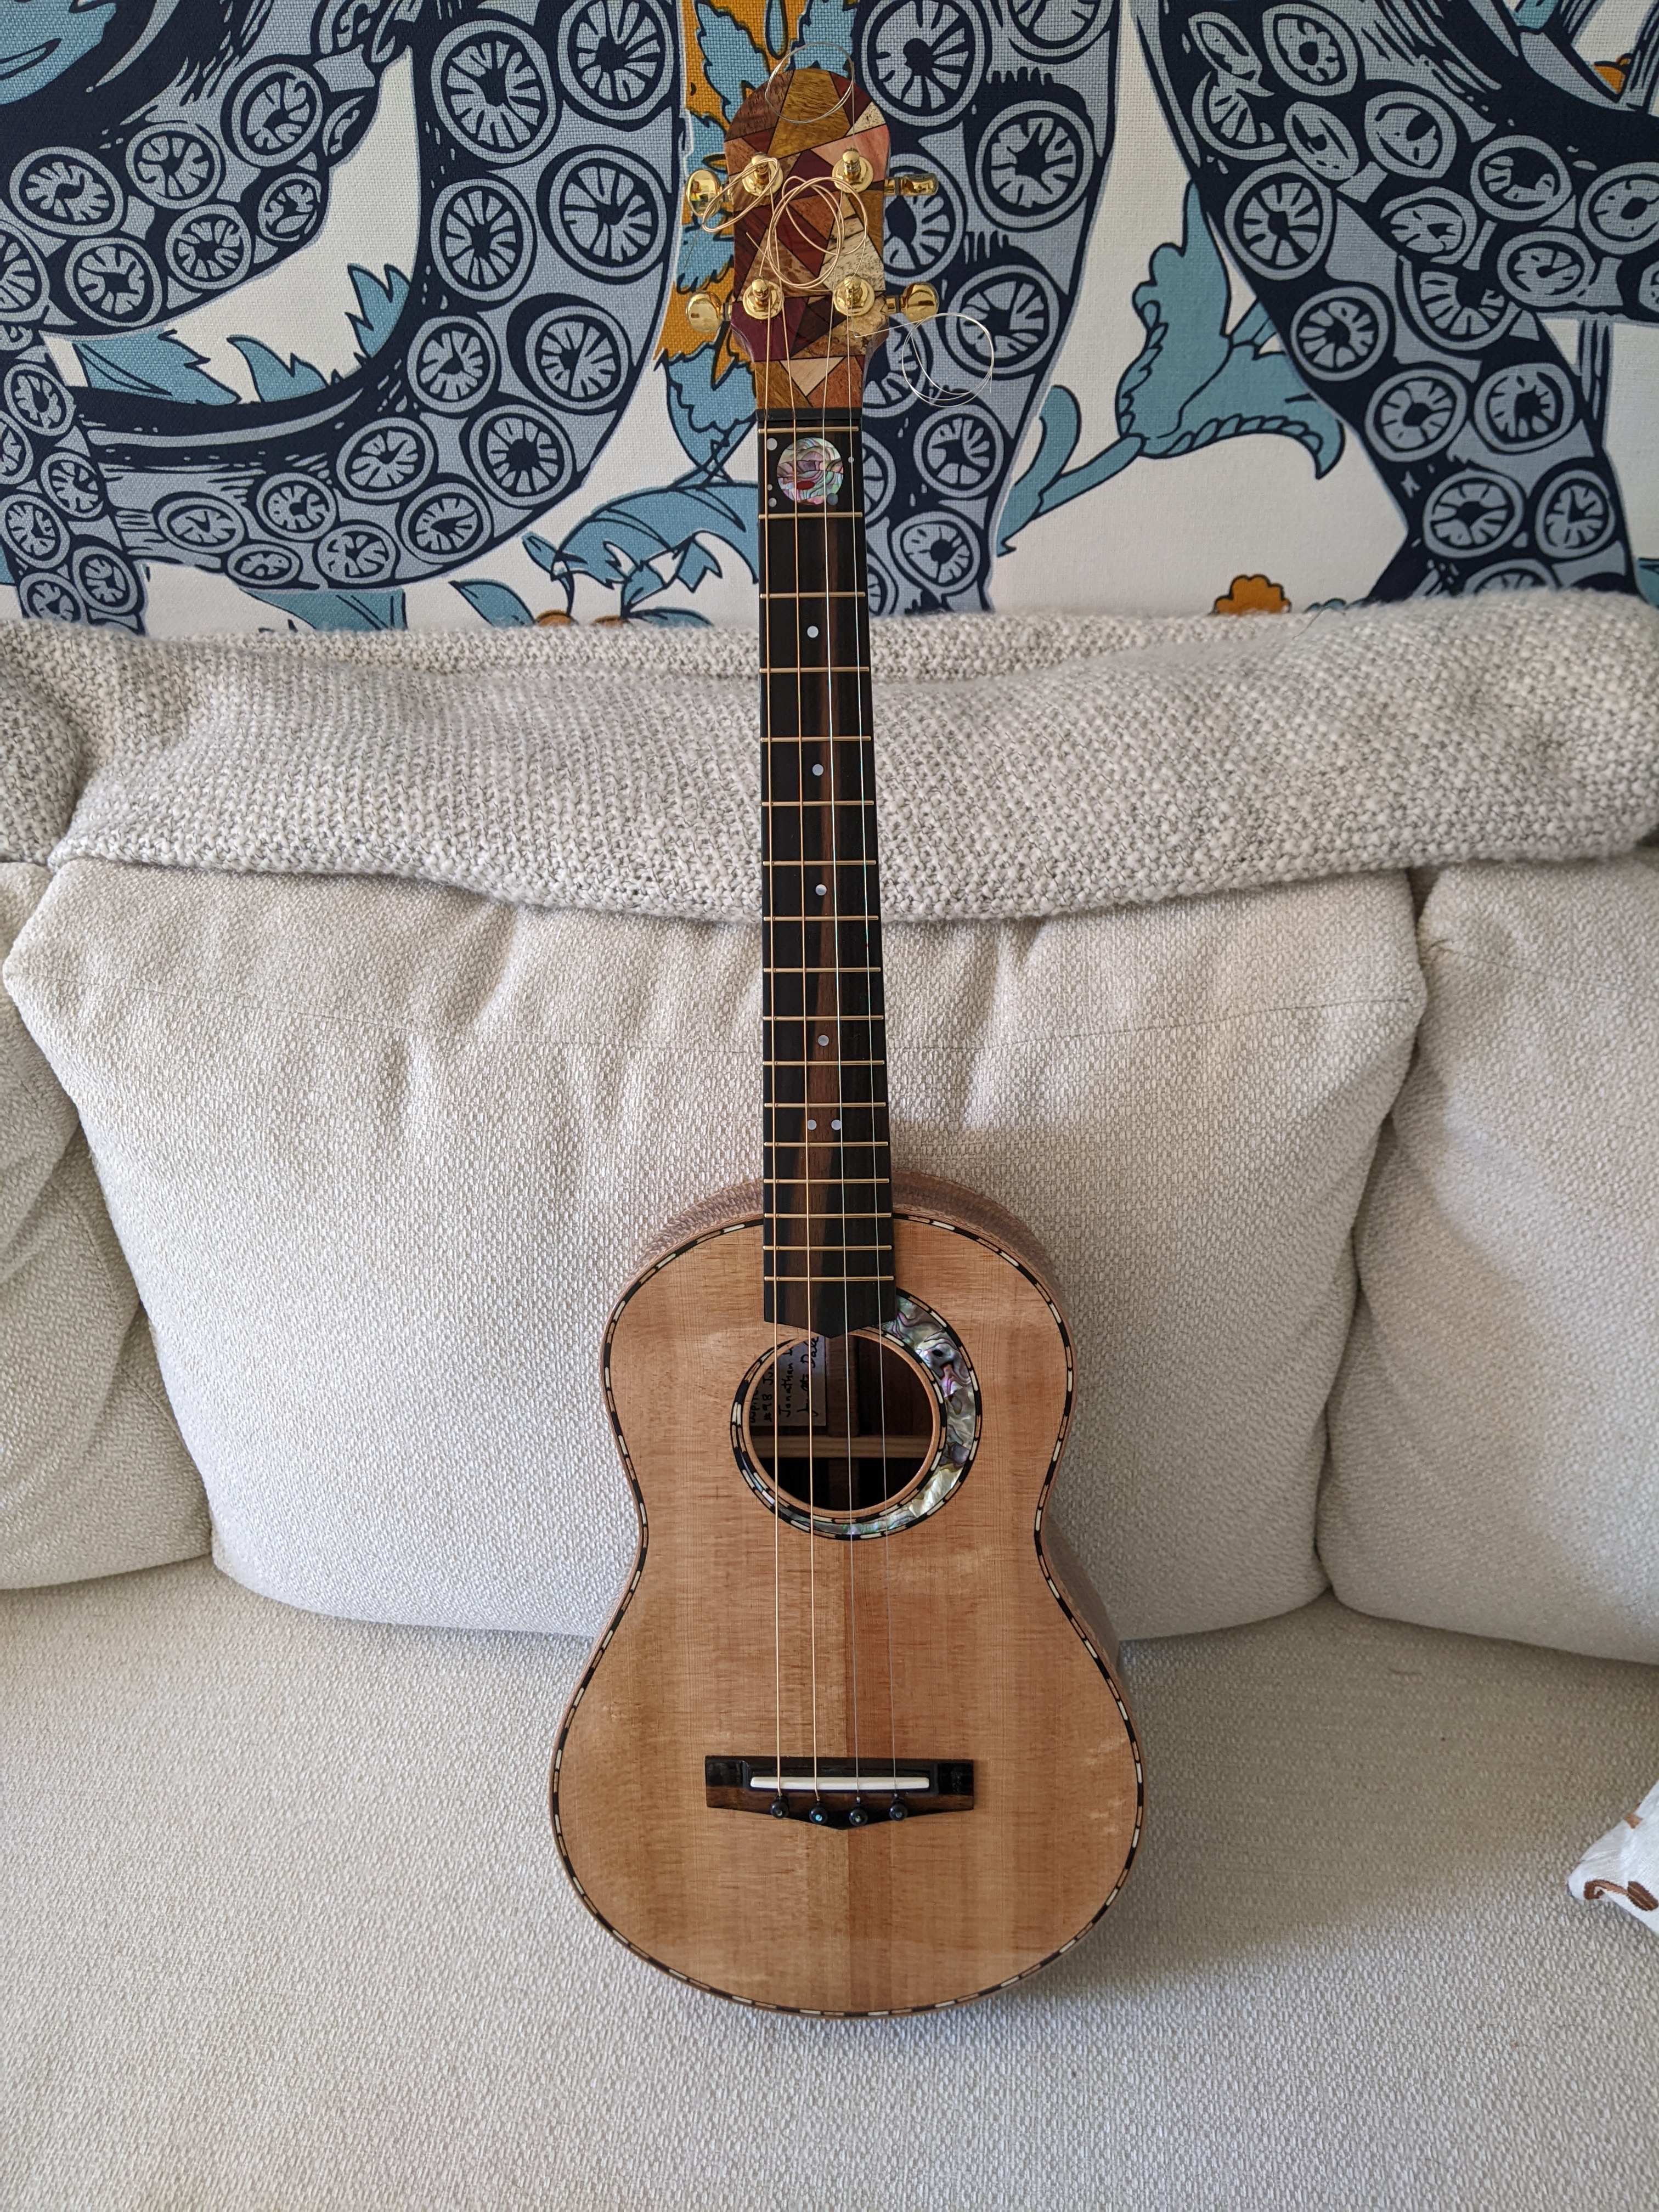
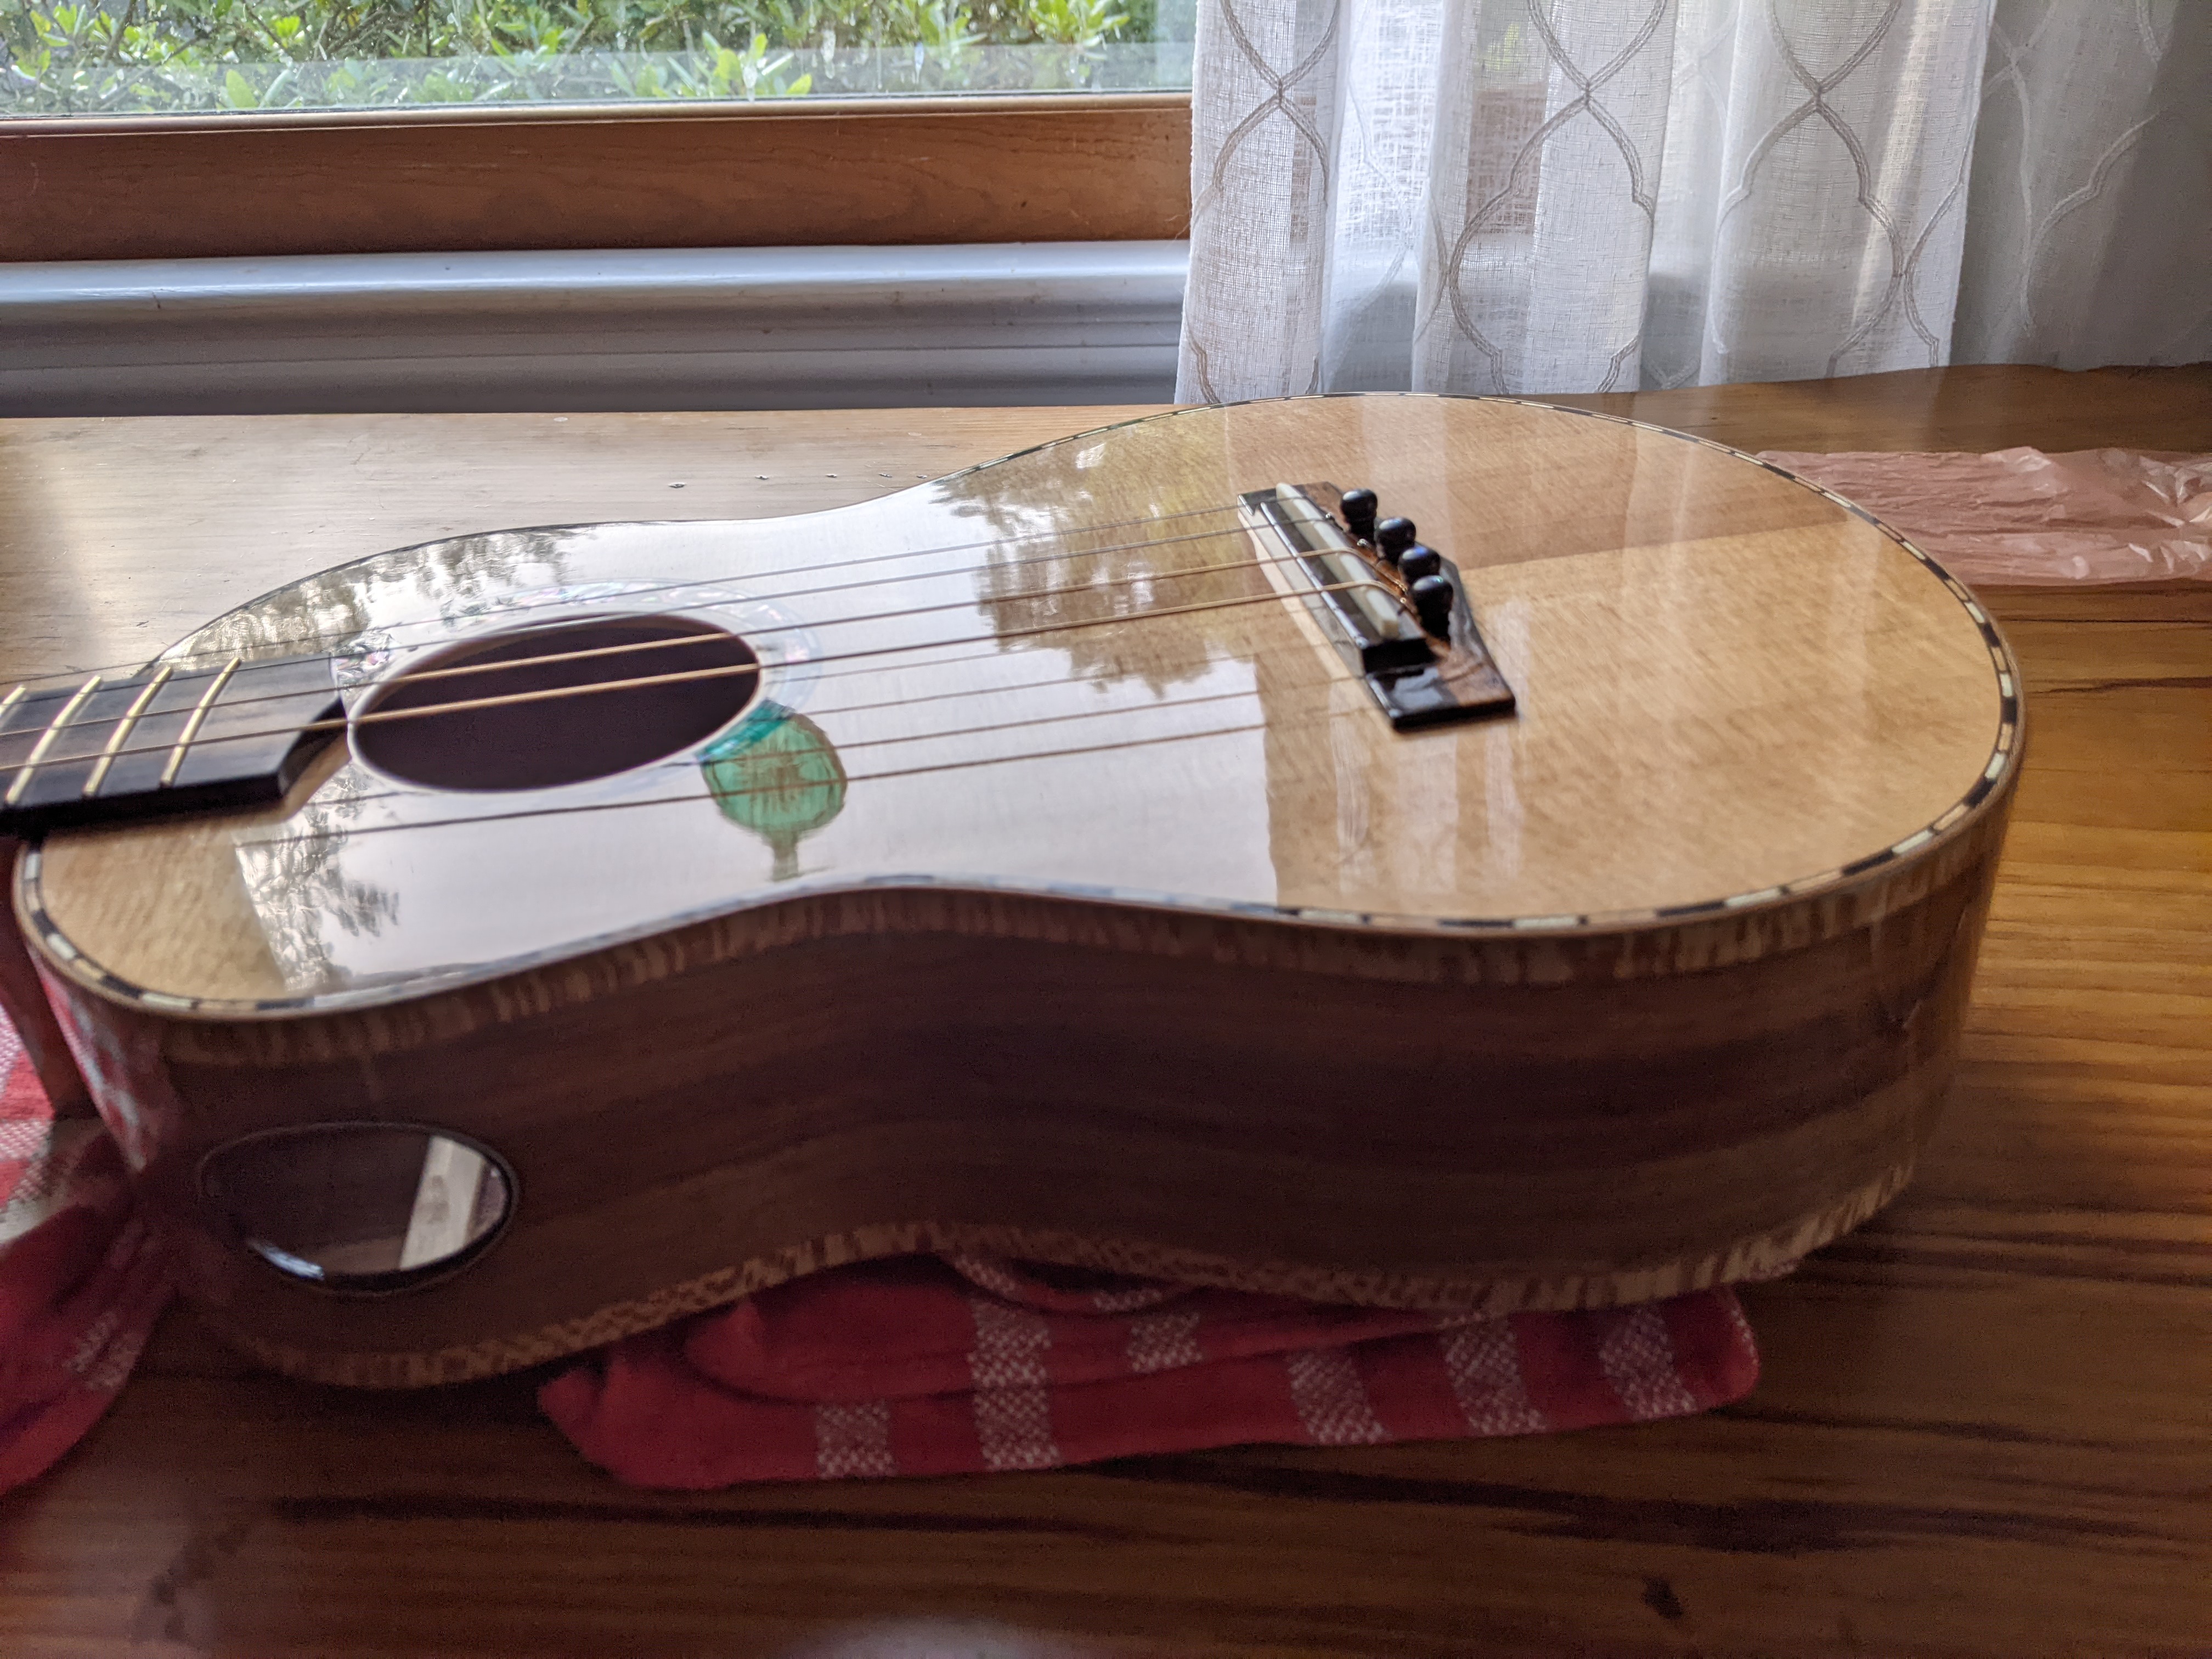
Finished
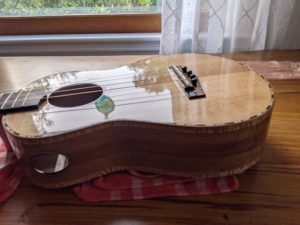
The instrument is finished. How does it sound? Great, very loud and sustain that goes on forever. Looks great too, all the parts seemed to come together to make a whole that is greater than the sum of those parts.
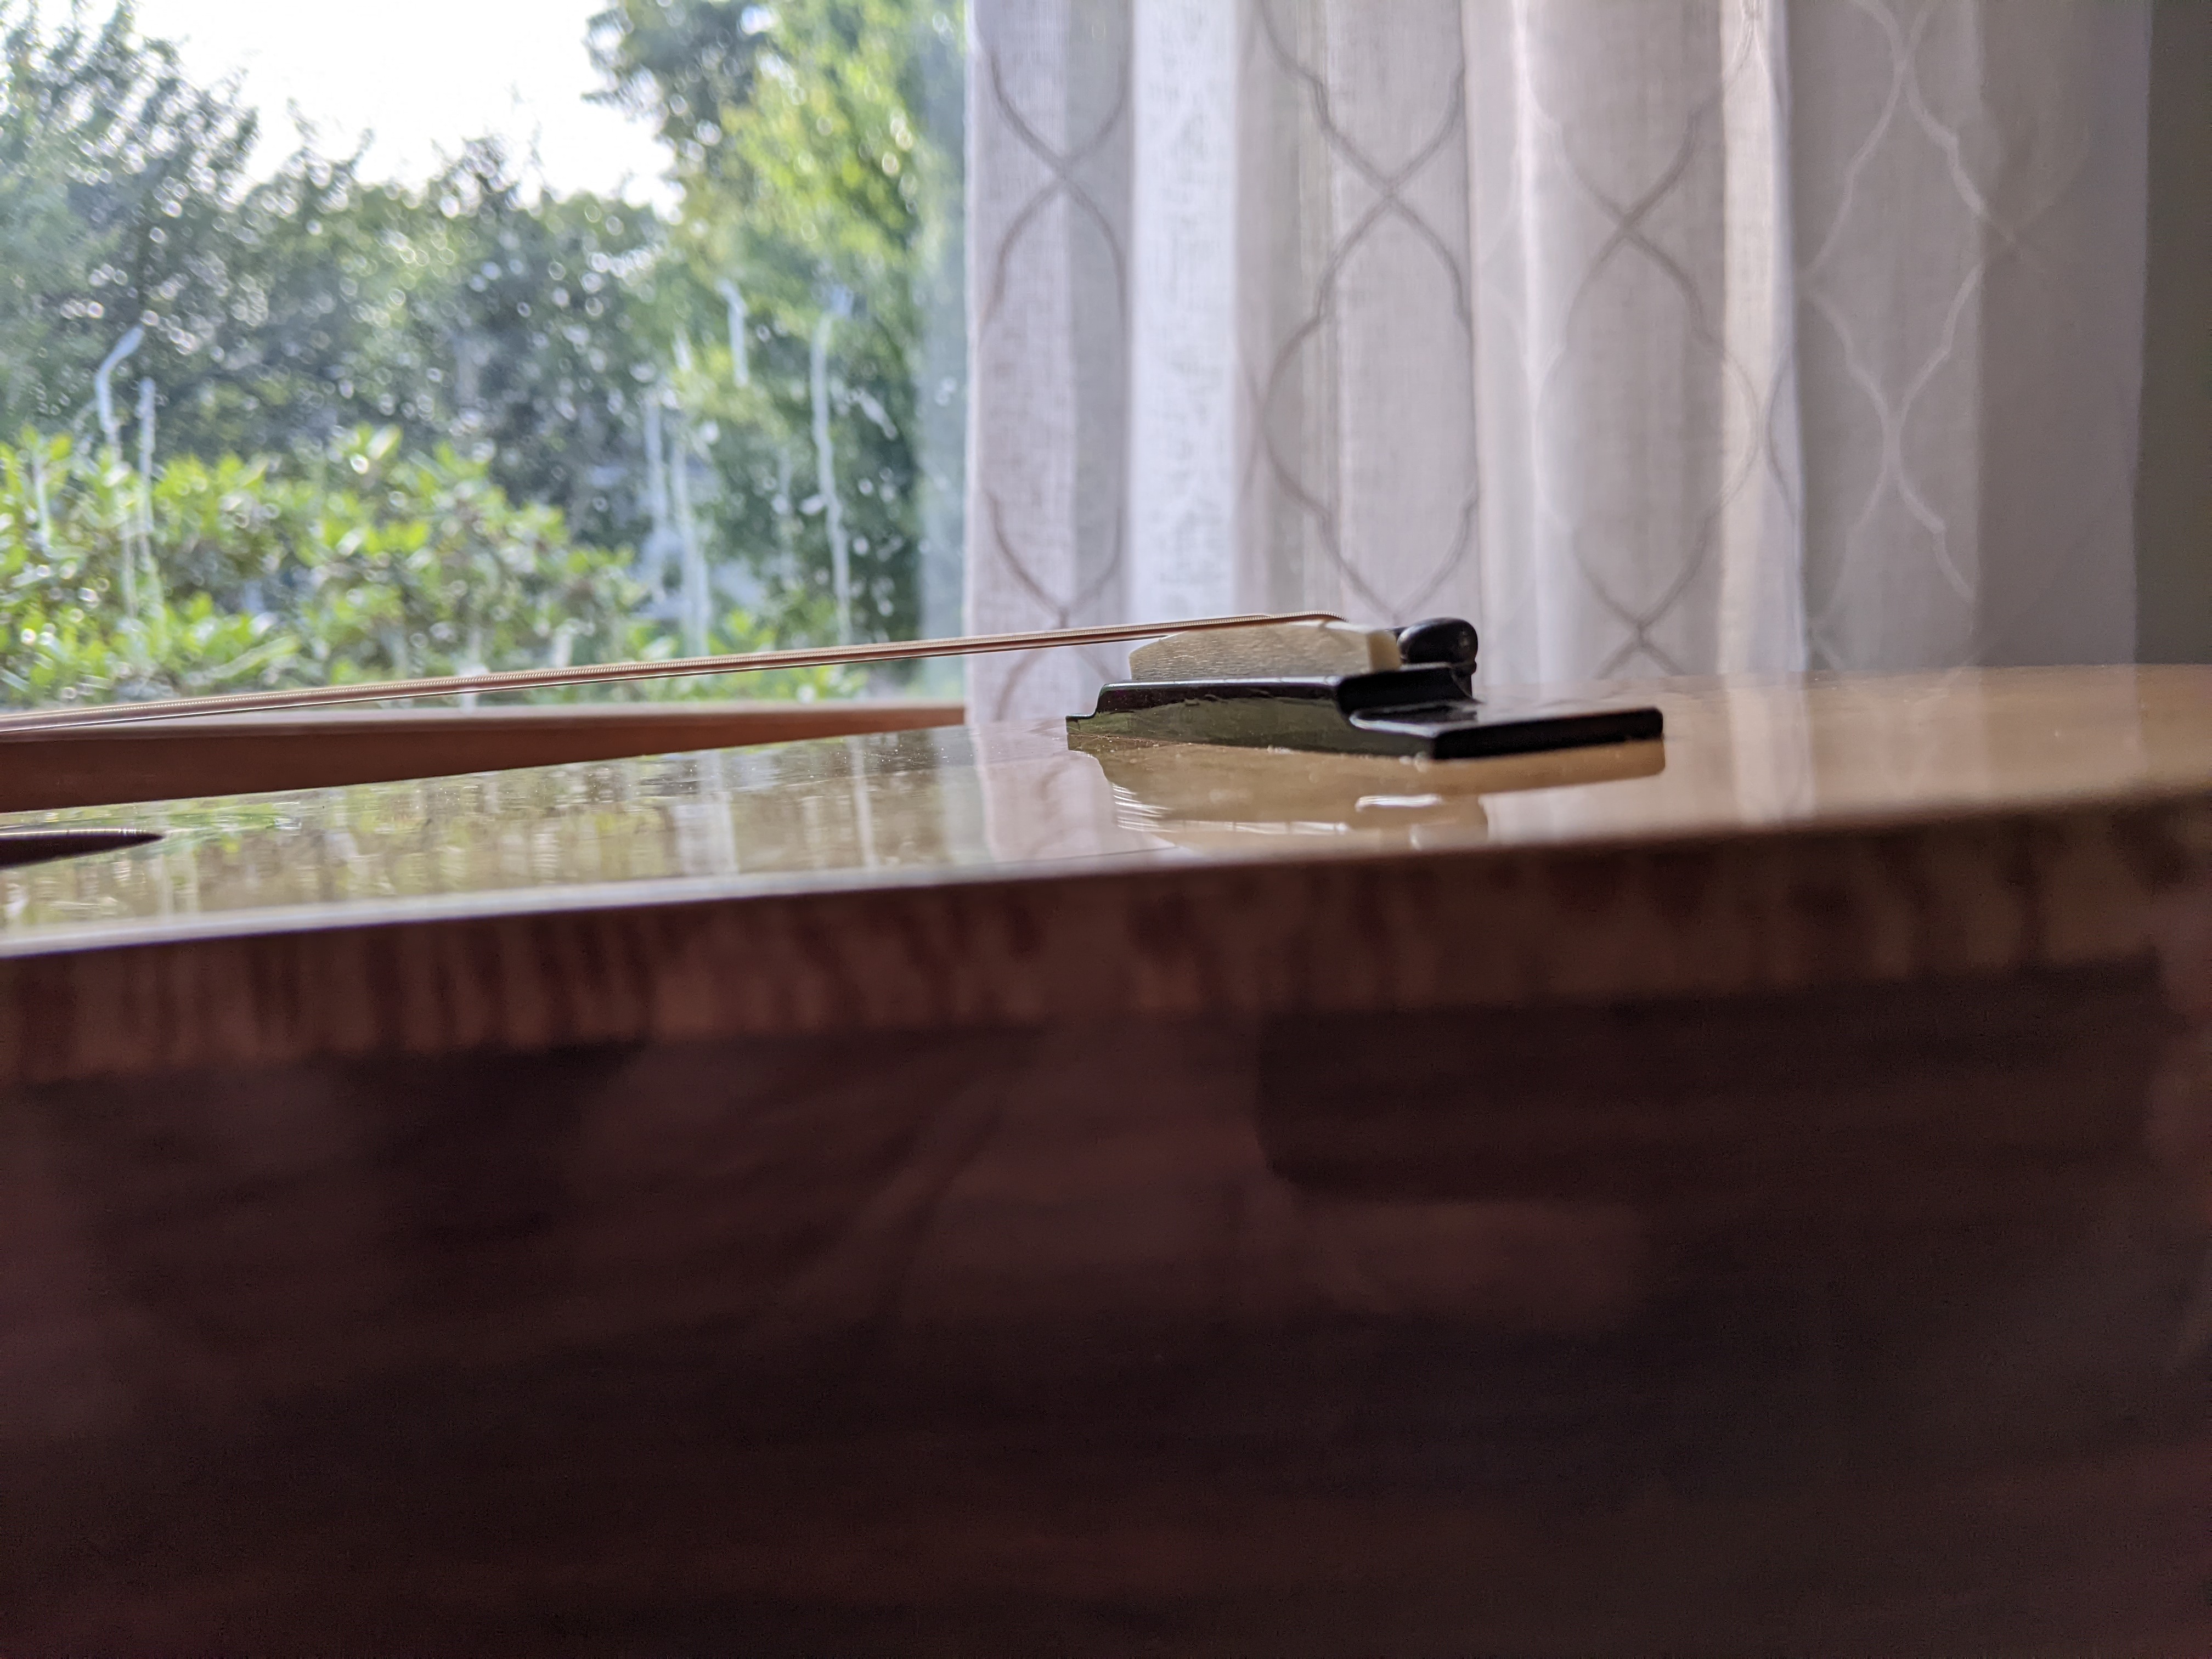
It has been a week since I strung it up and I have been monitoring the top to see if there is any distortion from the tension of the strings. The instrument is not over-braced as judged by the sound production. String tension will tend to rotate the bridge, which creates a hollow in front of the bridge and a bit of a hill behind the bridge. So far, things are looking good. There is no discernible distortion in the top which means that the bracing seems to be adequate, though it will bear watching over time.