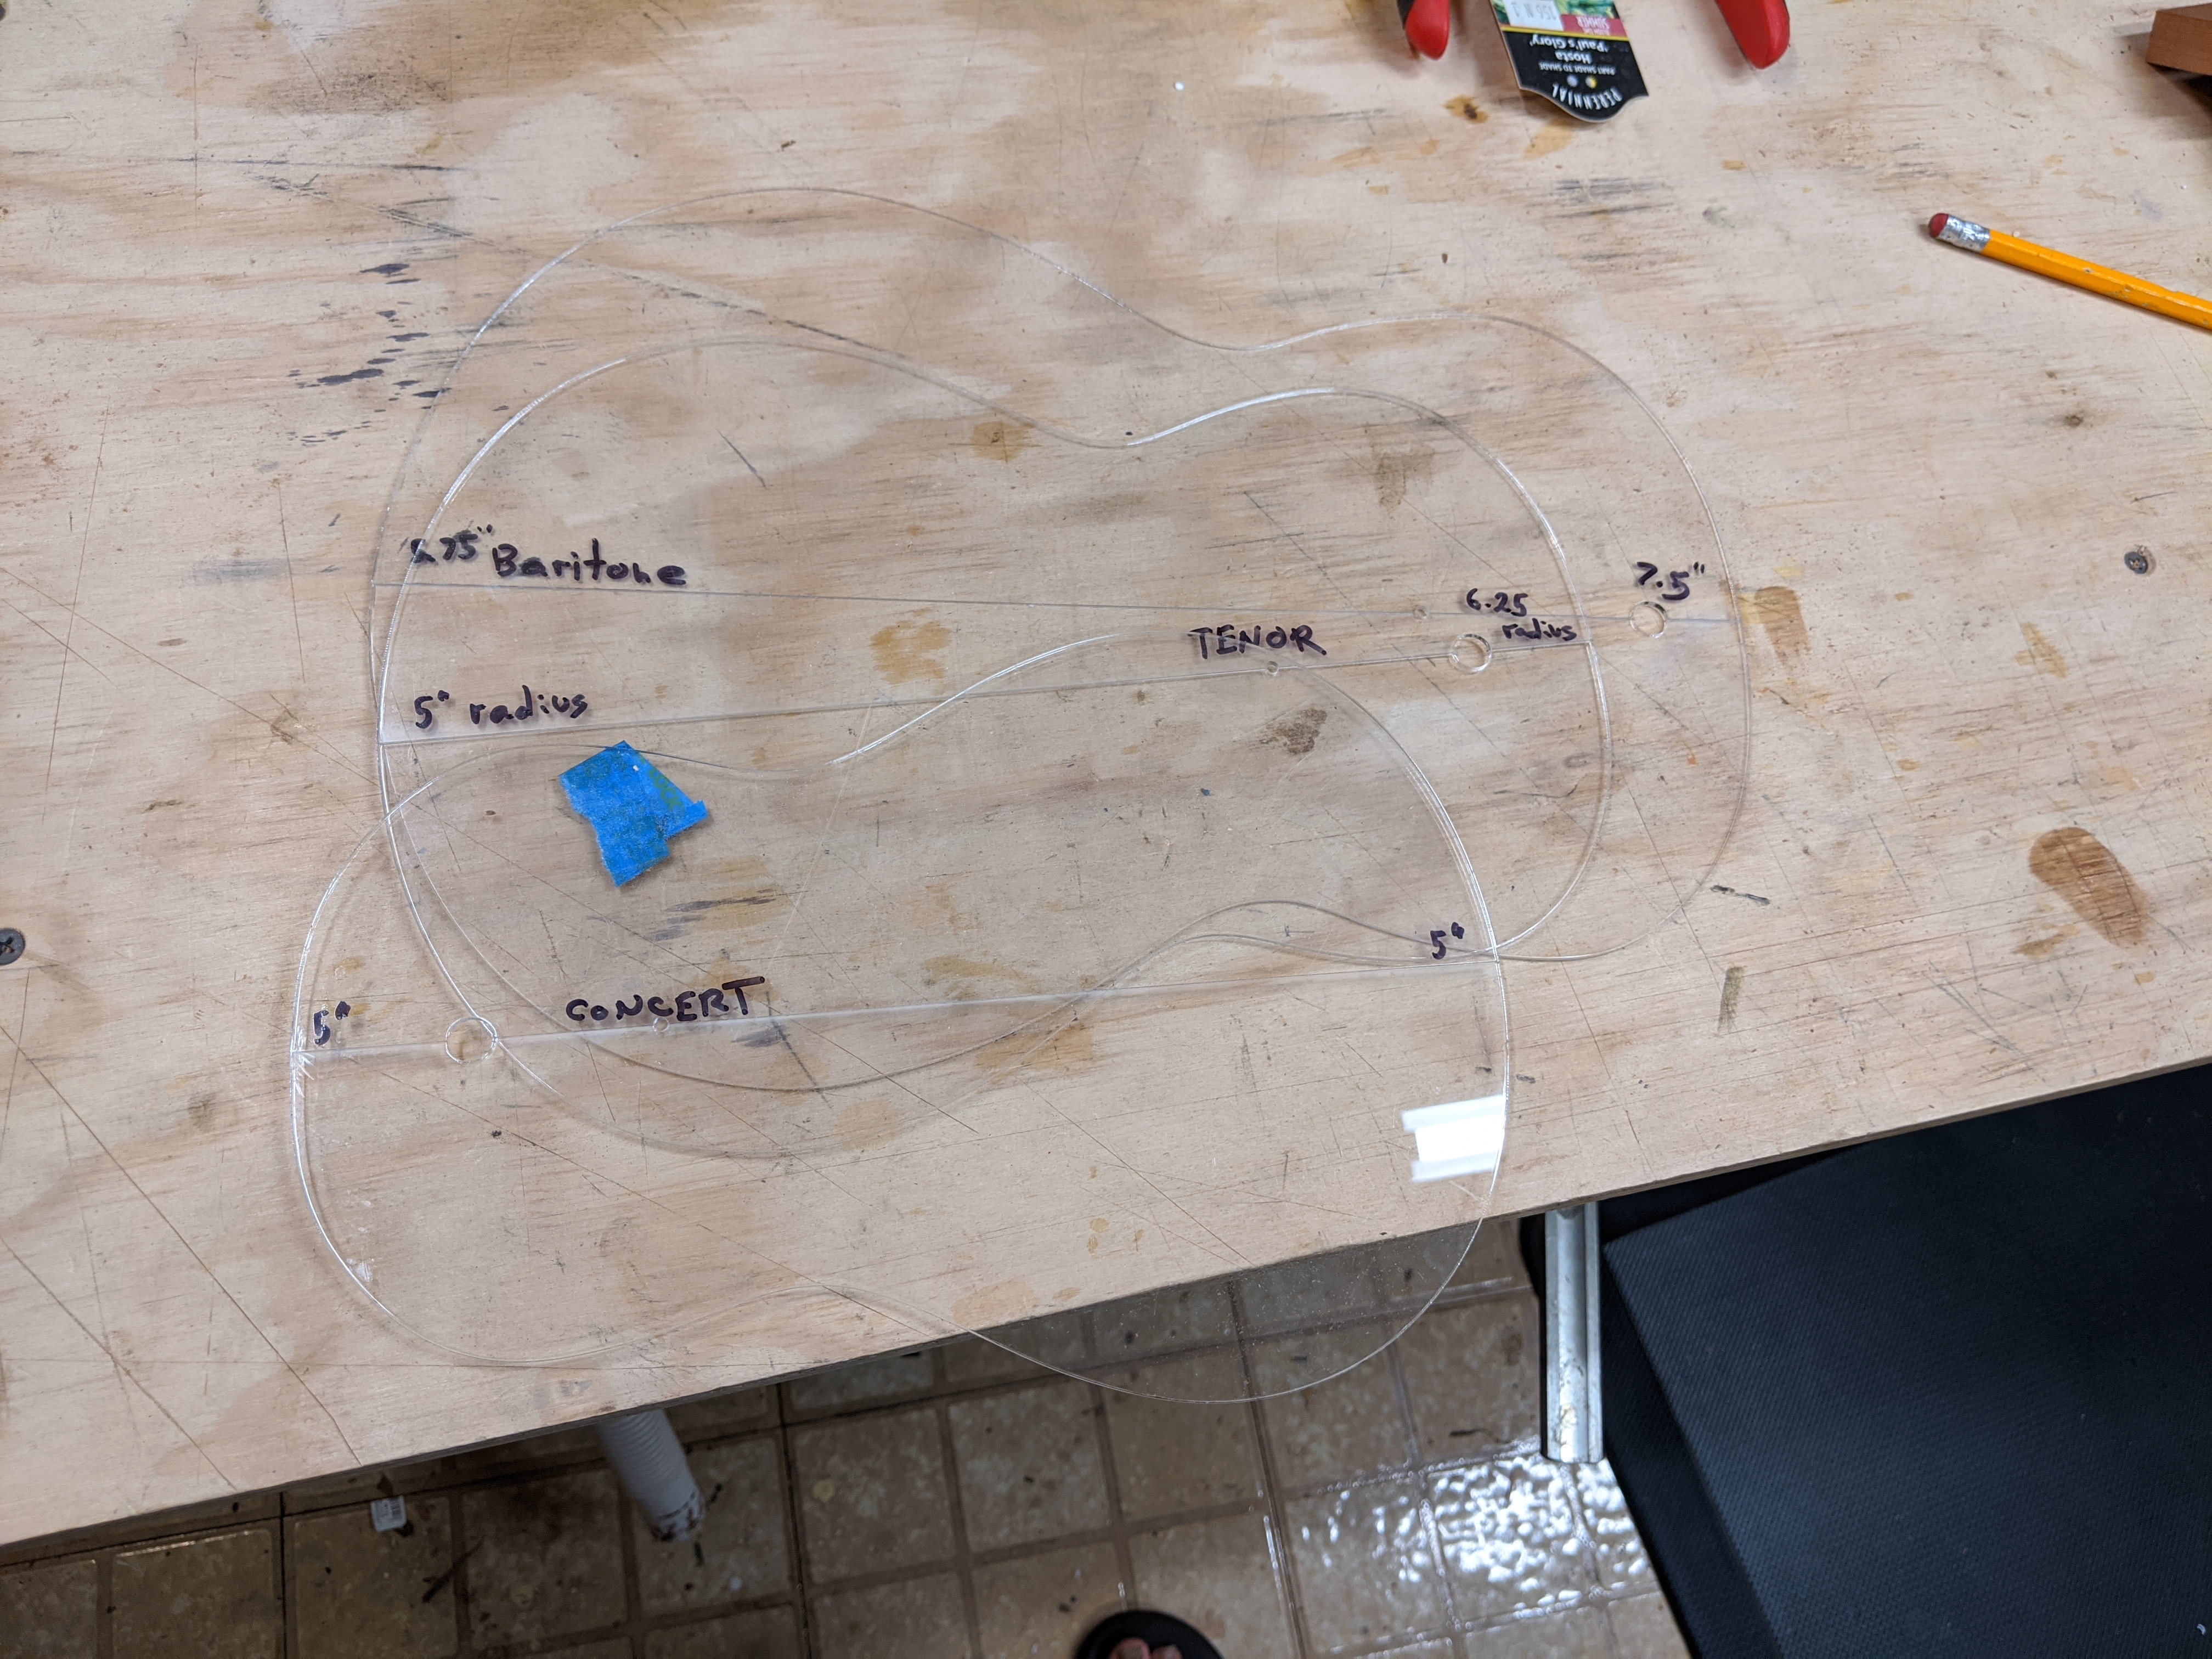
There are two end blocks in an instrument, one for where the neck attaches (the head block) and one at the bottom of the instrument, the tail block. These are there to provide gluing surface to join the sides, and (for the head block) provide support for neck attachment. I used to have the head block as flat, as early on this made fitting the neck easier. However, with the way I do things now having the head block be flat is not required. I much prefer that the overall shape of the instrument, both the head and the tail, be rounded/curved. I re-did my instrument outline, and the forms used to build the instruments last fall. As part of this I made sure that the curves for both the head and tail area, at least where the sides attach, are circular, with a known radius. Of course, the radius varies between the head and tail, and varies with the size of the instrument. I have the radius noted on all the templates for the instruments.
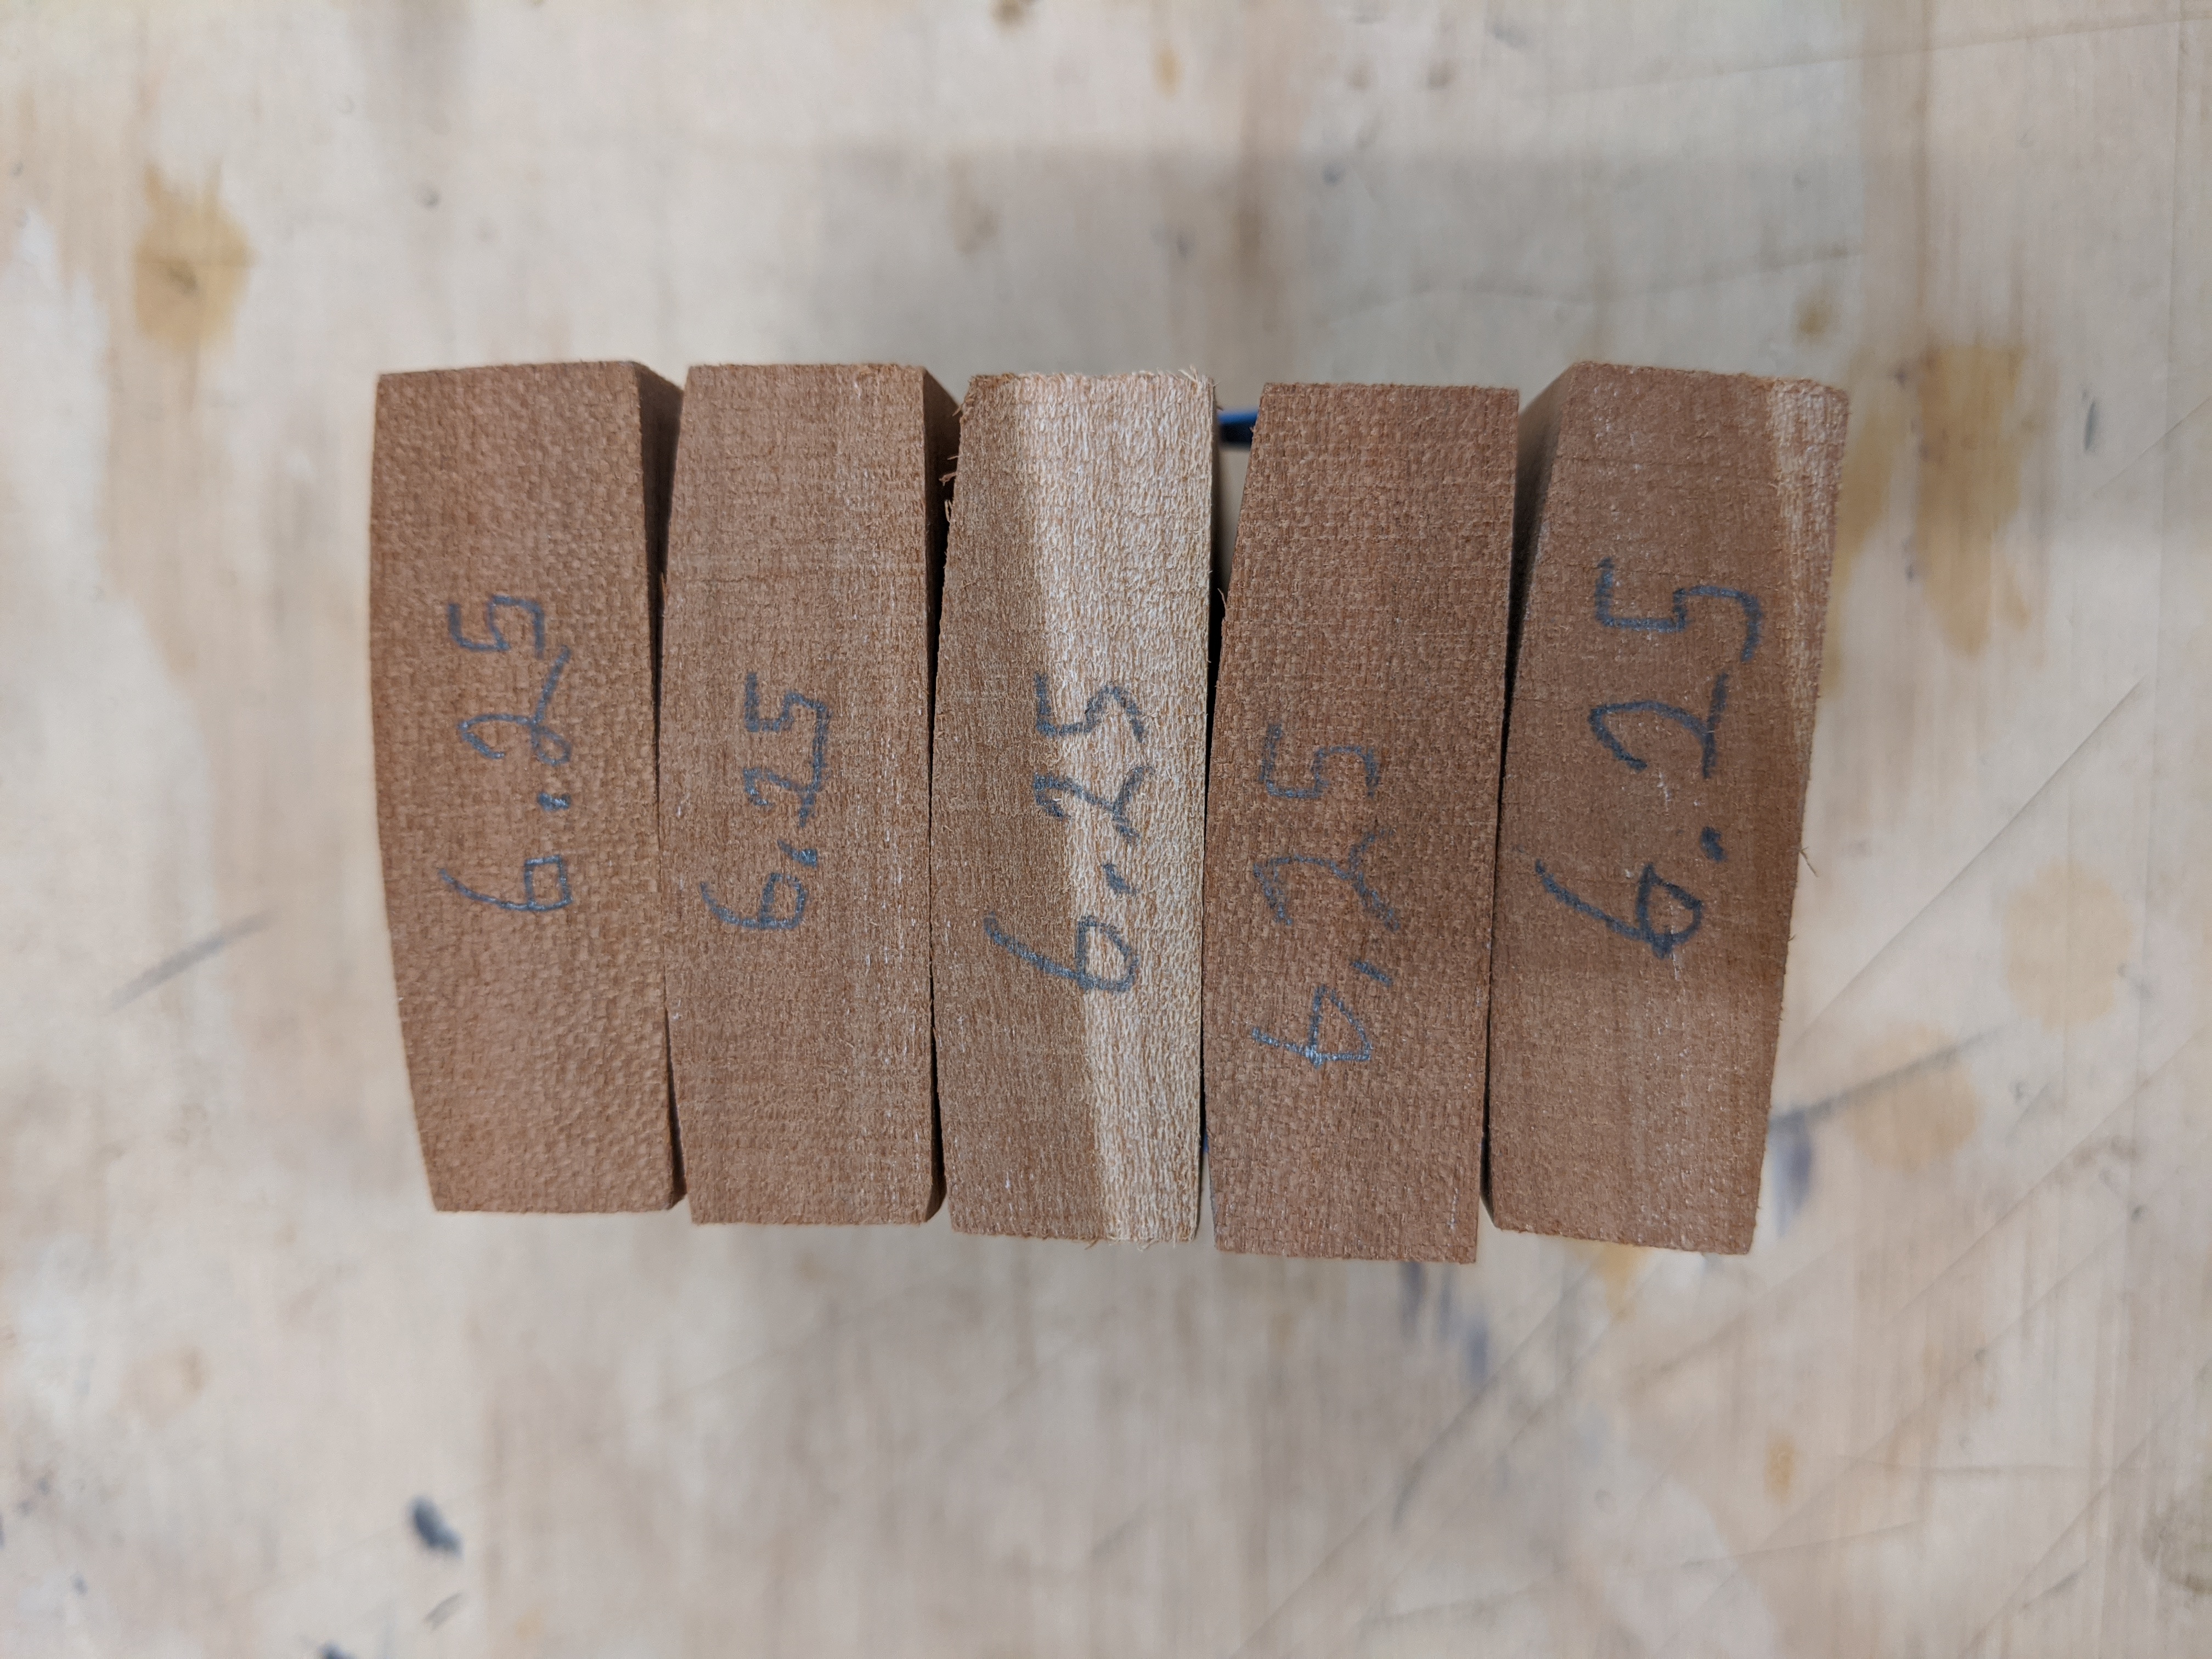
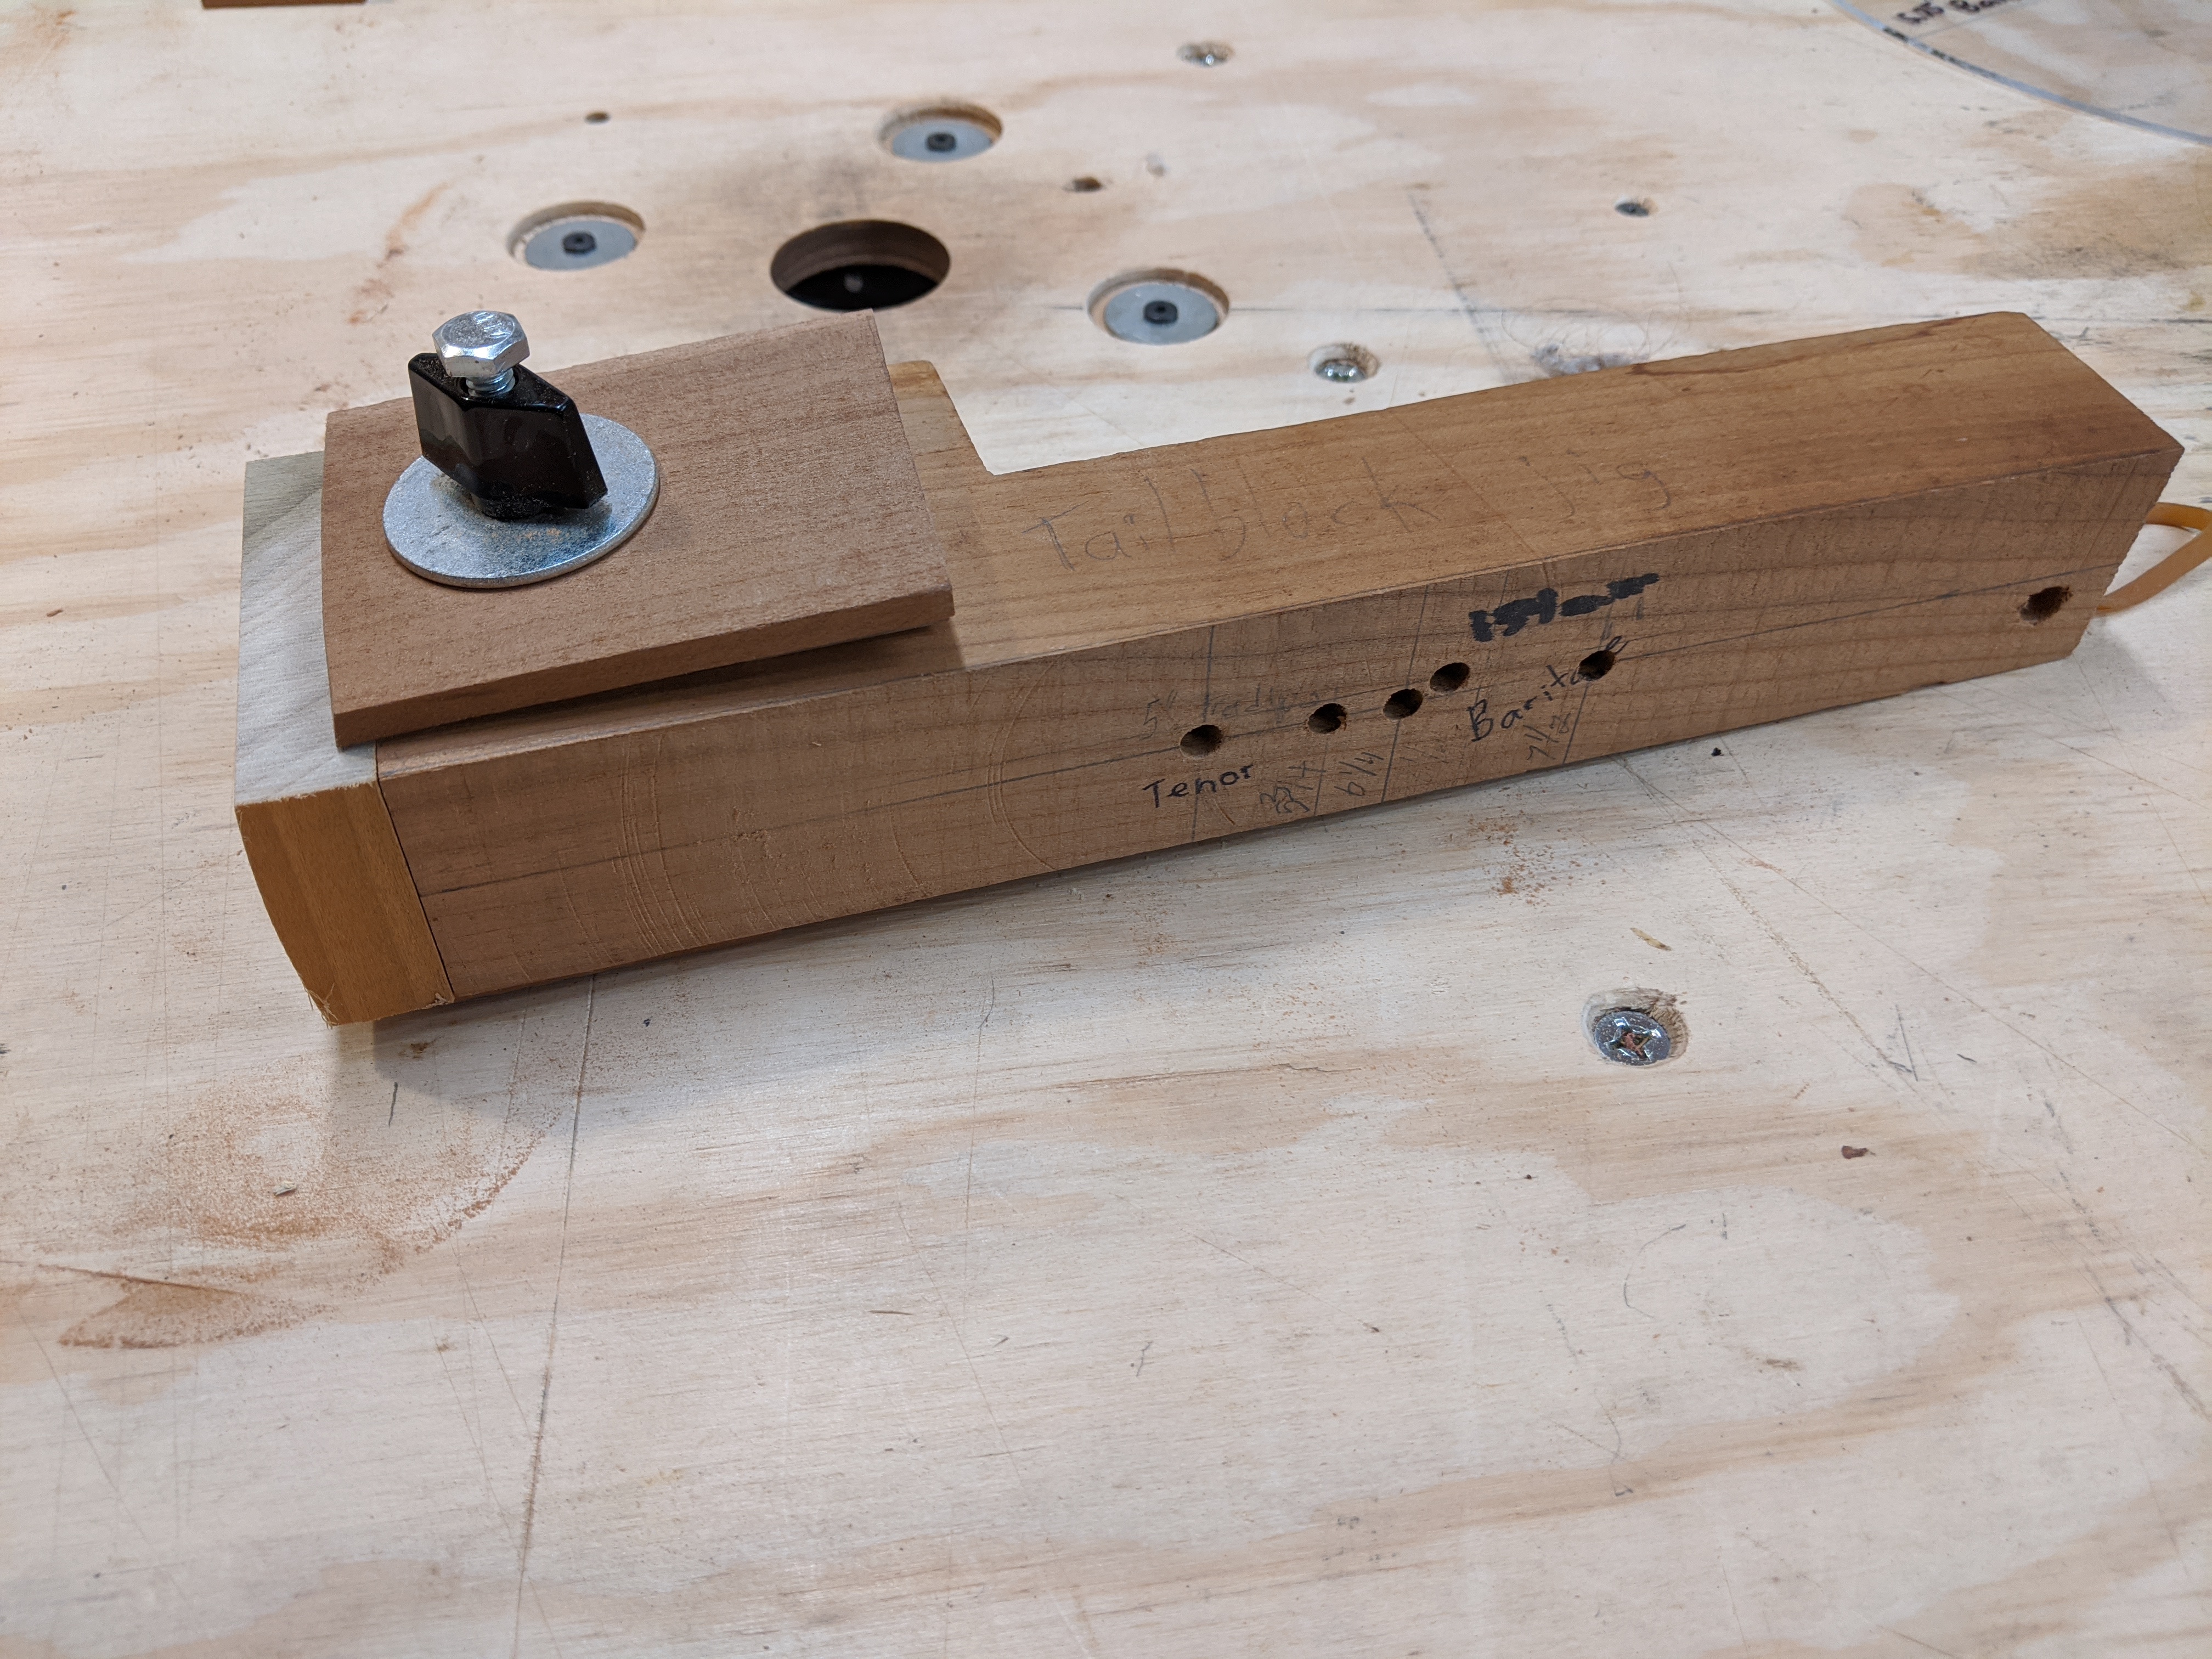
I make up the blocks a standard size, and then cut the radius using a small jig and the disk sander. The jig consists of an arm with holes for different radii and a clamp on one end to clamp the end block.
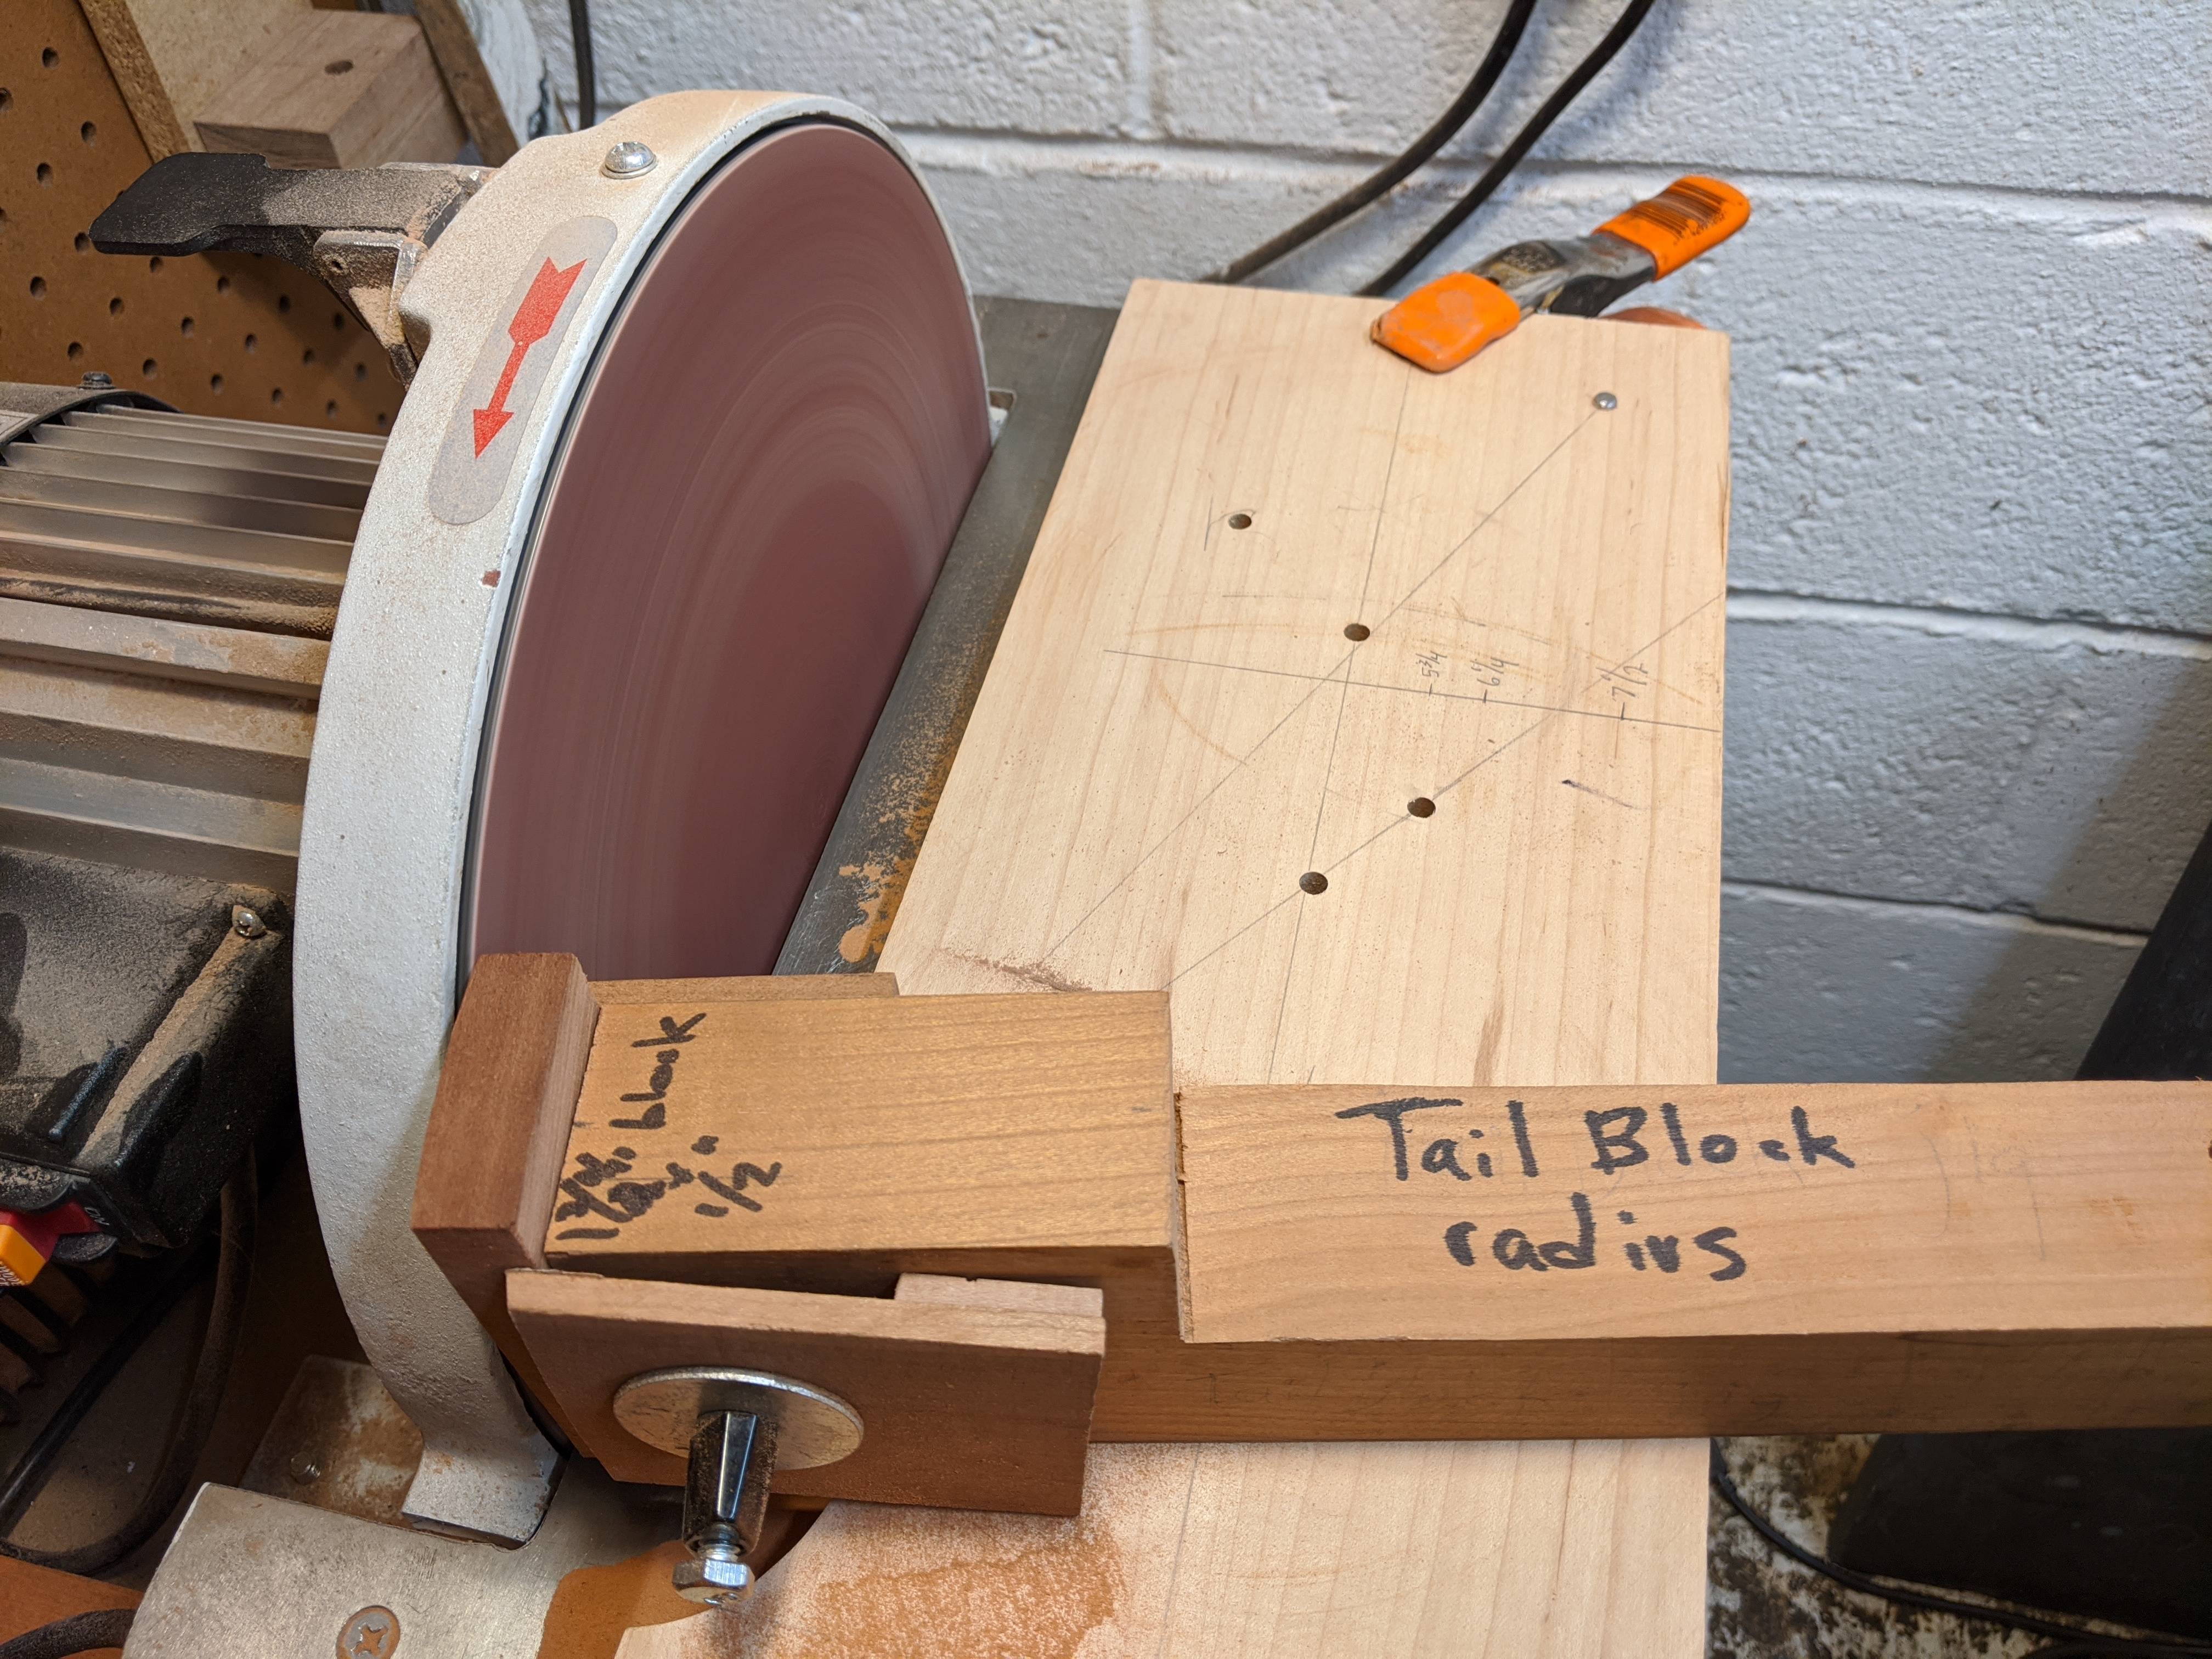
This arm fits over a pin on a base board, which is clamped to the table of the disk sander. Swinging the arm quickly sands a perfect radius on the block.
The result is a smooth, accurate, repeatable radiused block. I make them up for the different radii I use for different instruments, in different woods, since I like dark colored blocks for dark sides/back and light colored blocks for light colored sides/back.