After finishing up the last set of instruments, I decided to take a bit of a break. Of course, complete inactivity instrument-wise did not last long. I have a couple of ‘experiments’ I have wanted to try, and decided that this would be a good time to build an experimental ukulele, which, if it did not work out, could be written off. One of the things I wanted to try was an arm rest bevel. I have been asked about doing one a couple of times, but never wanted the first attempt to be on a customer’s instrument. I have built scoops, and an arm rest bevel is very much the same sort of thing. After watching a number of videos, reading, etc. this is what I came up with as to how I approached the building of an arm rest bevel.
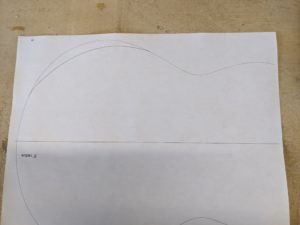
I first took my standard tenor template, and constructed an ‘inside’ line where the bevel would go.
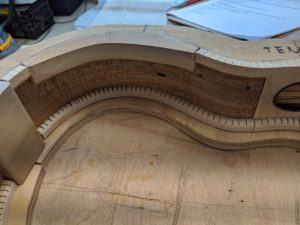
Using this as an ‘inside’ pattern I cut a piece of poplar to go along the edge in place of the normal kerfing, to provide a place for the smaller top to be glued down, and the taper of the arm rest to be cut into the side.
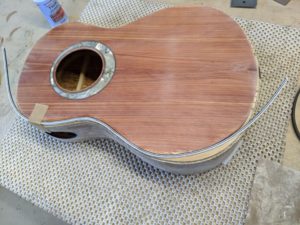
The top, before it is glued down, is cut along the ‘inside’ line. Then when it is glued down the purfling can be run around the new inside edge.
I glued the purfling down separately (without the binding). The binding will be black bog oak. Black is an easy color to match, and to fill in any possible small ‘problems’ so that is why I chose it for a first attempt. Also, the purfling is black-white-black-white and relies on a black binding to provide the outside black edge.. I cut a piece of ebony to go against the purfling to fill out the top area to the edge of the binding route. This will be cut into when shaping the bevel.
The binding was then applied around the body as normal.
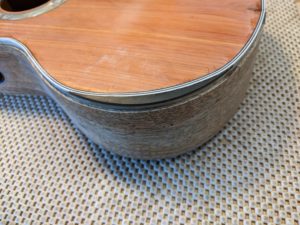
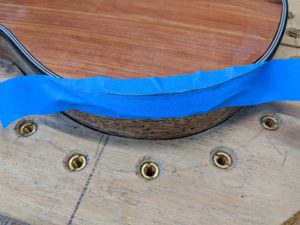
Then the arm bevel was cut with files, down through the binding and ebony in-fill, leaving just a binding width of the ebony next to the purfling lines. When the bevel was cut I stuck on a piece of tape, and using a pencil rubbed the edges of the bevel to get a pattern.
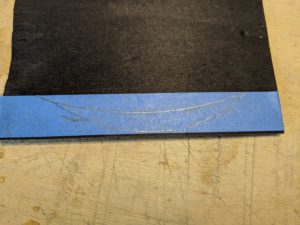
This tape is them peeled off and stuck onto a piece of black veneer to give a pattern of the veneer piece to be cut out and glued to the bevel area. I have some thicker-than-normal black veneer so I used that.
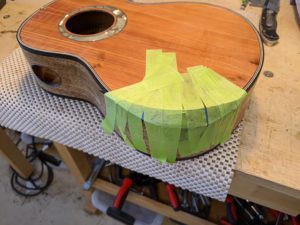
The veneer is cut out a bit oversized, and glued down with epoxy that is dyed black with black artist pigment. The blue tape is left on while gluing to provide a bit or reinforcement to the thin ends of the veneer piece. I taped the veneer down when glued with green tape as opposed to the brown tape I use for bindings because the green tape has a bit of stretch and I figured a bit of stretch would be good going over the rather odd shaped piece.
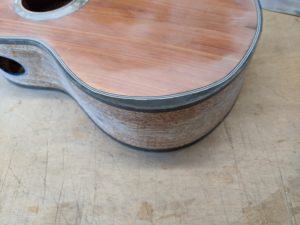
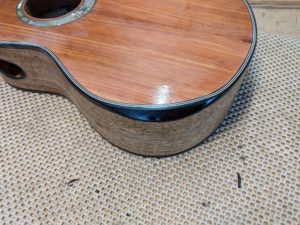
After the epoxy has hardened, the top and side of the bevel are carved & sanded flush with the top and sides, and it is blended into the binding. The final result, with a first coat of sealer.
Lesson learned:
1) When designing the ‘inside’ line, where the bevel will go on the top, allow for the width of the purfling. This purfling is particularly wide and the inside line should have been a bit deeper into the top to give more of a bevel.
2) I think the bevel should extend a bit further around the lower bout towards the waist.
3) I can probably use a smaller and lighter inside block.
More design changes to come after I let some players comment.
