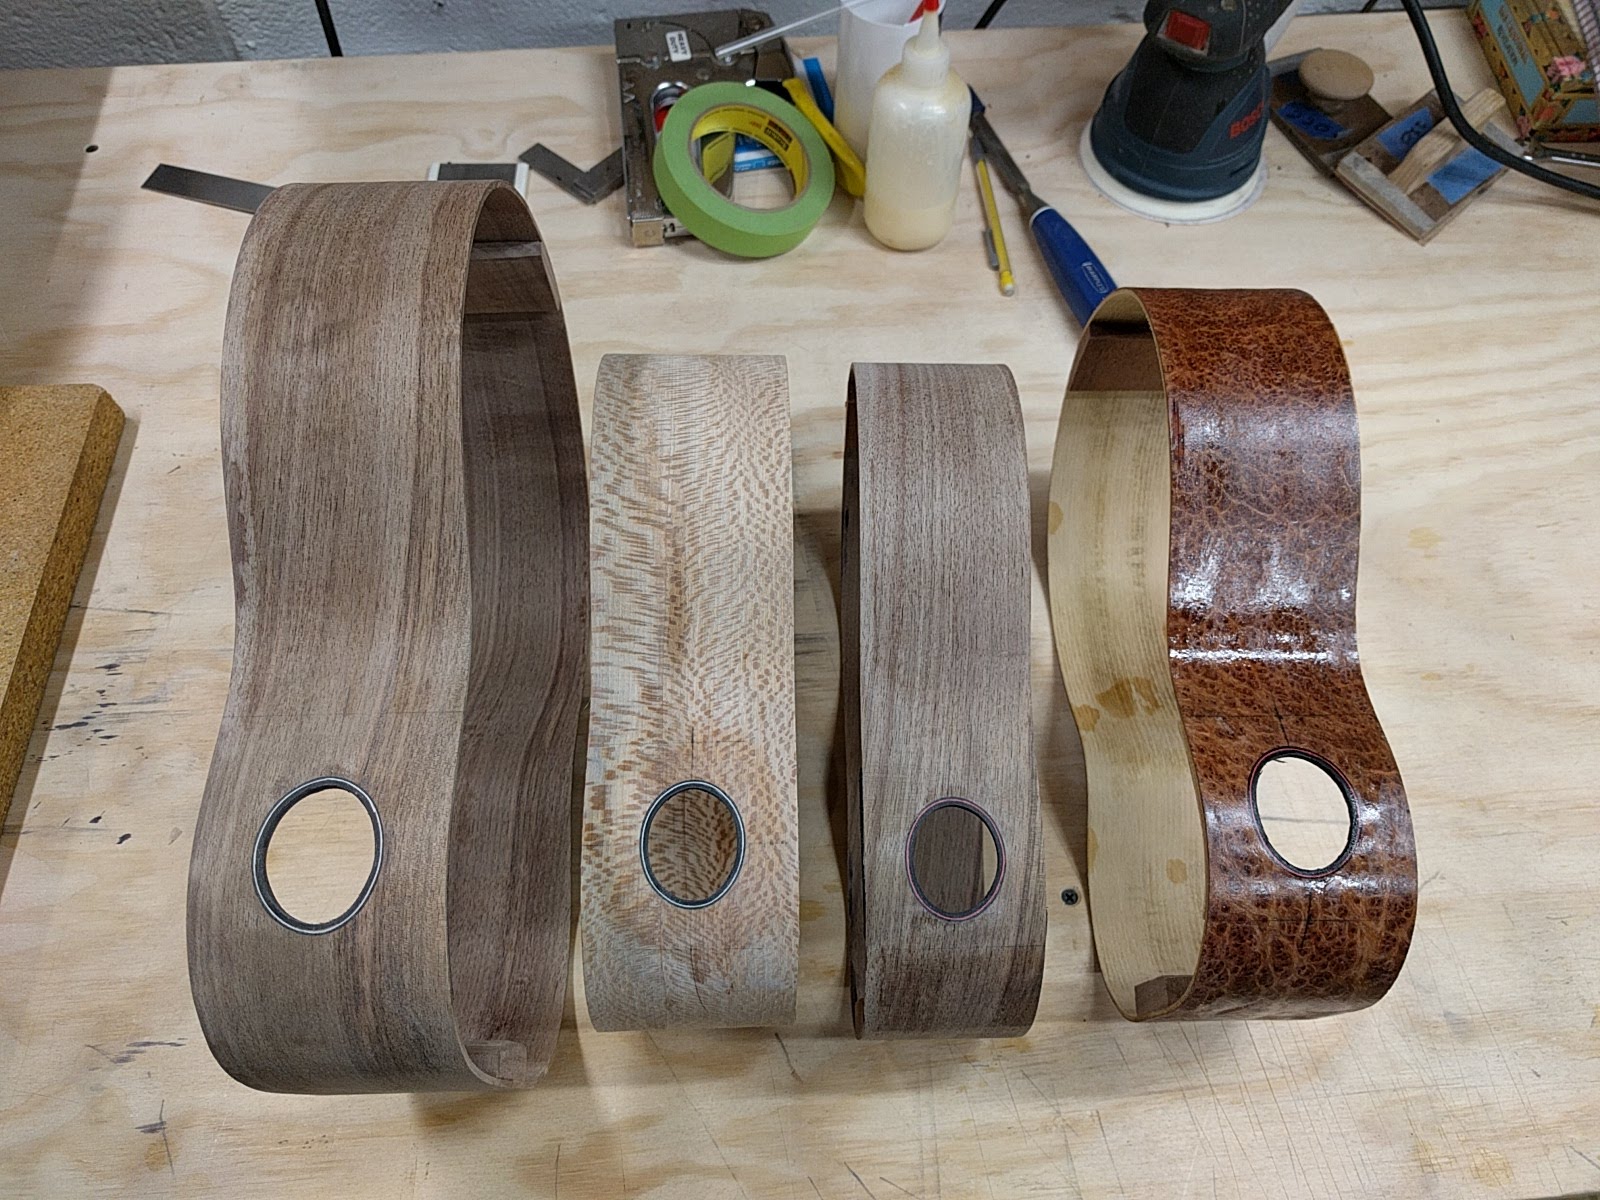
Had a good busy day. Got all of the side sound ports for this set cut and bound.
How do I do side sound ports? Well. I’m glad you asked.
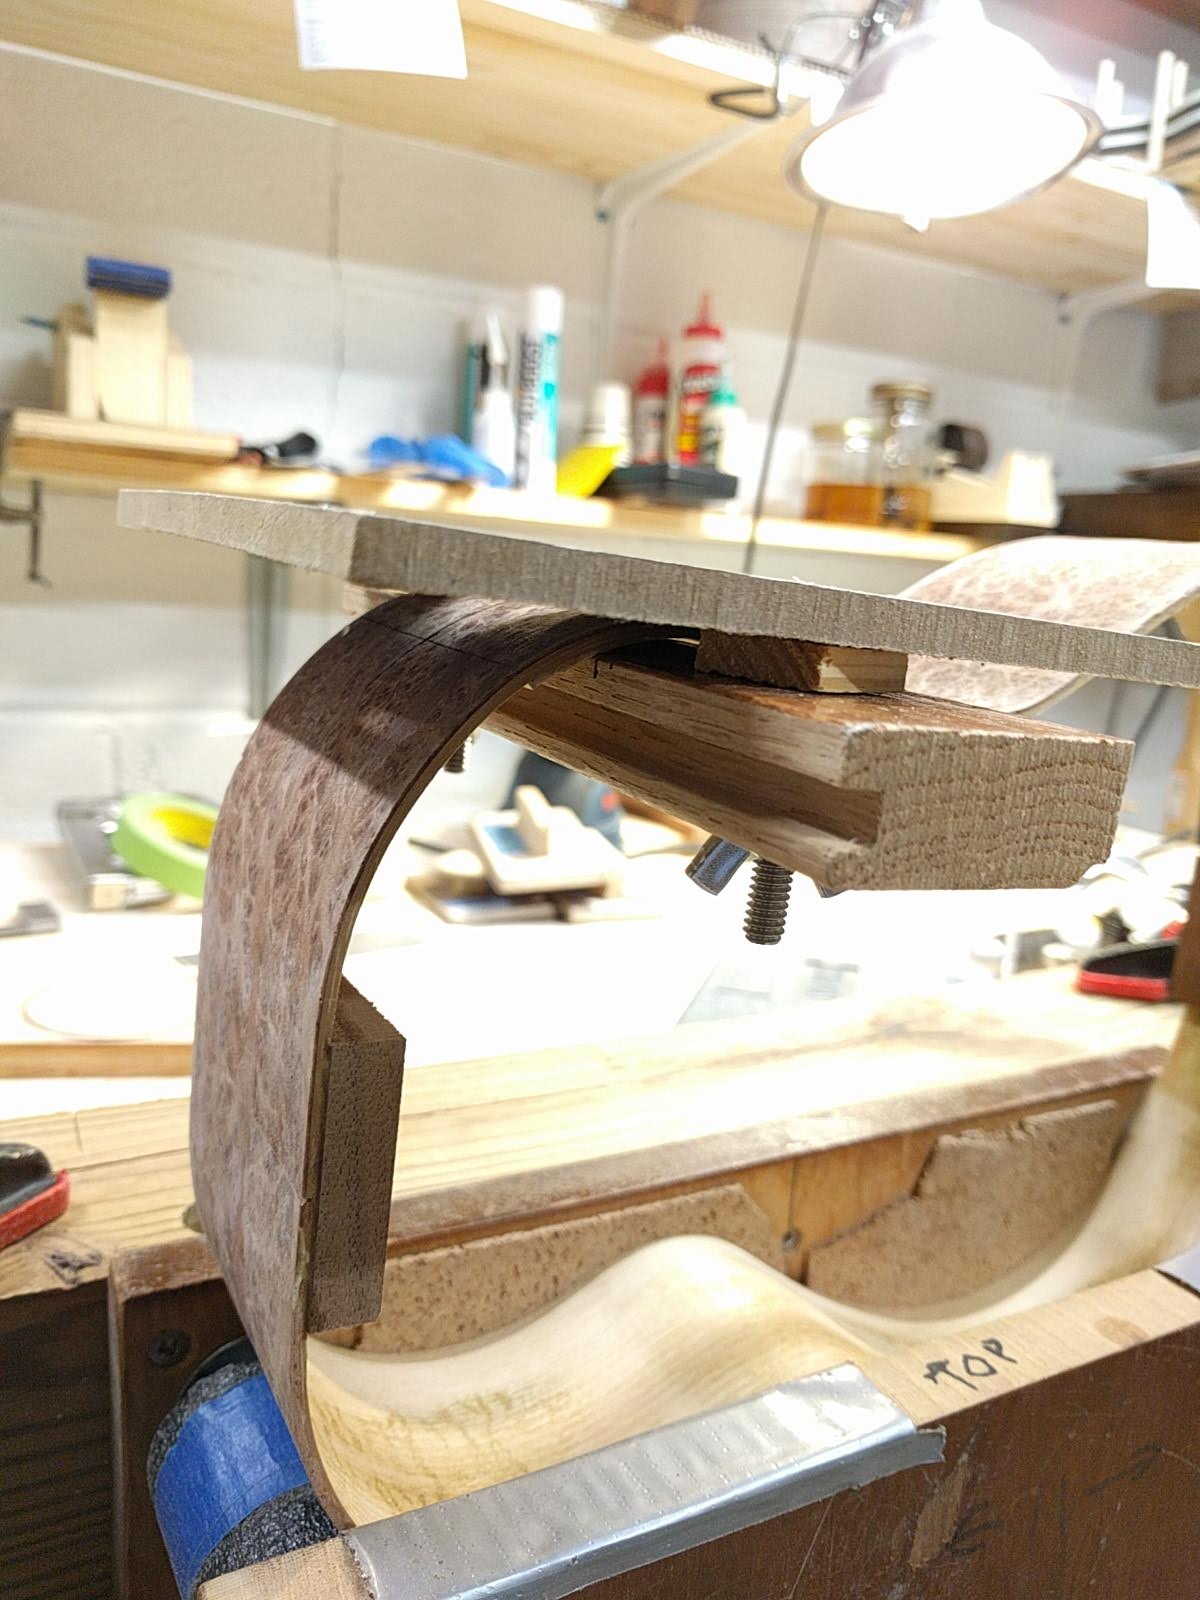
I made a little oval jig that clamps onto the side. I find it much easier to do the sound port before the kerfing is put in and the side is just flat, inside and out. The jig has index marks so I can center it on the marked center of the side.

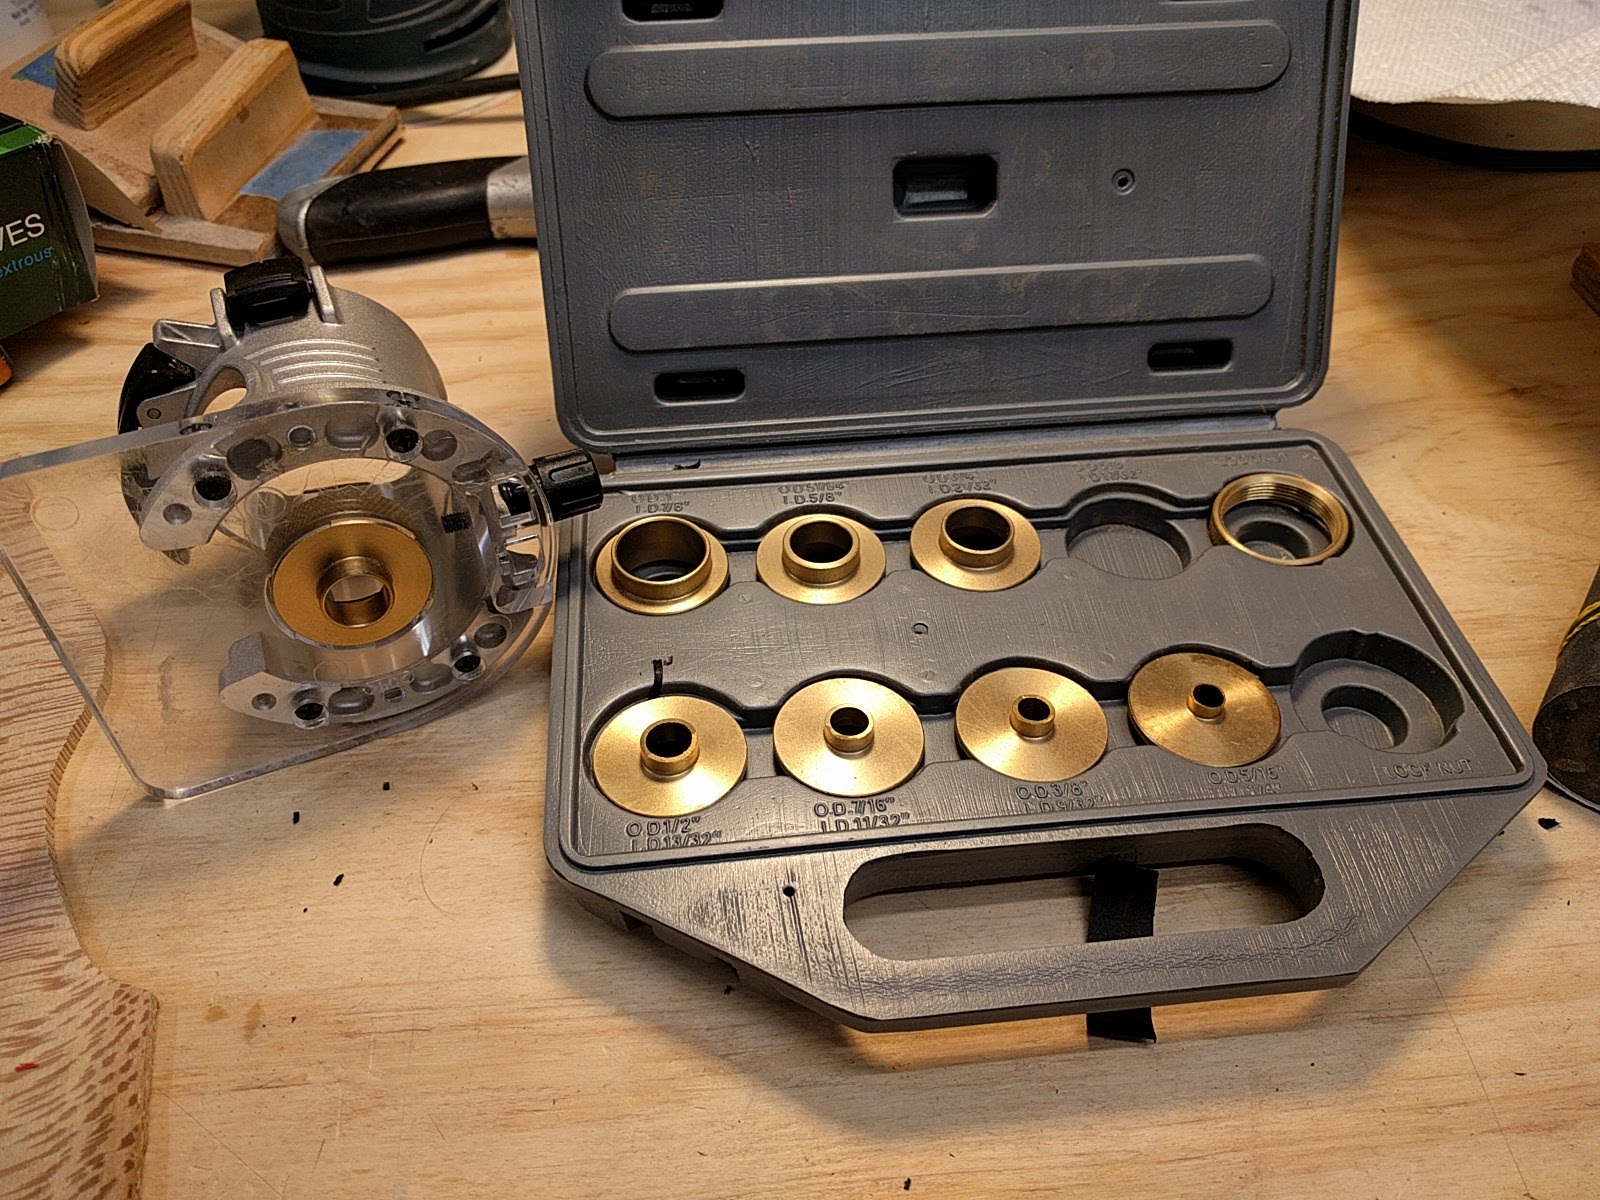
I use a 1/8 inch spiral down-cut carbide router bit in a laminate trim router that rides on the jig. The router takes standard template inserts which come in incremental sizes. Thus, with one jig I can cut larger or smaller oval holes, depending on which template guide I use so one jig works for soprano through baritone ukuleles.
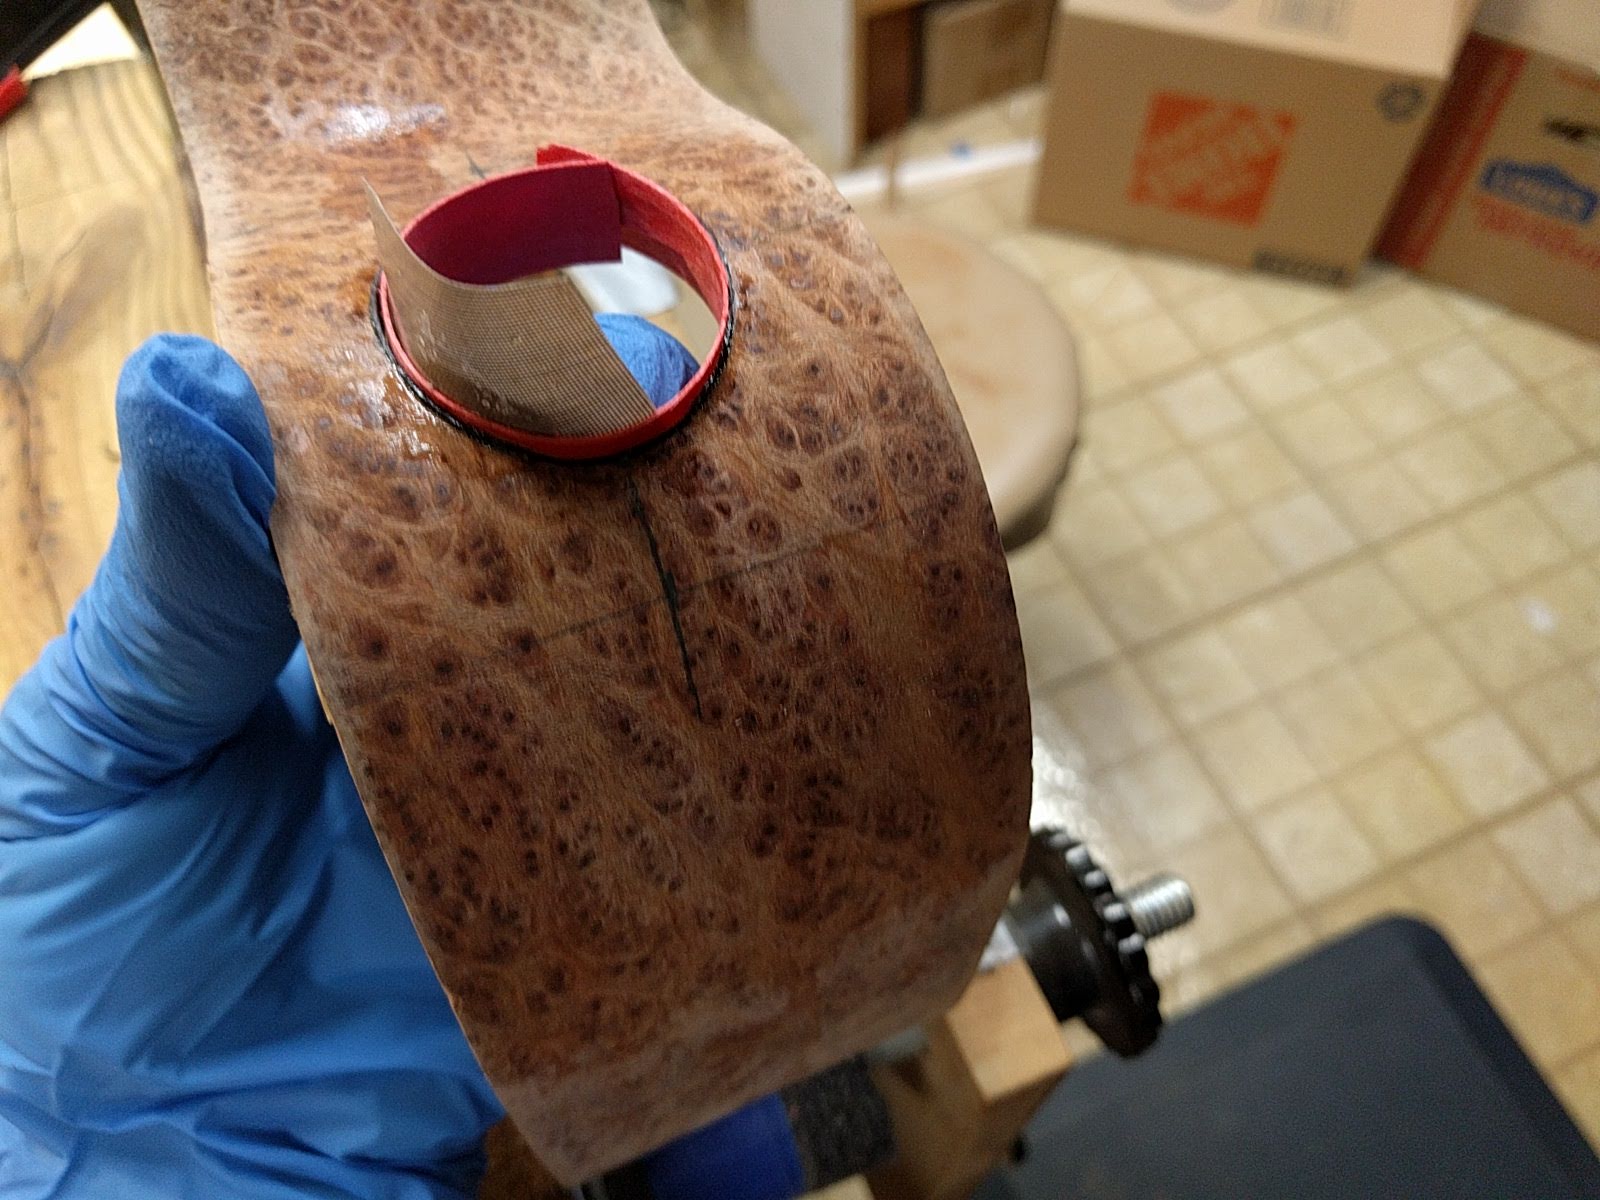
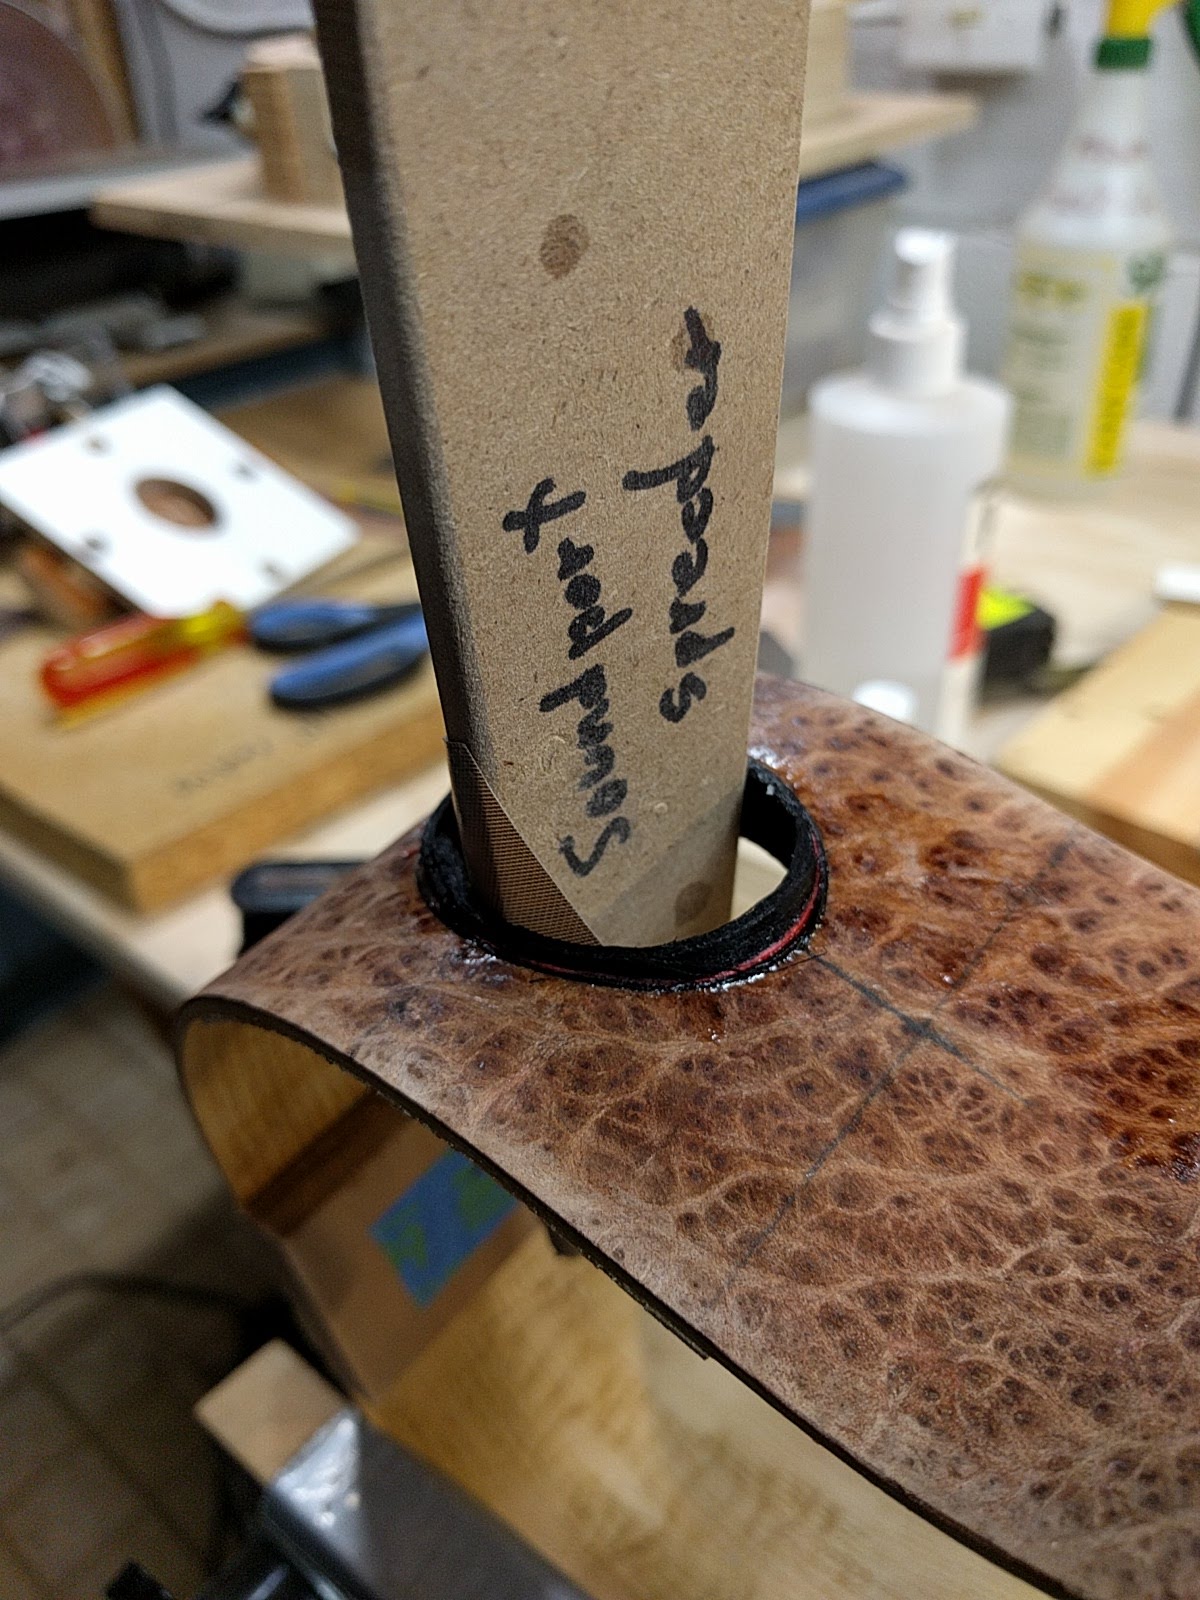
Once the hole is cut, I use the pre-bent veneer strips to bind the edge to match the purfling of the instrument. I do one layer at a time. First the black, then the red or white (usually). The two inner layers, being thin veneer, can be easily bent and held against the edge of the hole with finger pressure. I use thin CA glue to glue a small section of veneer, hit it with a bit of accelerator to quickly harden the glue, and then move on to the next section. A small piece of teflon sheet keeps the glue from sticking to the gloved hand.
The last layer is much thicker, and just finger pressure is really not sufficient to force the binding veneer tight against the edge of the hole. I made a set of tapered tools that I can shove into the hold to force the thick veneer tight against the edge. Glue it on, accelerator, and then move on to the next section. The veneer sticks out above and below the hole. This is trimmed down nearly level with the side using a sharp blade as each layer is done.
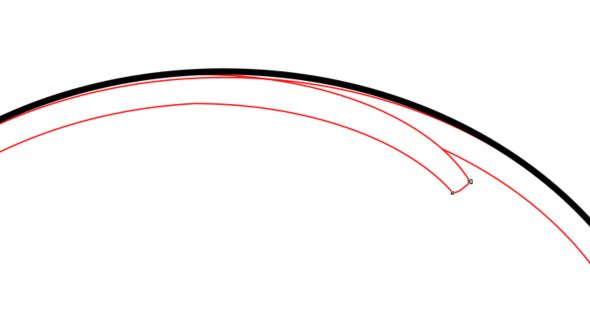
As the layers are applied, one wants to hide any seam between the ends of the strip forming the layer. Making a butt joint that is invisible, particularly given that one is forcing the veneer out around the hole, is difficult. So what I do is, before the strip is put into the hole, I taper one end. When the other end comes around it is simply glued on top of the taper, then the excess is shaved away before the next layer is applied.
A final sanding to level everything out, both inside and out and you are done.