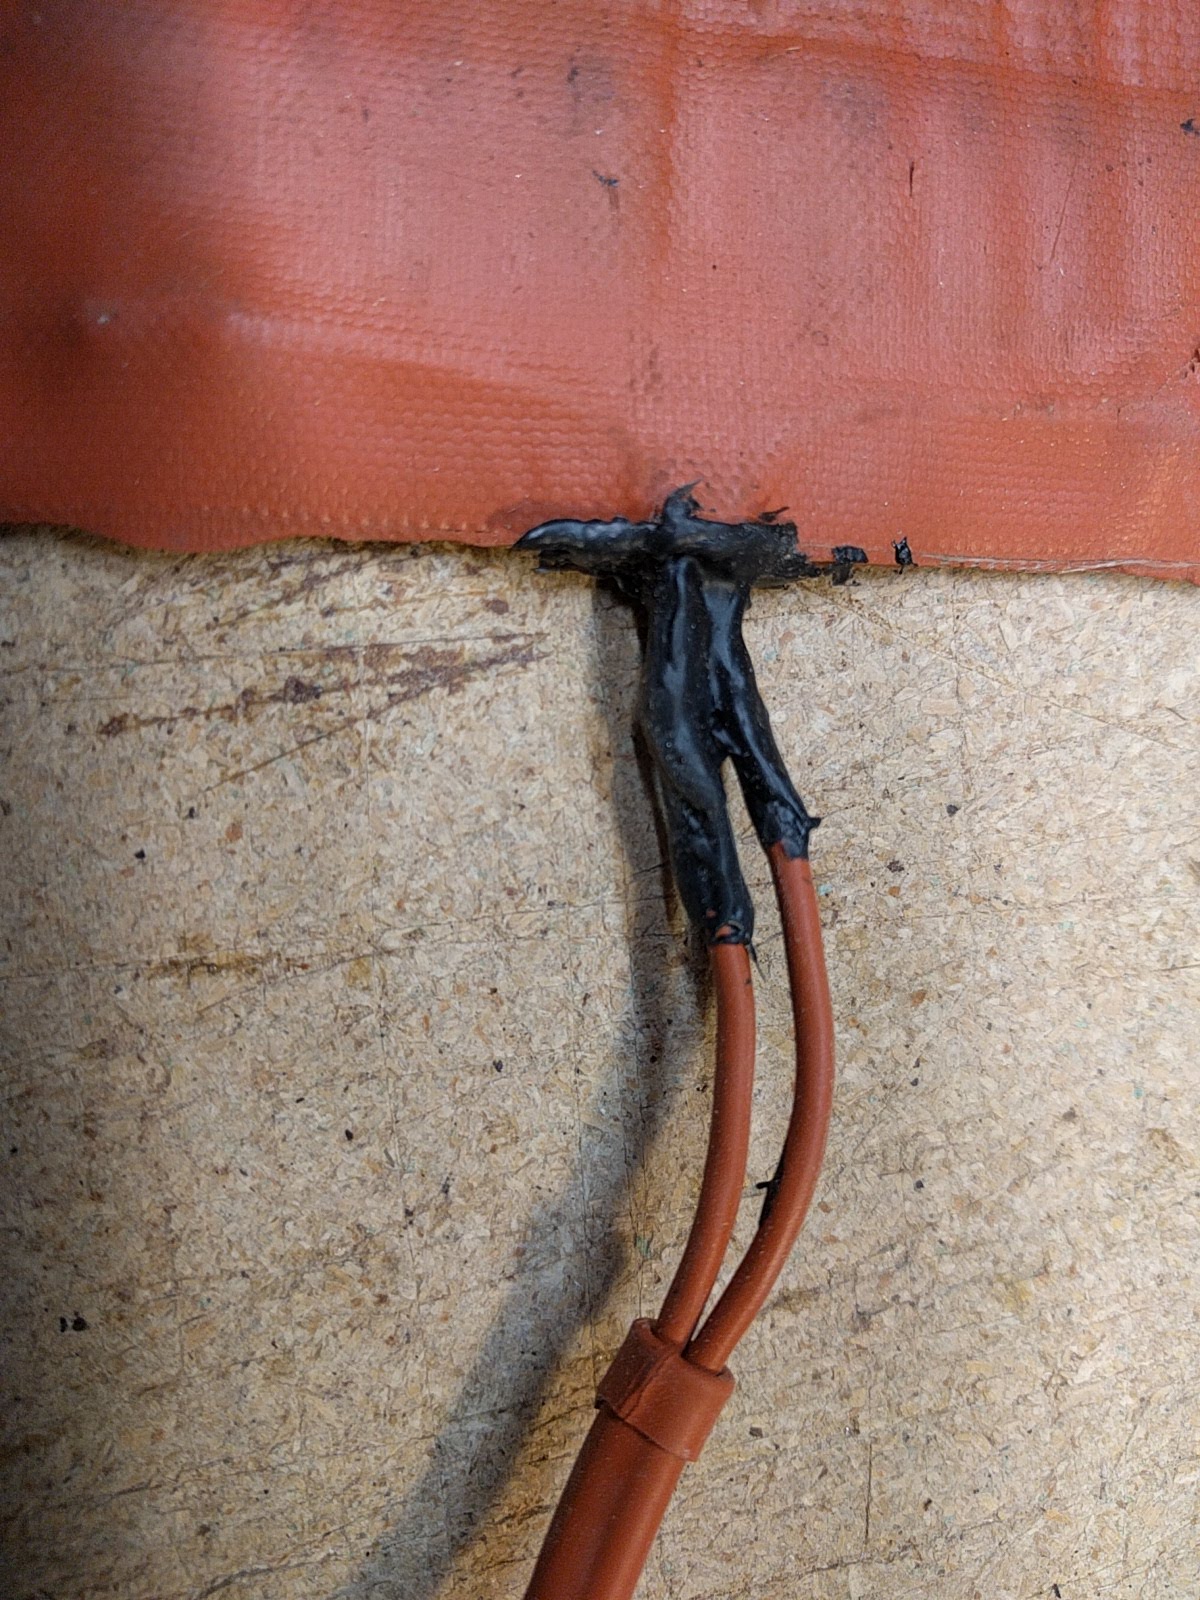
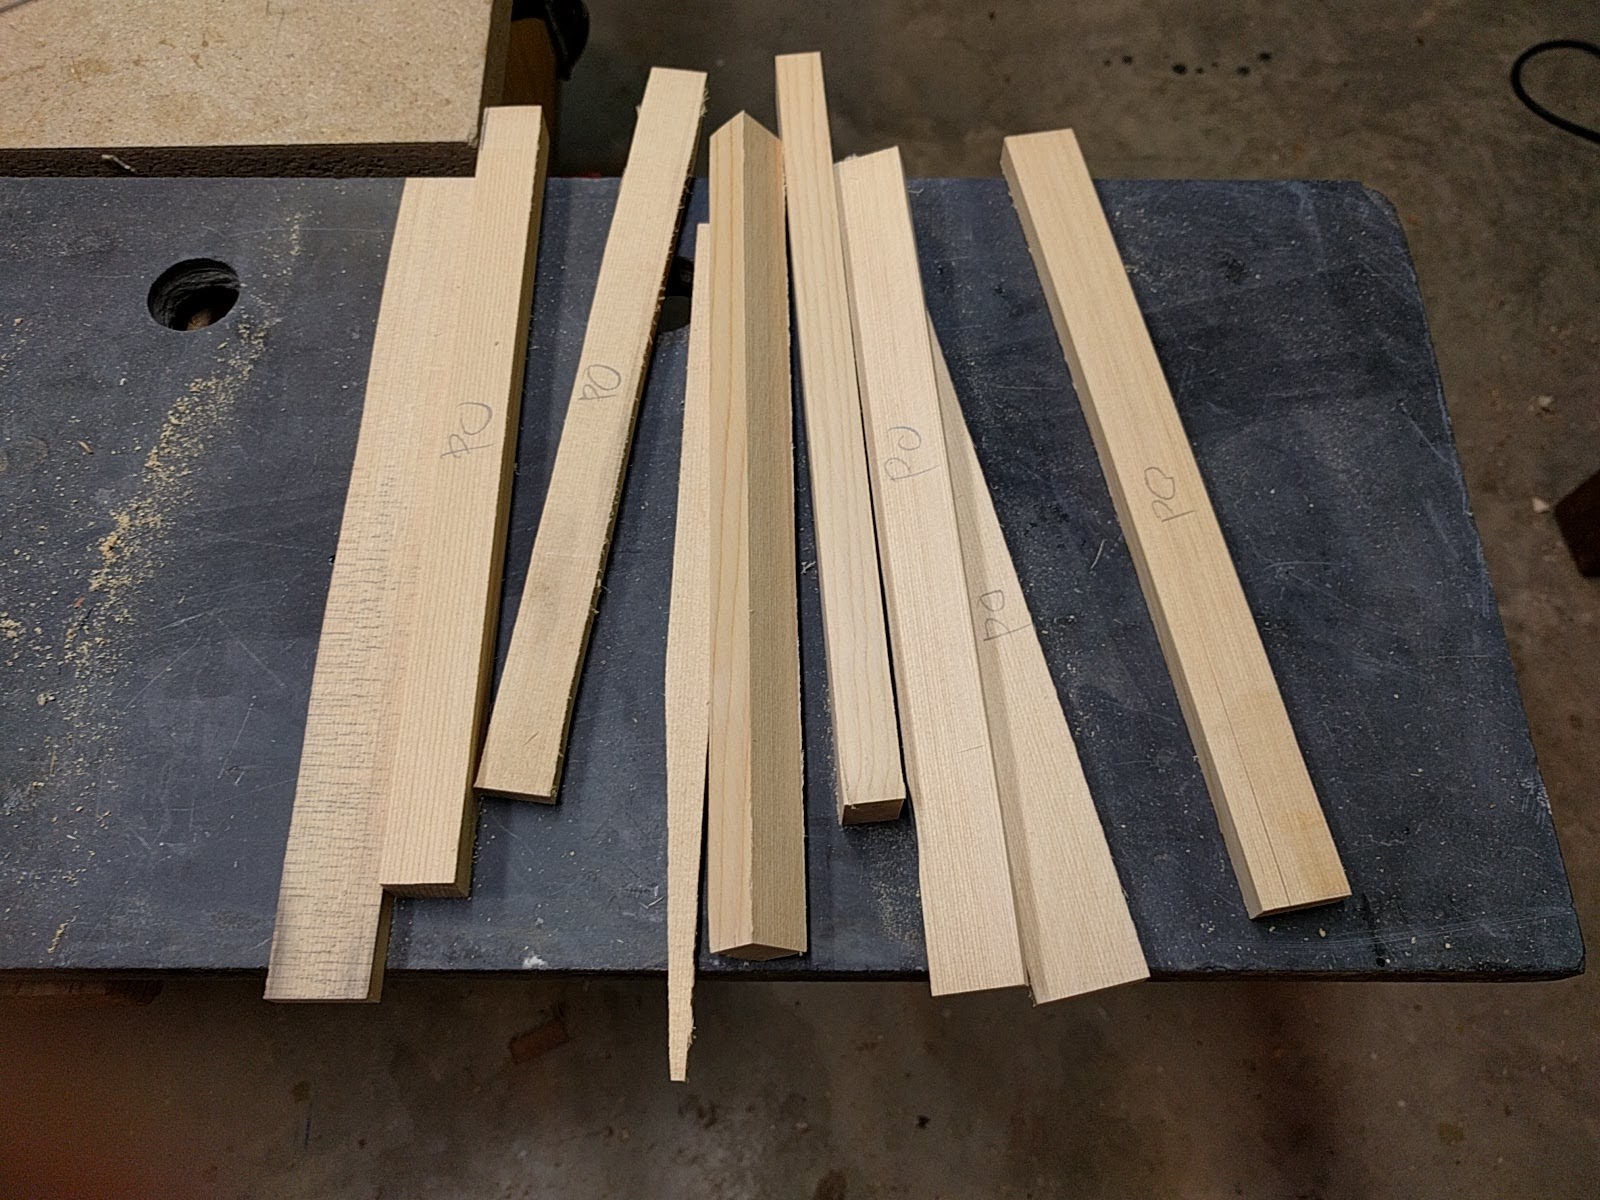
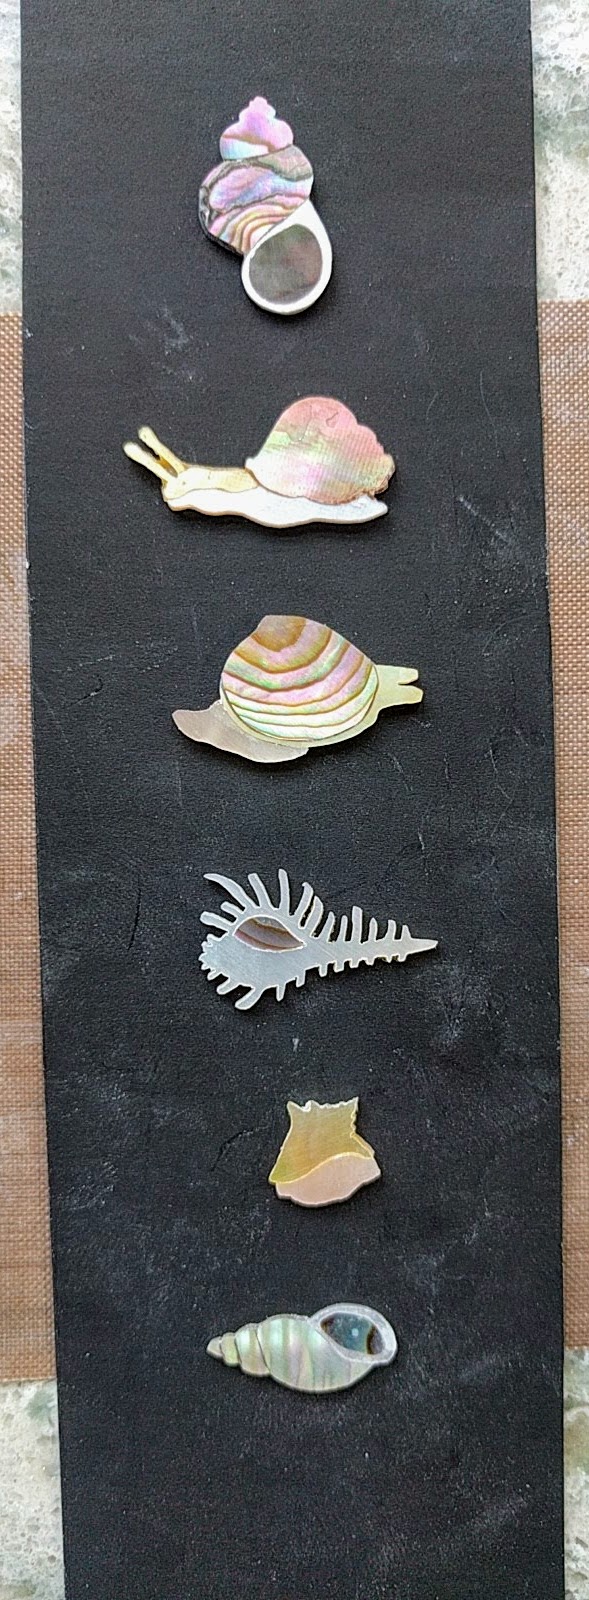
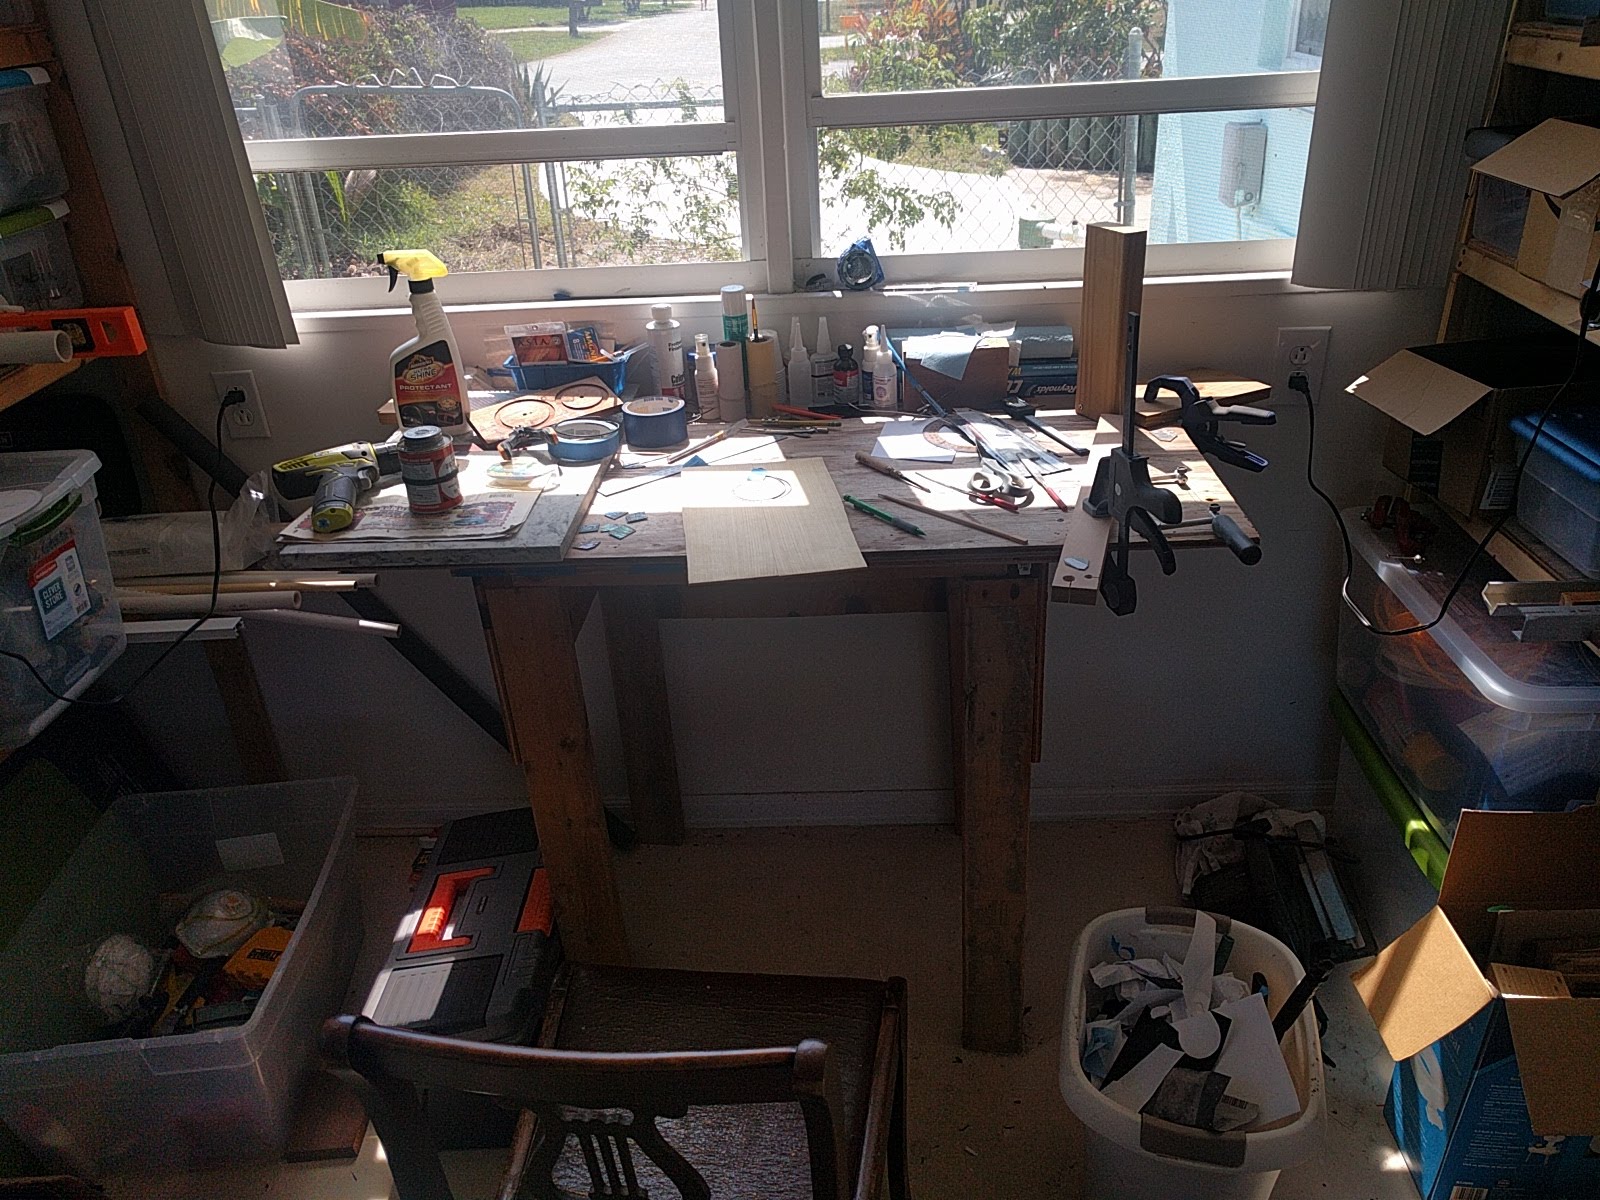
I bend sides using a 500W silicone heating blanket. I got things out abut a week and a half ago, and set to bending the first set of sides in this batch. Almost immediately there way a loud electrical ZAP, and the lights went out. I unplugged things, reset the circuit breaker, and investigated. The wire just as it came out of the silicone blanket had apparently cracked as it goes over a fairly sharp edge of the stainless steel slats I use as part of the bend ‘sandwich. It shorted out against the metal slat and left a bit of a burn mark on the slat. I had a smaller heating blanket that I tried to press into use, but could not get any heat out of it. Turns out that the voltage surge had also fried the controller I use to control how hot the blanket gets. Well – I ordered a new blanket, and a new controller. The controller came in first, and I had a closer look at the fried heat blanket. It turns out that the wires were half-cut by the short, but were otherwise still intact. So I cut back the silicone insulation, borrowed my neighbors soldering iron, and soldered things back together. The only problem then was how to get some electrical tape, or something, around the point of the fix.
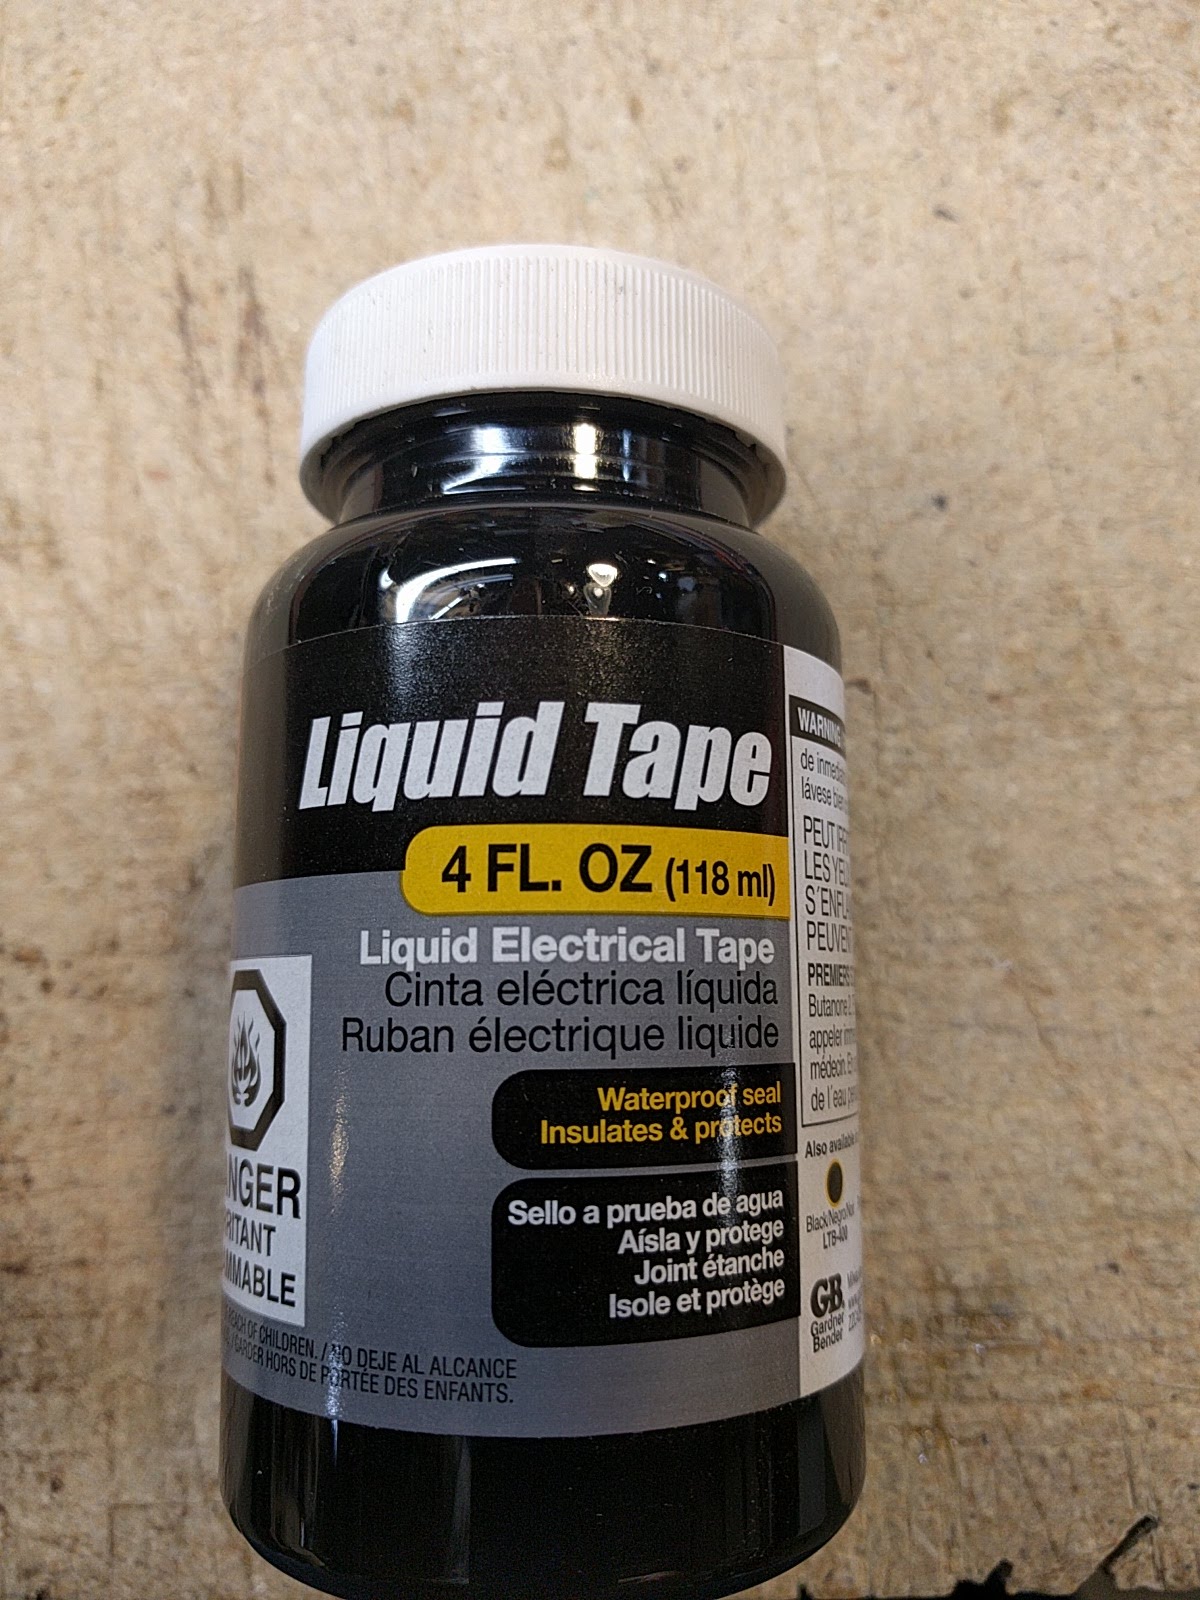
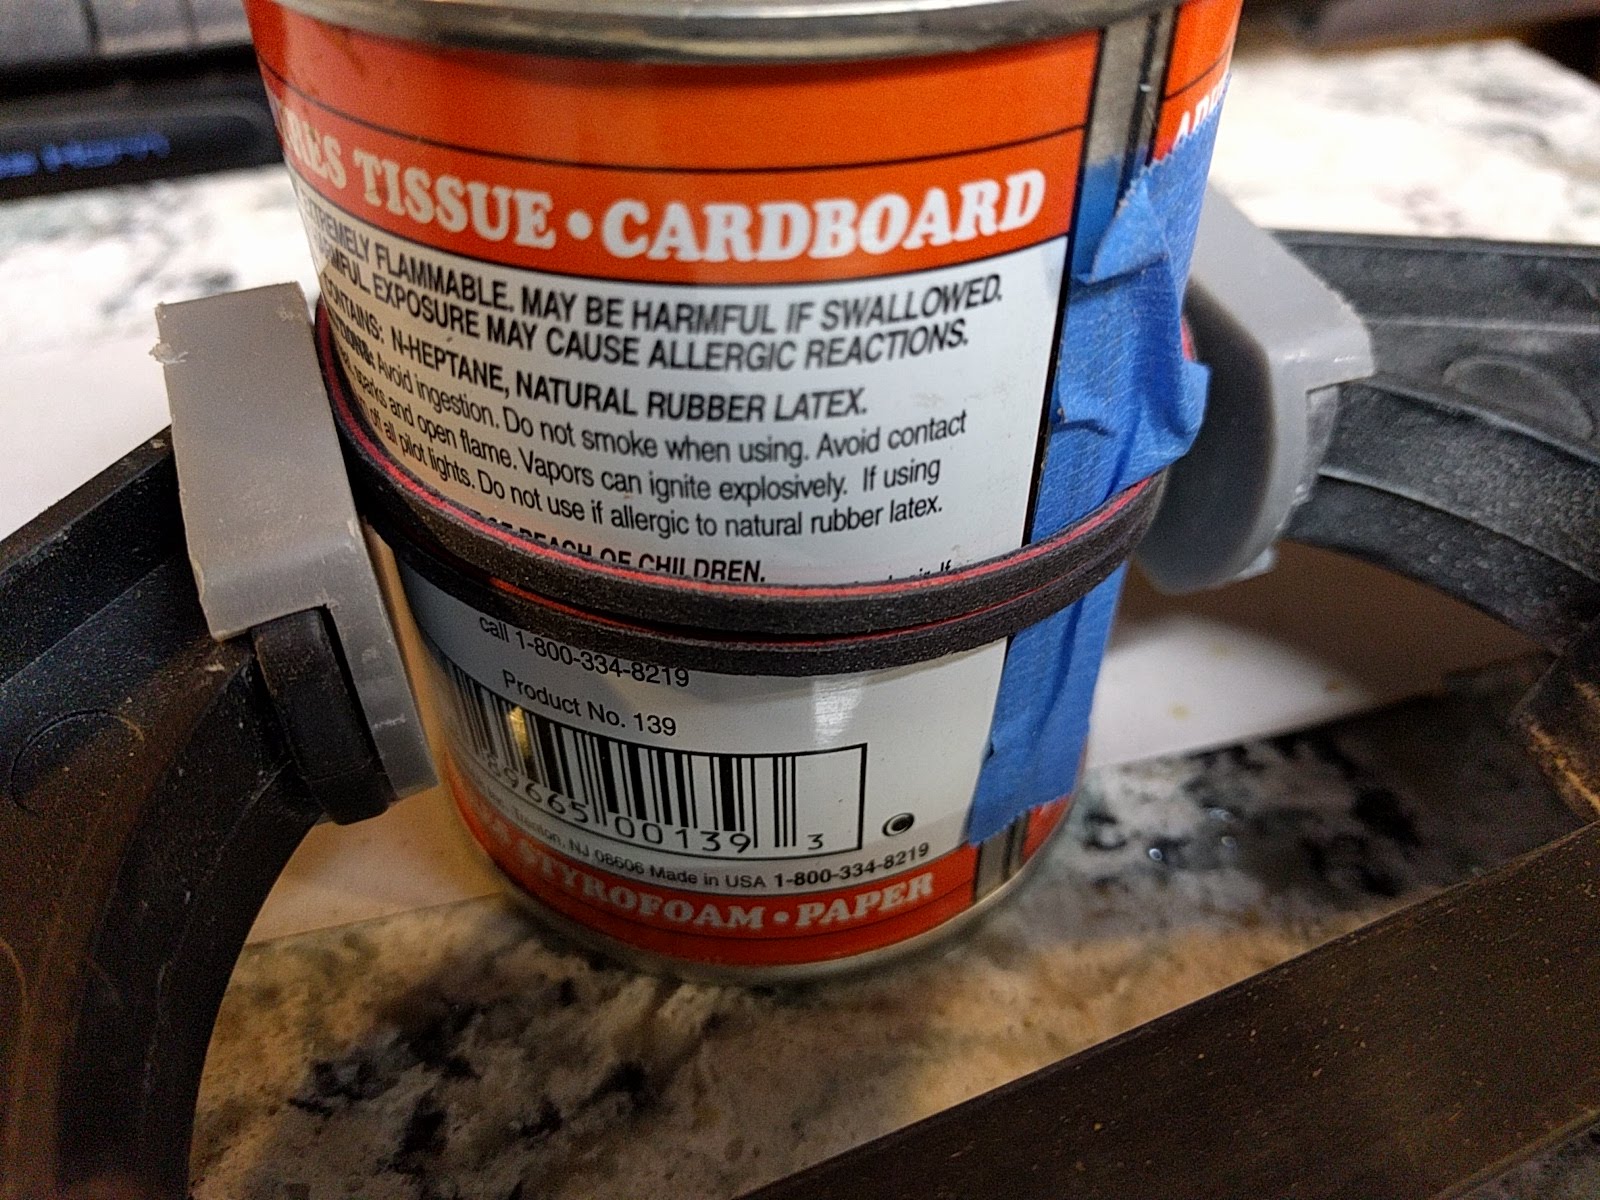
For all you do-it-yourself types out there – I found at my local hardware store this liquid electric tape stuff. It is like very thick black rubber cement. Just what I needed. It insulated the wires bared by the soldering, and also provides a bit of mechanical support against future bending over the end of the metal slat. So I was back in business before the new heat blanket (which is not he spare) arrived.