Compensation

The distance from the nut (or zero fret in my builds) is ‘almost’ the scale length.  It is actually a hair longer, an additional distance that is called “compensation”.  The compensation is there because as strings are fretted they are stretched slightly which makes the fretted note a bit sharp, so the bridge is moved back a bit so that the note sounds in tune.  The amount of compensation depends on a number of factors, including:  the particular brand of strings, the diameter of the strings, the distance of the strings above the fret (the ‘action’), and the scale length.  Given all of this it is is very difficult, if not impossible, to predict the correct compensation for a instrument in advance.

One of the instruments I am building in this round is a guitalele with a 19 inch scale length.  Being a small guitar it is getting strung with classical guitar strings.  Now, what the heck sort of compensation should I build into the bridge?

To answer this question (I have had the same question on other instruments in the past) I built a simple setup that allows me to set the bridge position exactly, getting the compensation as an empirical process.  Since strings are generally shipped pretty long, and in this case are very long for the 19″ scale instrument, I made an ‘end block’ to hold one end of the string and a block of tuners to hold the other end of the string.  The string itself is stretched over the instrument, resting on the ‘bridge’ and the zero fret, as would a normal string.  However, because the string is just resting on the instrument, there is no string tension force on the instrument itself and I can move the bridge around.   With a small chromatic tuner resting on the instrument I can set the bridge position so that the note fretted at the 12’th fret is exactly an octave above the open note.  I can do this with the brand of strings that will eventually be put on the instrument.

I use small ‘chips’ of bridge material sitting in the saddle slot so that I can easily set the action to a reasonable height (action goes into compensation) and there is room next to the chip to drill small positioning holes for nails down through the saddle slot so I can put the bridge on in just the right place.

Finish

I’m trying to finish.  To get to the finish one must do the finishing, and finishing is somehow never finished.

Doing finishing is probably my least favorite part of a build.  I like to get a shiny surface, but that shows every little bubble and every little dust mote.  One can always give the finish a light sanding, and apply another coat, but this very possibility means that one must at some point declare ‘enough is enough’.  Because I do a hand rubbed finish (I don’t have spray equipment, and don’t have any place to install it if I did have the equipment) there is always the possibility of a little dust or bubble or something.  I do the finishing in the closet of my son’s old room because the room is not used, and can be kept pretty free of floating dust.  The closet provides a convenient place to hang things too.

I do enjoy seeing the instruments begin to glow and shine but it is a slow and nerve wracking process.

pearl feathers

She was a rare thing
Fine as a beeswing
So fine a breath of wind might blow her away
She was a lost child
She was running wild, she said
As long as there’s no price on love, I’ll stay
And you wouldn’t want me any other way
               –  “Beeswing”,  Richard Thompson
They make (how I have no idea) what are called ‘pearl feathers’.  This is real mother of pearl, sliced paper thin whence it can be flattened (again, I do not know how).  The result is a sheet which is so thin it is nearly transparent at one angle of light, and pearly and opaque at another angle of light.
I have had some of these pearl feathers in my ‘toolbox’ for a long time.   The stuff is ‘interesting’ to work with.  It is very brittle.  Trying to cut out pieces with the jewelers saw like regular pearl, even with an 8/0 sawblade which is so fine you almost need a magnifying glass just to see the saw teeth so you get it in the saw frame the correct way, does not work.  The blade teeth cause the edge of the cut to chip and crack.  I found that the best way to cut it is with a pair of sharp scissors, making an initial cut outside the line, and then coming back for a final, very fine, trimming cut.
I did one experiment a couple of years ago making dragonfly wings.  (You can see an example back on the early pages of this blog.)  I am building a parlor guitar for a client who wanted a bee on the heel as a tribute to her husband who is a bee keeper, so I decided to get out the pearl feathers to make the bee’s wings.  (The Richard Thompson song has been stuck in my head as I worked on this.)   The result is a bee where you can almost see the sycamore wood of the heel cap through the wings at one angle, and the wings change with the angle of light giving the bee quite a bit of movement.

Necking

It used to be that ‘necking’ was something that happened out along on Reservoir Hill road on a Saturday night.  These days it is taking a rough piece of wood and turning it into a smooth, rounded rather complex shape that is a pleasure to hold and fits the hand well.  Here is a brief overview of a concert neck.

The shape is roughed out on the band say, then I cut two cross-wise channels with a micoplane tool to establish the basic curve profile.  Then using a spokeshave one cuts away the wood between the two channels.   (A spokeshave is an ancient instrument that has been around as long as there have been wooden wagon wheels with spokes but there is still no substitute.)

Then follows work with the microplane, chisels, scraper, and various files to refine the shape, and most particularly begin to work on the complex curves around the heel.  Not only are the curves complex, but the heel area is end grain which is harder and more difficult to cut cleanly.  Part way through things look like:

This yellow cedar has a very distinctive scent.  One can tell that one was cutting and sanding yellow cedar for a number of days around the shop.  After the filing operations comes the rough sanding.

To sand, thanks to an idea from Brian Griffin of Griffin Ukuleles, I made up a number of little sanding pads from Masonite with wood handles simply glued on.  The flat pads allow me to sand a very flat even surface.  To some pads I added a layer of wet-suit neoprene to provide some cushioning for a more curved surface.   On some I extended the neoprene out the sides to allow me to sand around a tight curve.  They are very easy to grip and makes sanding much less stressful on the hands.   For sandpaper I use self-stick paper that is available (cheap) in rolls.  It takes just a minute to stick on a new piece of sandpaper, and the sandpaper, being fully supported by being stuck on the pad, lasts a very long time.  The stick-um on some of the paper is so strong it can pull the surface off the Masonite when it is removed so I have gone to using an inter-layer of masking tape.  I keep a bunch of these around in various grits.

When the sanding is done things look like a neck.

Then it is time to install the side dots, check to see that there are no places that were missed in the sanding, and things are pretty much done, ready for sealing and the inevitable re-sanding when little rough spots are discovered.

I like this neck.  I chose the Picasso headplate to go with the redheart fingerboard and it looks good I think.

Metalwork

It is fretting time.  I buy fretwire in straight pieces, and then cooked up a little fret bender to bend it into the proper fingerboard radius.  Unlike many builders I cut and finish the ends of my frets before they are installed.  I can get a nice rounded fret end with a nice polish. since I am doing it off the instrument.  The frets are cut to rough length, then the ends are filed square and to the exact length. A few swipes of the file to start rounding the fret end, and then a finish rounding/polish on a fine polishing wheel.  I do things to all the frets in stages (cut to rough length, filed to final length, round and polish), stacking them up in a little numbered board.

One thing I have done for a while is when I am filing the frets to length I back bevel the fret tang (the part that goes down in the fret slot to hold the fret in place).  I do this because as fingerboards age they tend to shrink a bit while the fret does not.  This can leave those ends of the tangs sticking out the side of the fingerboard, which is not pleasant on the hands and requires some repair shop work to make things smooth again.  With the back bevel, the fret tangs will never stick out.

I also think it makes a neater final look on the edge of the fingerboard with no tangs showing.

Inlay continued

I take the pattern, whether it is on paper or transparency, roughly cut out the target piece, align the pattern on the pearl the way I want it, and then tape one edge down with a little piece of scotch tape.  This makes a little hinge that I can fold back so I can rubber cement the pattern and pearl.  Let the rubber cement dry, and then fold the pattern back down, sticking it to the pearl in exactly the original place.

Then the pearl is cut out using a jewelers saw, with a fine blade.  I usually use a 3/0 blade, but they go down to 8/0 which is so fine you can only barely see the teeth.

The pearl is placed on a small flat board with a hole in it to support the pearl, and the sawing is done vertically.

Some of the pieces in the design get pretty small.   These are some of the throat pieces.

As the various pieces are cut out, they need to be fit together.  I use some small diamond files and a set of parallel-jaw pliers (to hold small pieces) to file and fit pieces together.

When pieces are fitted I glue them together with a drop of thin super-glue (CA glue).  I glue the pieces upside down so what will be the top of the inlay is as flat as possible, since the pieces of pearl are not exactly the same thickness.  The back can always be sanded level later.  I do the CA gluing on some Teflon oven cooking sheets which are inexpensive and the CA glue only sticks very slightly.   The first set of pieces fitted:

The fitting process continues, generally working from the inside of the design to the outside.  You don’t want to have small pieces which may need a bunch of fitting because there is not enough material to file away to get the fit right.  Continuing …

Finally, when one gets all the pieces cut, and things fitted together, the result is:

I have some small black pearl dots that I will use for the hummingbird’s eye but I will put the eye in after bird is inlayed into the headstock, since I will be drilling a small hole into the pearl and I want it very well supported.


Inlay time

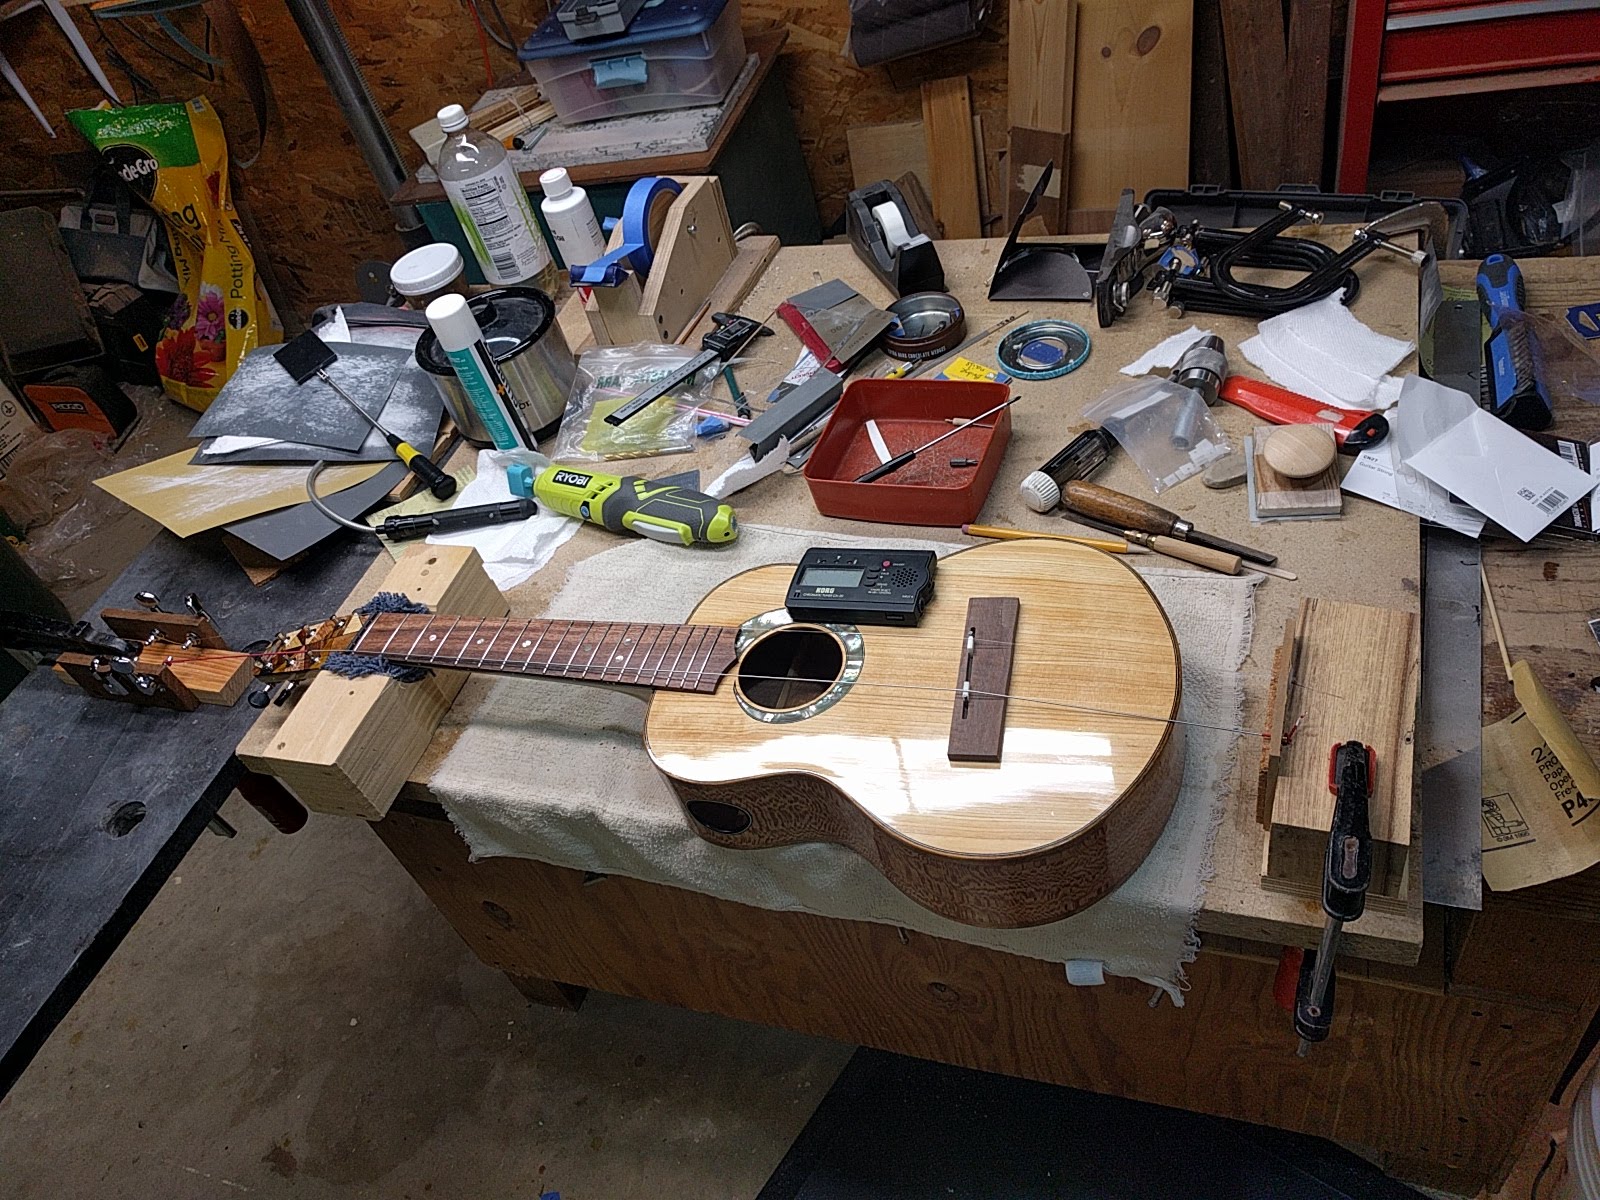
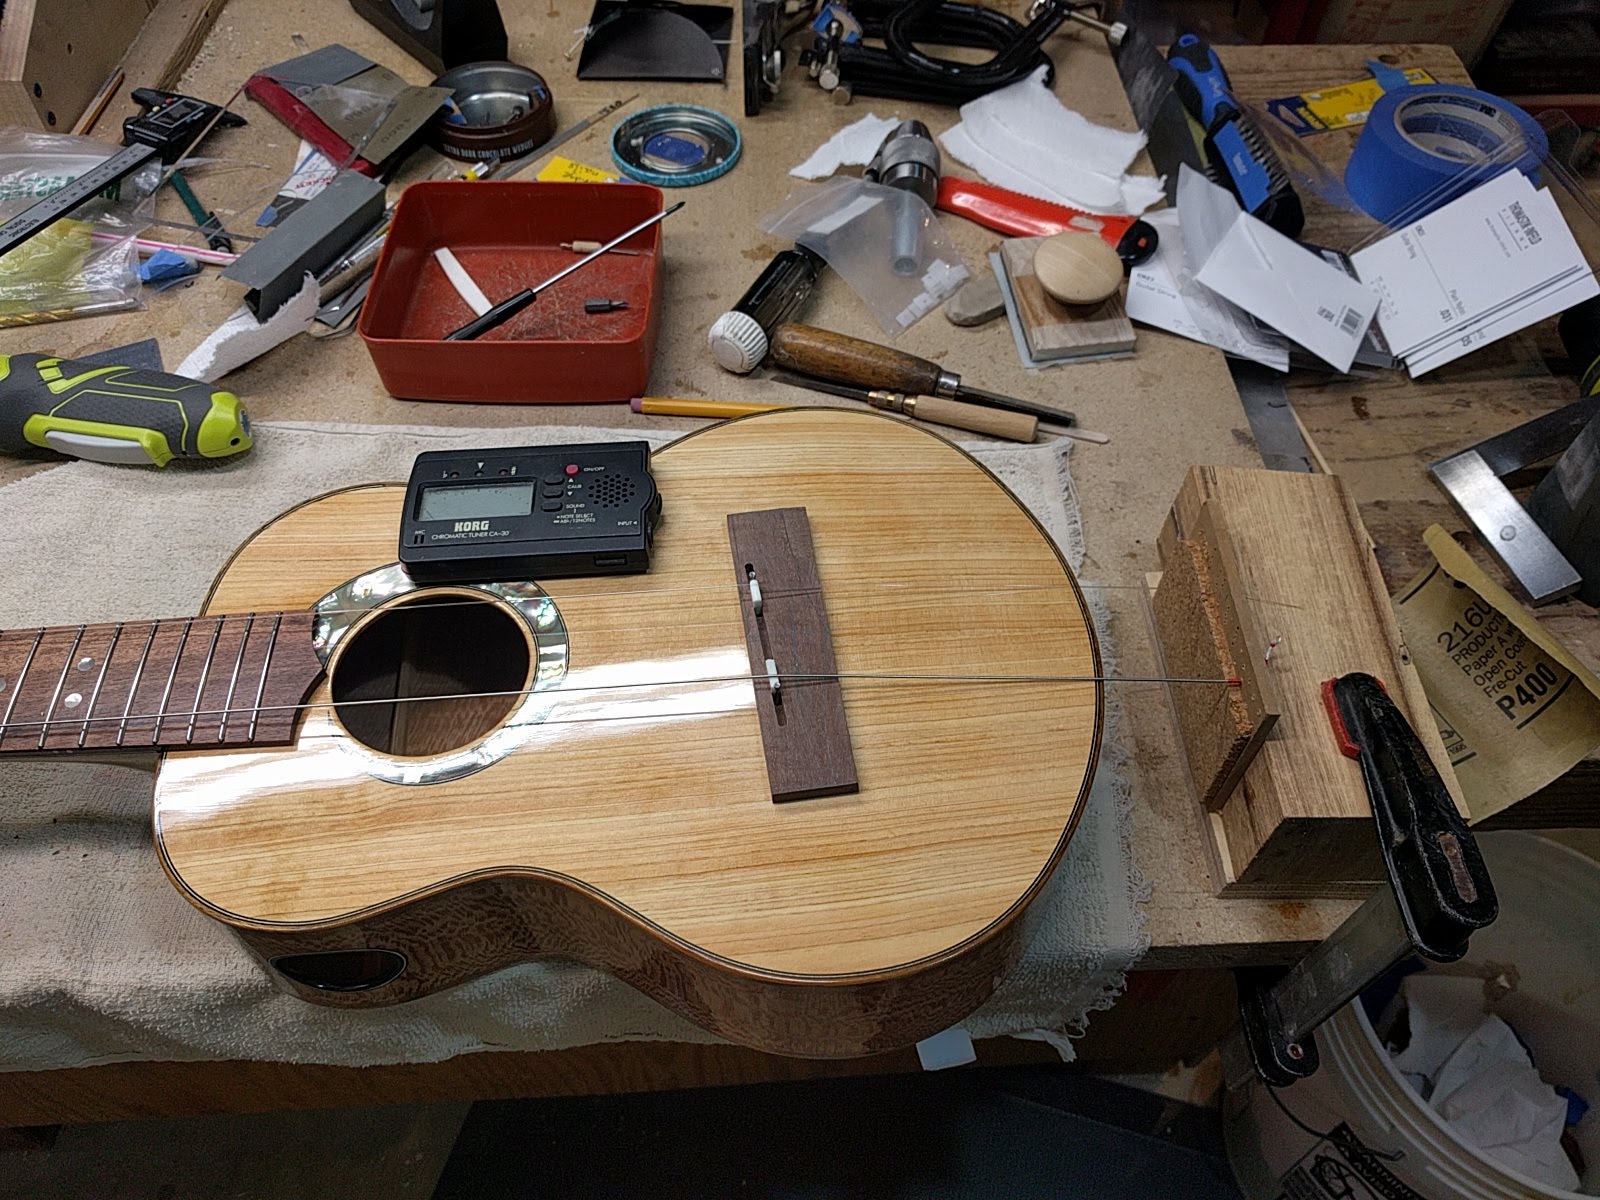
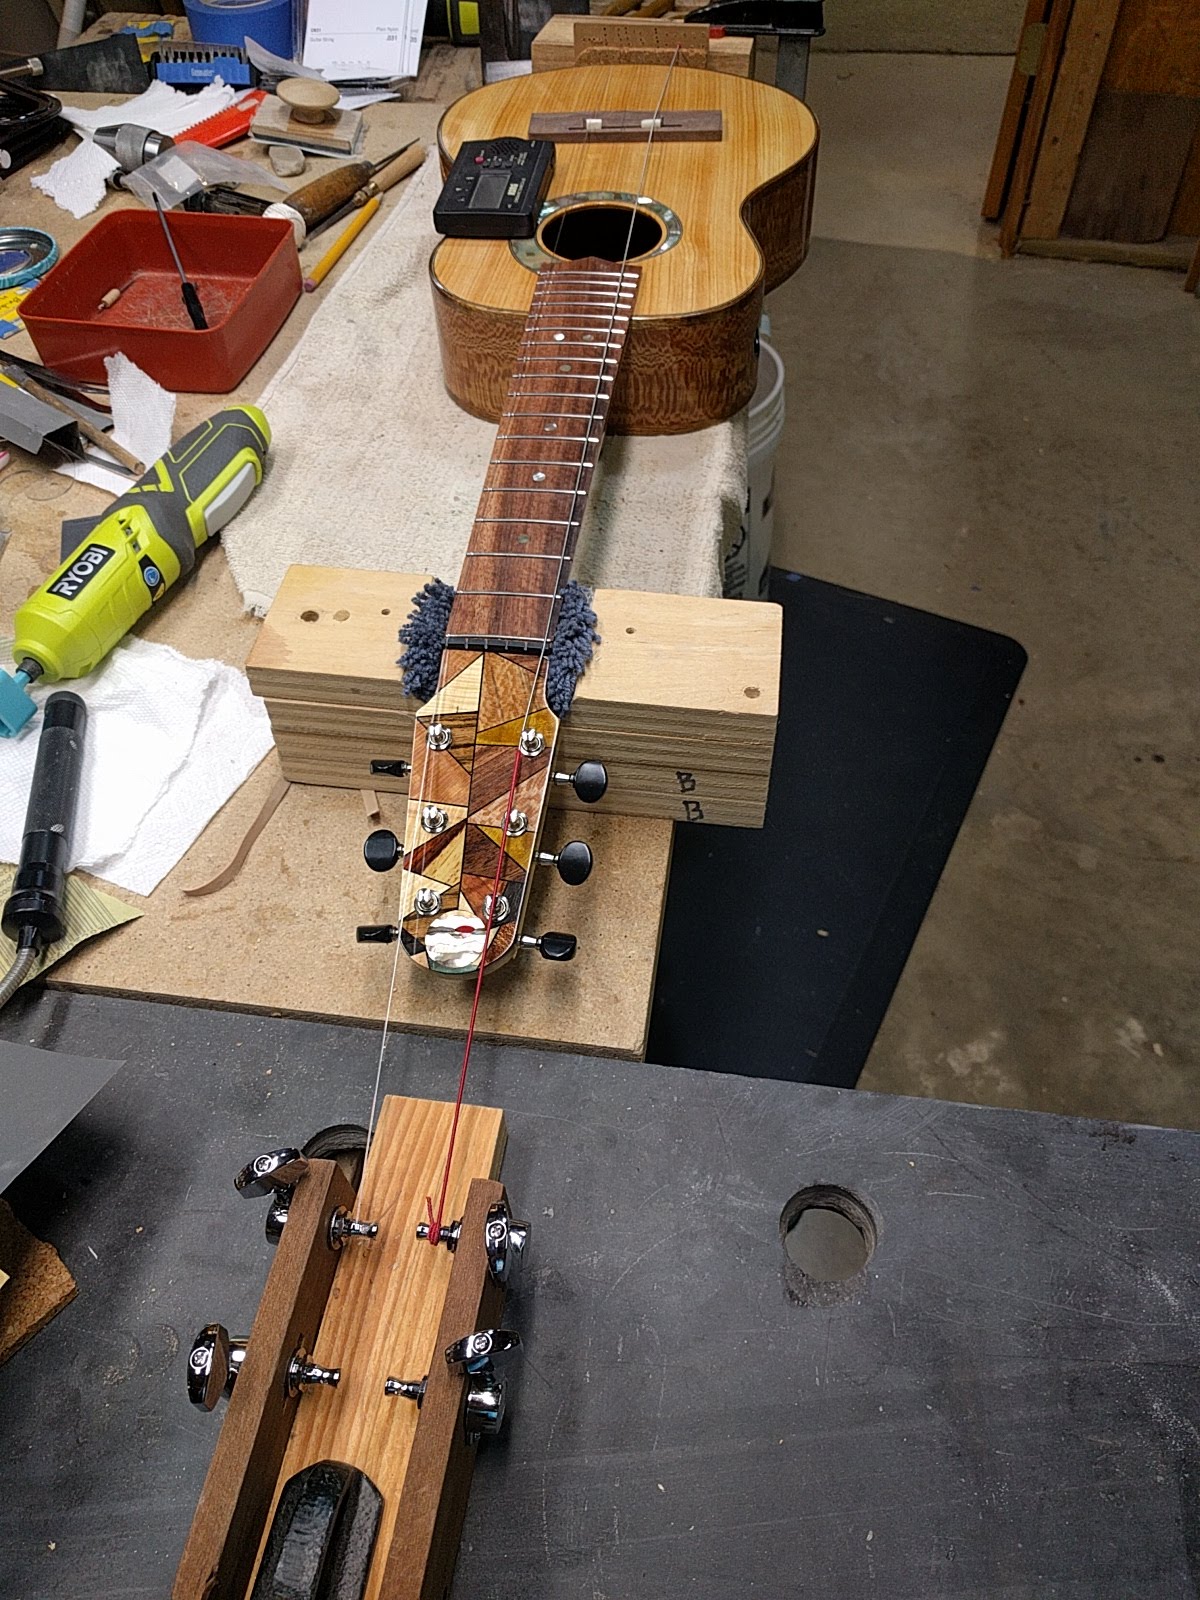
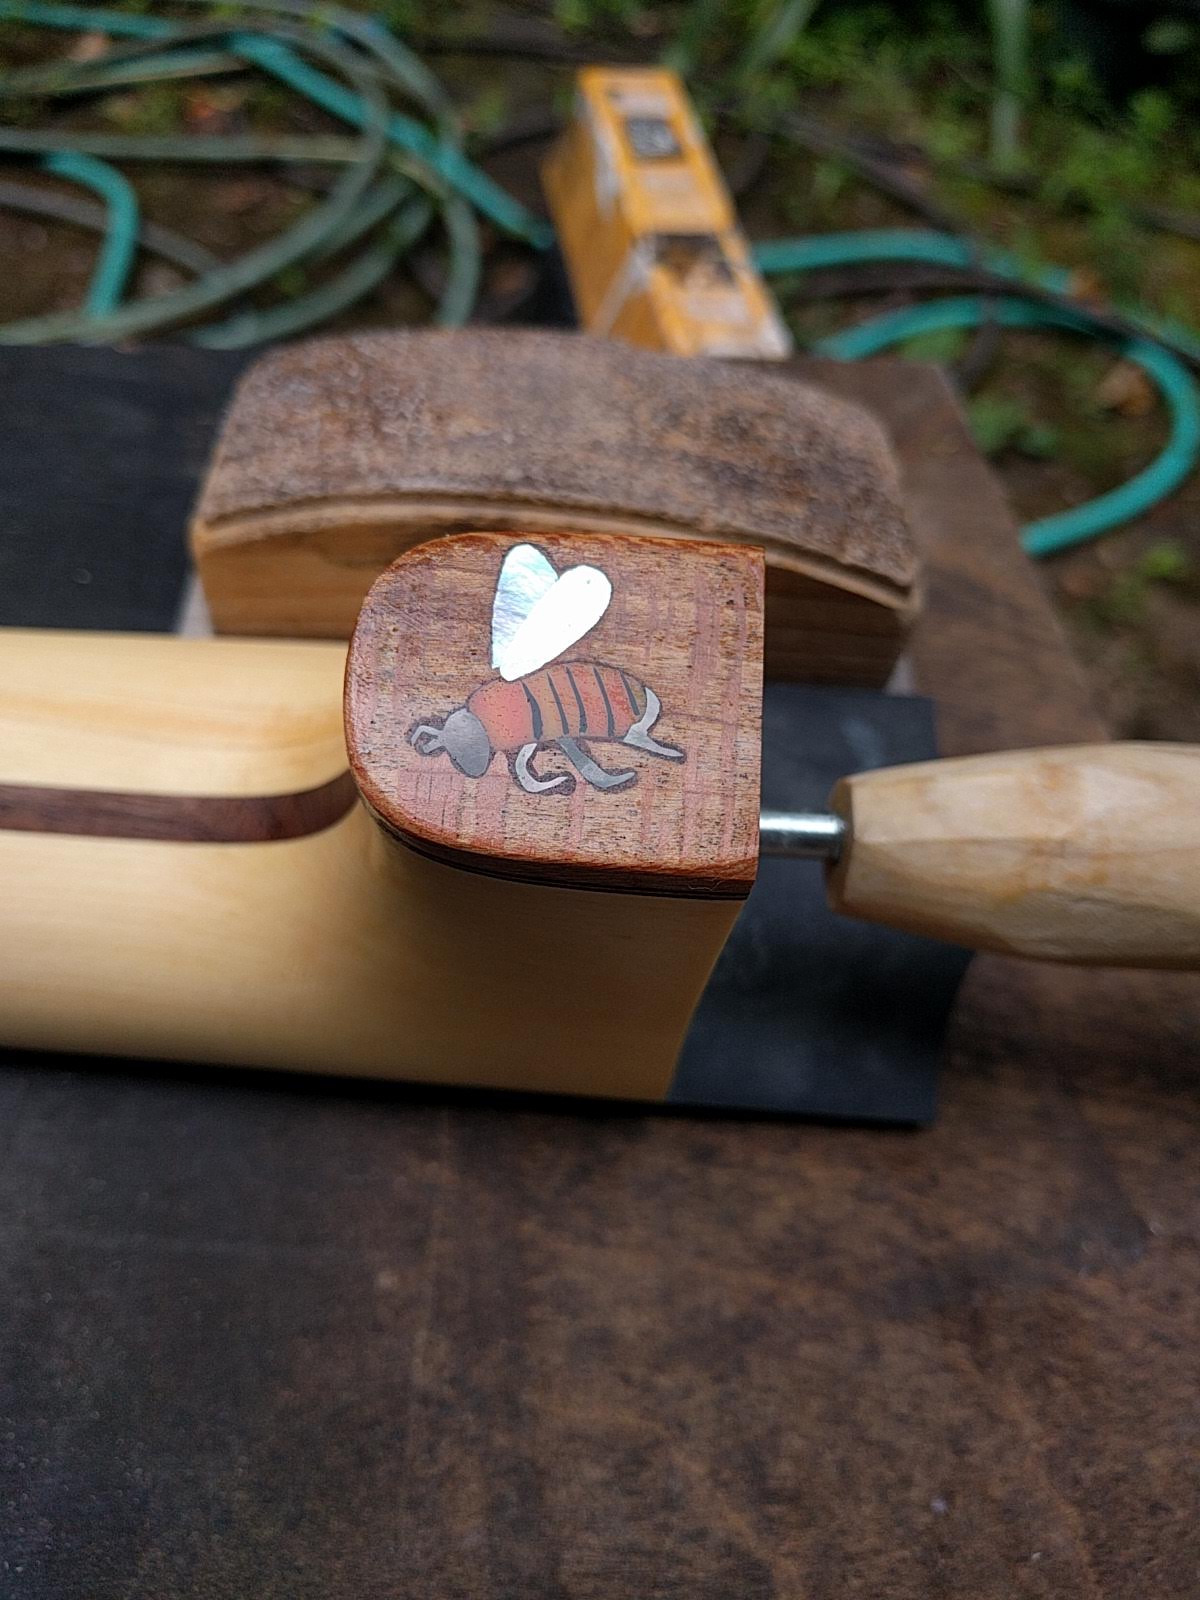
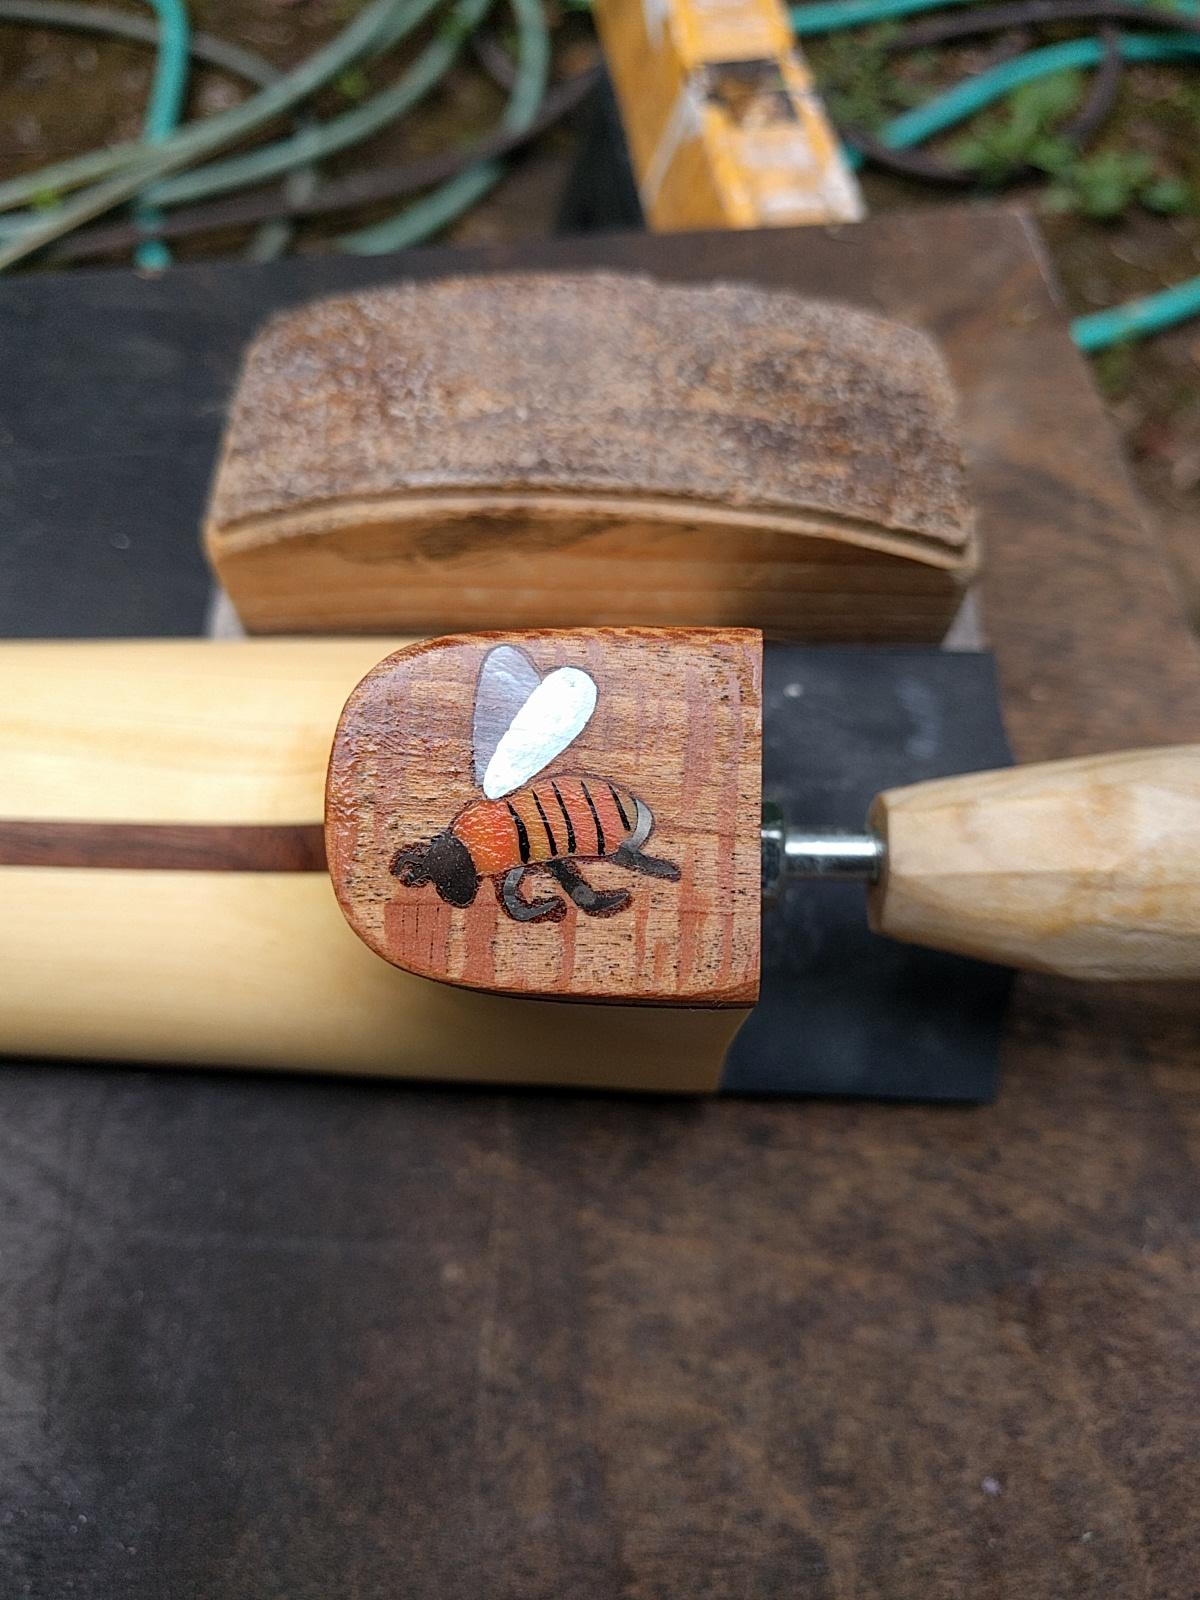
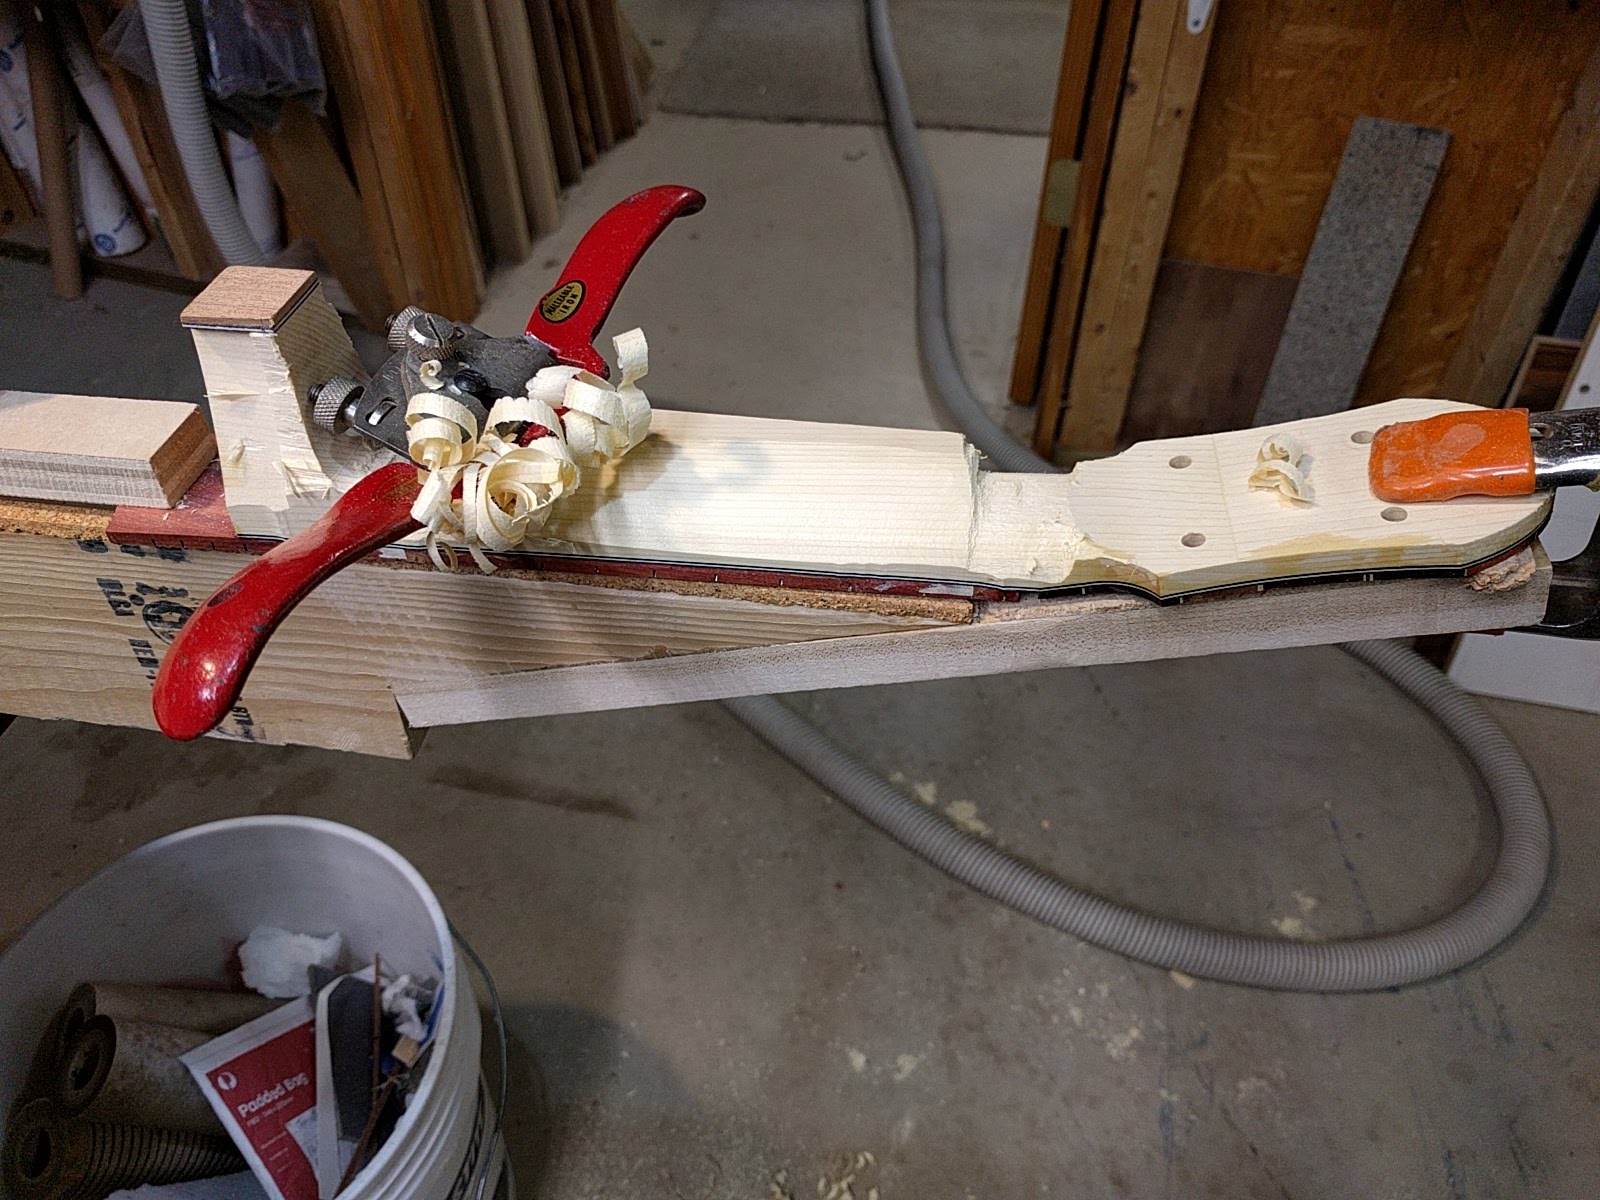
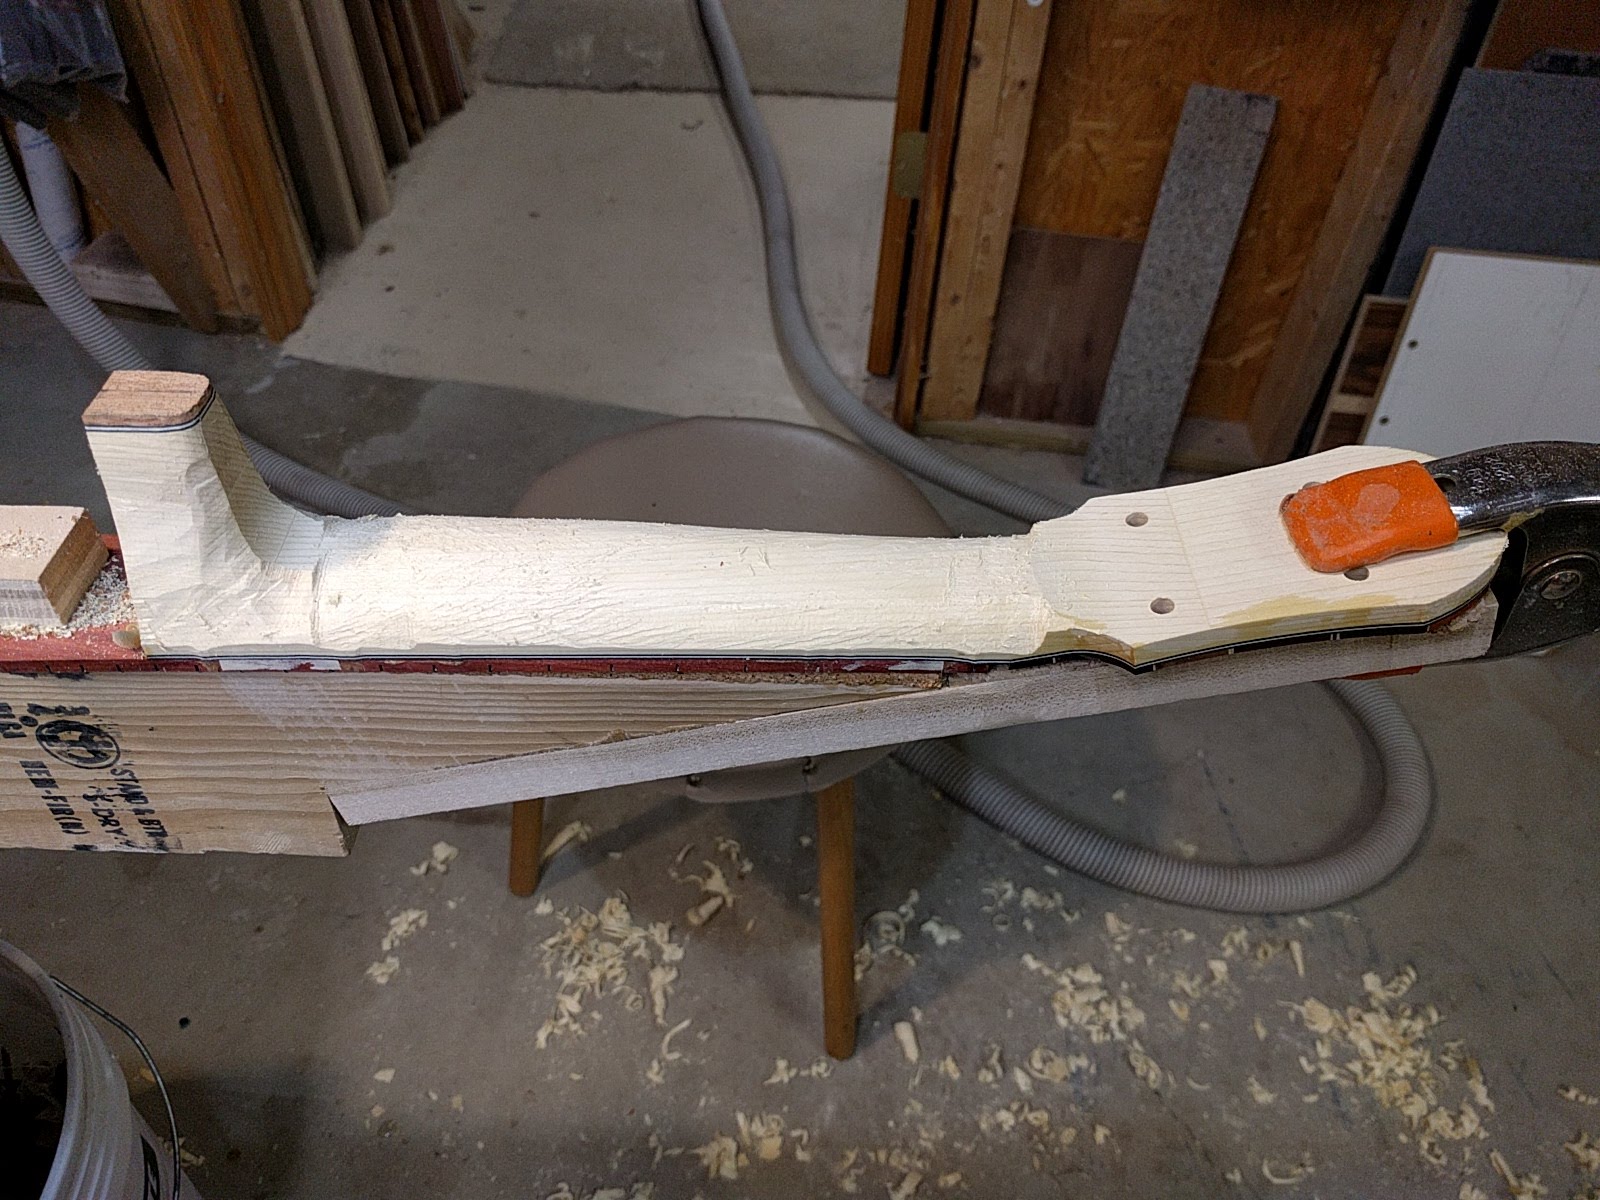
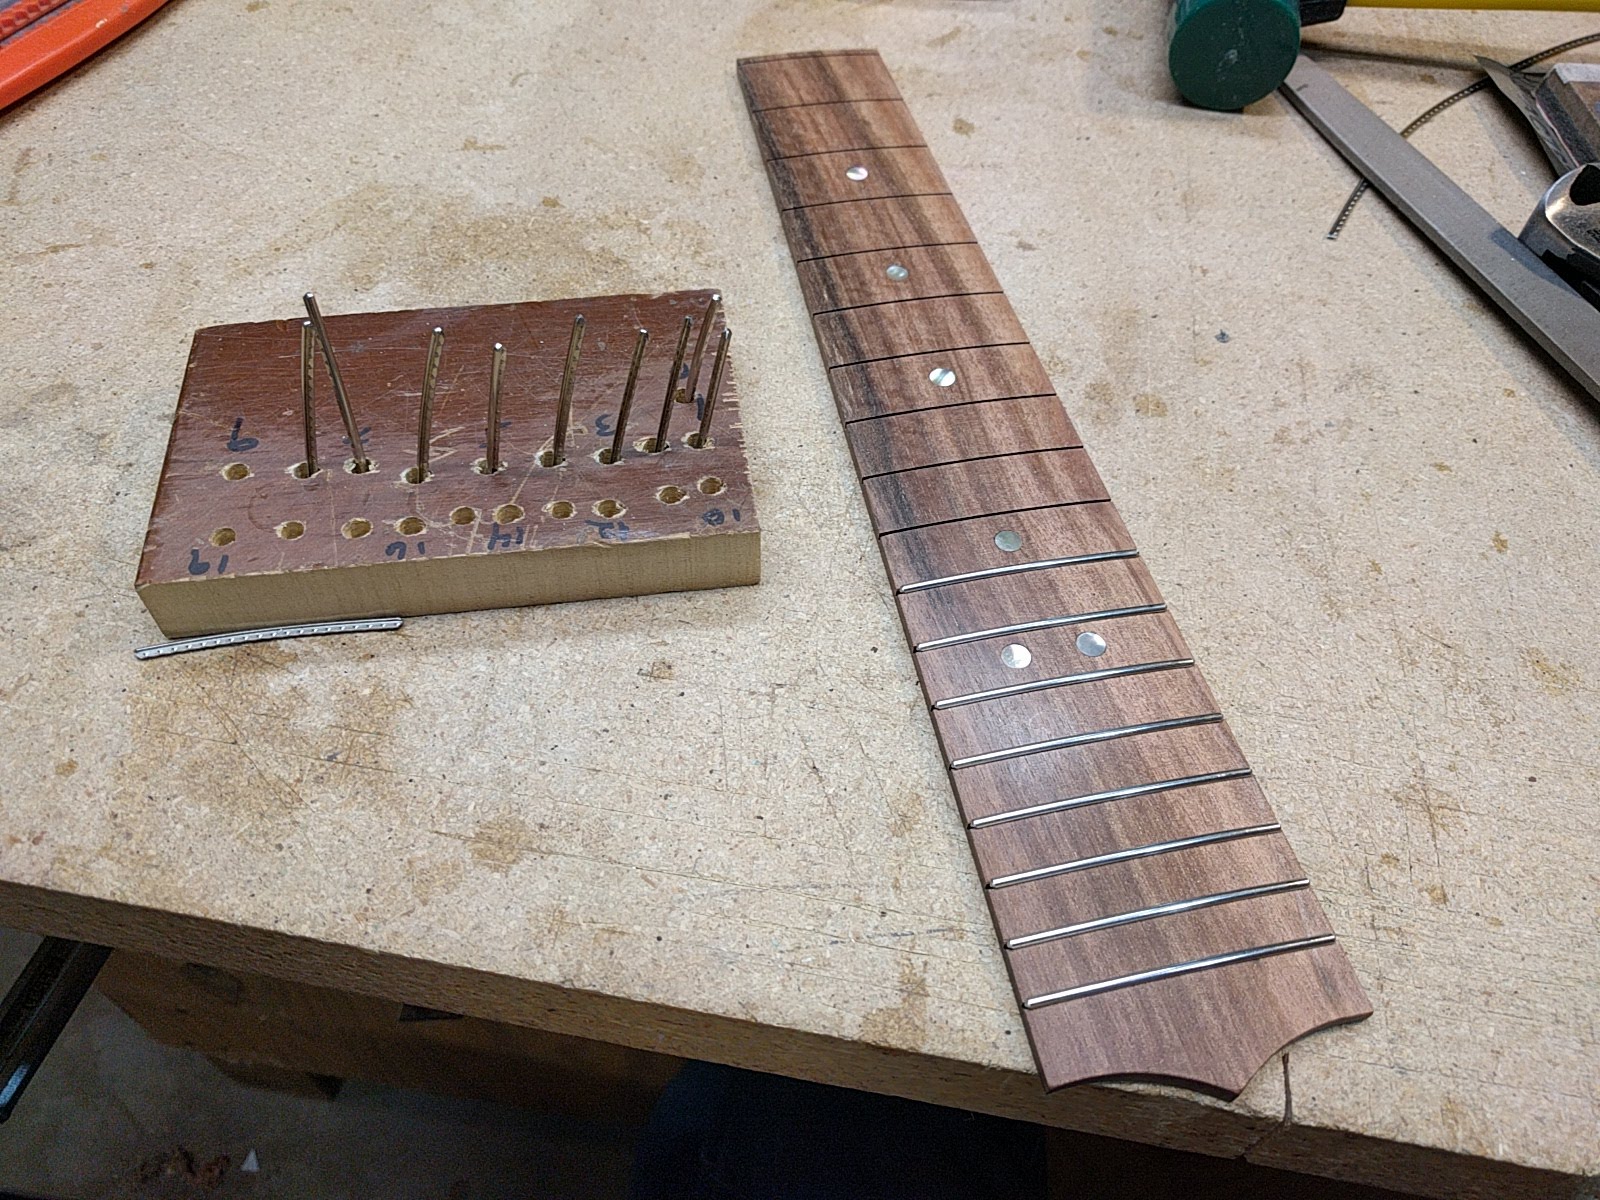
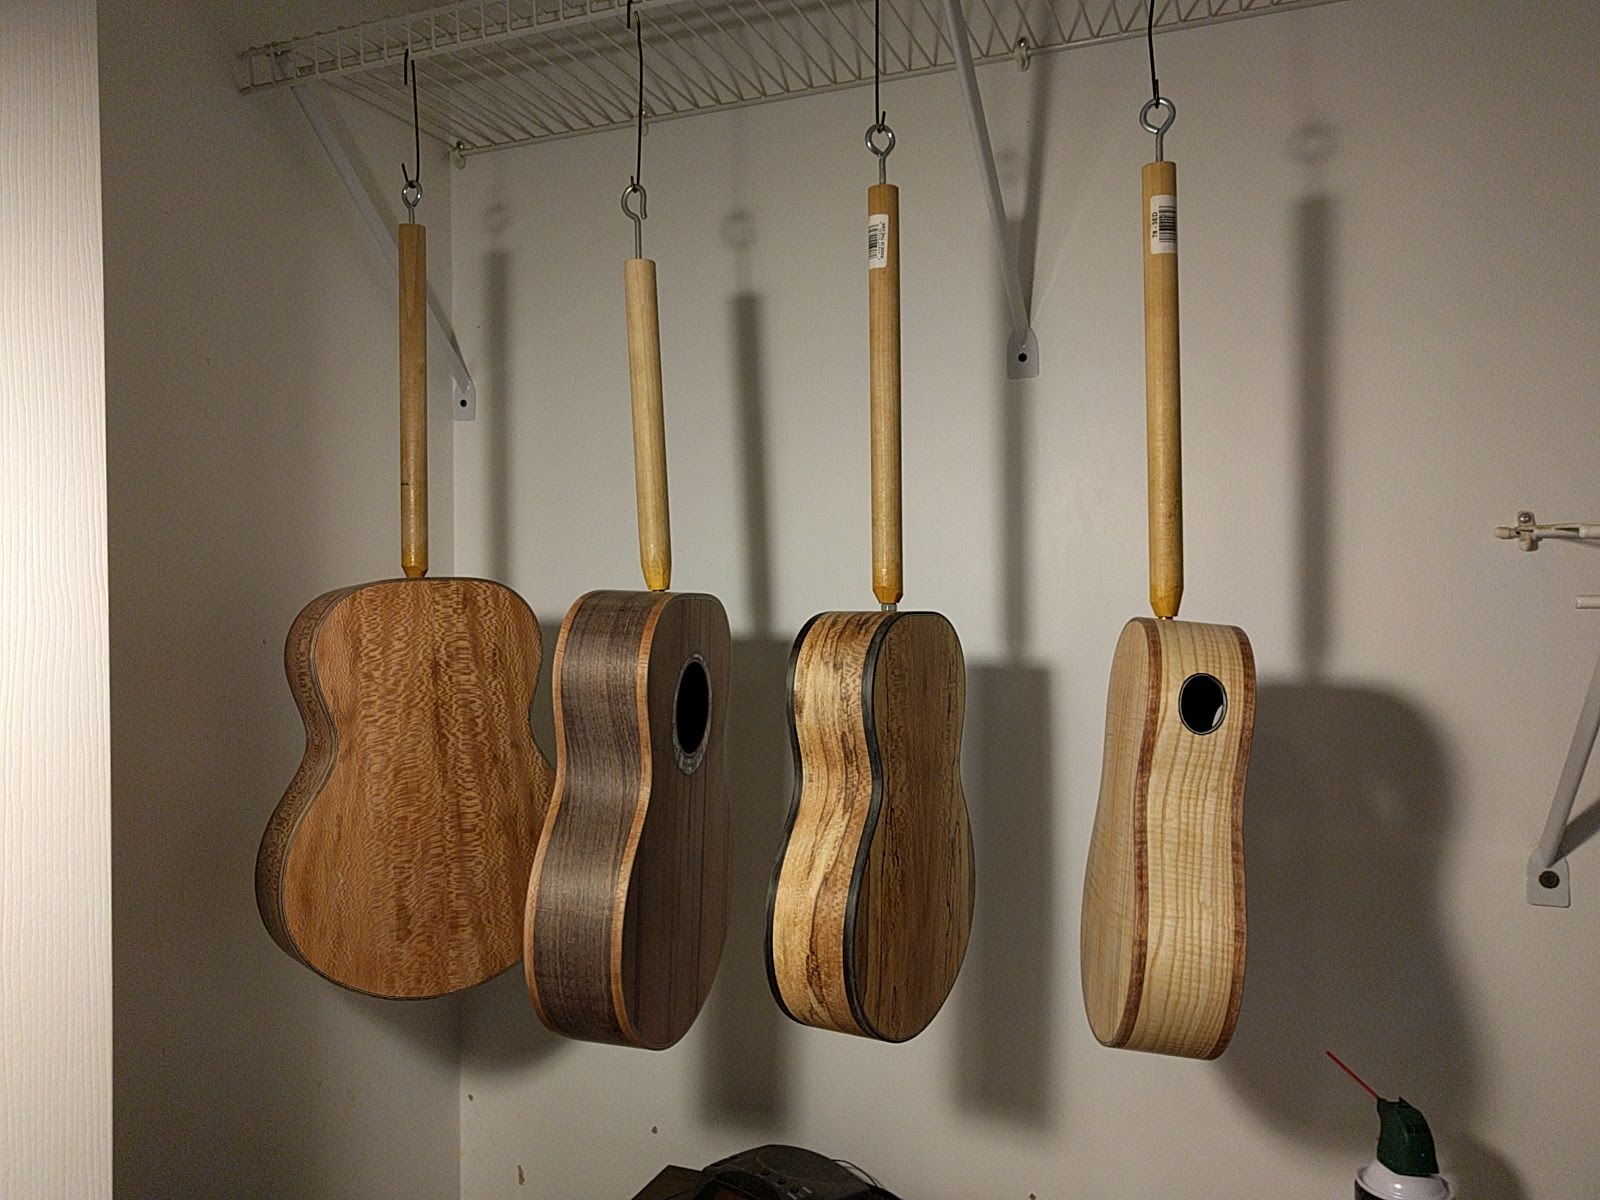
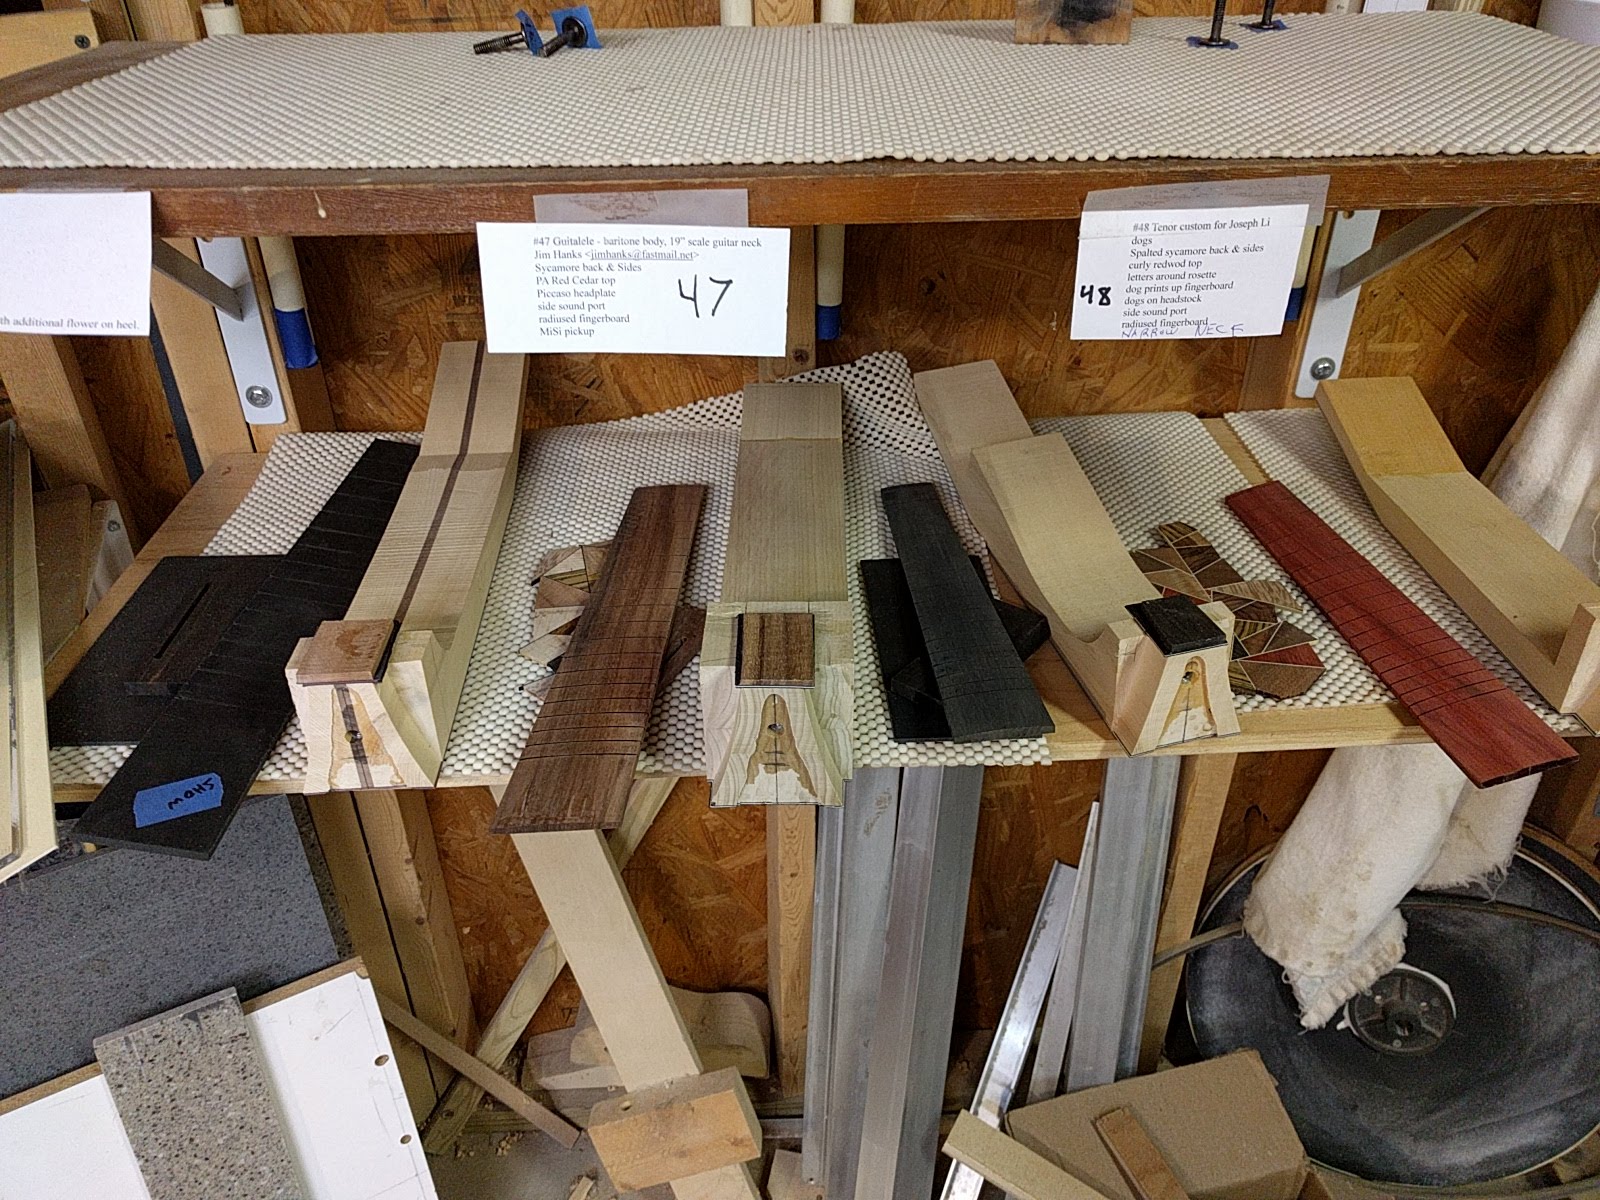
Neck headstocks are profiled, tuner holes drilled, fingerboards slotted and profiled.   (I’m really liking my new “Picasso” headplates.).  The black headplates get the extensive inlay.

So now it is time to do the fingerboard and headstock inlays.  First you sweep the shop floor carefully, since if/when you drop some little piece of pearl, it is impossible to find in any kind of debris, particularly since they seem to bounce at odd angles.  I thought I might do a series of blog postings on how I go about developing and doing a pretty complex inlay.

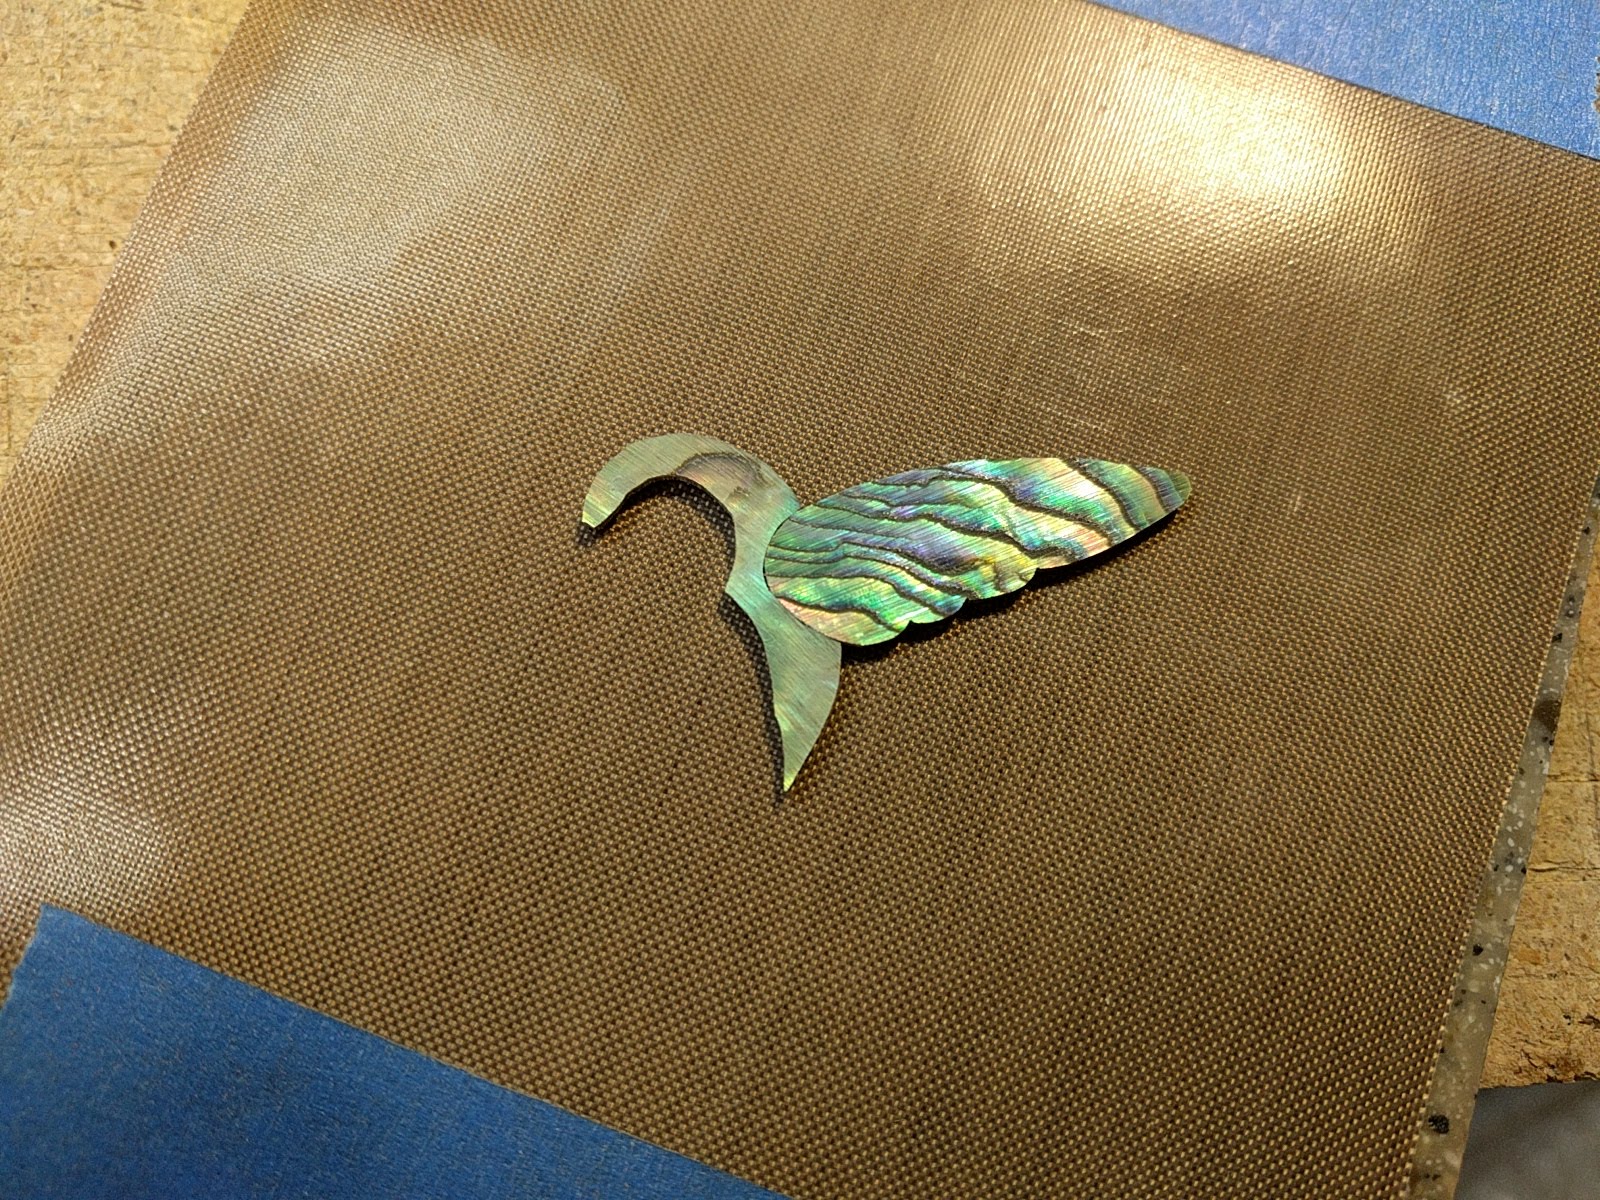
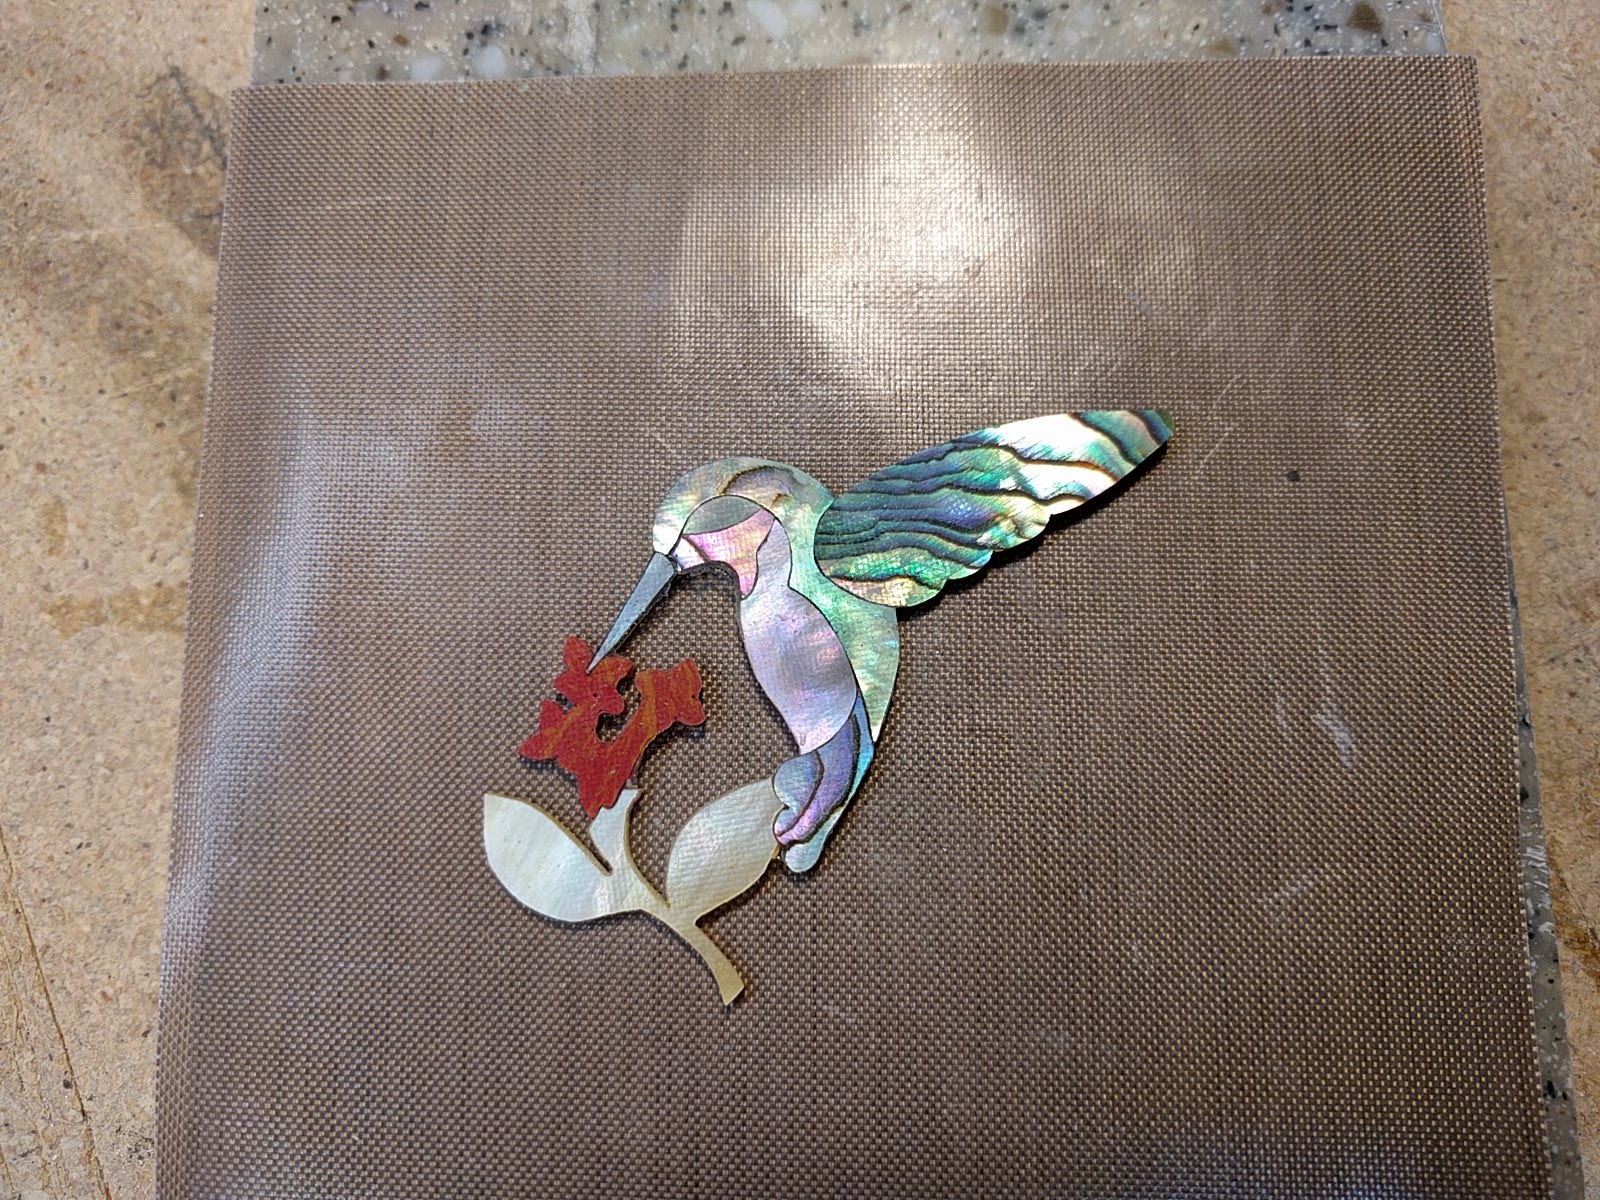
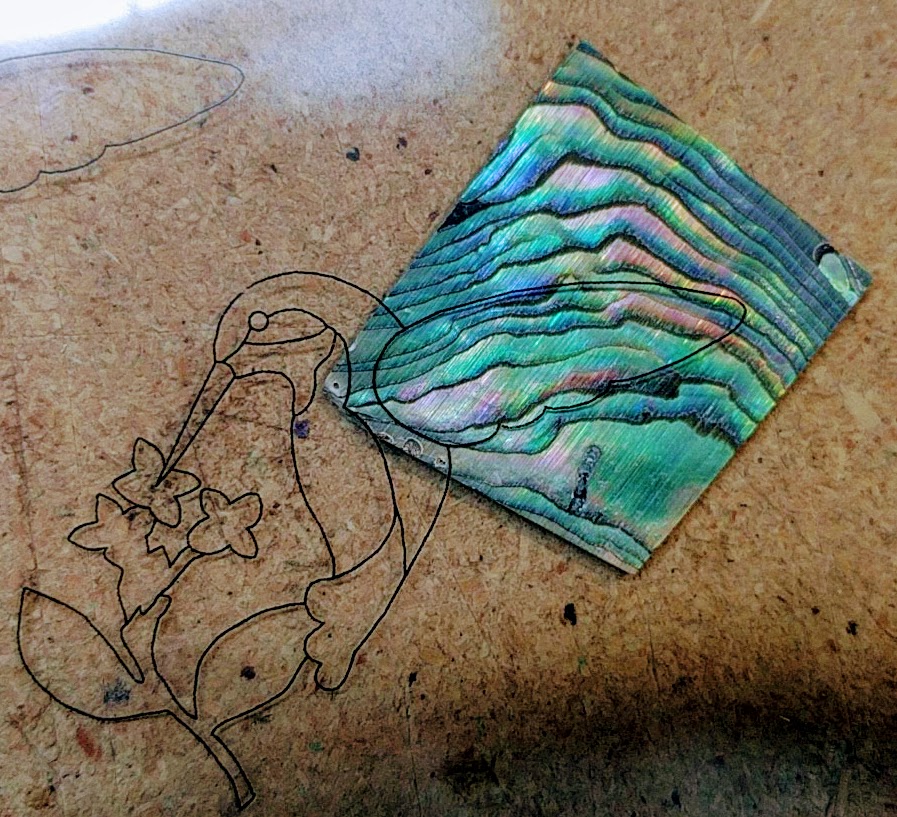
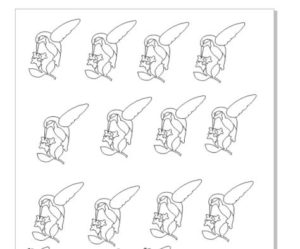
The customer wants a hummingbird on the headstock of the parlor guitar I am building for her.  I put together a number of different hummingbird pictures & drawings, and she selected one.  I then took this drawing, and converted it into a line drawing on the computer, as an outline for the pearl cutting.

I take the basic line drawing and duplicate it many times on a page, to provide the patterns for cutting the various pieces.

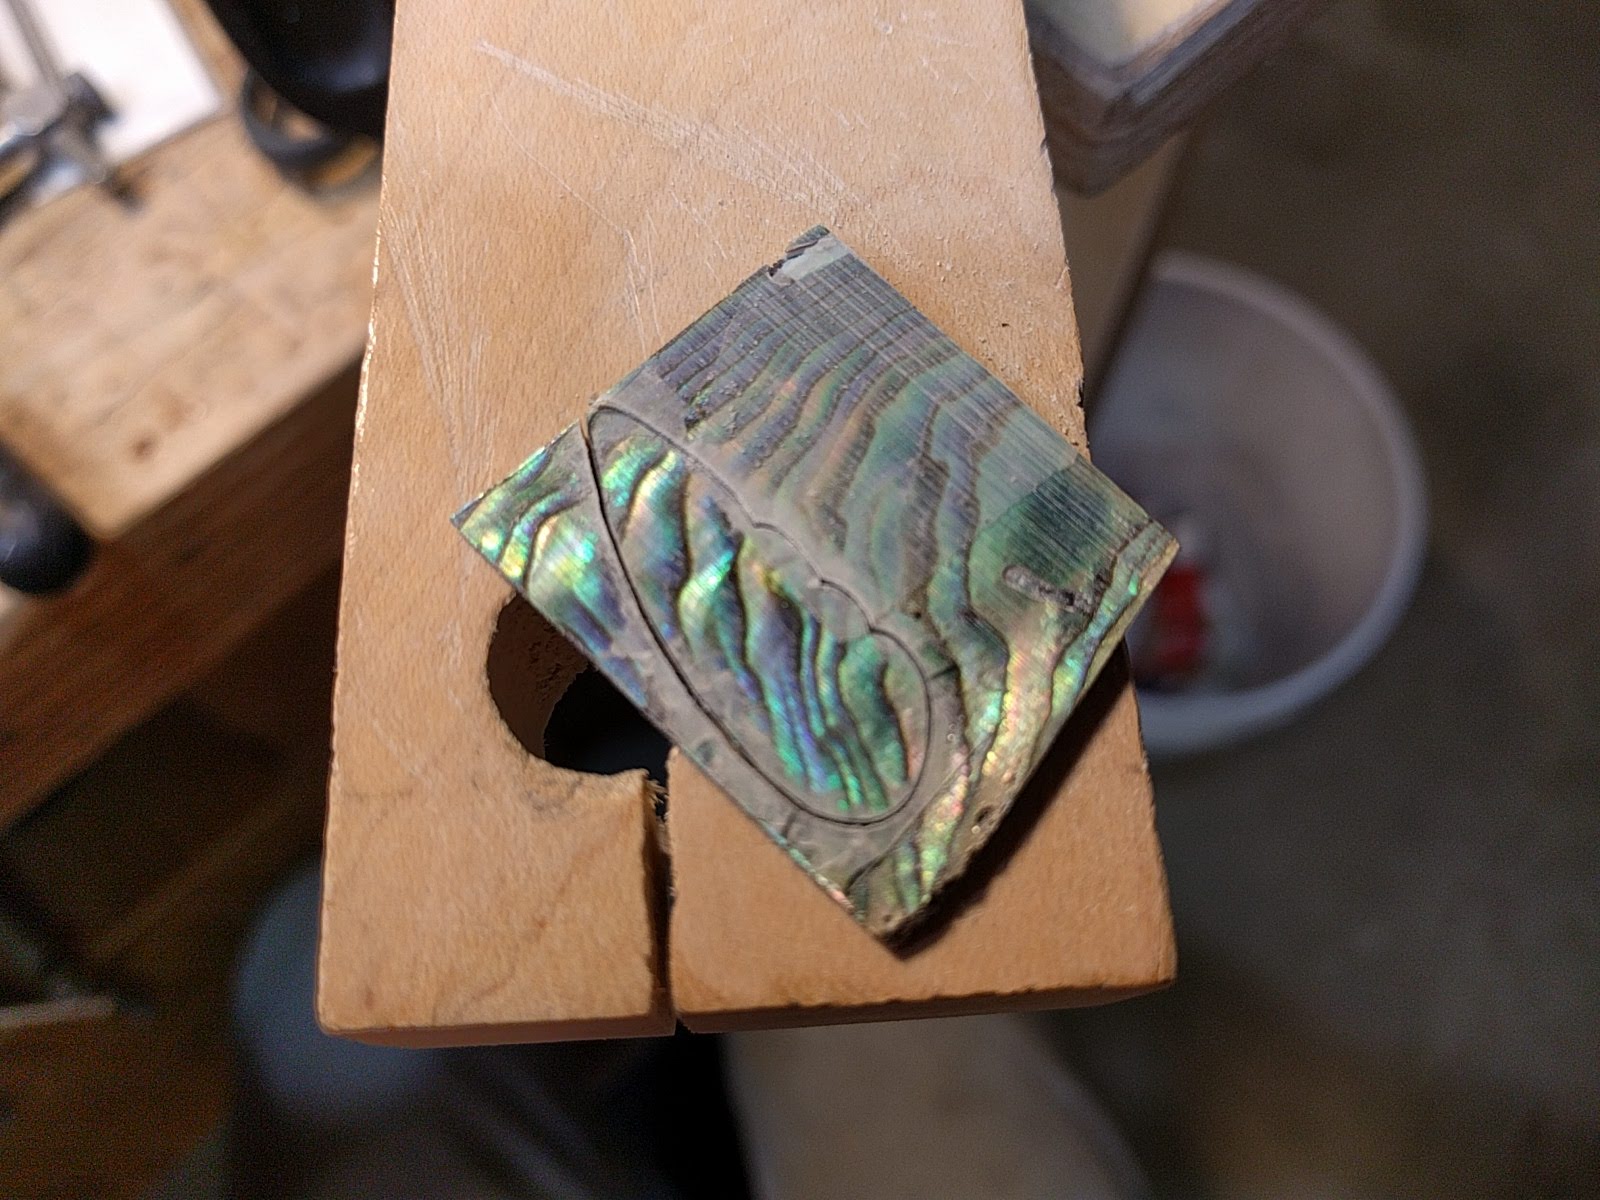
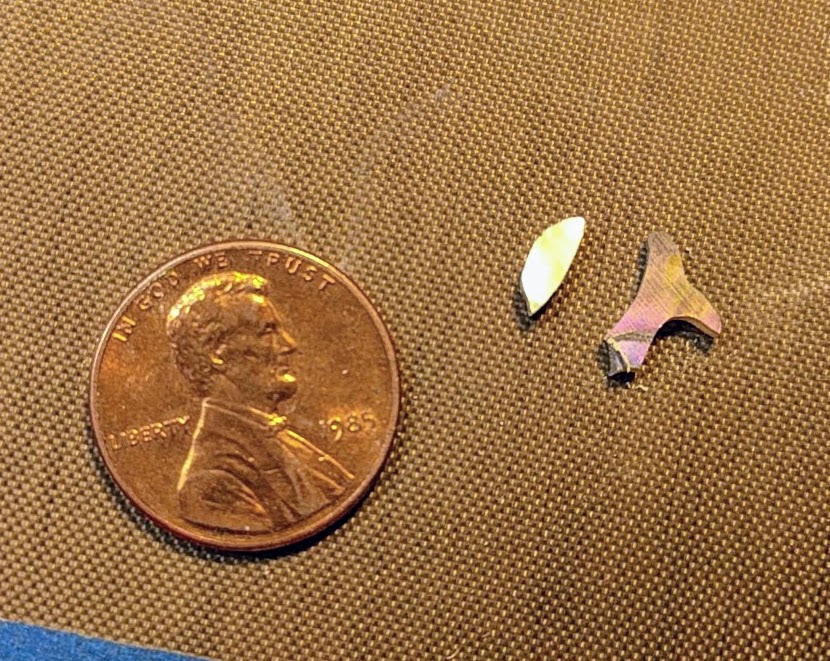
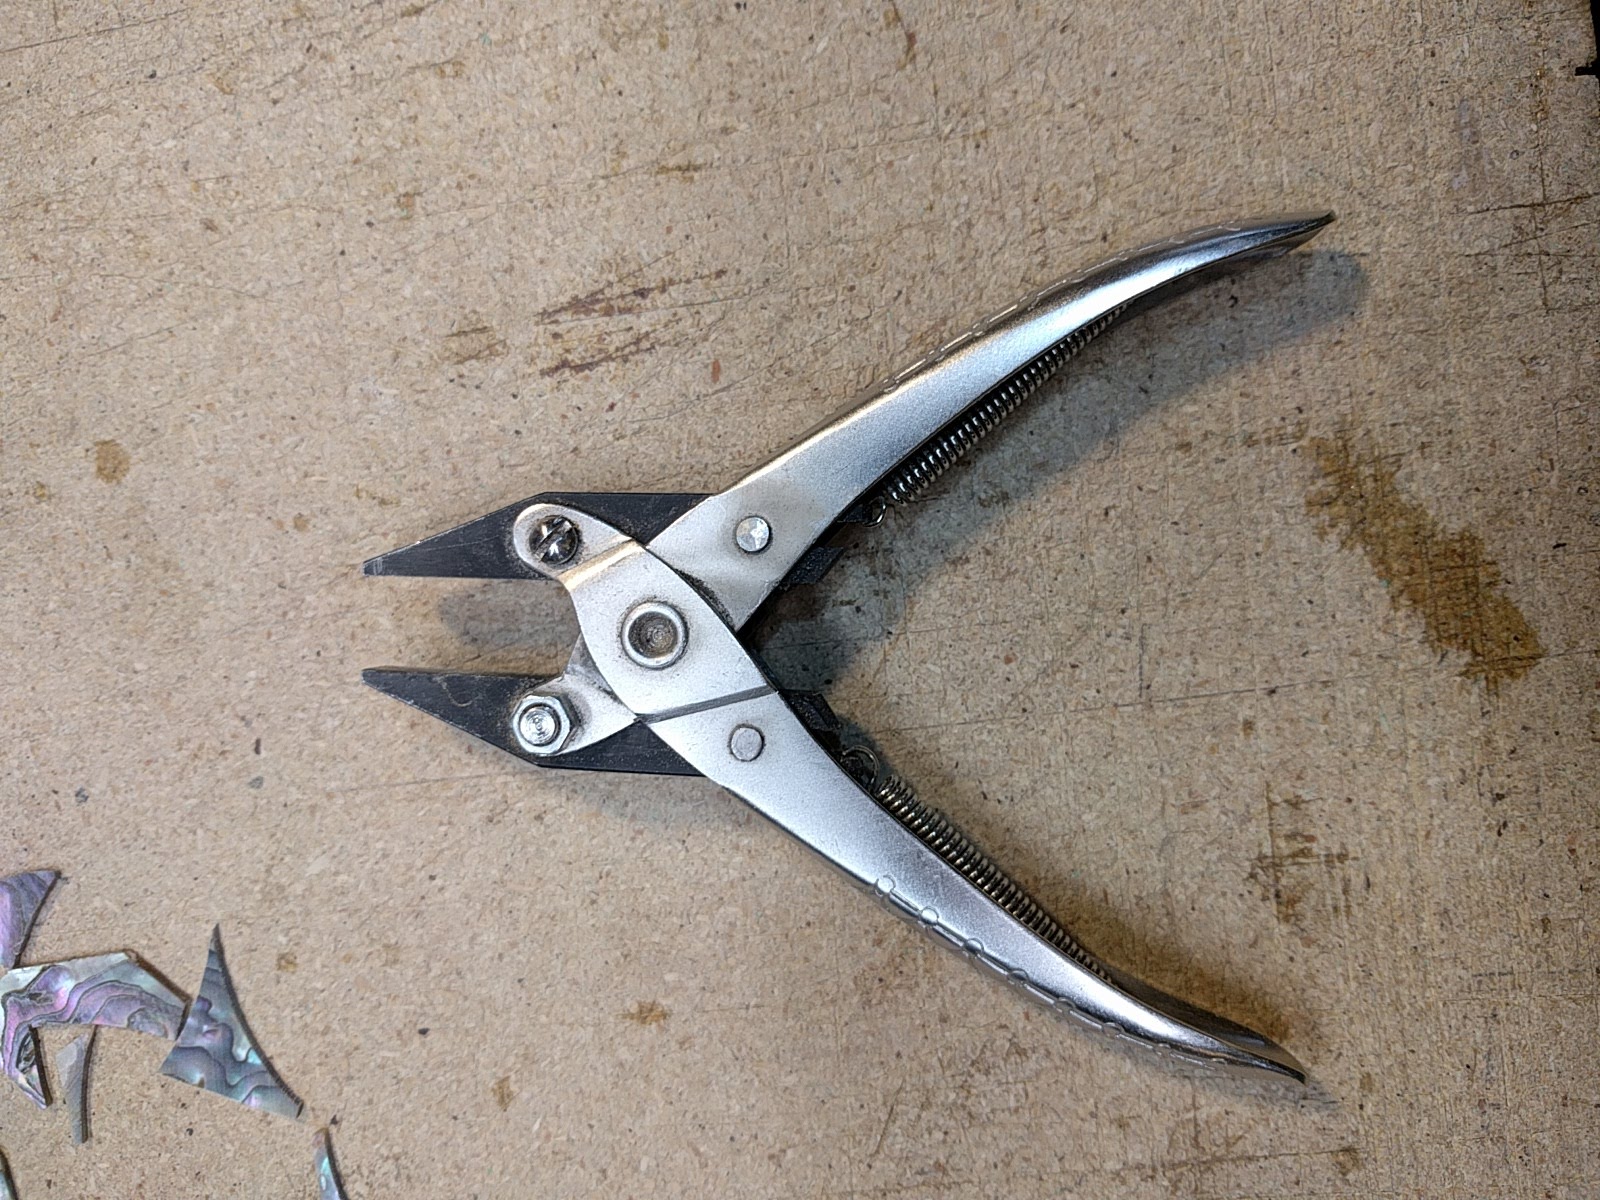
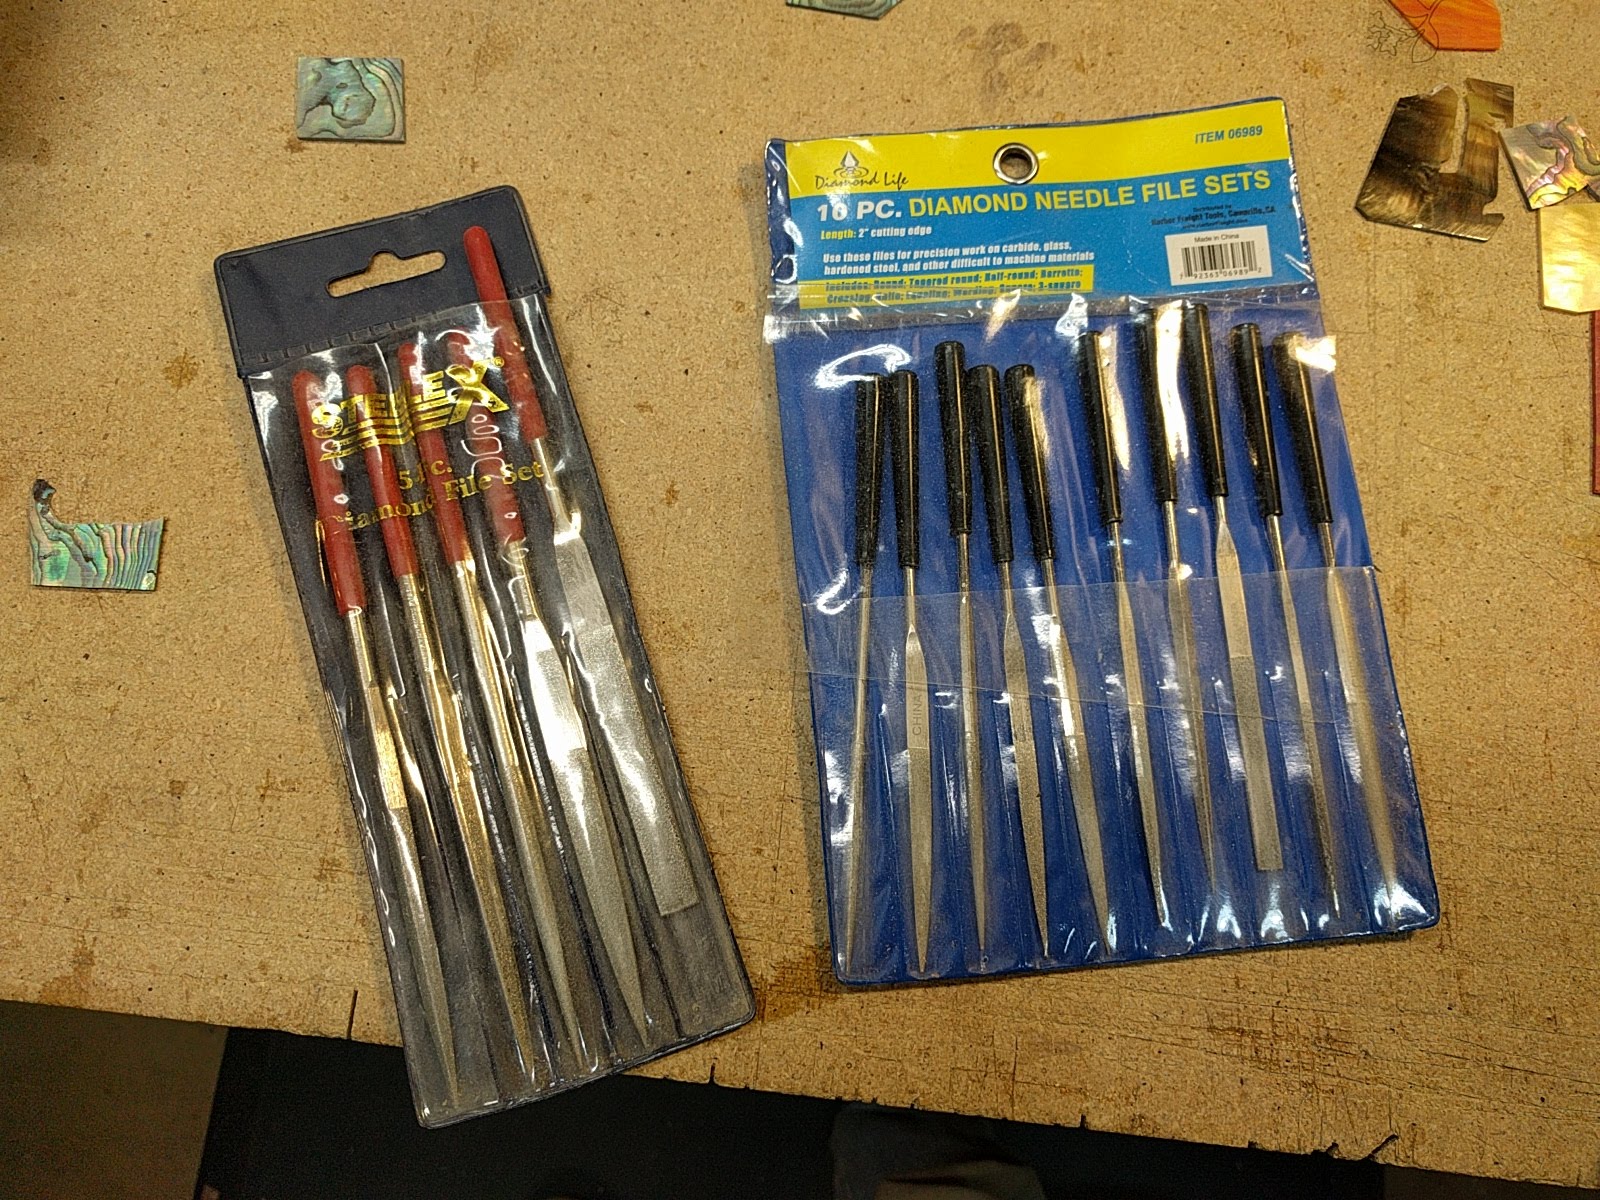
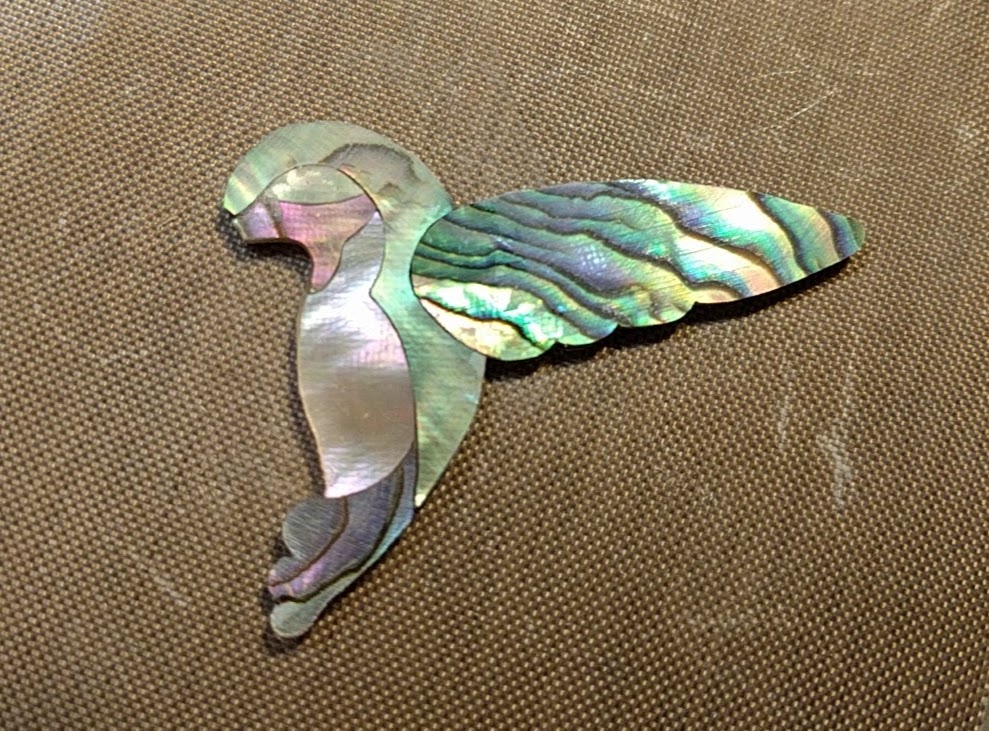
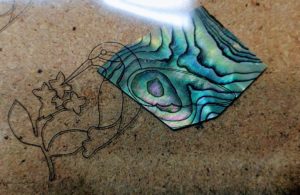
Then the real fun begins.  First you get out the pearl supplies, all different colors, and decide what to use for which piece, paying attention of the ‘grain’ in the pearl and the color.   I have some golden pearl for the leaves, lots of different colors for the bird, one piece of pink ablaone I have been saving which has a real red flash for the throat area, some real shiny brown-black pearl with long striations for the bill…  For alternate colors like the flowers I have a number of colors of a material called Recon-Stone which is made of stone dust and resin.  It offers a wide palette and handles just about like pearl in terms of hardness, saw-ability, etc. though it is somewhat weaker so one has to be very careful with thin segments.

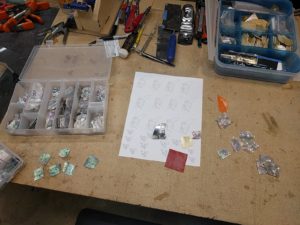
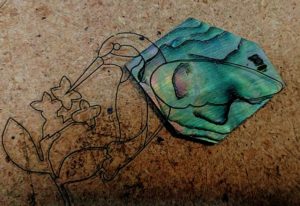
I also took the page of printed hummingbirds to Staples, and had a copy made onto transparency film.  This allows one to see the pearl underneath, so one can line the pearl pattern up just right to get a desired effect.  Of course, one can spend a lot of time playing with different pieces of pearl trying to decide what is the best.

Should the wing pattern go along the wing, or crosswise to the wing?

What about having a more circular pattern at the base of the wing?

or maybe the wing should not have much pattern, but be a uniform iridescence?


more to come when I make some decisions ….

A milestone

The bodies are in the finishing closet.  I use the closet in my son’s old bedroom to apply the finish, which is hand rubbed on.   Out of the way and I can shut the door which means that it is pretty free of flying dust.  To get here there were a number of coats of CA glue I use as filler, with a lot of sanding in between coats.  The weather has been nice the last couple of days so I have done all of the sanding outside with a fan behind me to blow the dust out into the yard.  Final sanding is with 400 grit paper.  One is “chasing the shine” left from the CA glue to make sure that all of the pores are filled and all areas are sanded.  Even without any finish they look pretty good.

Of course, get the first layer of real finish on them and things really begin to look good, and the look of the various woods really begin to ‘pop’

Doing the finish on the bodies will take a number of days because there are many coats, and necessary drying time so that the finish can harden before sanding between coats.  In the meantime work is progressing on the necks.  The necks have all had their bolt-on neck hardware installed, they have been fitted to their respective bodies, and rough profiled.  The fingerboards have all been cut to shape, those that get a radius have been radiused, and the fret slots are cut.

The headplates get glued on the necks and then there will be a little pause in the woodwork while some inlay gets done on the headplates and fingerboards.  I’m also taking a little vacation from June 28 – July 10 so the only thing going on will be finish hardening.


getting dressed for the party

Binding is done on all 4 instruments.  Now all that remains (ha, ha) is a lot of scraping and sanding to get the binding+purfling level with the top and back, and the binding level with the sides.  One of the advantages of the bench-side clamp featured in an earlier post is that as long as the weather cooperates (not raining) I can take it outside, clamp it to a temp workbench, and sand away where all the dust stays outside and I get to listen to the birds and the wind in the trees.