A customer wanted a penguin inlay. Here is a bit of description about how the inlay process goes.
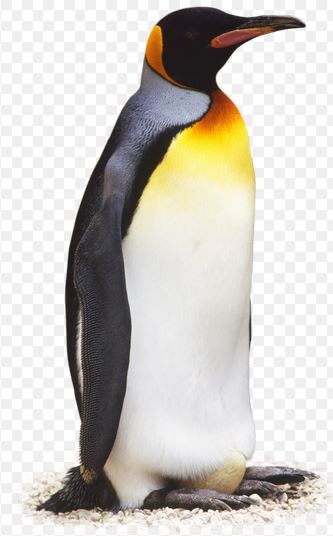
To start with I started looking at pictures and drawings of penguins on the internet. Google “penguin images”. I selected a couple of prototypical images and consulted with the customer about what was intended. The basic image was something like:
I use Corel Draw to develop images. In Corel it is pretty easy to trace over a bitmap image such as the one above to give a vector line drawing that can be scaled and edited. The customer commented on the drawing, and suggested some edits. The end result was:
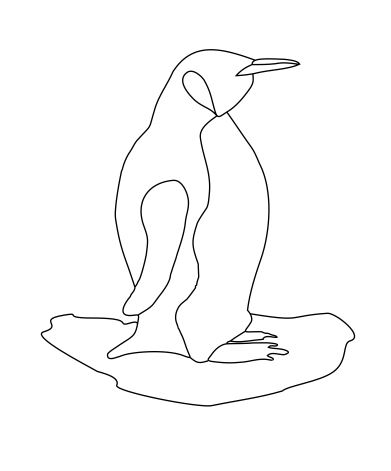
Since the drawing is vector it can be scaled to fit the headstock.
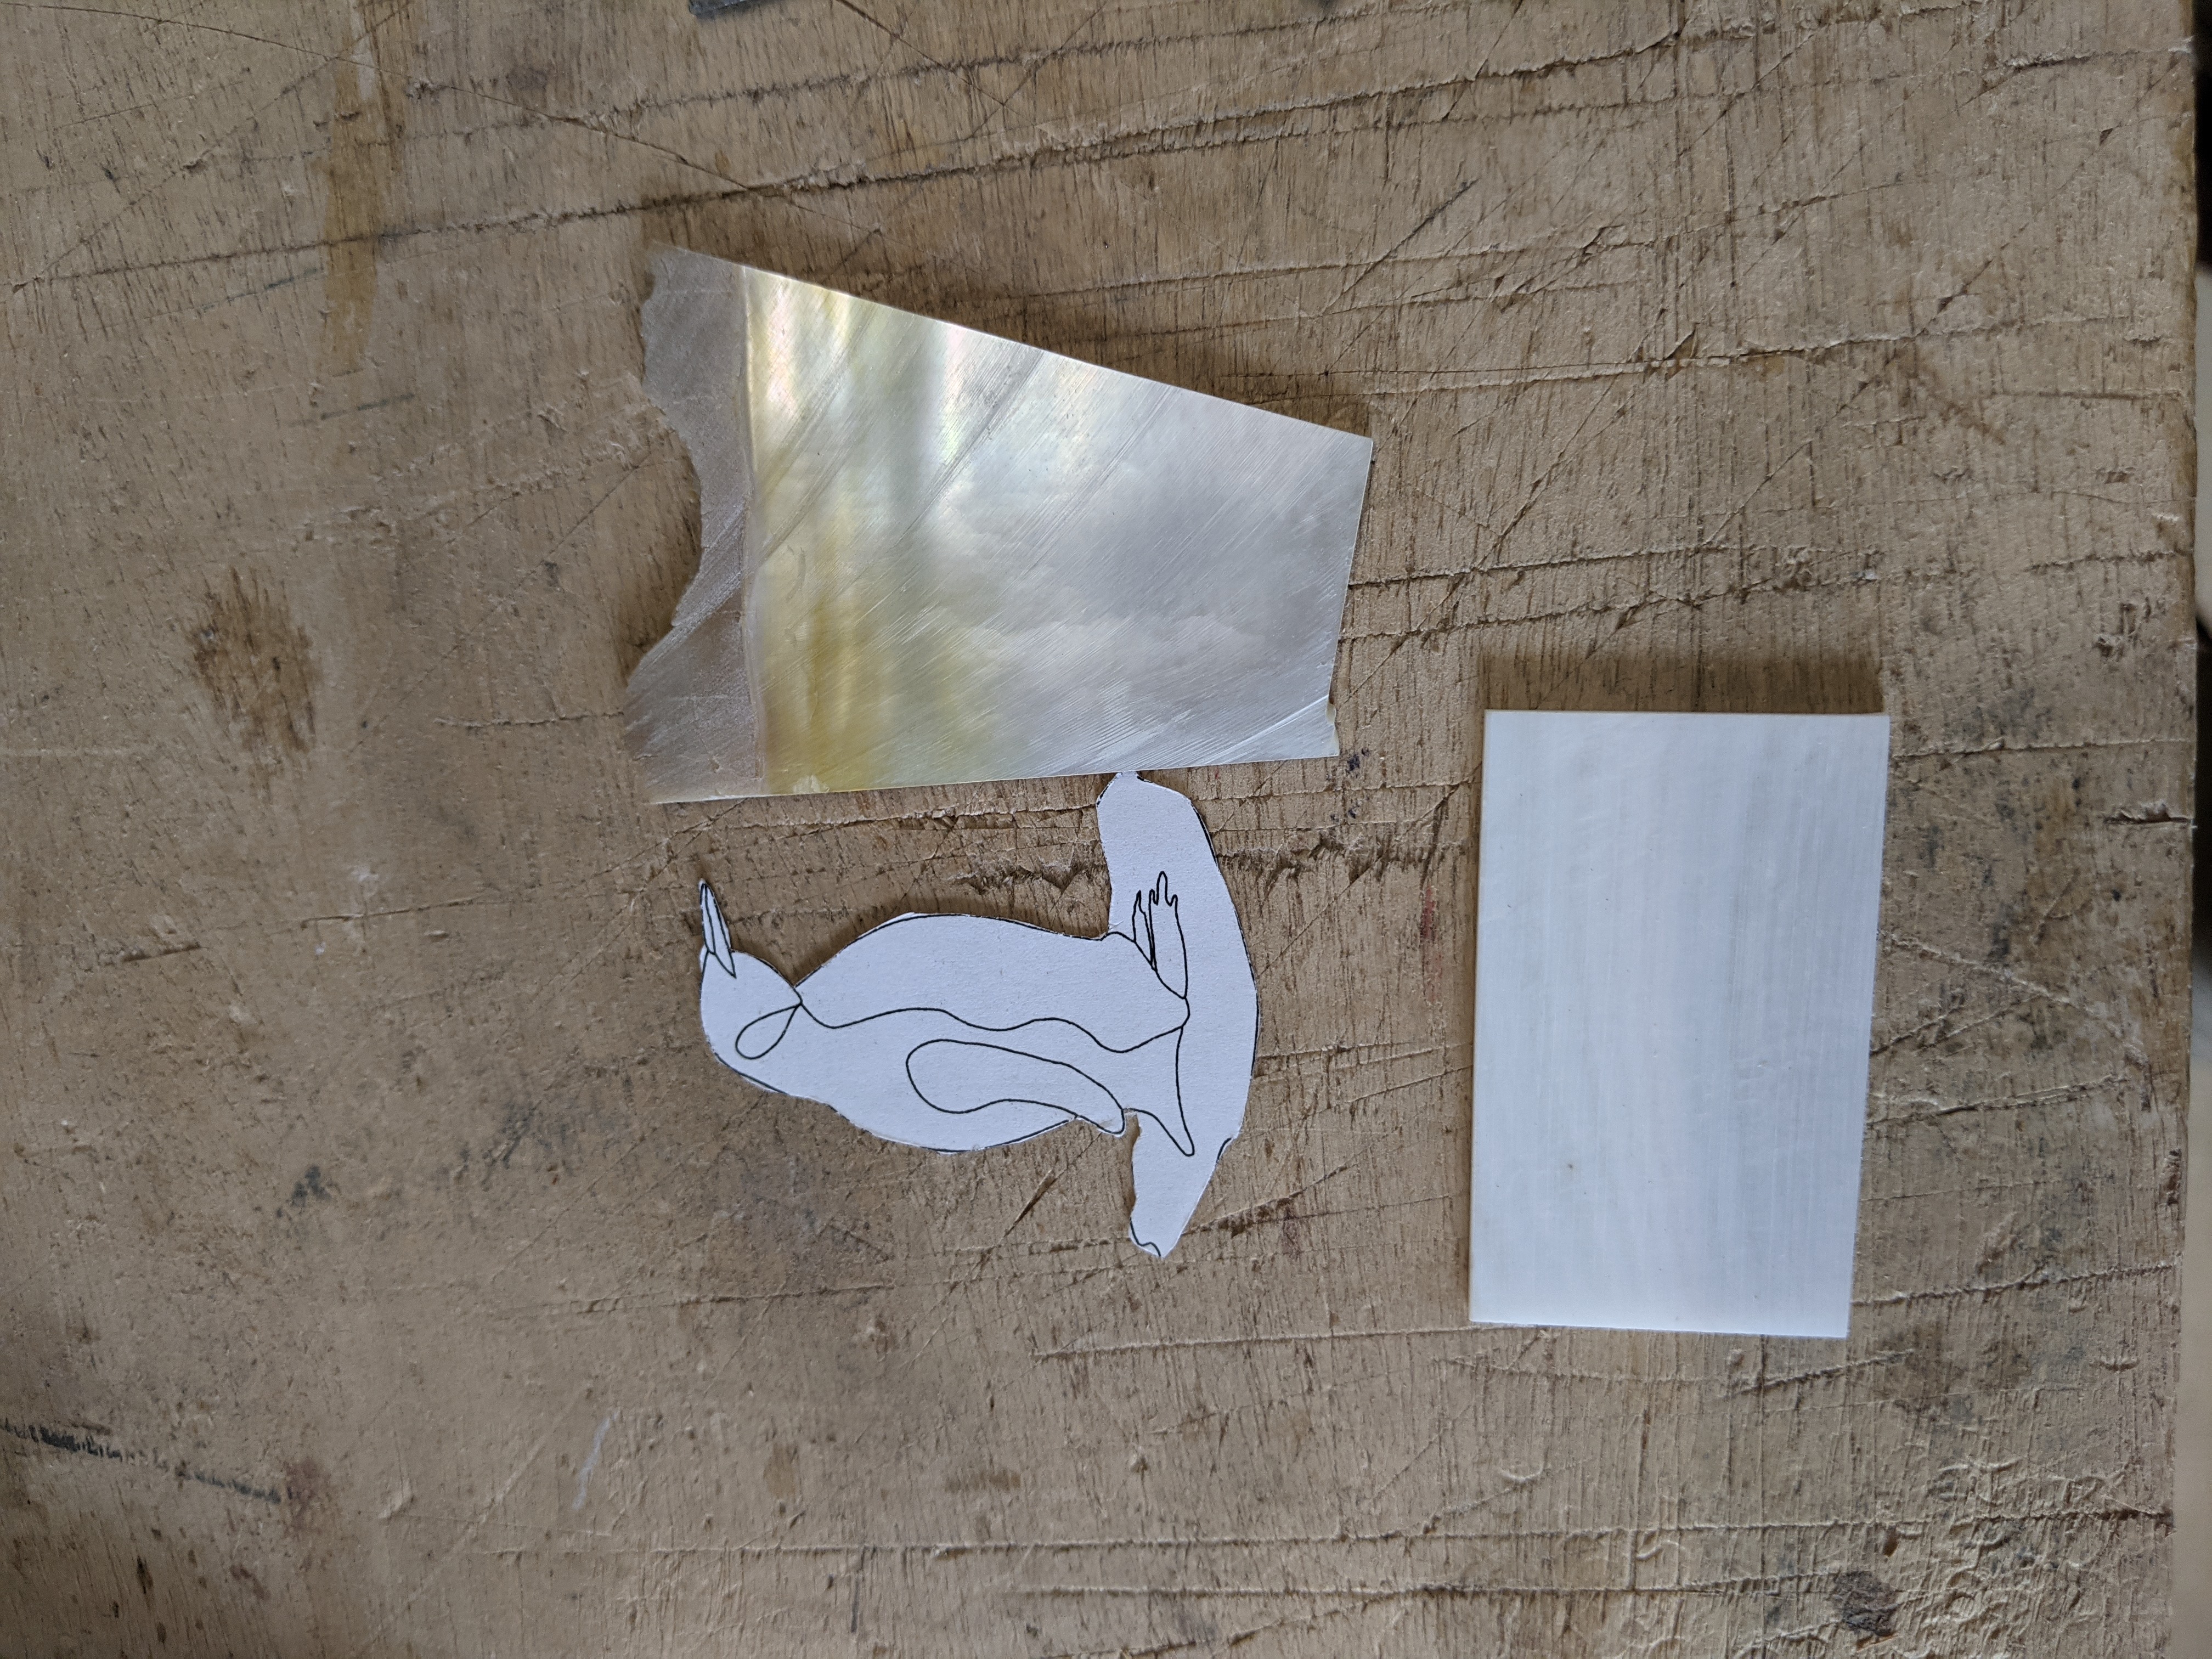
The first step of actually doing the inlay is to pick out the pearl. While each individual inlay does not require a lot of pearl I like to have a pretty big selection so I can pick out pieces that fit what I am trying to do. In this case I wanted a black pearly body, with a slightly darker black pearl for the flipper which is mostly inlayed into the side. So get out the black pearl, and sort through the options:
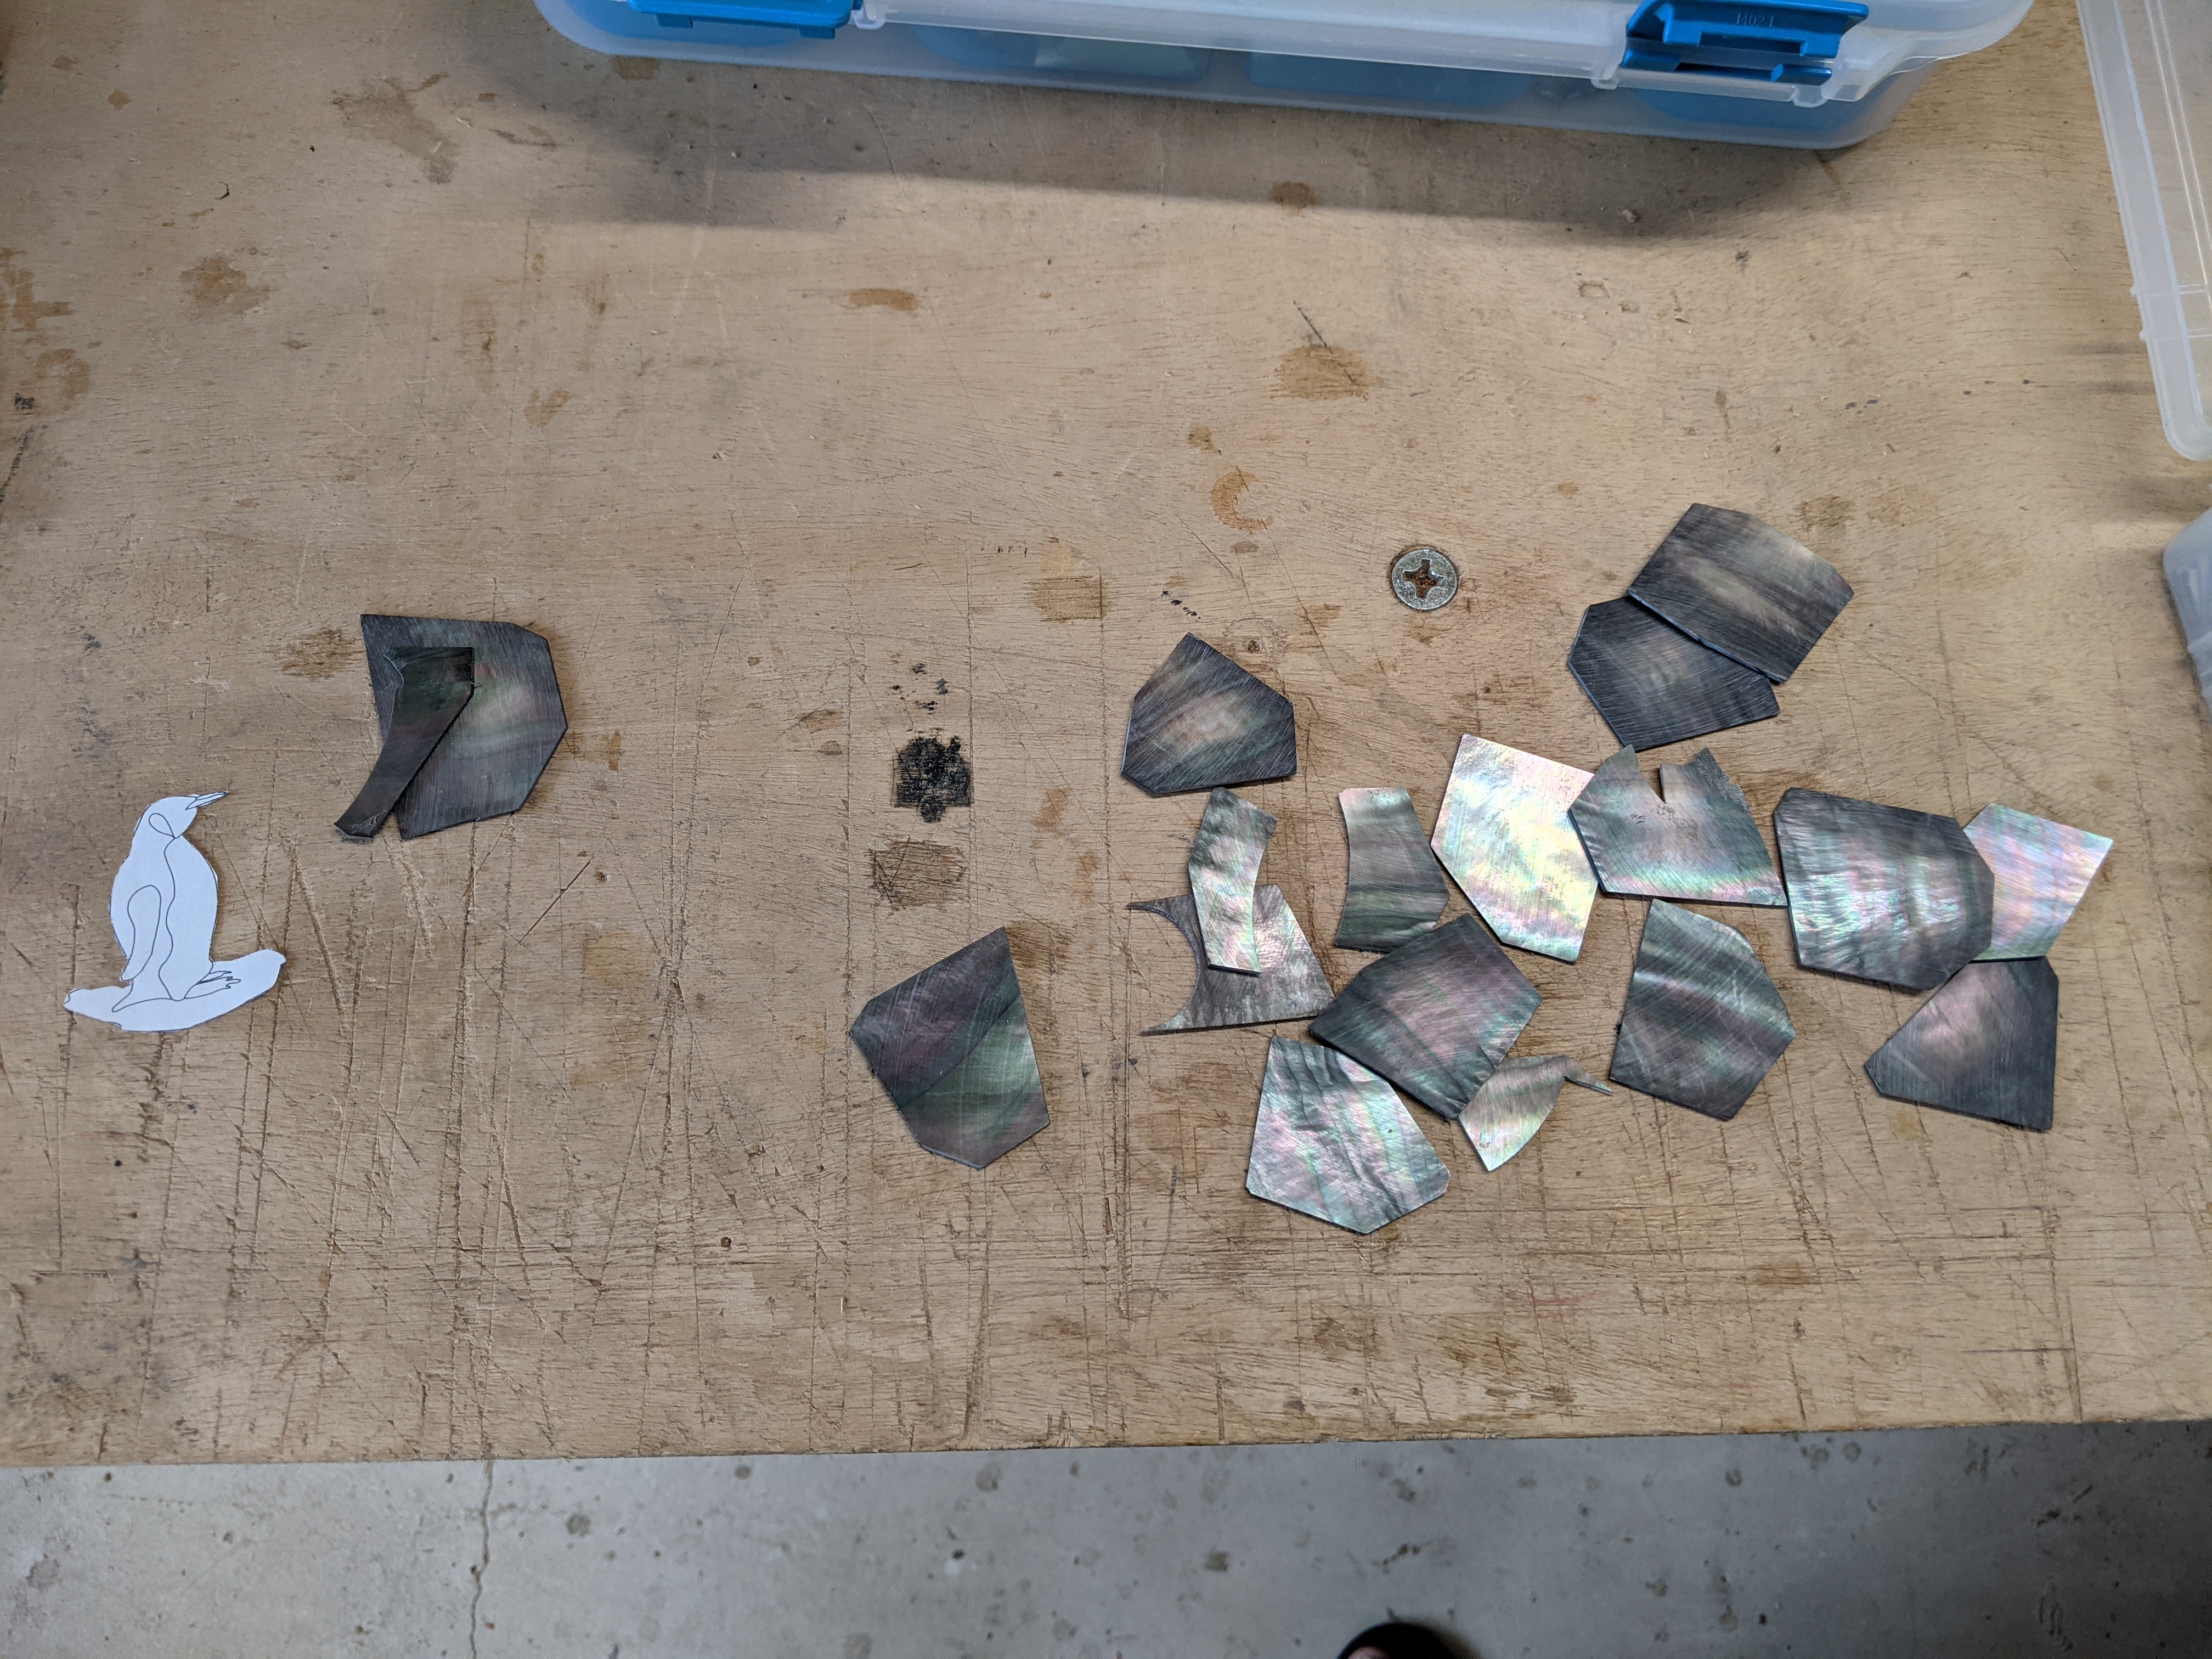
I found a piece which was big enough for the body, and a smaller darker piece for the flipper.
For the orange accents I have some orange recon-stone. The breast area is white, with the upper part being yellow. I have some white pearl I cut a long time ago from some shells my father brought back from the south Pacific. These shells have a yellow/gold lip area. I selected a piece that would allow me to have a yellow ‘chin’ fading to white towards the feel. For the ice on which the penguin is standing I have some freshwater mussel pearl which is very white and has a certain texture, perfect for ice.
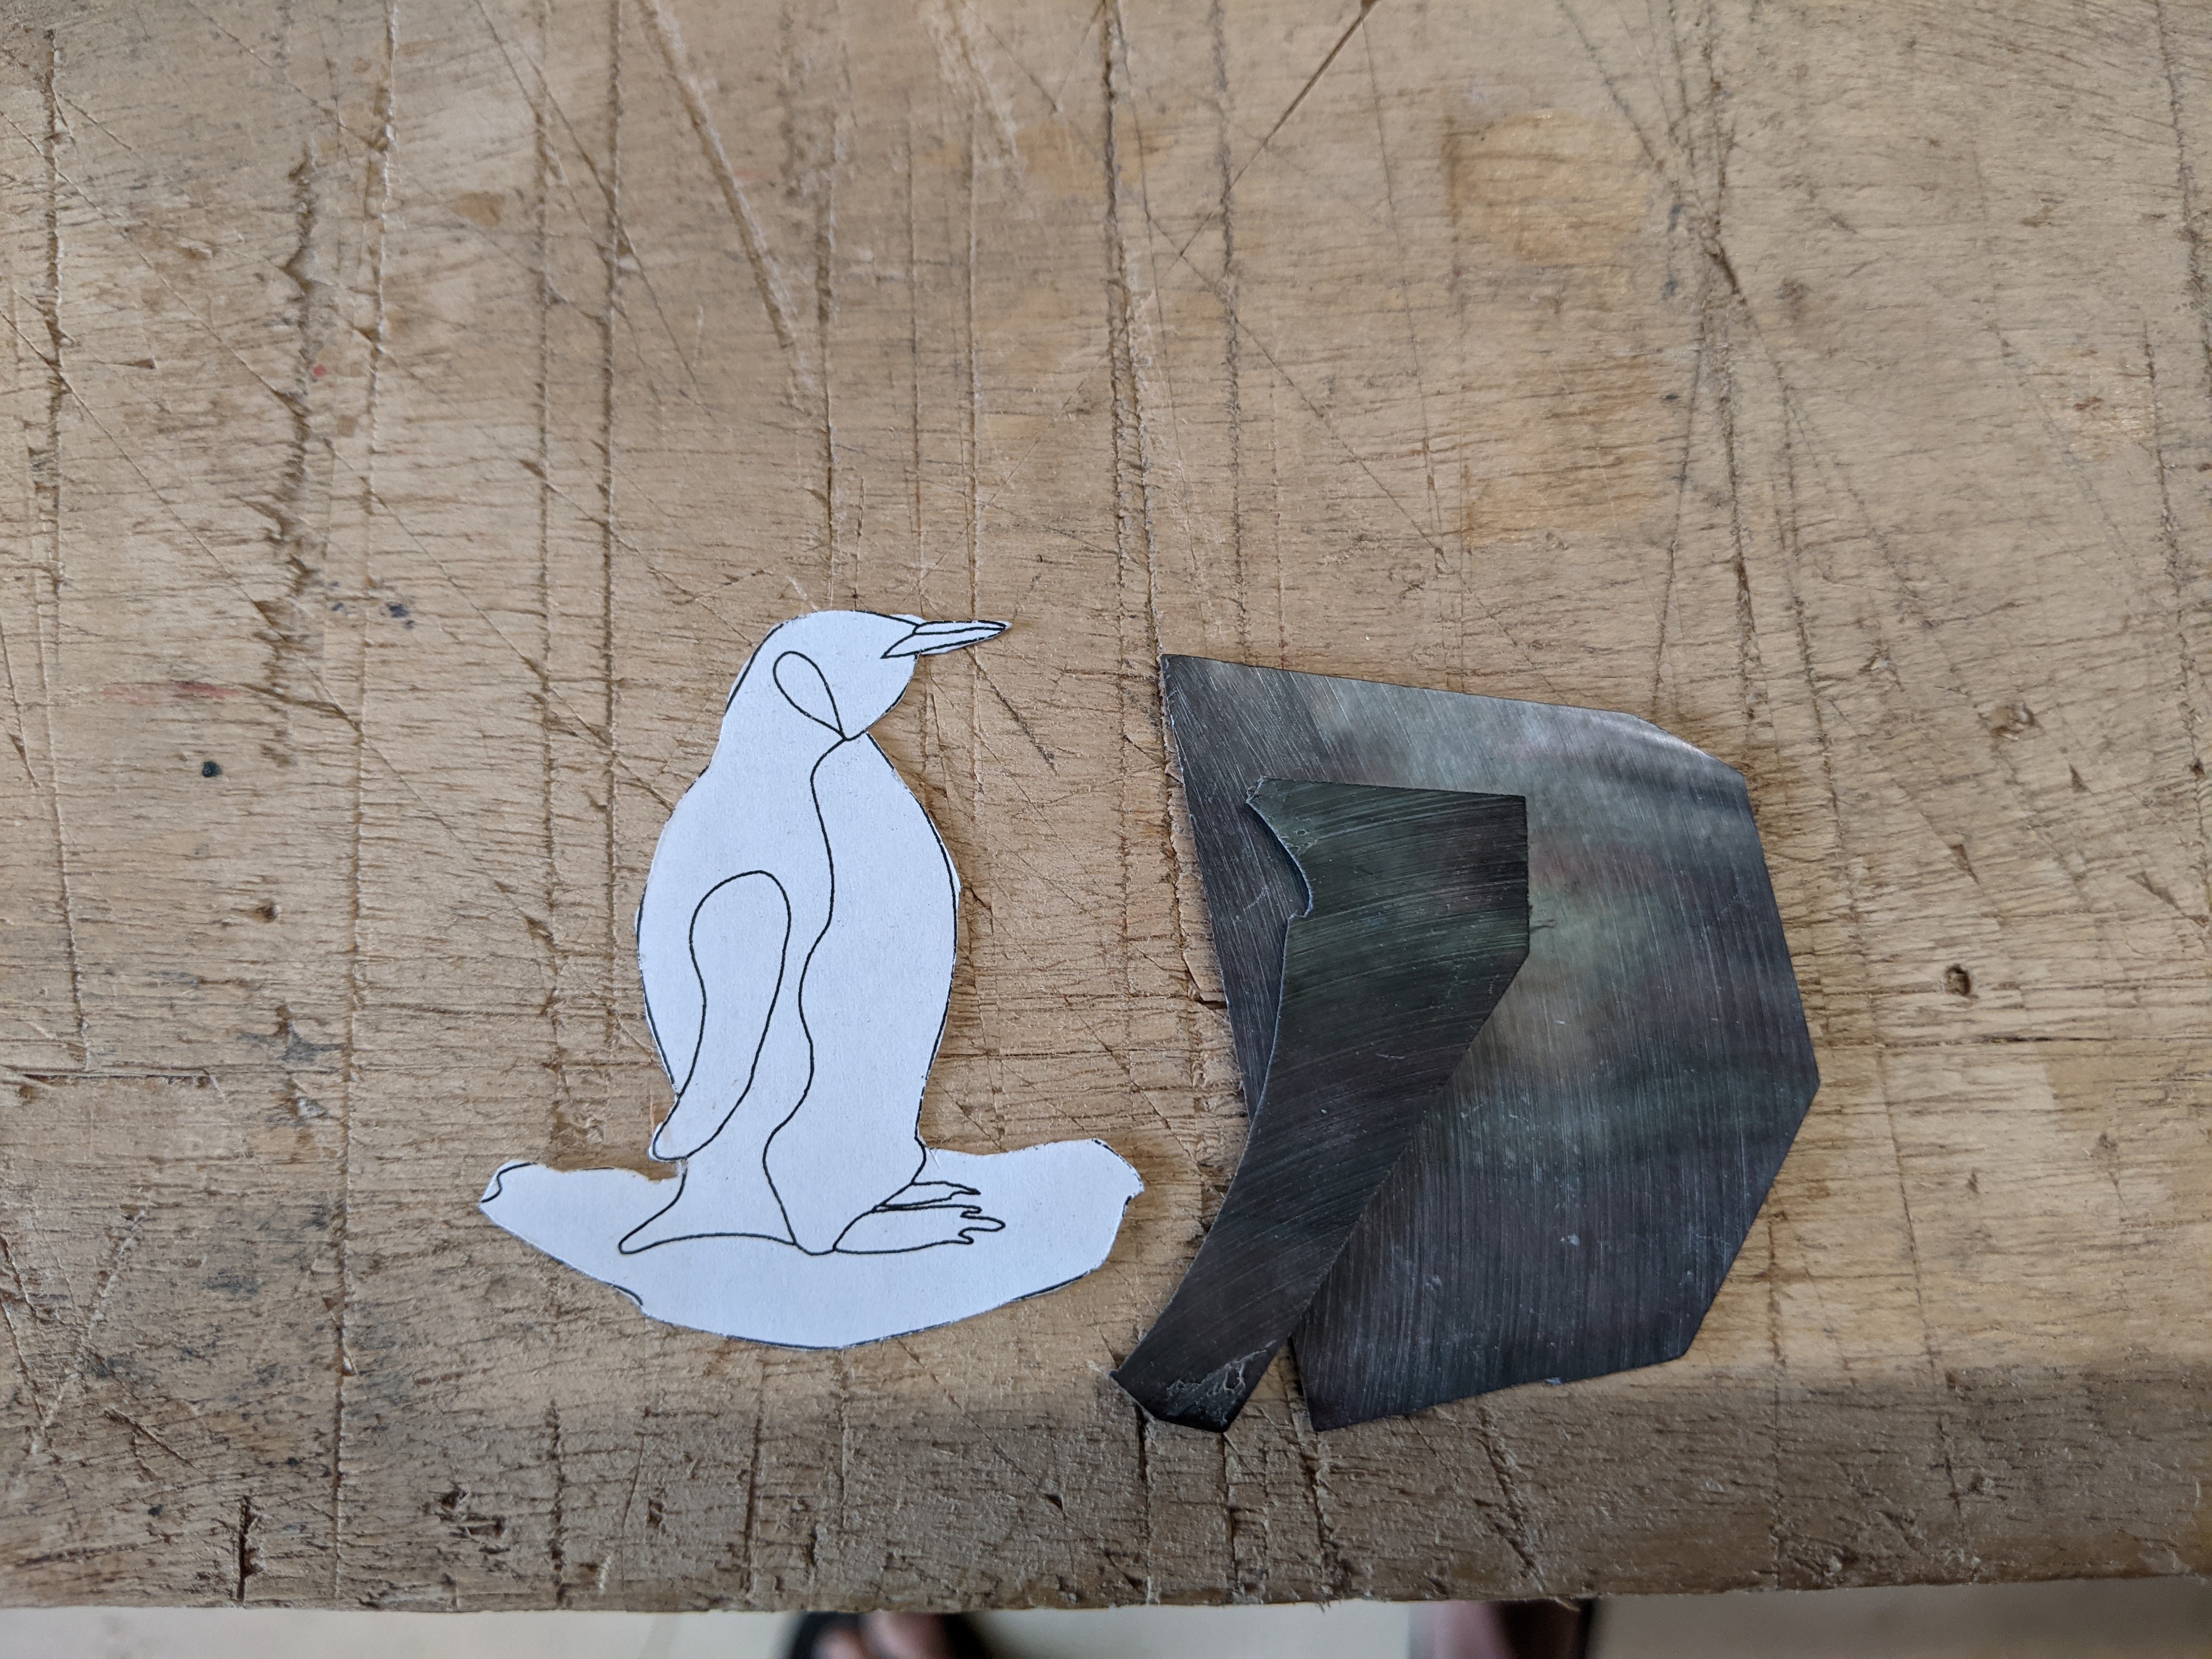
I print out multiple copies of the drawing, and then glue them down to the pearl with rubber cement. To glue it down in just the right place I hold the pattern against the pearl and put on a bit of a scotch tape hinge. Then I can coat things with rubber cement and fold the hinge down with the pattern just where I want it.

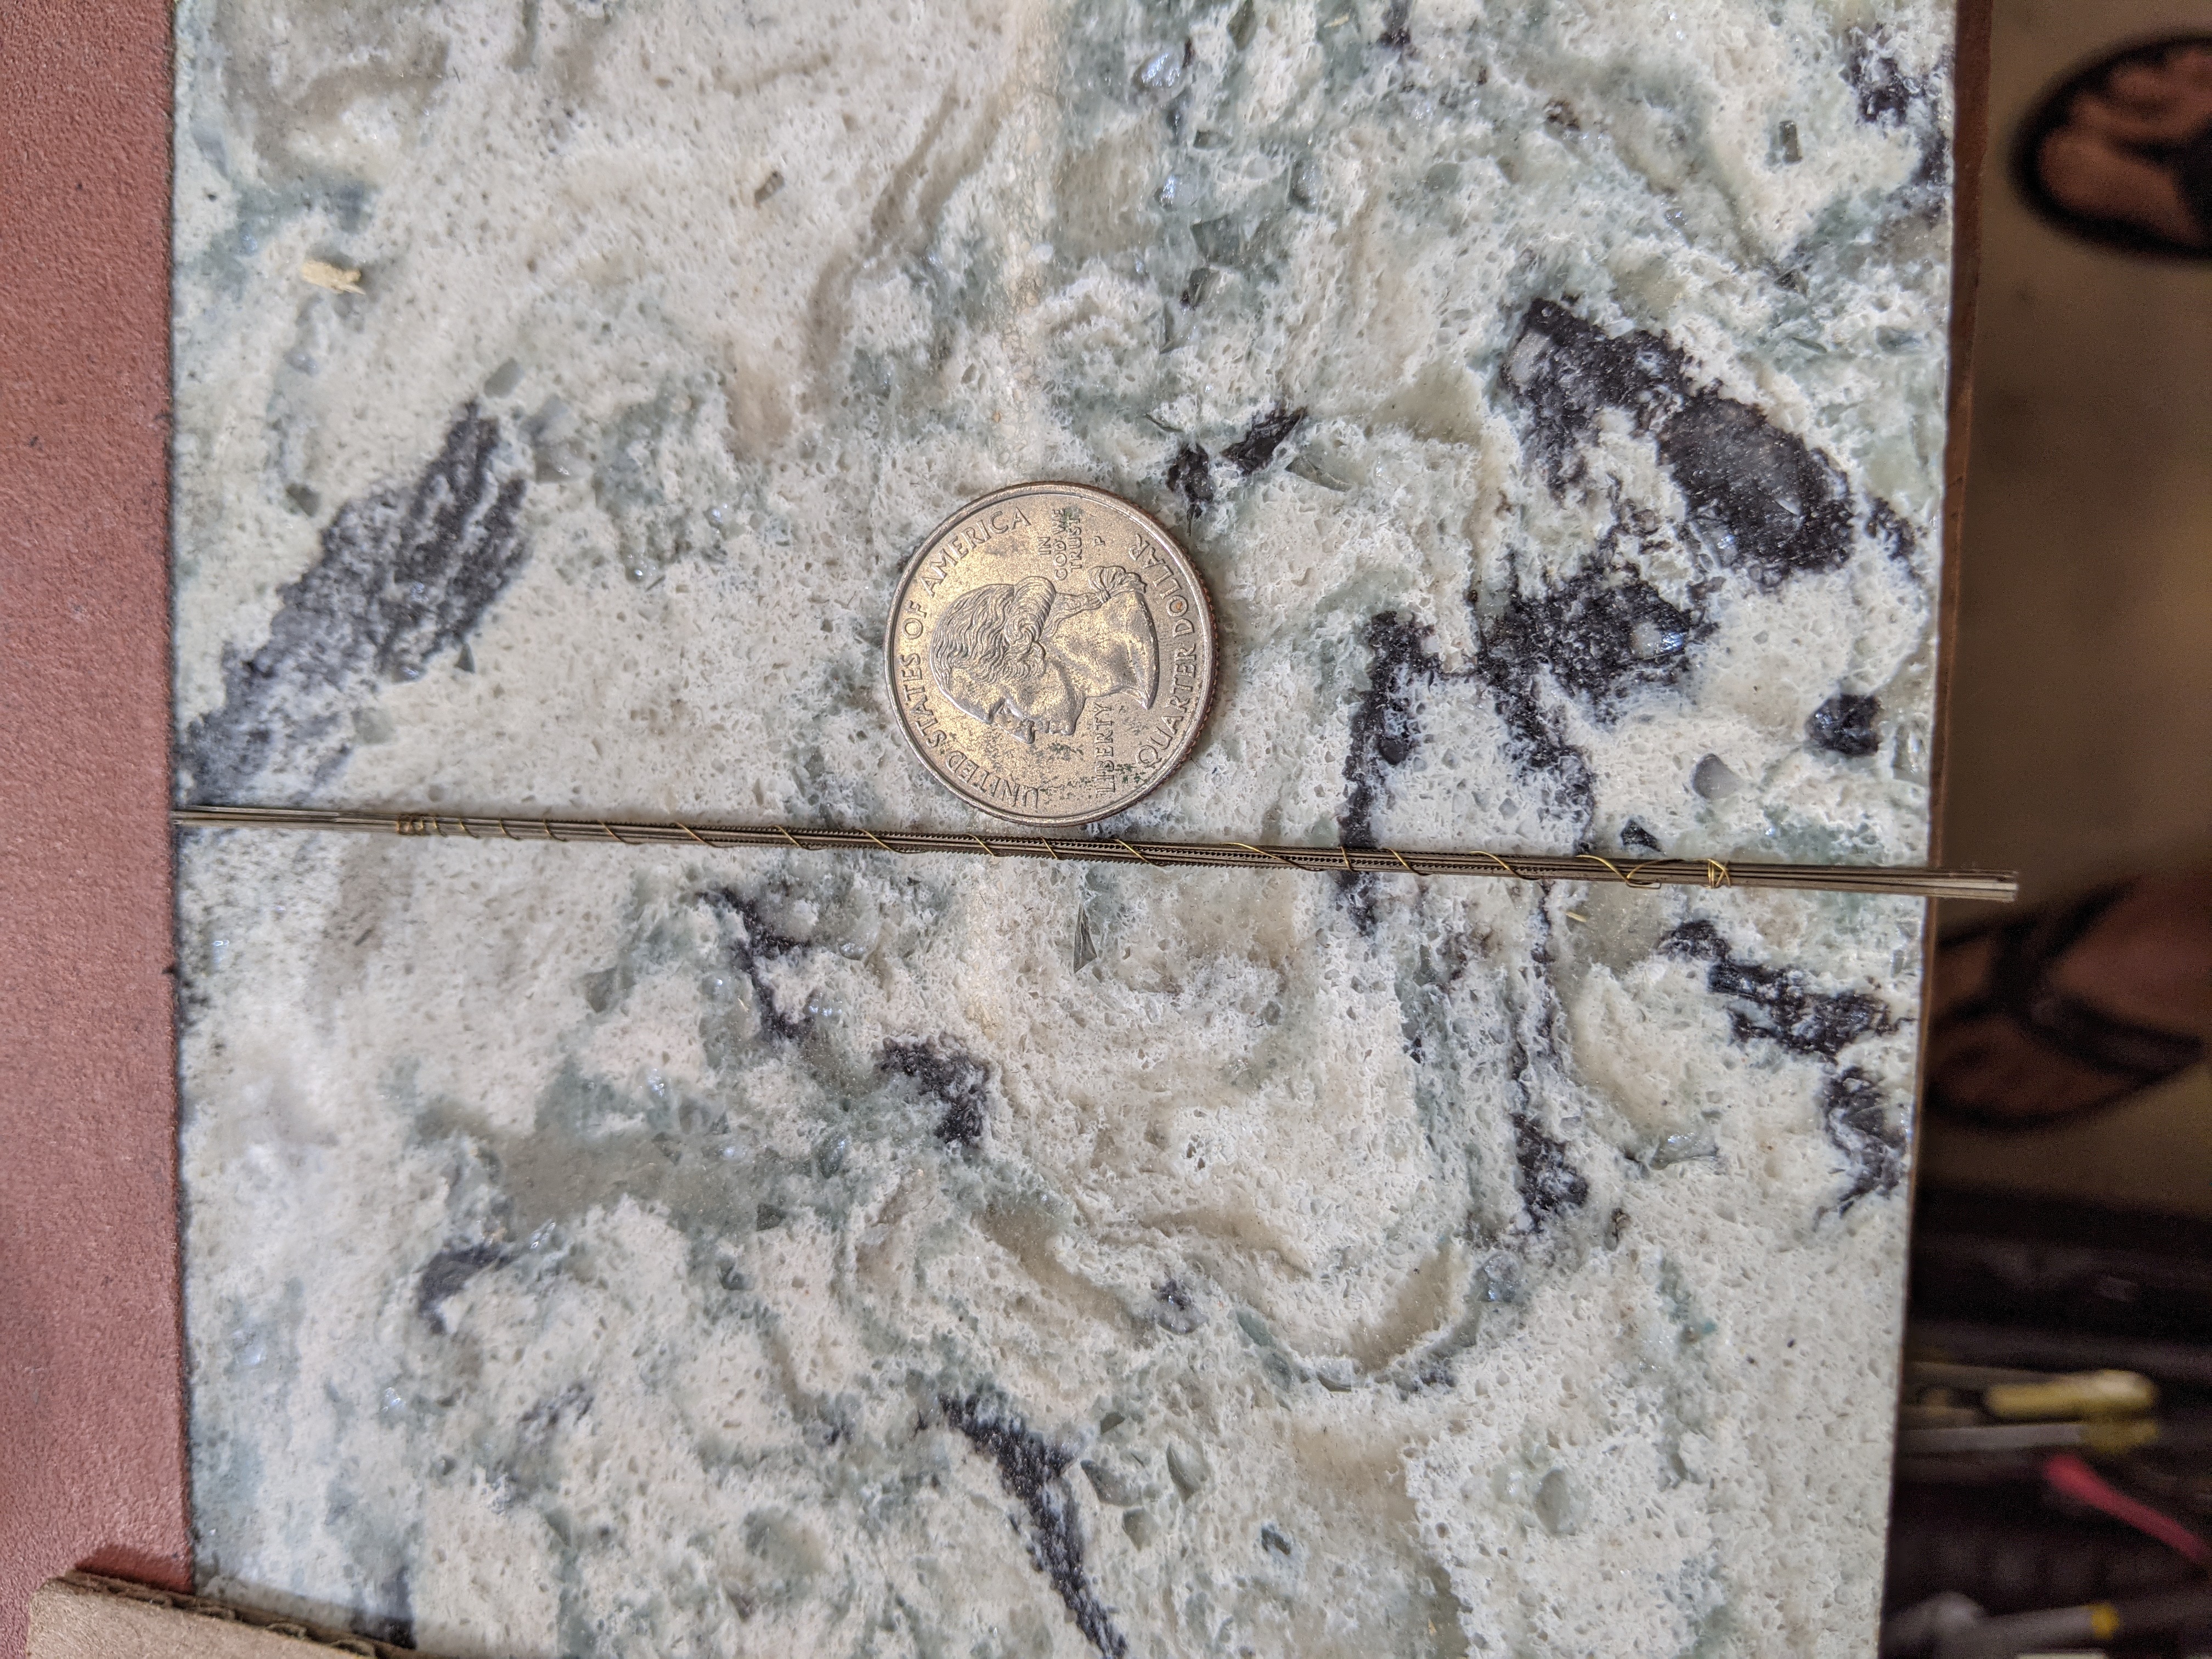
The pearl is cut out with a jewelers saw, using jewelers saw blades. These blades are very fine. Here is a bundle of 12 blades of size 4/0. The sizes go all the way down to 8/0 which is like a hair. The blades wear out pretty quickly but allow a very precise cut, basically the width of the lines in the pattern.
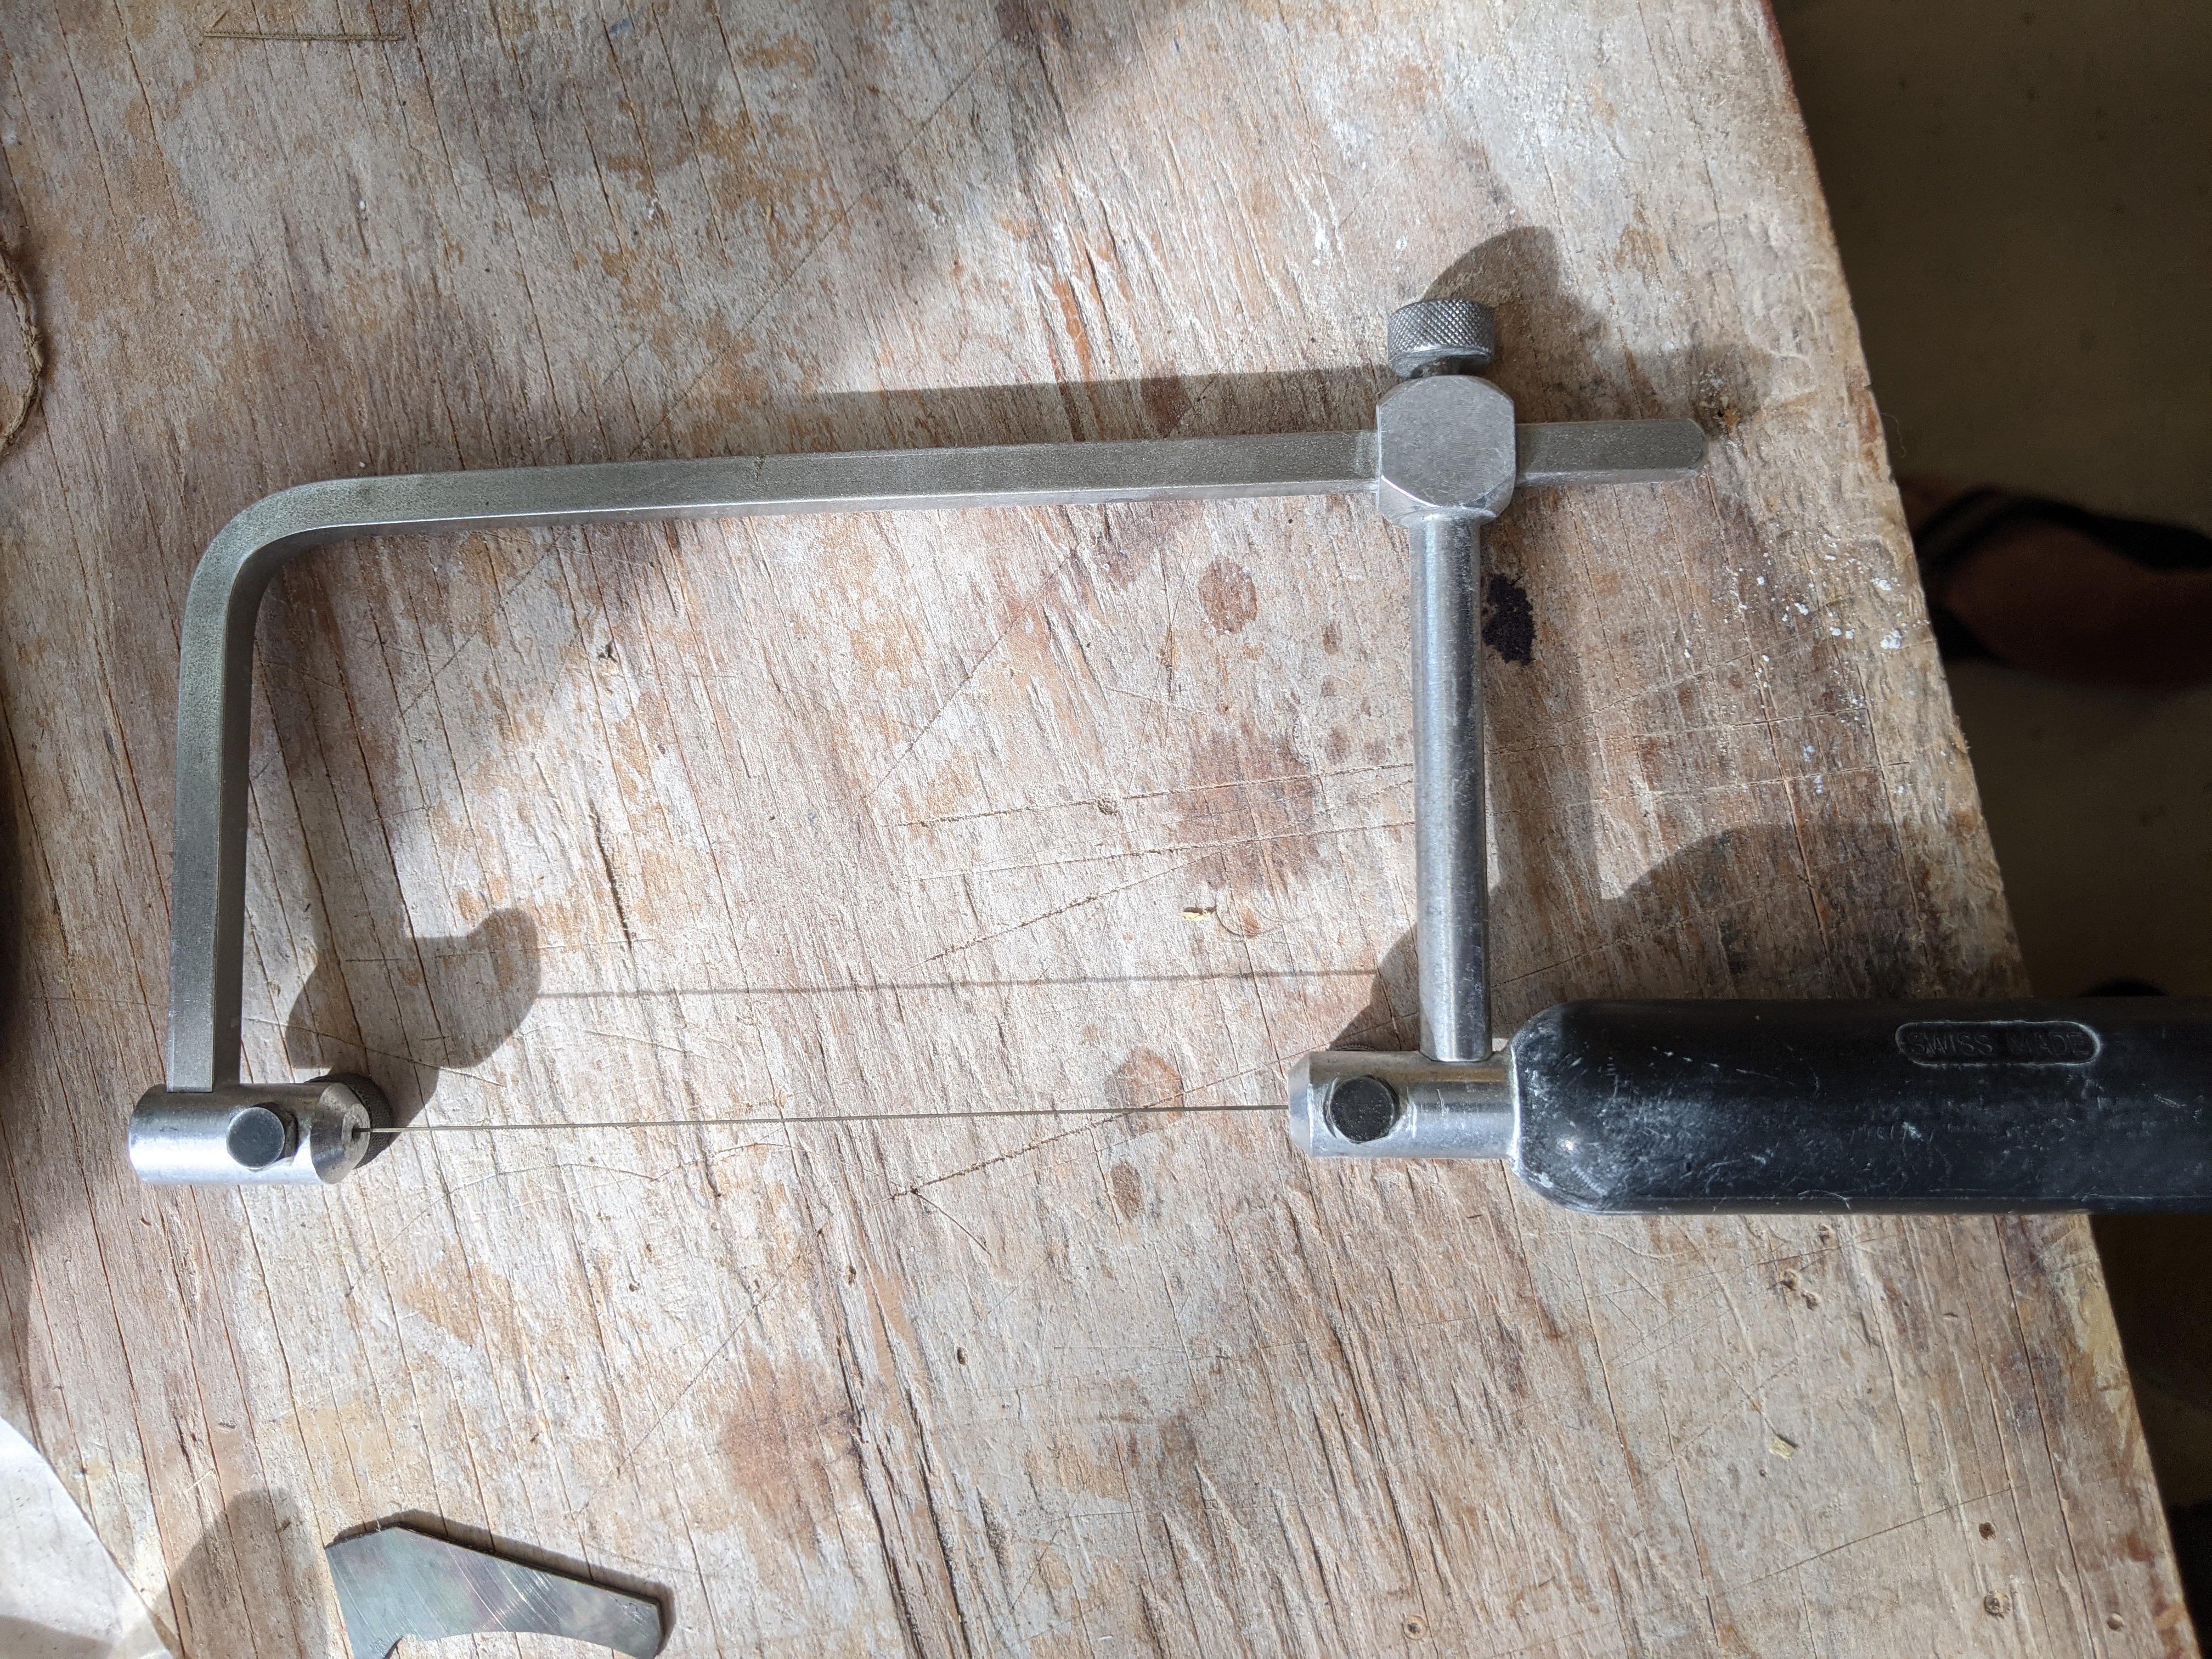
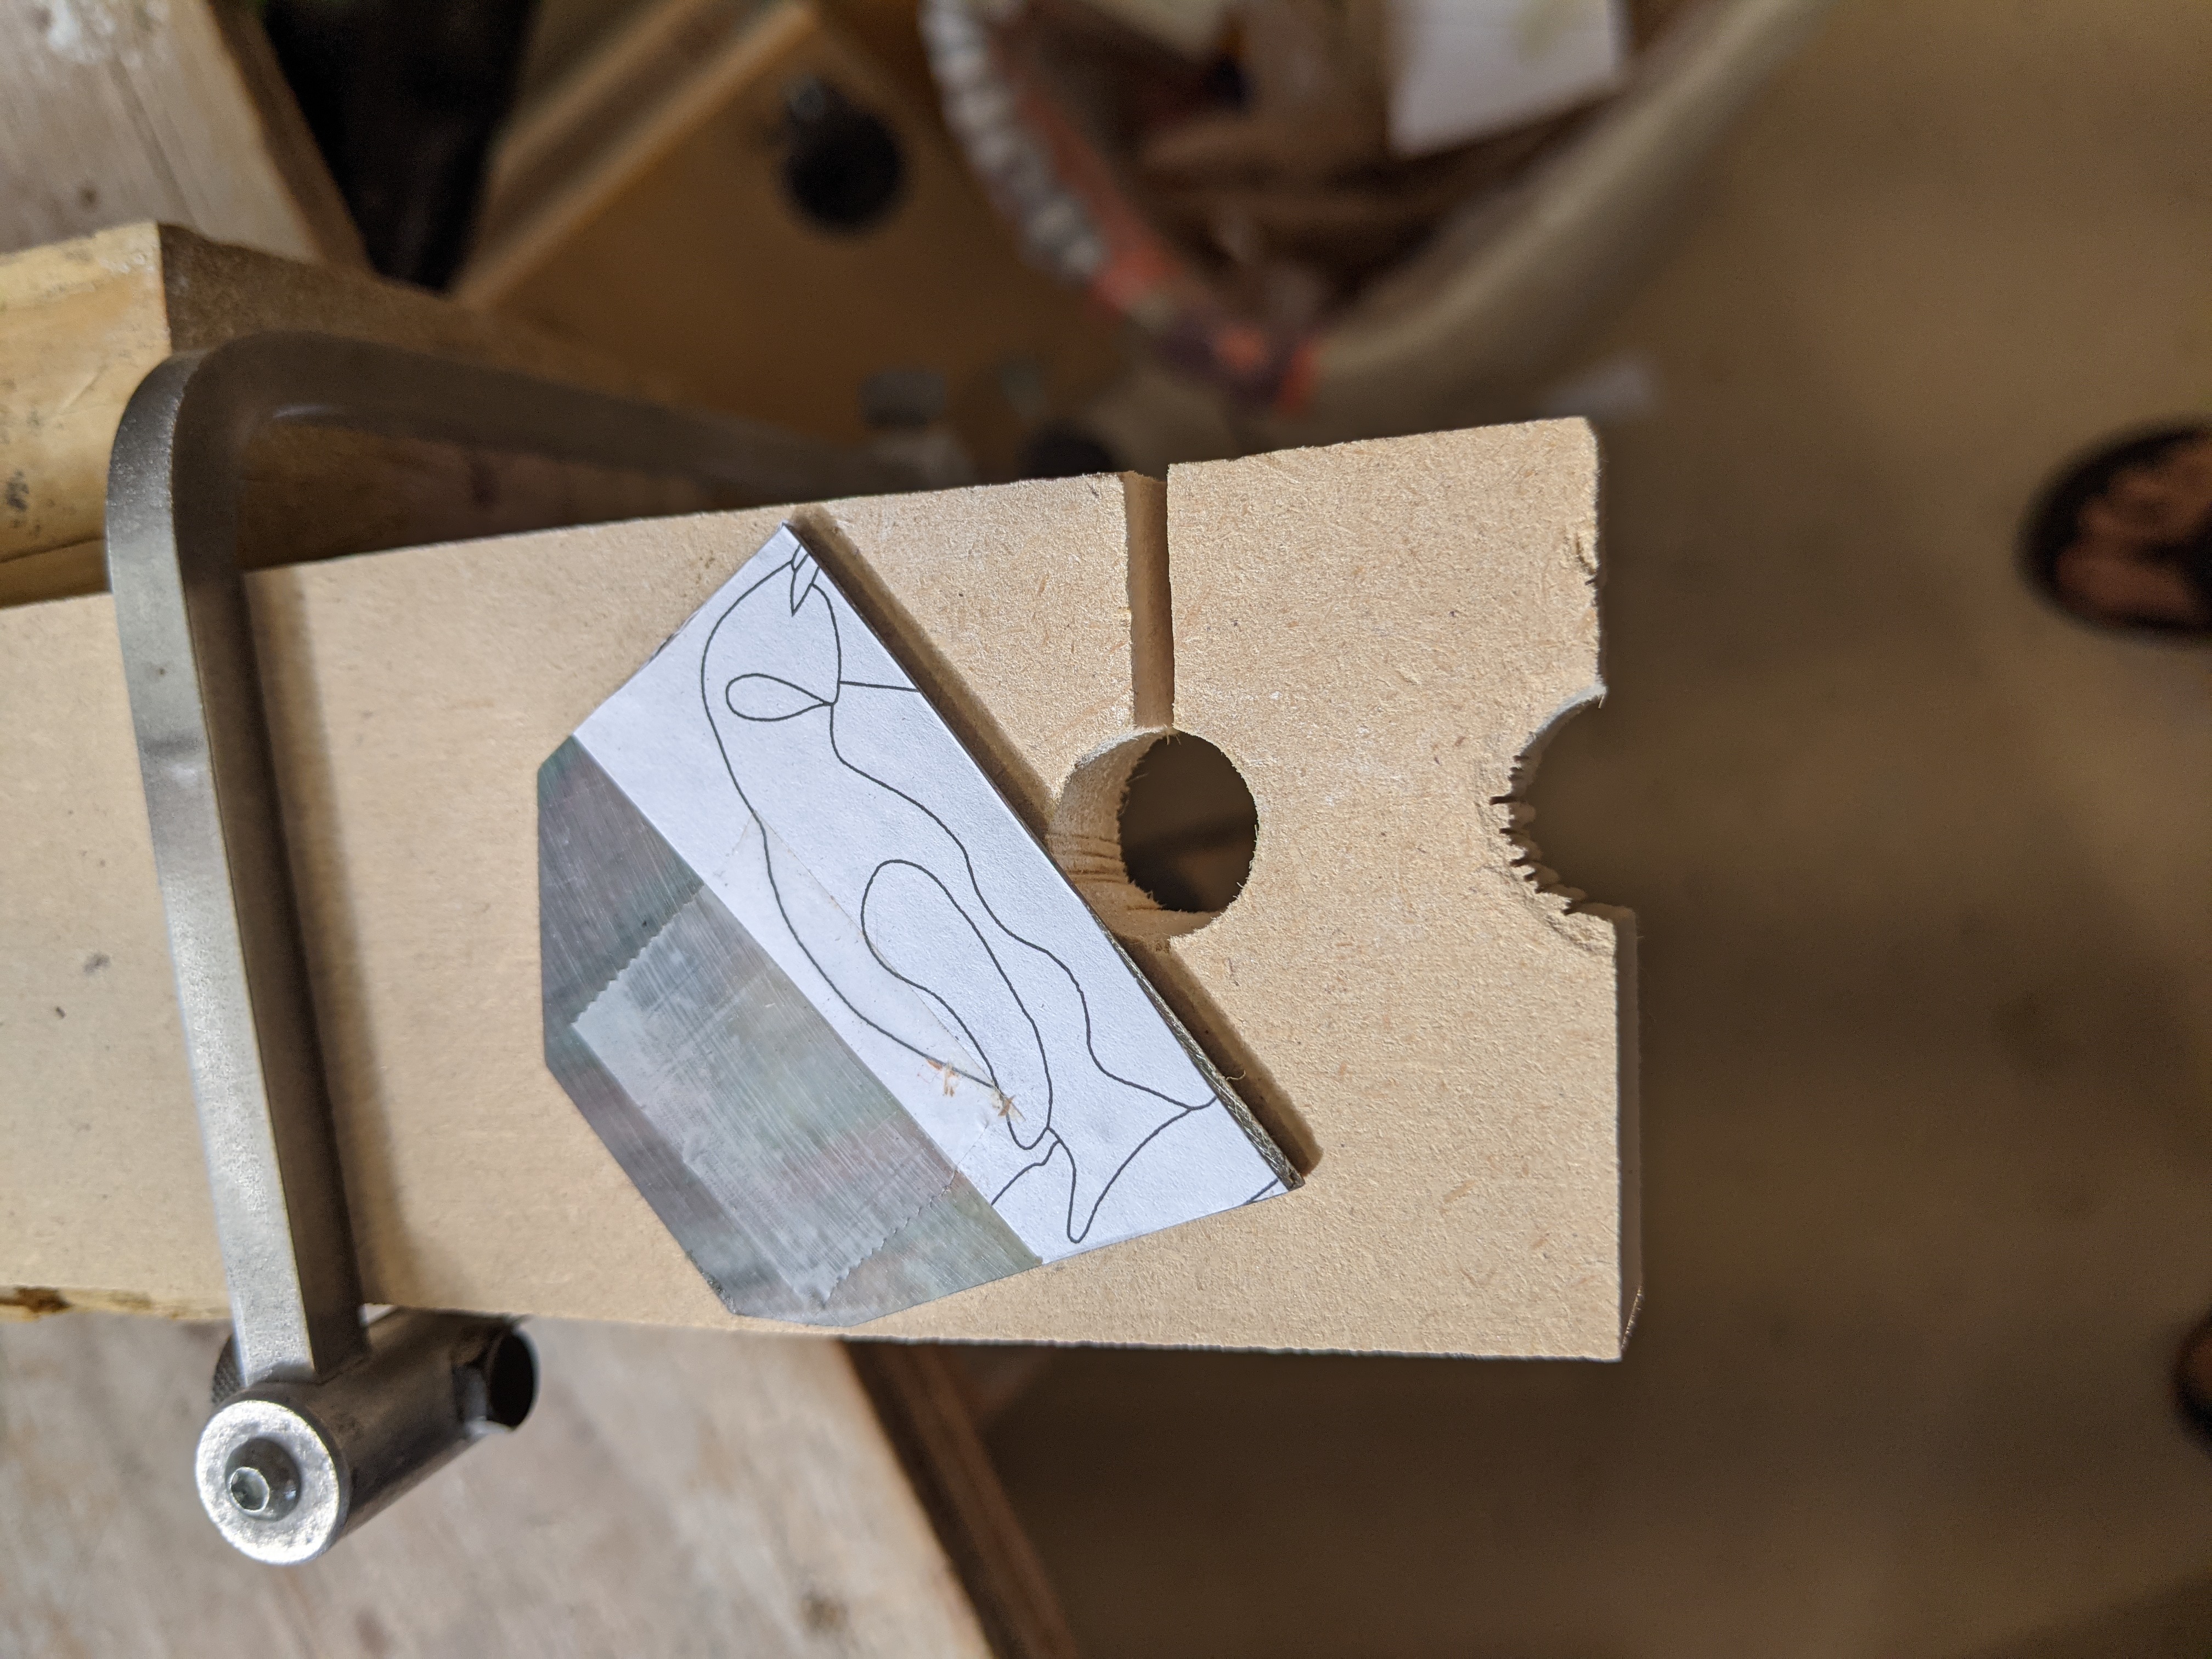
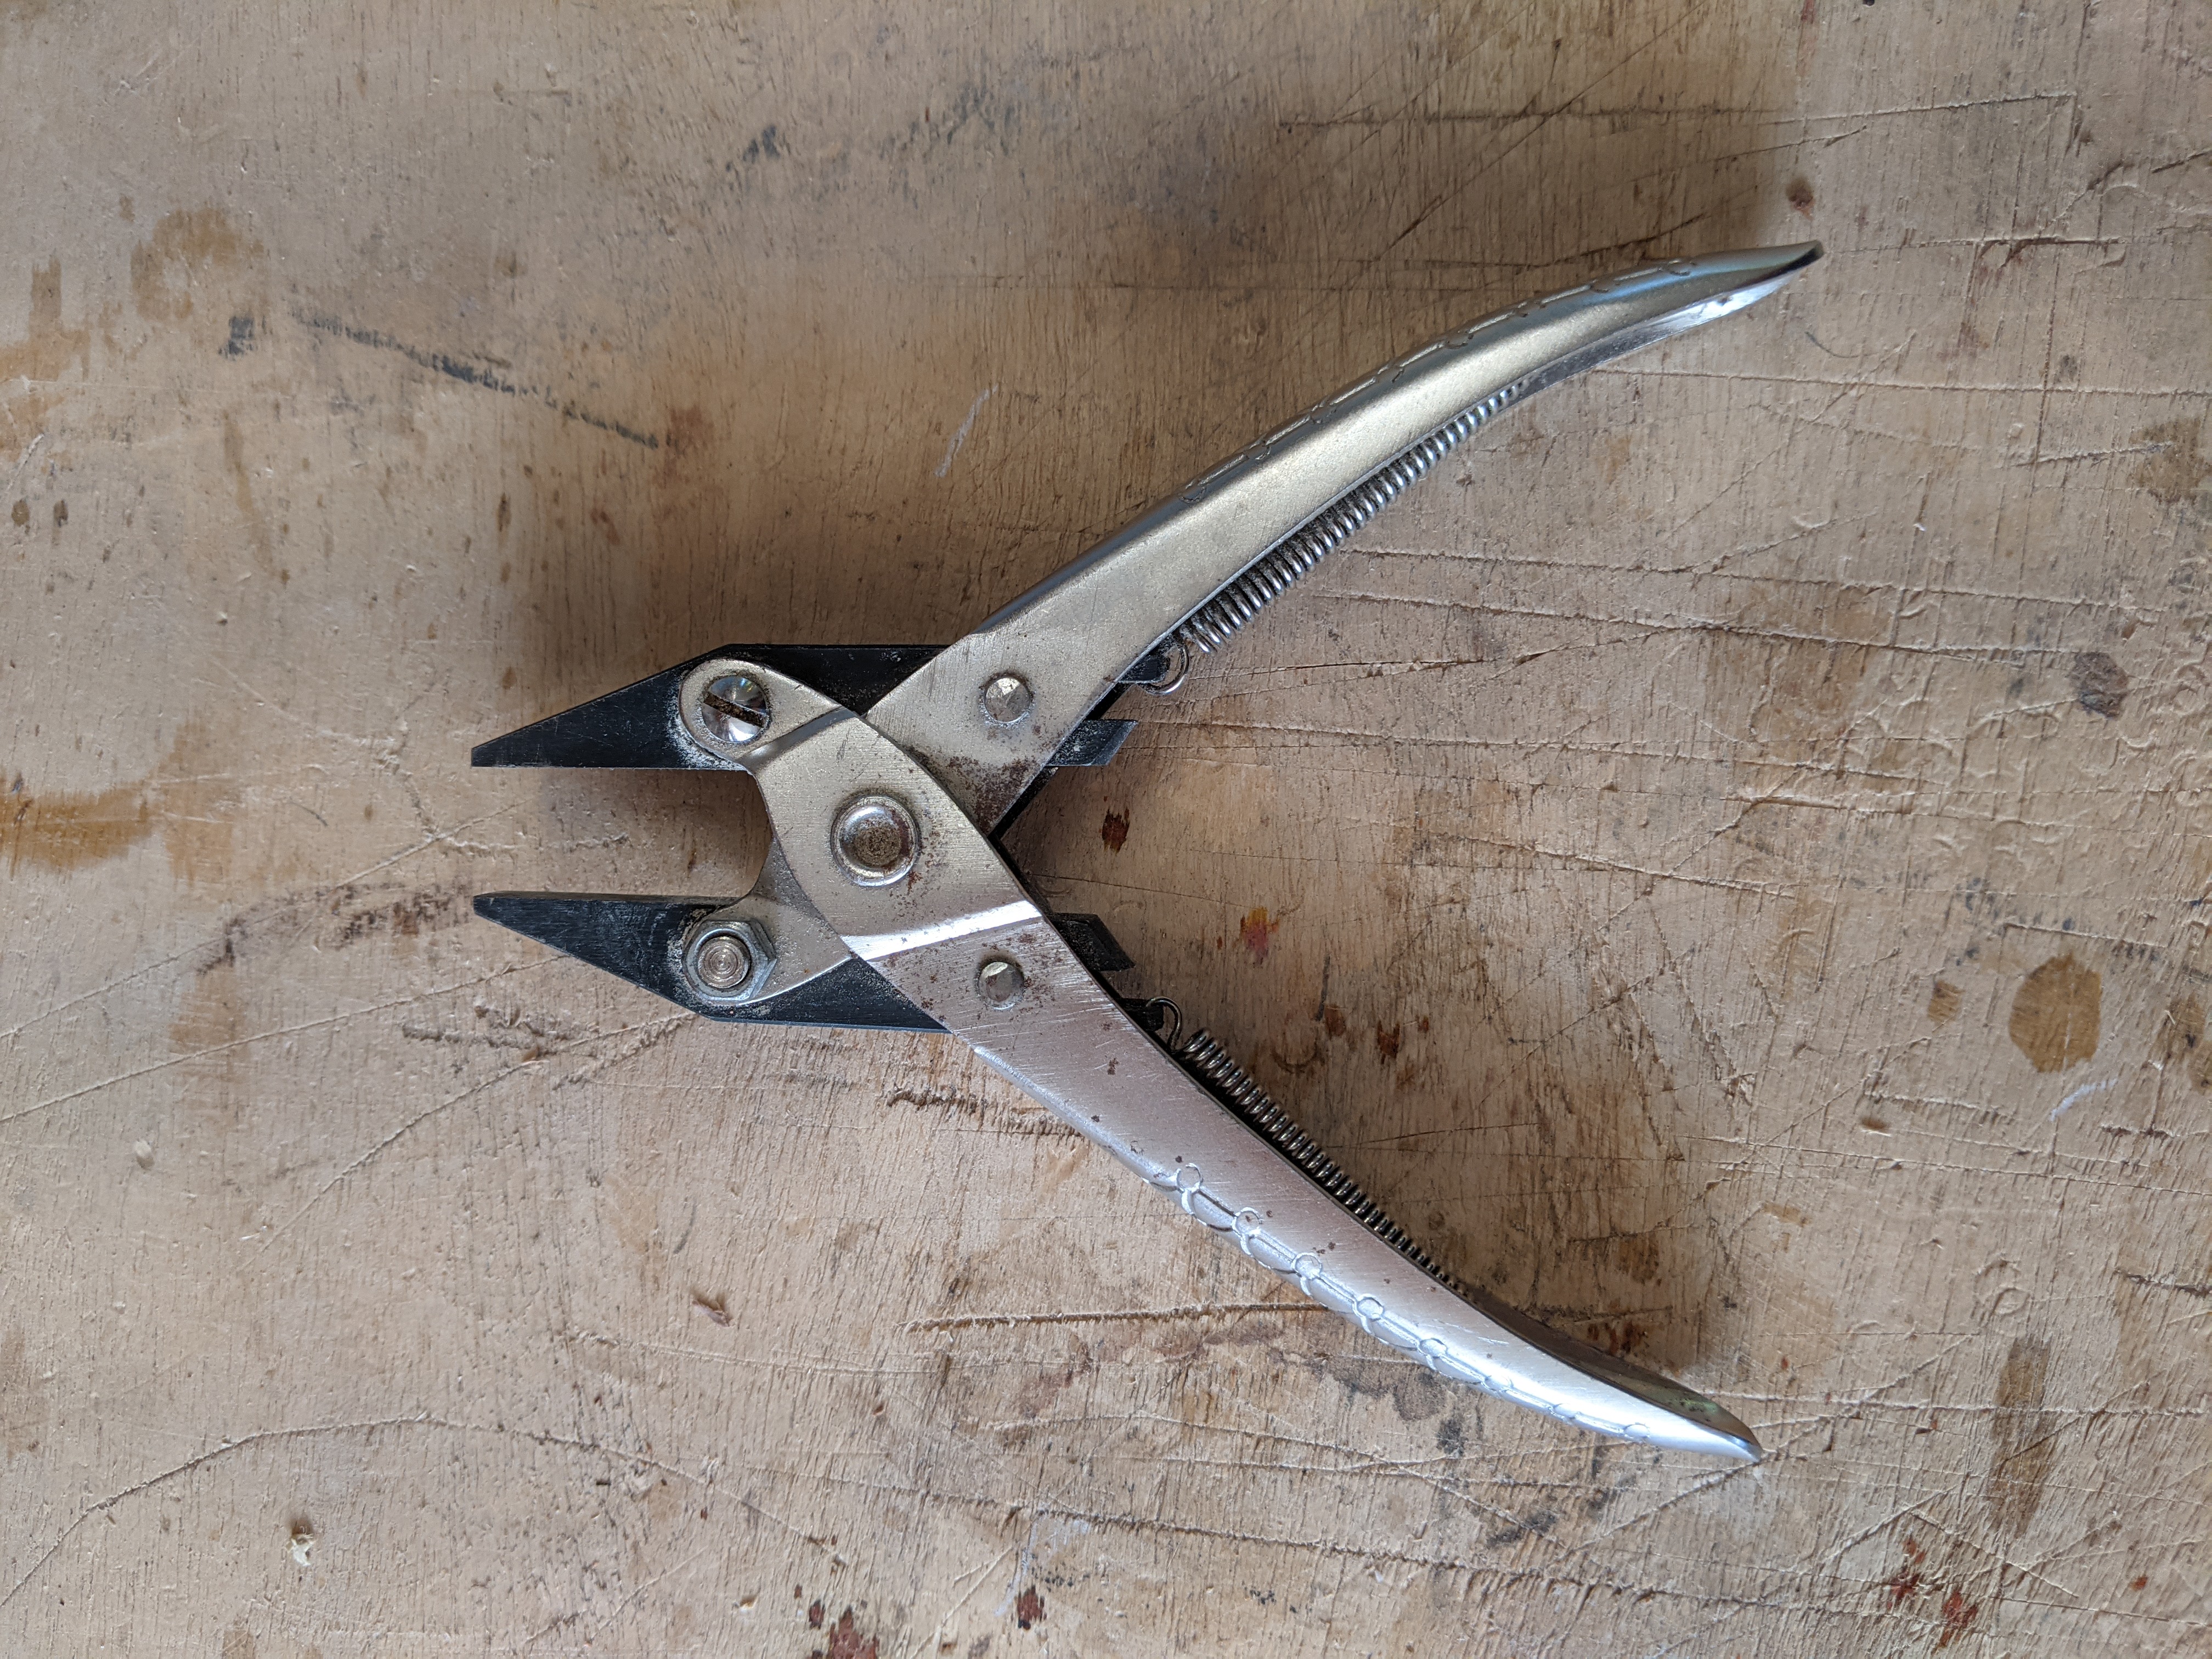
The pearl is supported on a small board with a hole in it and the saw is held vertically. One carefully cuts out the pattern. I try to work from the ‘inside’ of the overall inlay to the ‘outside’ so the first piece is the black body. To help handle small pieces when fitting them into the inlay by fining the edges I have some parallel jaw pliers. The jaws of these remain parallel as they are closed so they grip flat little pieces of pearl well.
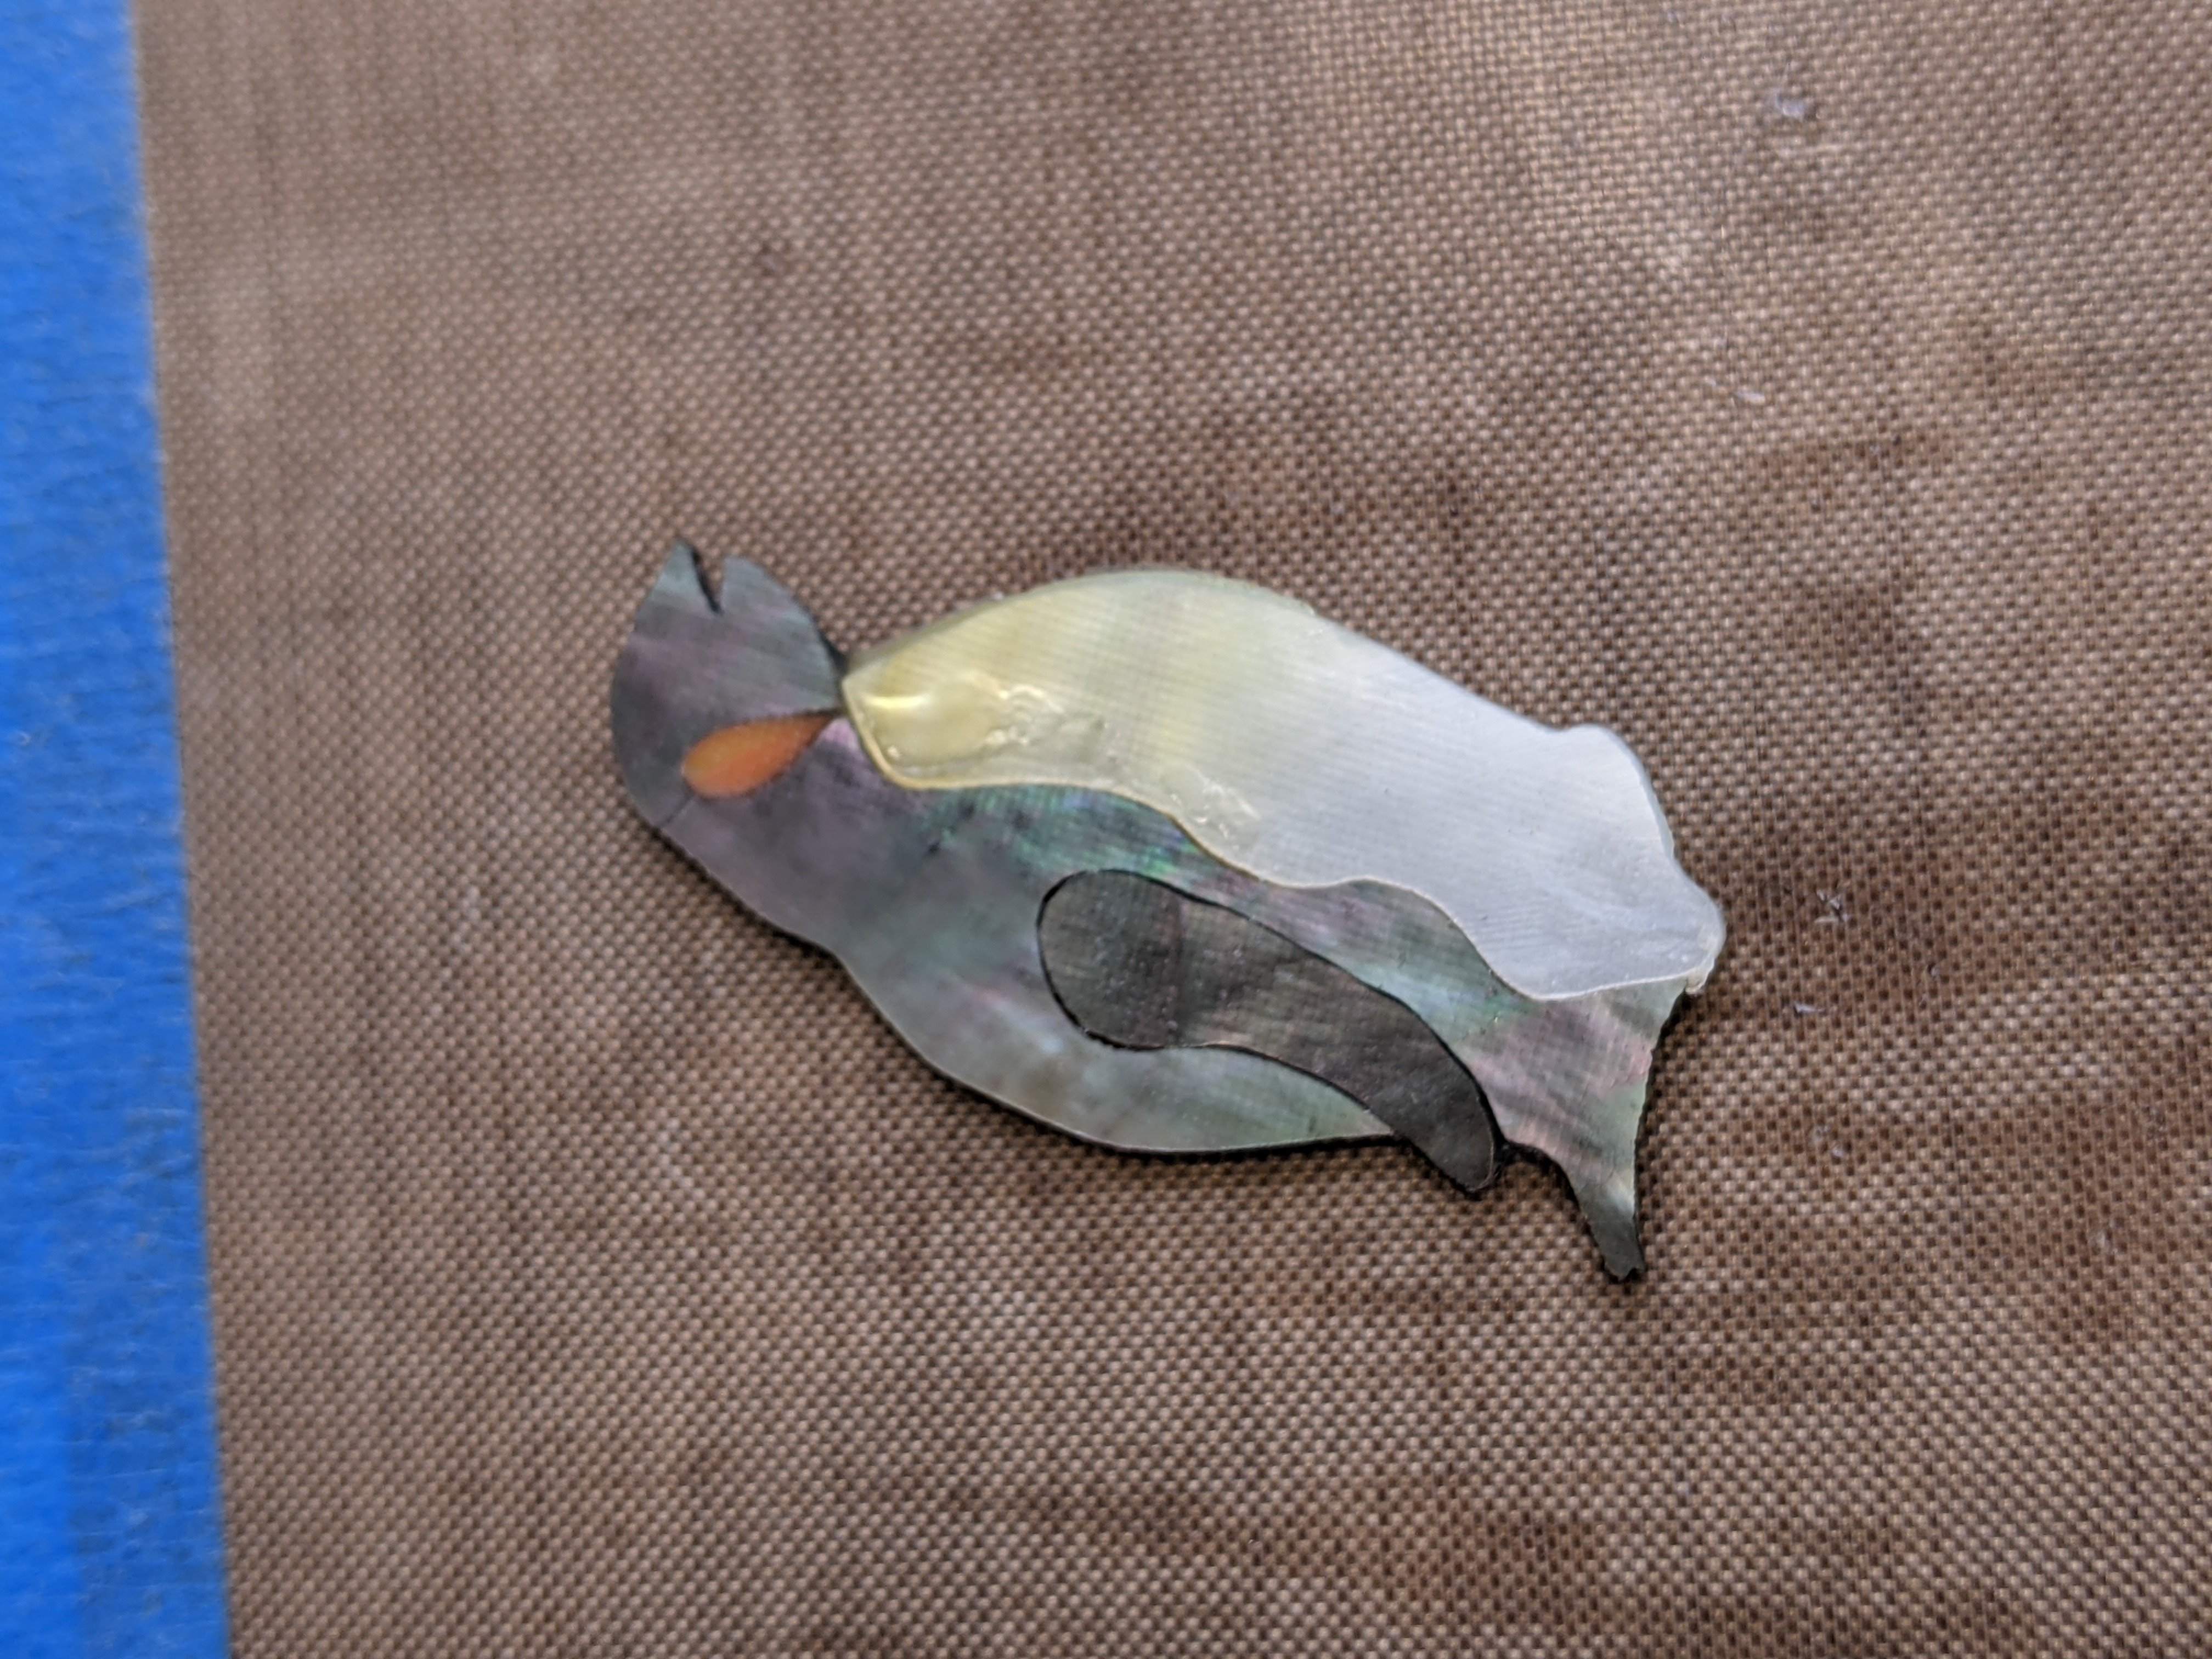
Once the body is cut out the orange cheek piece is cut and fit and then the flipper is cut and fit. These are glued into the body with CA glue. Then the breast section is cut out and fitted to the edge of the body. So the intermediate work looks like:
Then the ice is cut, the feet are fit first and then the body is fit into the ice. The result is:
