Time to do the frets. I fret after the fingerboard is glued onto the neck because it gives me one last chance to make sure the neck/fingerboard in its nearly final configuration is flat. I fret before the final shaping of the neck. I used to do frets after the neck was shaped and always managed to put some little dents in the neck which then needed to be sanded out. The fretting operation as I do it is as follows.
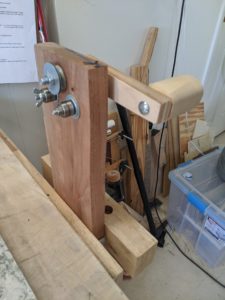
If I am doing a radiused fretboard I first radius the fret wire with a home-made fret bending tool. By adjusting the position of one of the bearing clusters I can vary the amount of bend to match the particular radius.
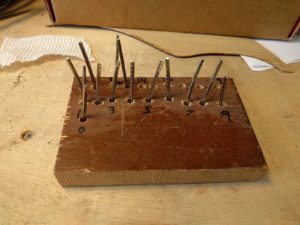
Once the fretwire is bent (if necessary) I cut it to the rough length of each of the fret slots with nippers, and stack the pieces in a set of numbered holes in a little block.
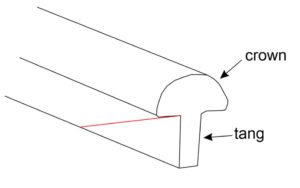
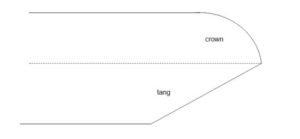
I started out in instrument making building banjos with bound fretboards. When doing a bound fretboard you must finish the end of the fret before inserting it into the fretboard. Even with non-bound ukulele fretboards I like the results of finishing the end of the fret before it is inserted. I can easily get a nice round polished end, with no chance of damaging the fretboard which might happen if the end of the fret is finished after the fret is inserted. So I cut the fretwire to fret lengths, and then file the ends. The filing takes three steps. First the end is filed square, then the tang is filed back at a 45 degree angle. Cutting the back angle means that the tang is not visible from the side of the fretboard, and the tang will never stick out making sharp edges if/when the fretboard shrinks. The back cut is in red. The length is checked to make sure it is just a hair shorter than the fret slot so that the fret does not protrude beyond the end of the fretboard.
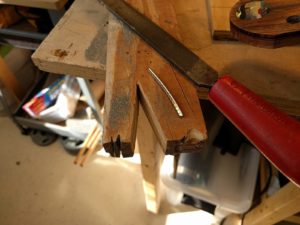
When filing the fret is supported by slots cut in the end of a little cut-off board clamped to the bench.
Finally I file the crown to round the end and then polish the end with 600 grit paper followed by 1000 grit.
The fretboard is prepared by taking a 4 corner file and running it along the fret slot so that a little bevel is created along the top edge. This is because the fretwire is not exactly square where the tang meats the crown. A little bevel of the top edge of the fret slot lets the fret seat flush on the fretboard much more easily.
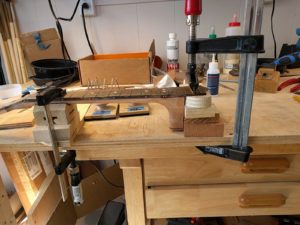
I press the frets into the slots using the fret press clamp from Stew Mac. However, rather than using the cauls that come with the fret press clamp to support the neck when fretting I find that I get much better control by clamping against the bench. Also, rather than just pressing the fret into the slot, which can take a lot of pressure, I have found that by tapping the edges of the metal caul that holds the radiused brass insert the fret seats much more easily.
I also run a bead of medium viscosity CA glue into each fret slot using a fine pipette tip on the glue bottle before inserting the fret. This is to make sure that the fret is well seated in the fretboard, and that it stays seated over time. The glue has a few minutes to harden while I file and polish the ends of the next fret.
