The new shop is set up, at least as an initial guess. I’m sure stuff will get moved around as the build process progresses and I find where stuff most efficiently gets put. I am starting on the next set of 4 instruments. Three are commissions, and one is a bit of an experiment. The instruments are:
Guilele, 19″ scale, ancient sitka spruce top, walnut back & sides
Concert, streaky redwood top, sycamore back and sides
Concert, curly redwood top, black walnut back & sides
Tenor, (the experiment), curly redwood top, redwood burl laminated back & sides
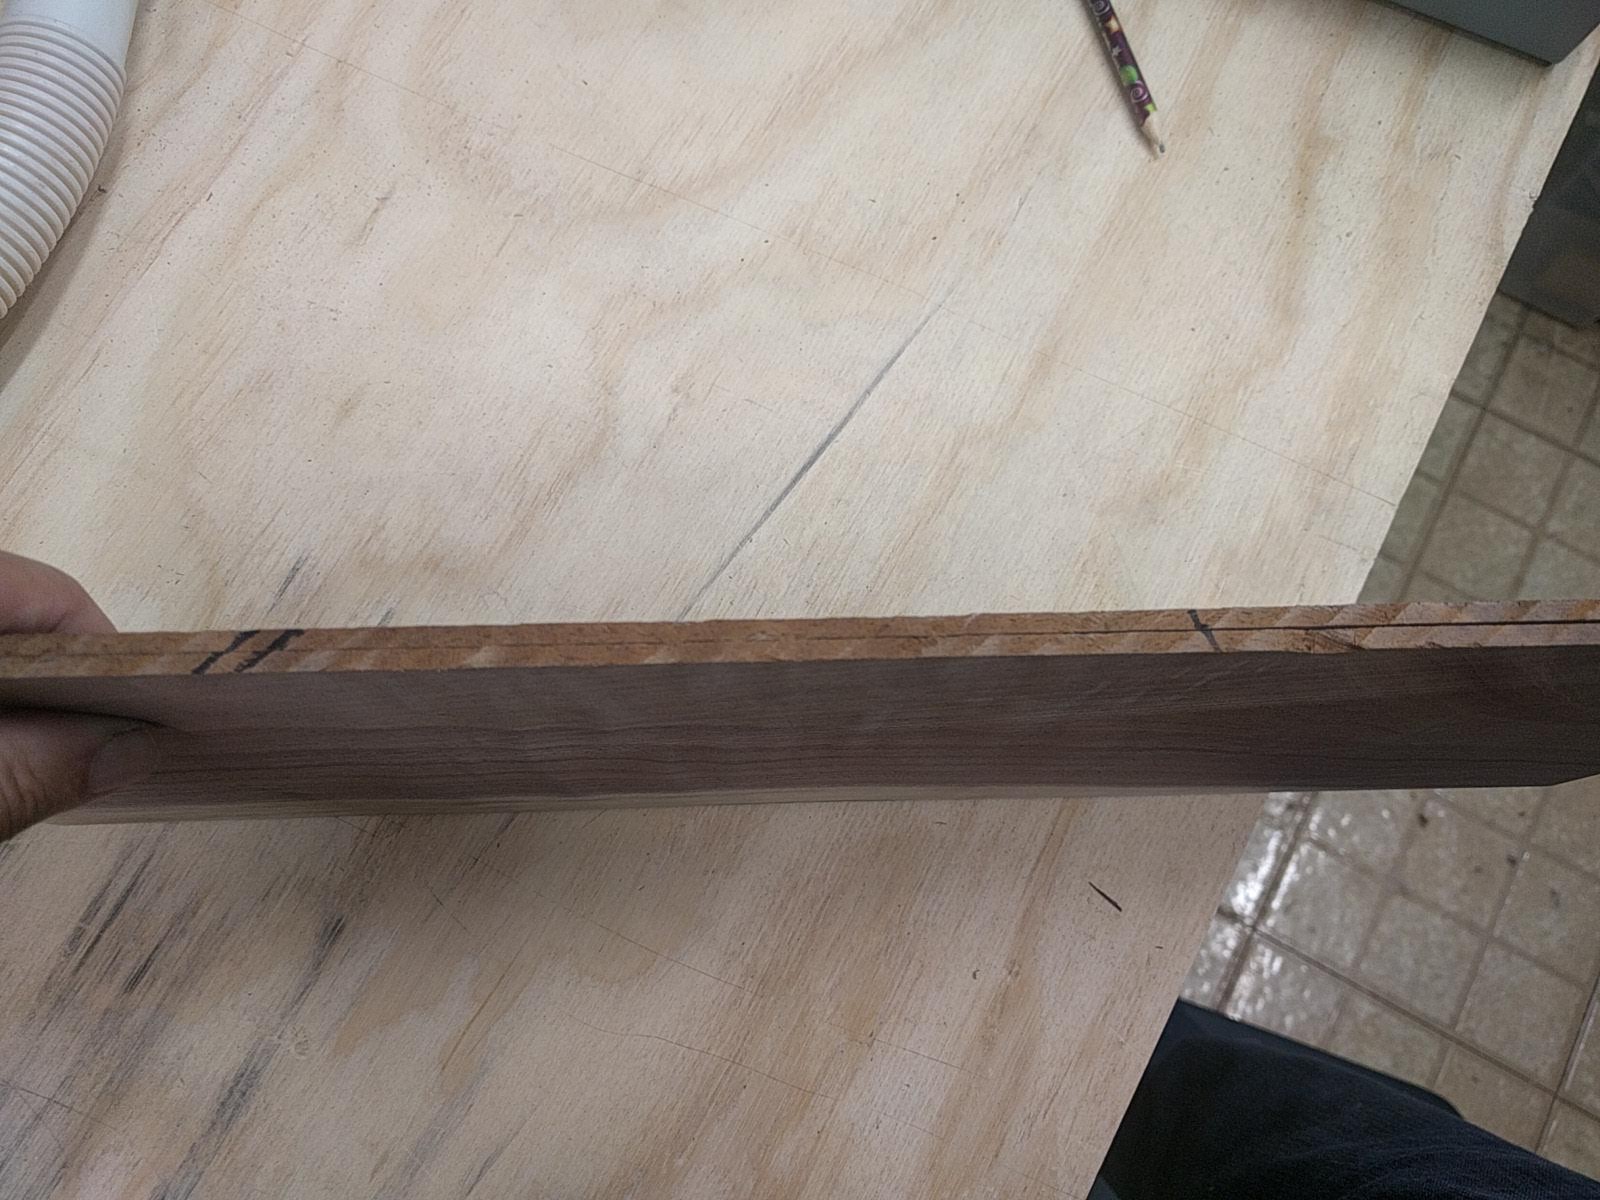
The first step is joining the two bookmatched halves of the top and back. I cut most of my wood from larger tree billets, and one must be careful to keep all of the slices in order, so that the bookmatch can be done correctly. To do this one makes diagonal lines across the side of the block before cutting it up so that all of the pieces can be assembled in order. Then one selects two pieces and the marks indicate which is the ‘inside’, which will be the bookmatch. This inside will be the ‘show’ side, it will be on the outside of the instrument and will be what you are looking at. All through the process I make pencil marks, stick on pieces of tape, etc. to constantly reference the ‘show’ side.
The edges must ‘jointed’ to be exactly flat and straight for the glue line to be strong and invisible. To joint the edges I made up a jig which has a high quality straight-edge embedded in the side and onto which the pair of back/top plates are clamped overhanging the staight-edge just a bit.
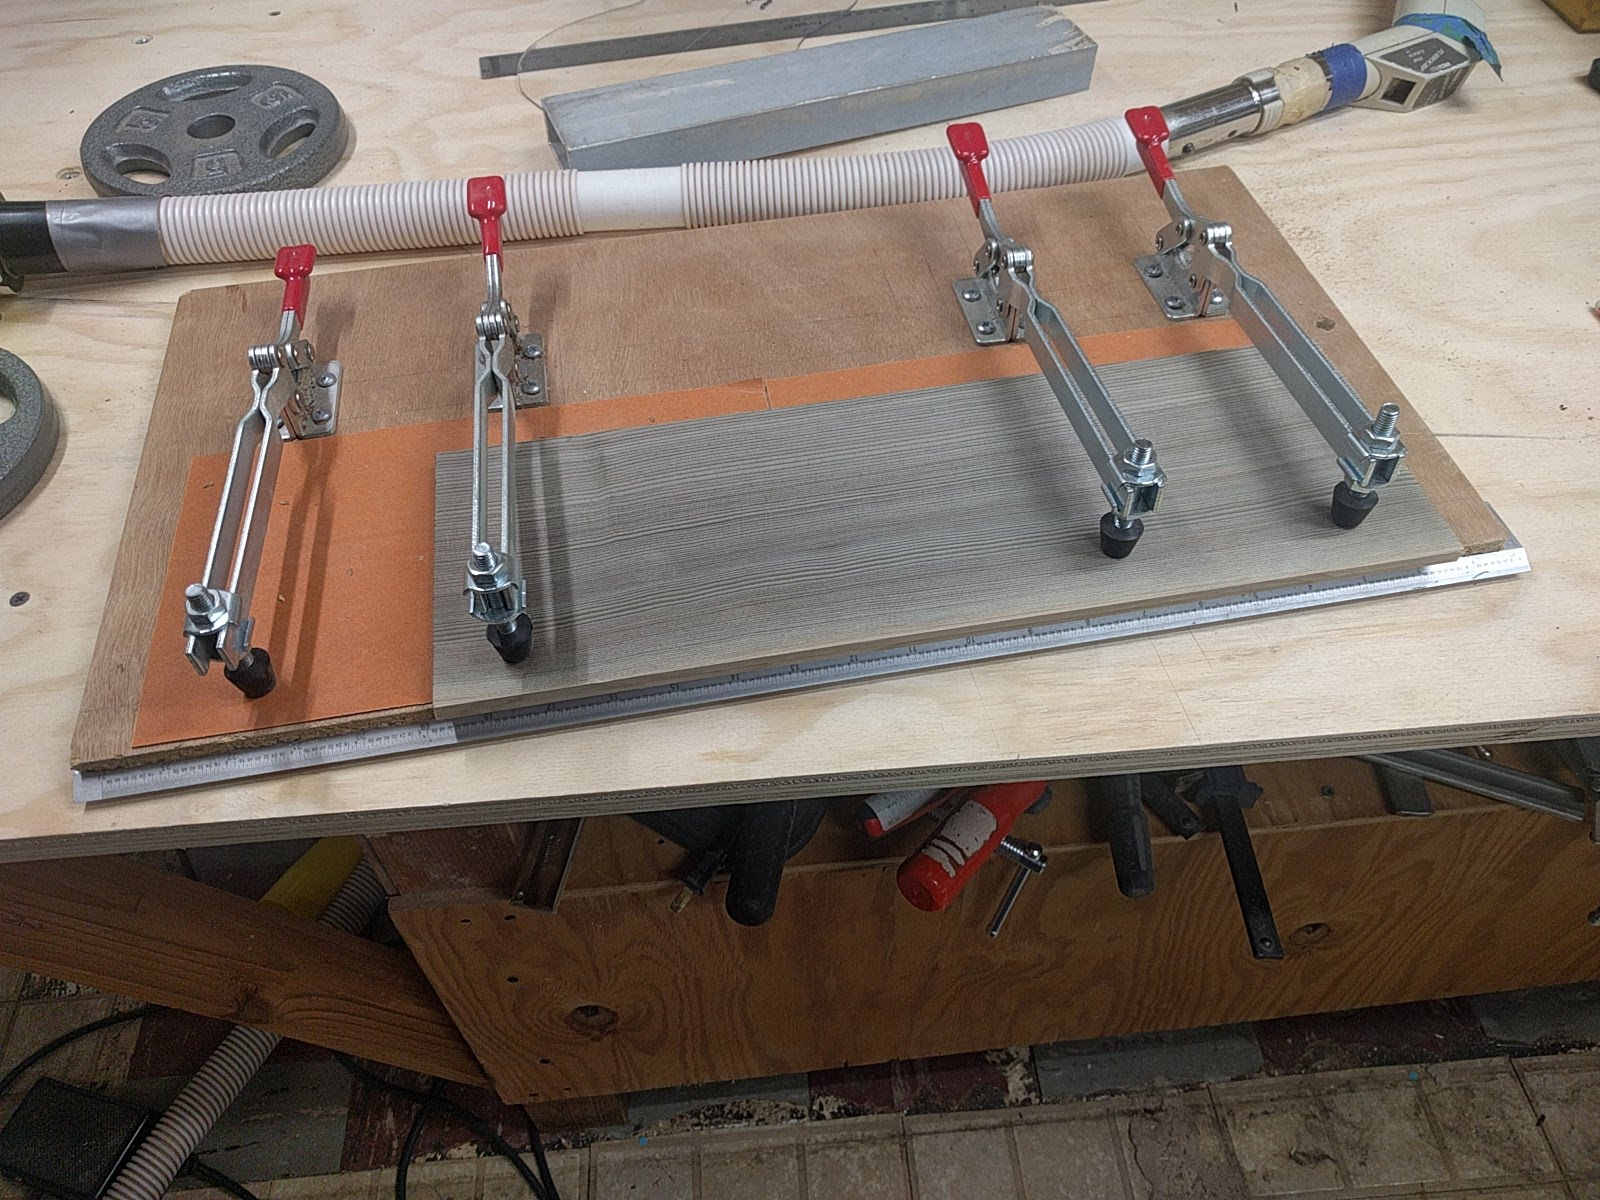
This straight-edge runs against a bearing on a spiral router bit, mounted in my router table (which is also my work-bench, a space saving idea of mine). The jig is run against the router cutting a perfectly straight edge.

To glue the plates together I have made and tried a number of different clamping devices, all of which worked more or less but the method I use now is the ultimate in simplicity and works well in lots of situations. To clamp the two sides together I use tape. That is all.
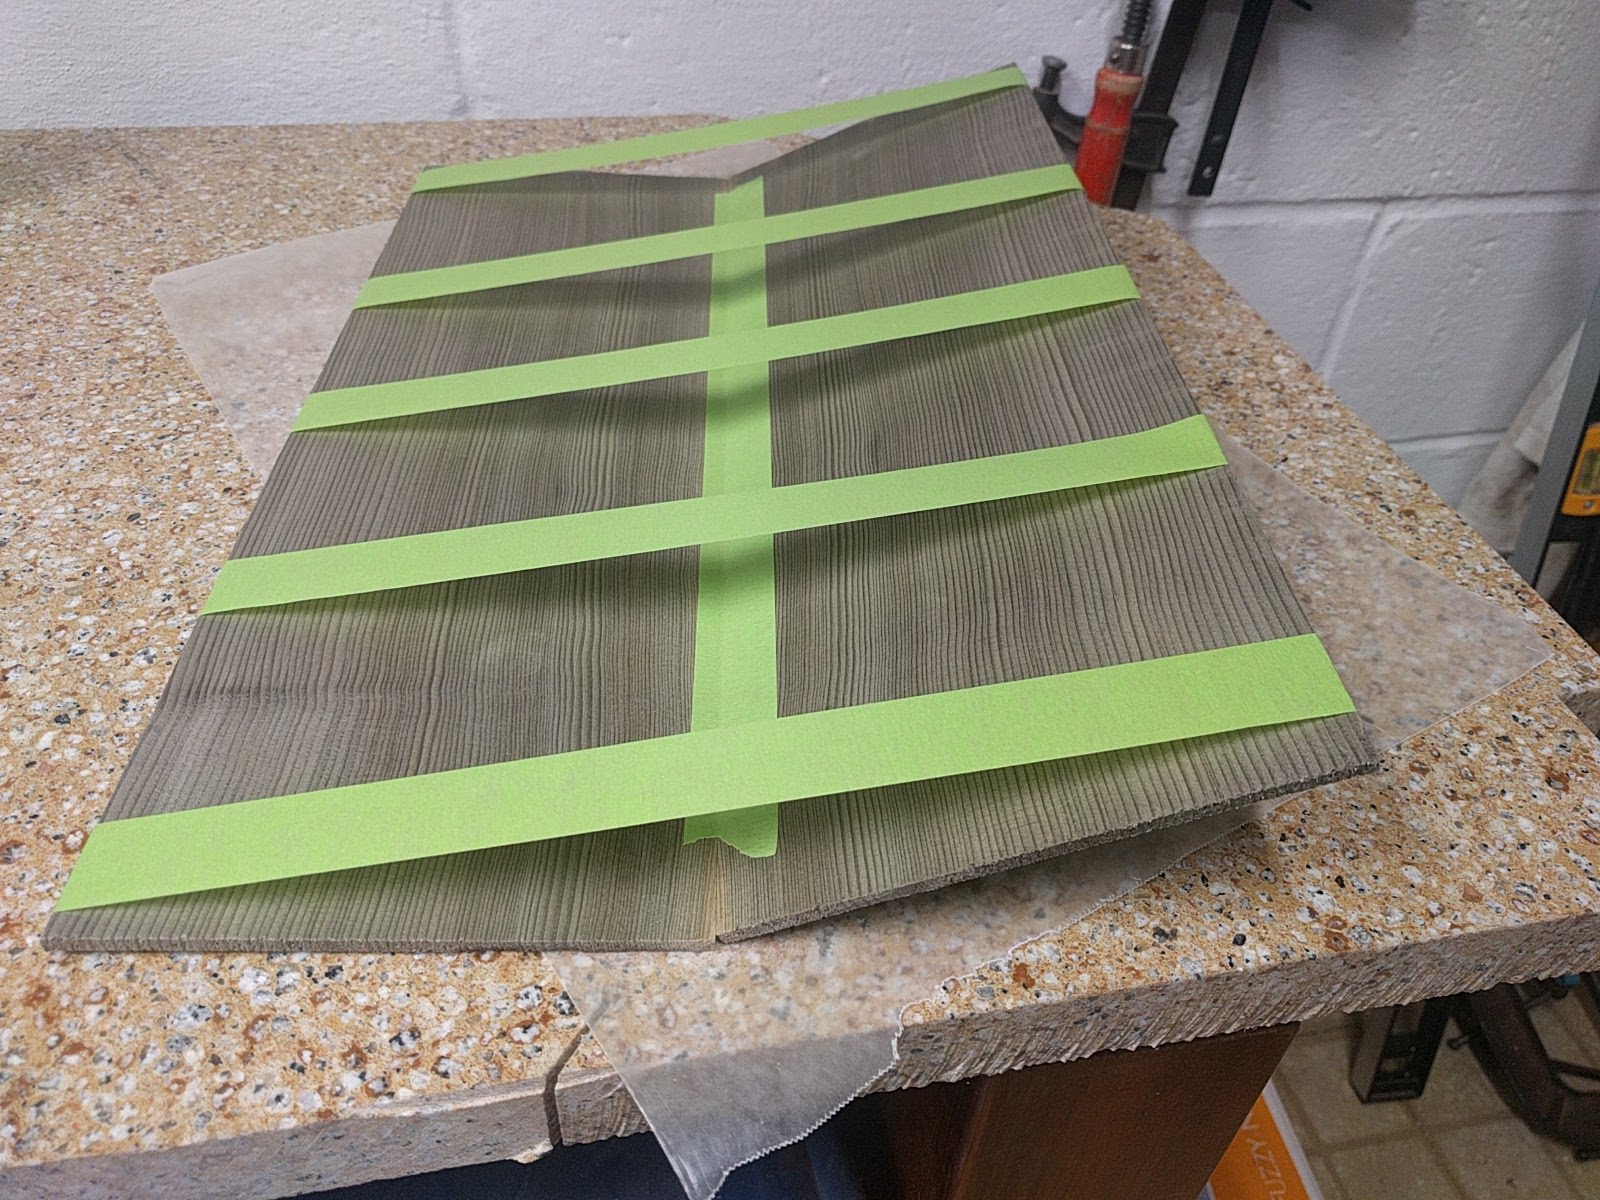
First a piece of tape is put down the seam on what will be the inside (the opposite of the ‘show’ side) to hold the two plates together. Then pieces of tape are put across the faces so that the plates are angled up a bit. The tape I use, Scotch 233+, is fairly stretchy which is important.
Then the package is picked up, turned over, and glue applied along the seam between the plates.
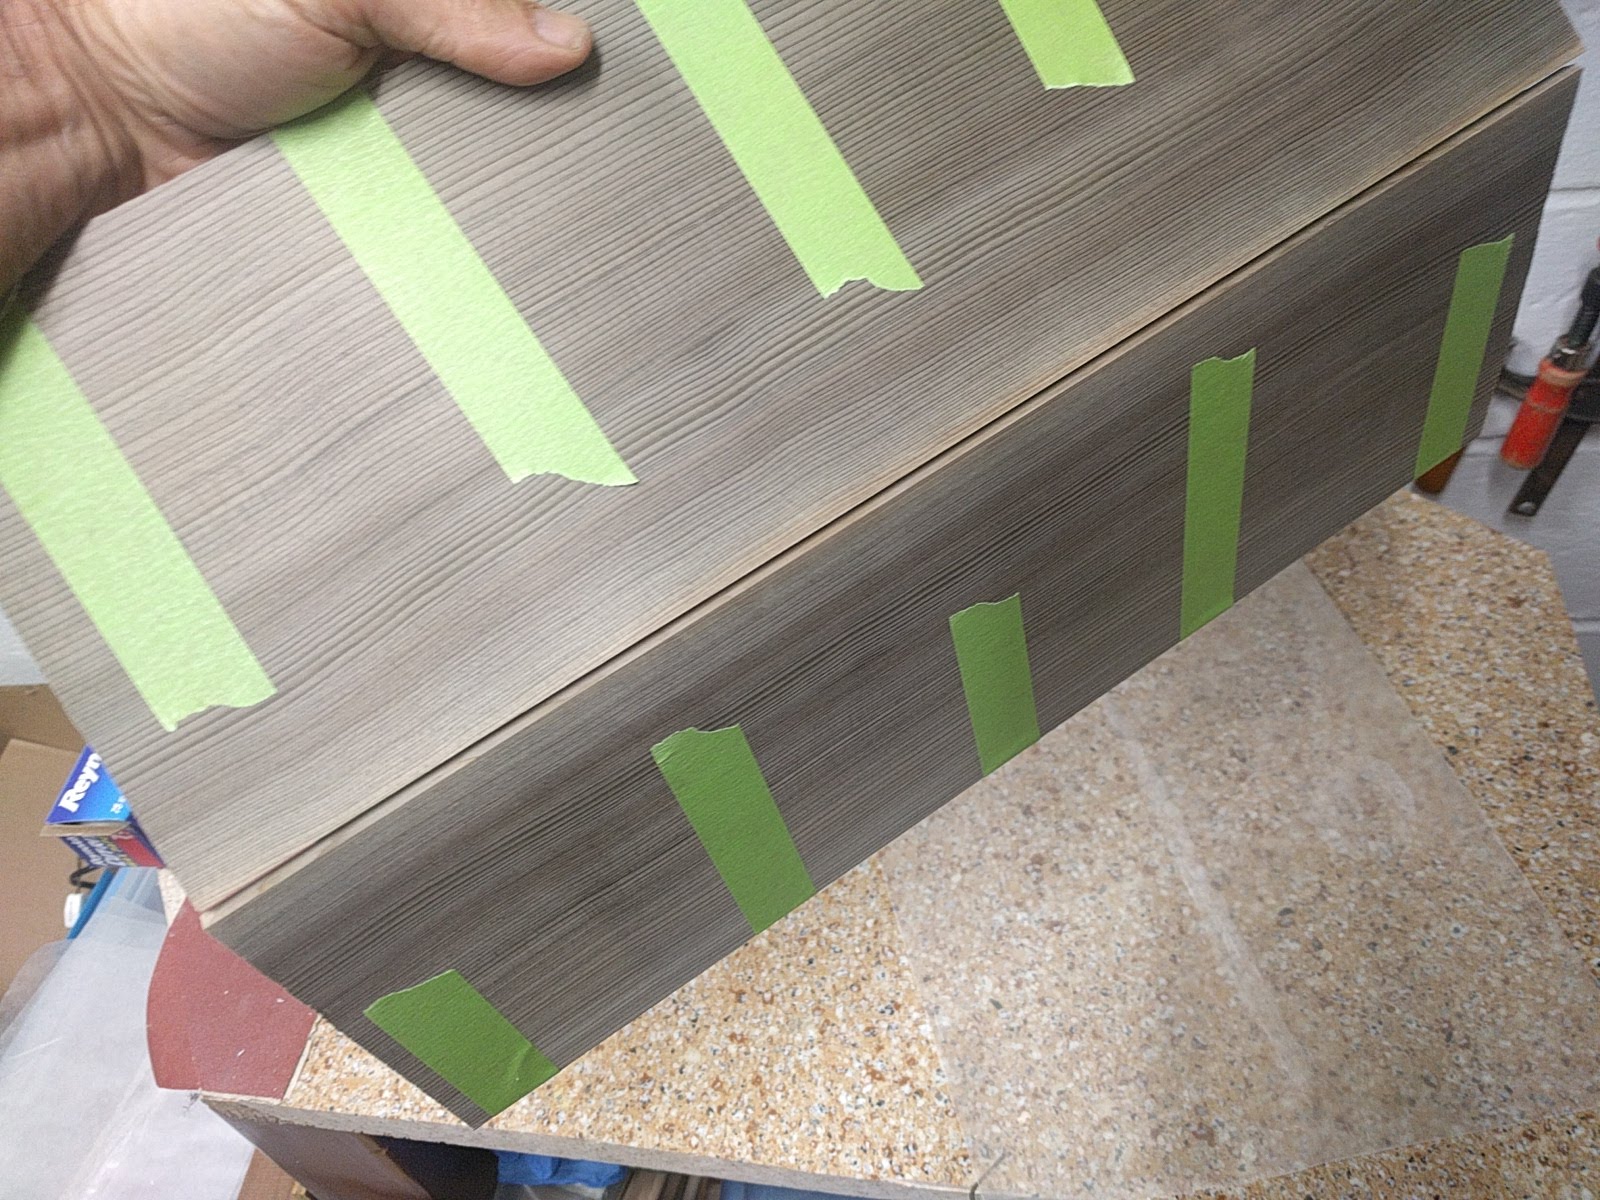
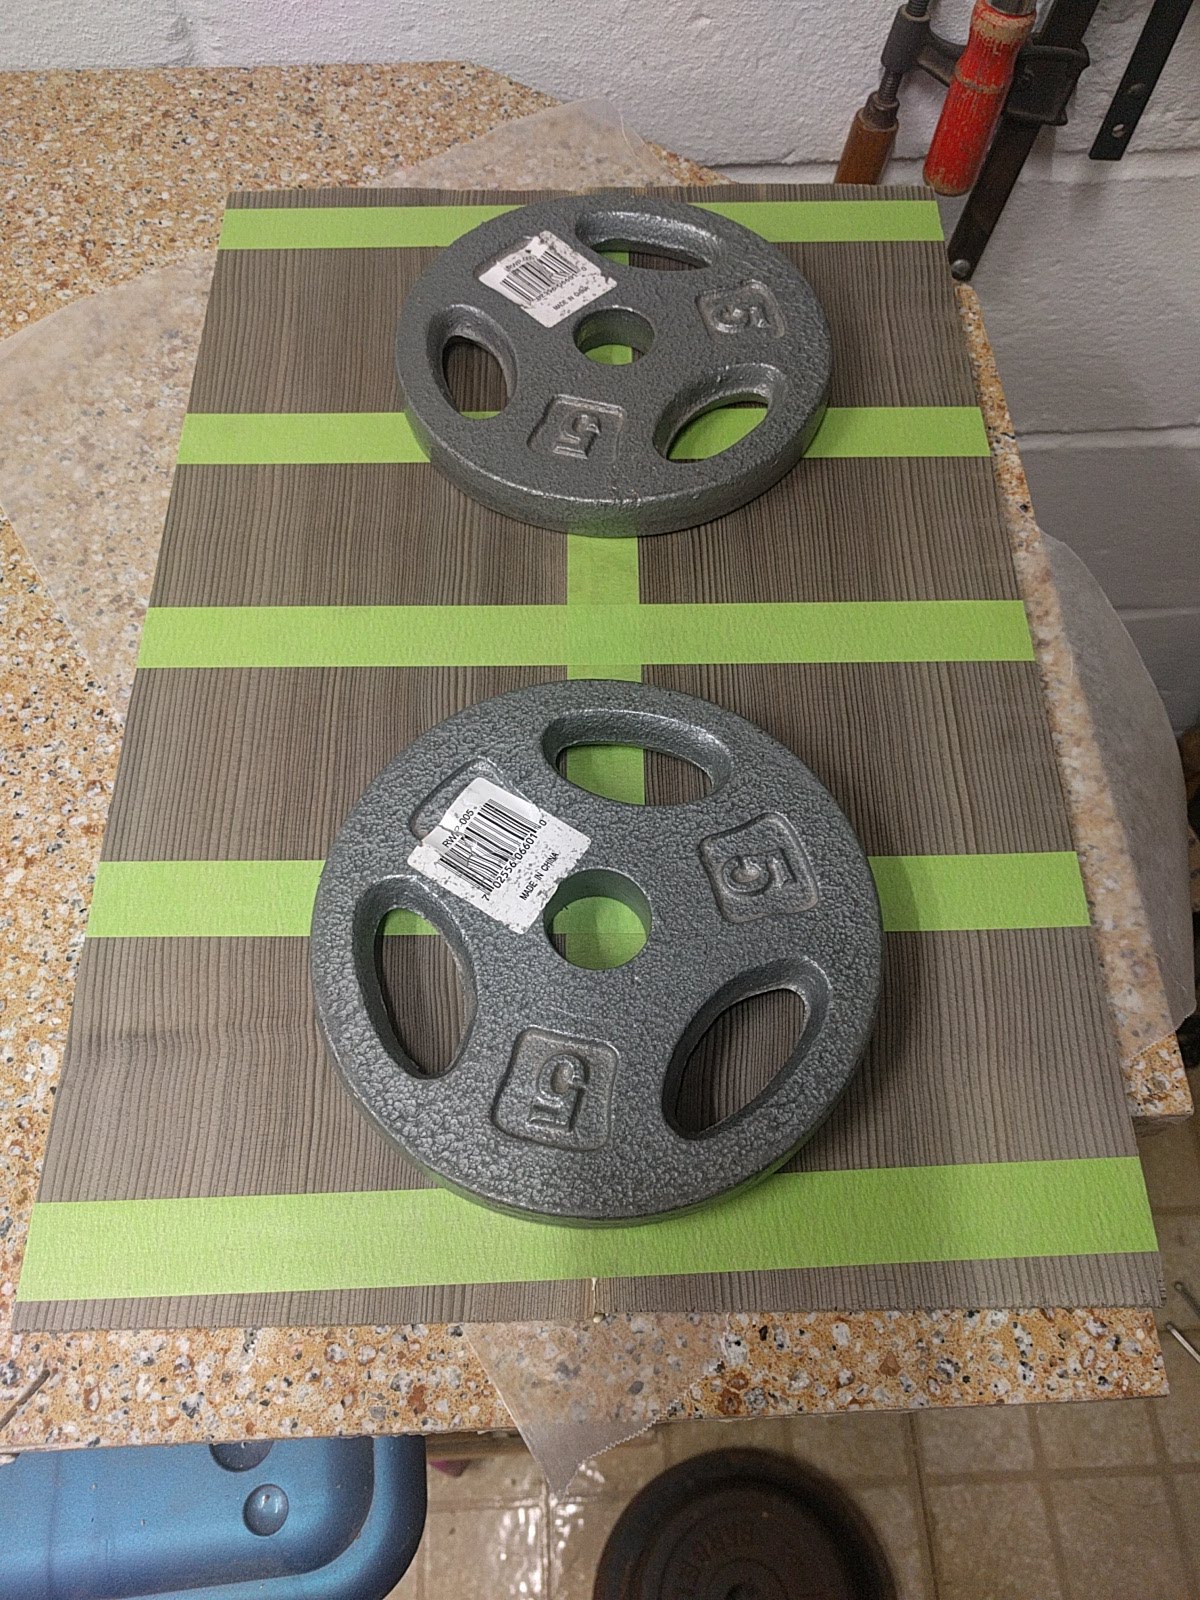
Now the plates are placed on a piece of wax paper, on a perfectly flat surface (a quartz sink cut-out from a kitchen countertop), and the sides are pressed down, stretching the tape, which pulls one plate tight against the other. When the plates are flat they kind of snap into place and little force is required to keep them flat. I take a small hammer and tap along the seam to make sure that the edges are flat against the quartz surface since that will be the show side and to maintain the best bookmatch you want to do as little sanding as possible on that side. A couple of barbell weights to keep things down, and you are done. No equipment needed for gluing other than a roll of tape and a flat surface. No clamps to tighten, easy to make sure that the show edges are flat. Fast, easy, and you can do as many sets at once as you have flat surfaces.