It is rosette time. I really like mother-of-pearl, and I like the ‘bling’ of a pearl rosette, so that is what I make (except on sopranos for which you can not charge enough to do the pearl work). Here is a brief history of how I go about making a rosette.
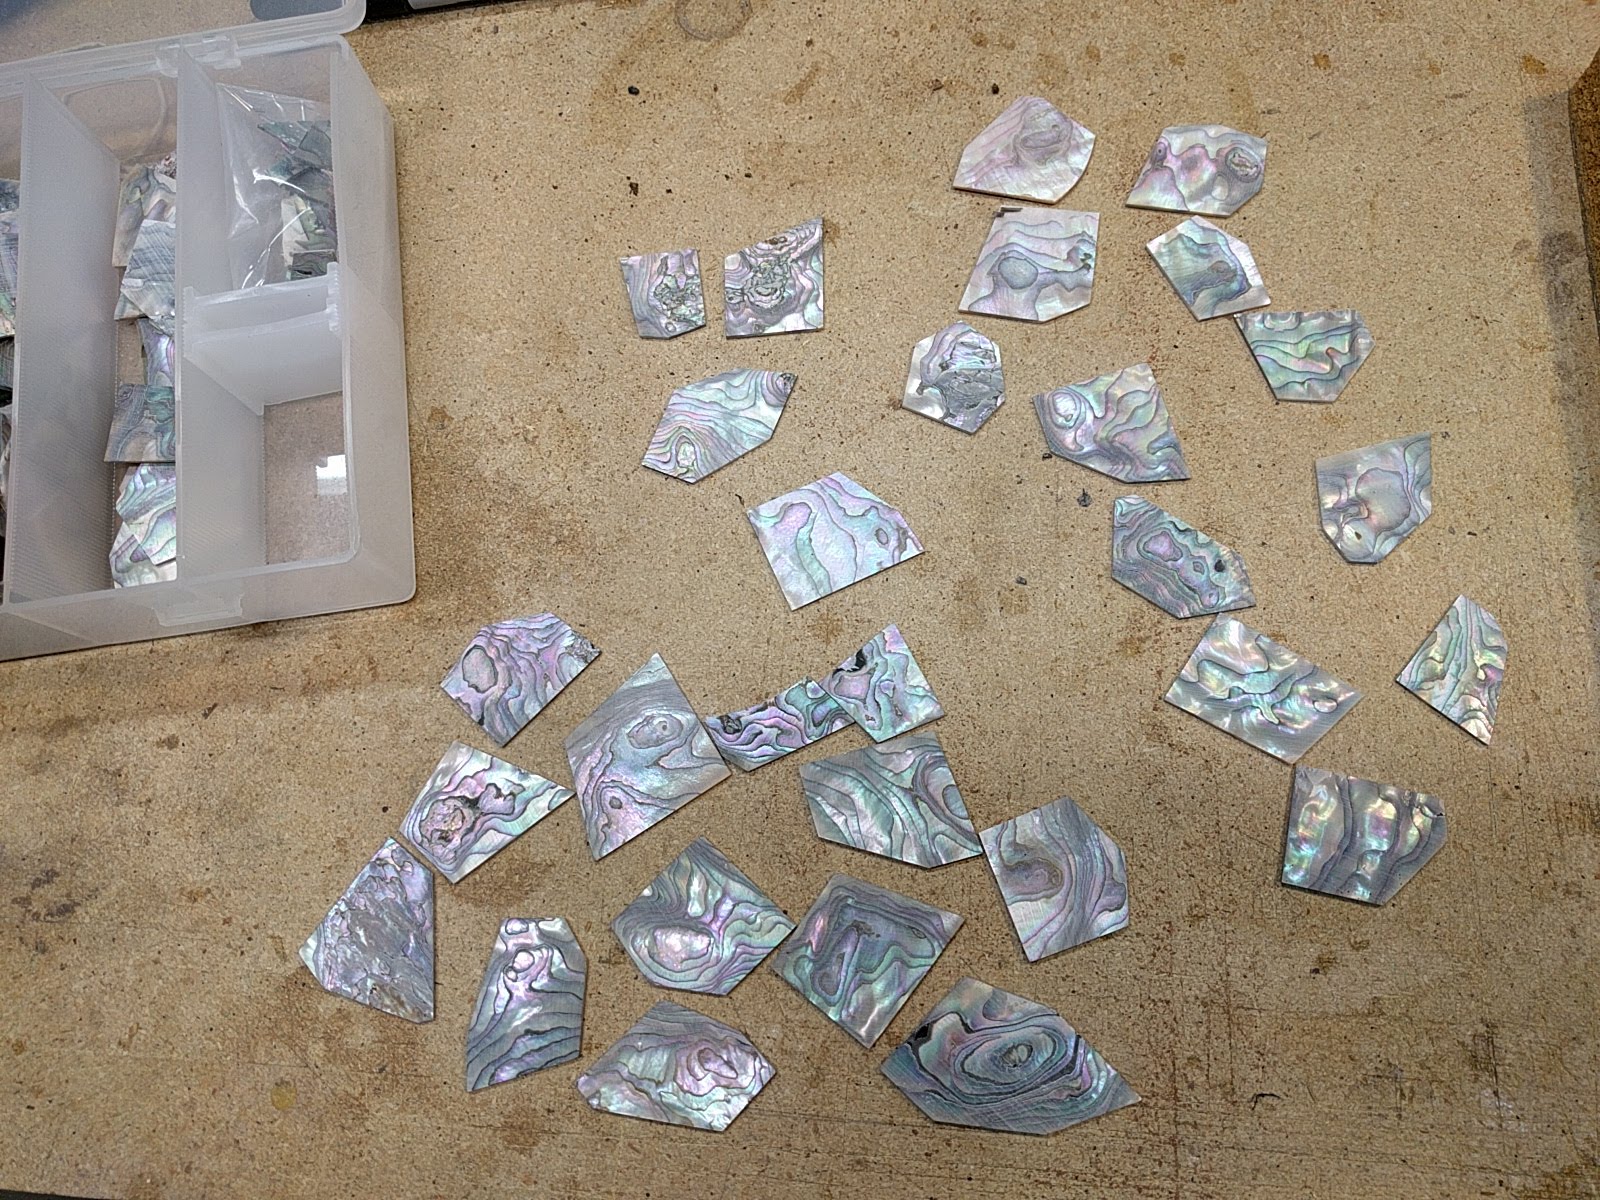
To start with, you get out the pearl stash, decide on what kind of pearl to use, and then go through the stash selecting pieces which closely match in terms of color and texture. This is always kind of fun. (Did I say that I like pearl?)
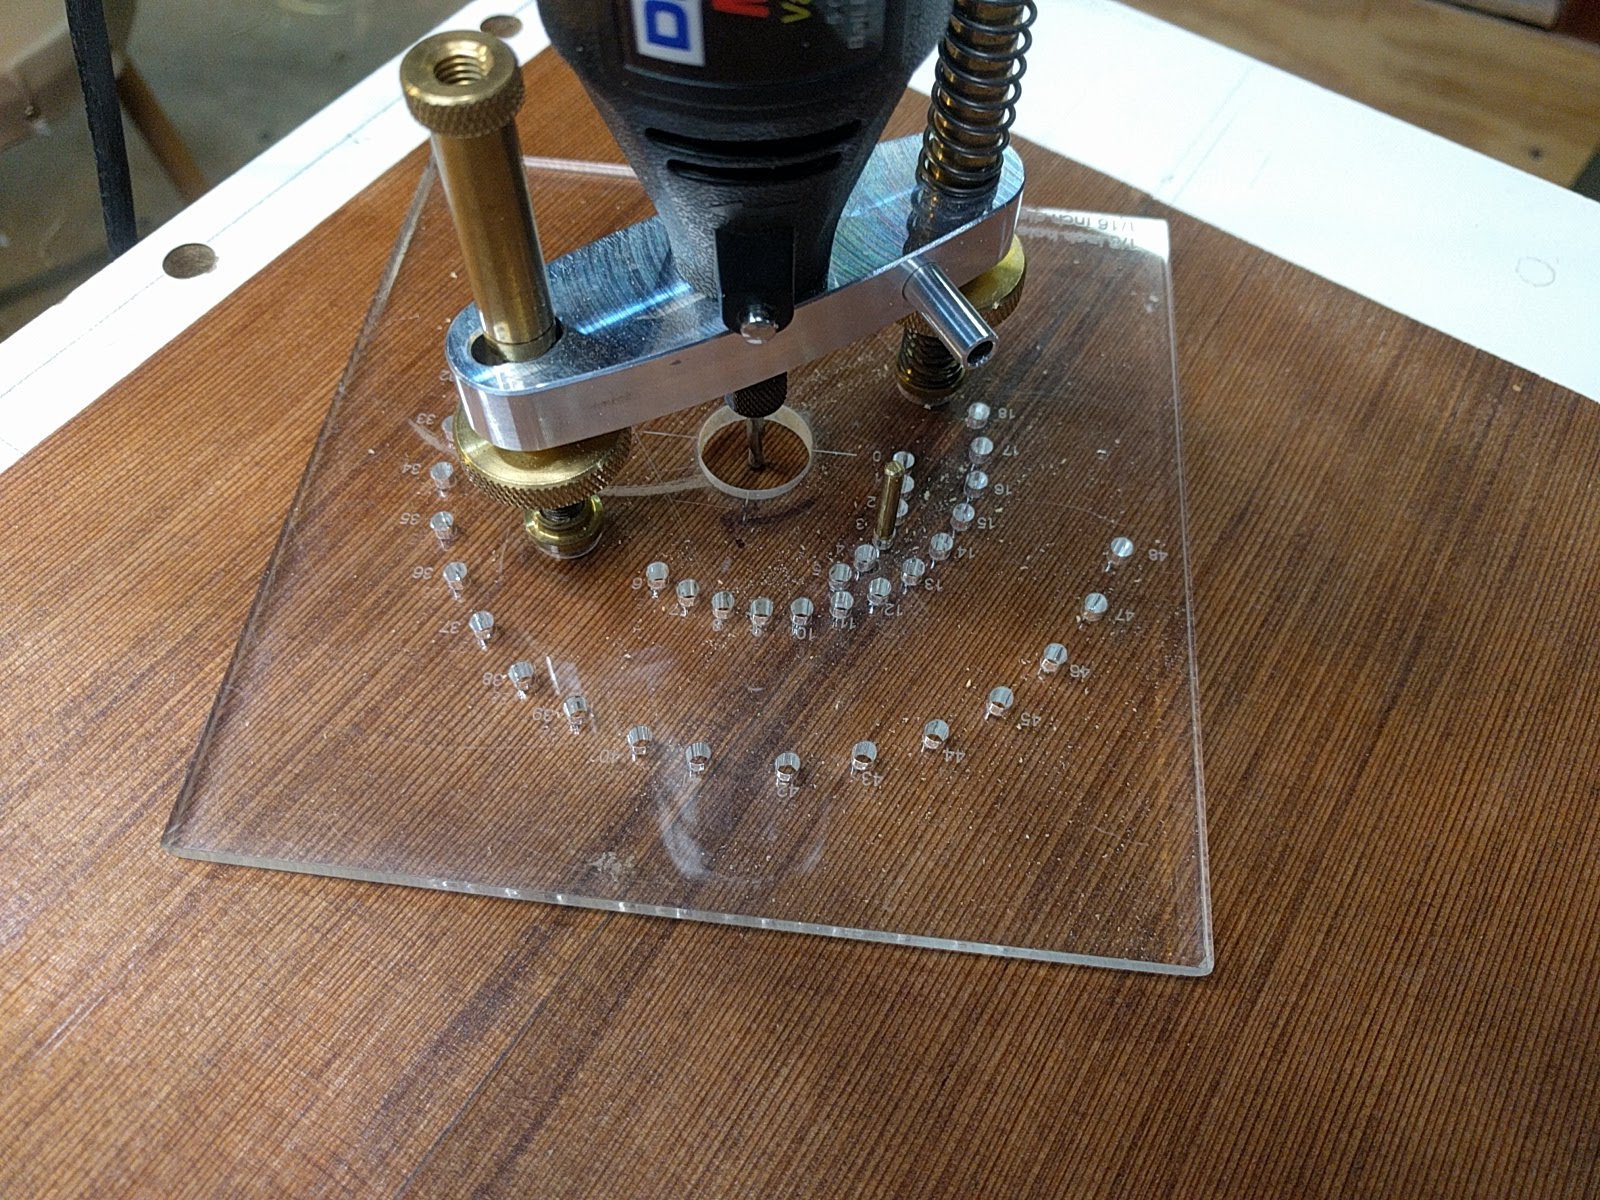
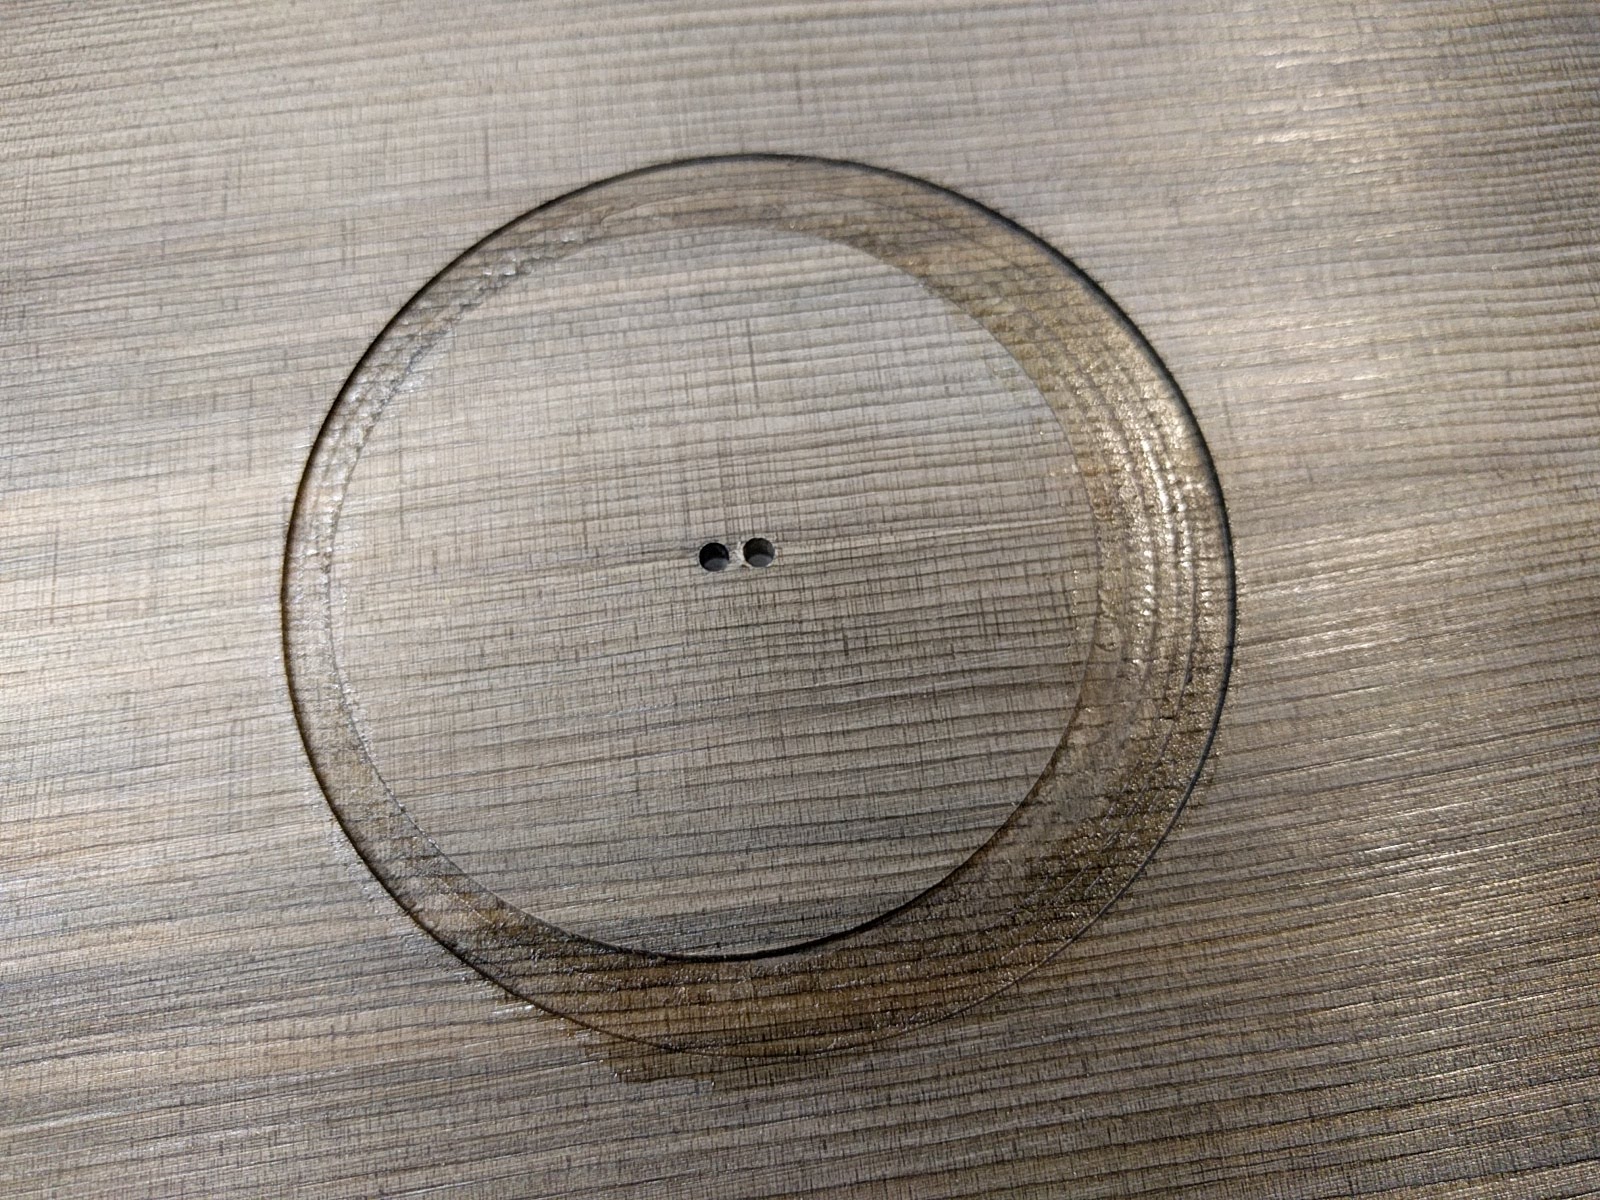
To cut the channel into which the pearl will be placed I use a base I designed for the Dremmel router base from Stewart MacDonald. This base has a series of holes which become pivot points around which one swings the Dremmel router. The holes are numbered, and are laid out so that one hole cuts a circle that is 1/32 of an inch larger in diameter than the previous hole. This allows great control over the size of the channel that is cut, and allows exact reproducibility. Using the #18 hole always cuts exactly the same size circle. You drill a 1/8 inch hole in the top as the pivot point (or 2 holes 3/16 of an inch apart to make an asymmetric rosette) put the top down on a flat board which also has a 1/8 Inch hole, add a brass 1/8 in pin, and around you go. The depth of the router is set just a smidge less than the thickness of the pearl, so that he pearl can be sanded flat when everything is installed.
The result, using 2 holes and moving the pivot pin between cutting the inner circle and the outer circle, and a bit of cleanup, is an asymmetric rosette channel.
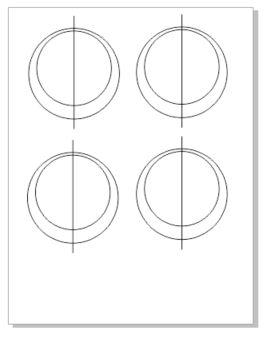
I take measurements of the inside and outside diameters, and the width of the purfling to be used, and then using a drawing program can create an exact pattern for the pearl to be cut. I just print this out. Remember, the holes in the router base make things exactly reproducible, so for a given rosette and purfling I only need to this drawing once and can use it unchanged every time to cut this sized rosette.
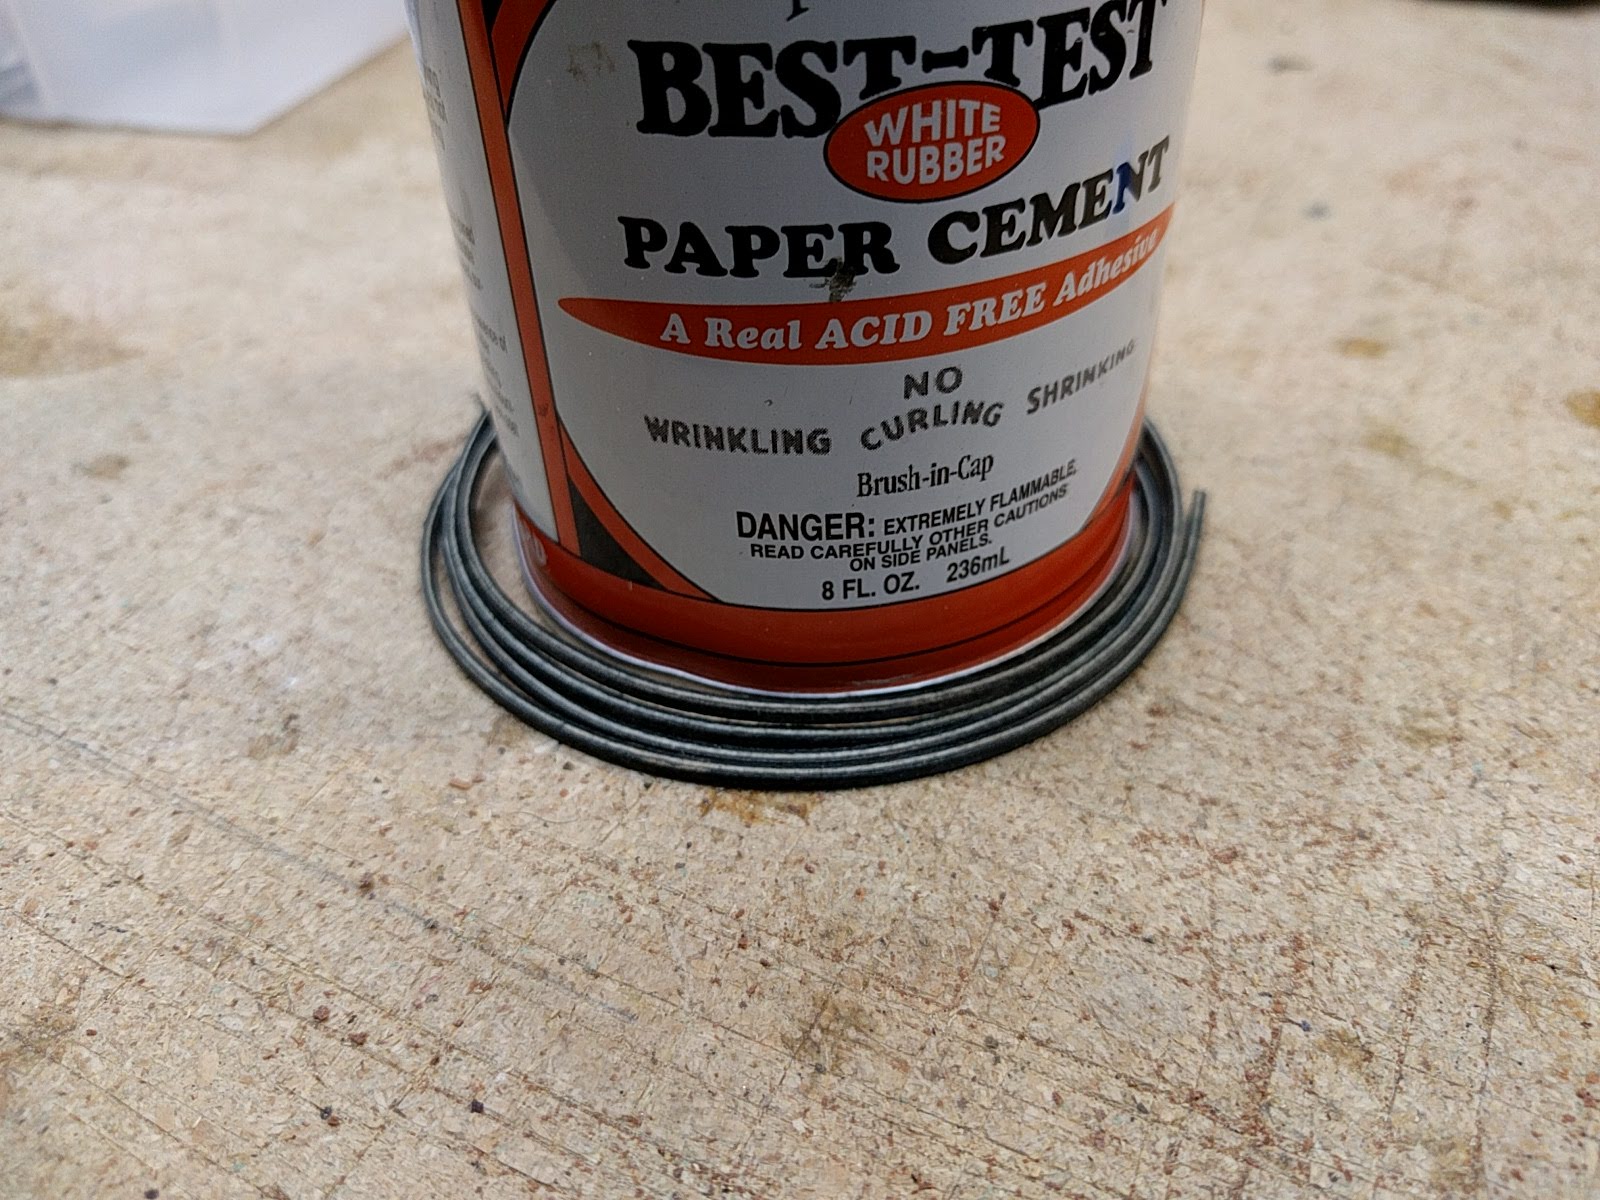
The pufling is pre-bent to go around the perimeters of the rosette. I find that with the standard black-white-black purfling I can wet it a little bit, wrap it around my rubber cement can, let it dry and I am good to go.
To cut the pearl itself I start with the paper pattern, select a piece of pearl based on color and grain, and then holding the pattern and pearl up to the light I can position things so that I waste as little as possible. (This is for a spiral rosette). I make a pencil line where the edge is, and cut out the piece of paper.
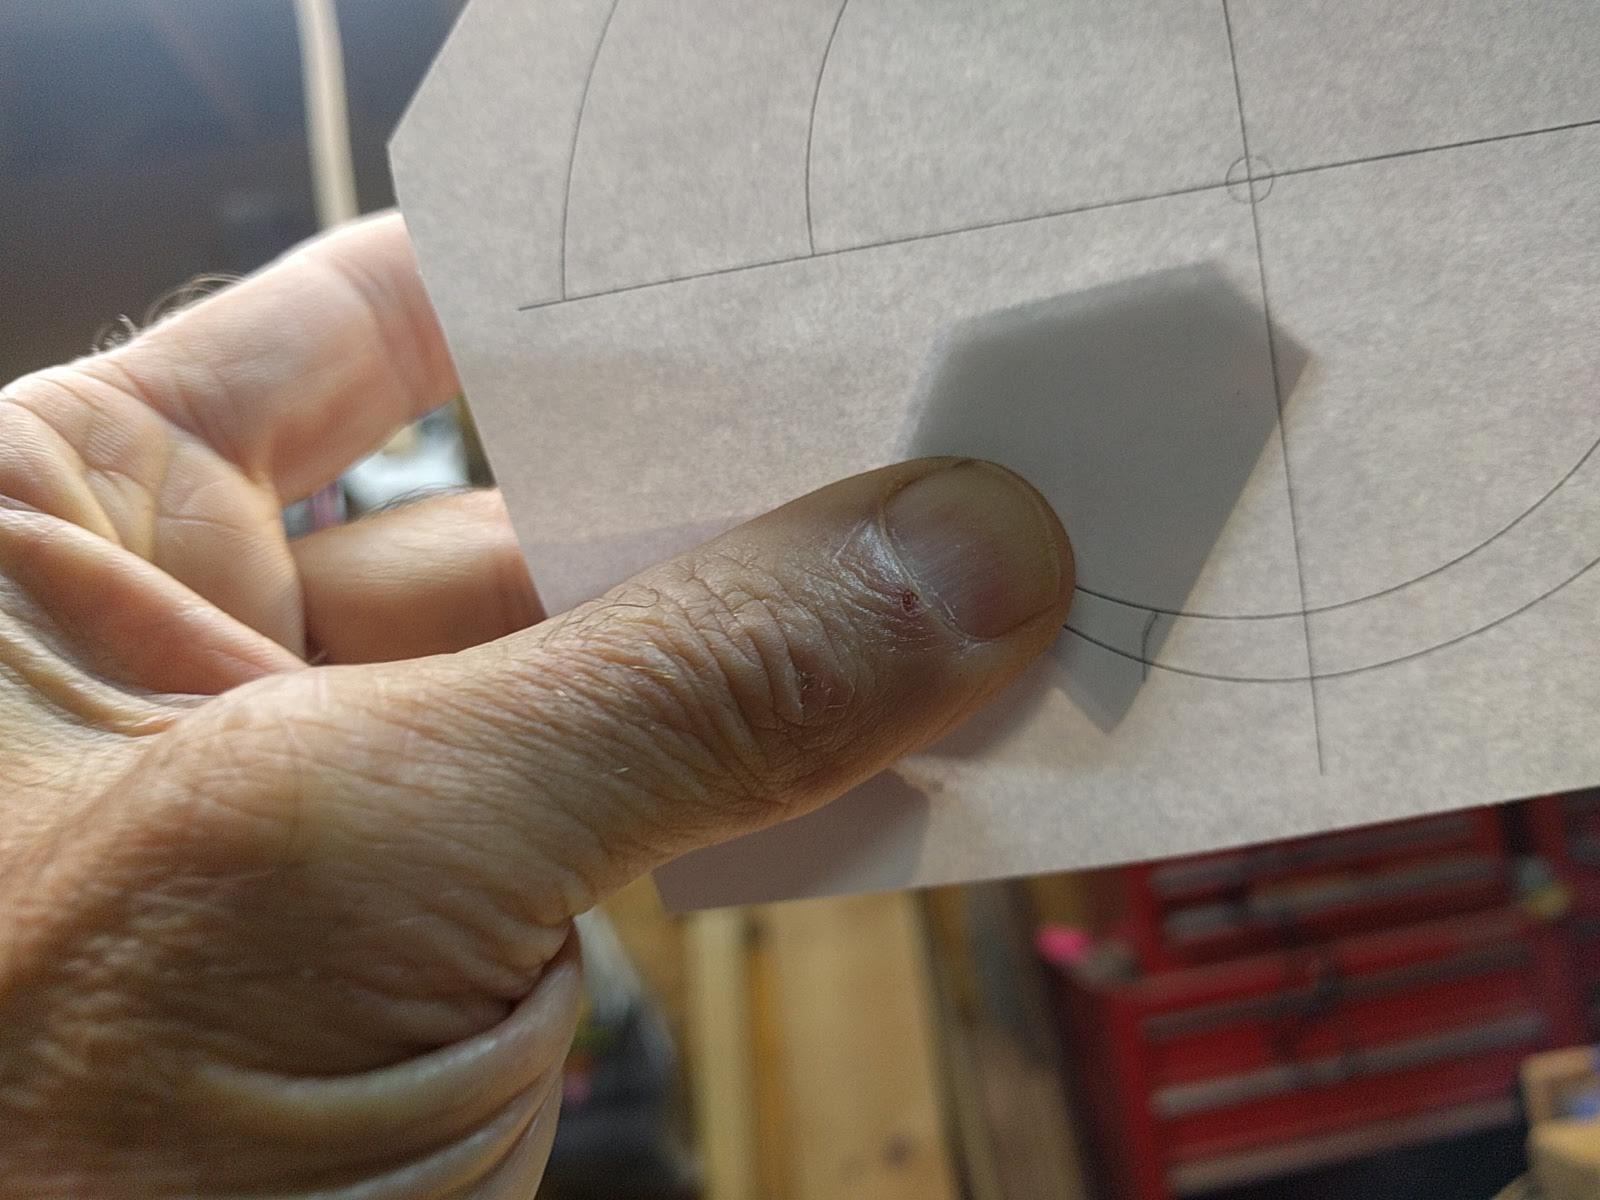
I then take a small piece of scotch tape and tape one side of the paper to the pearl, to form a little hinge.
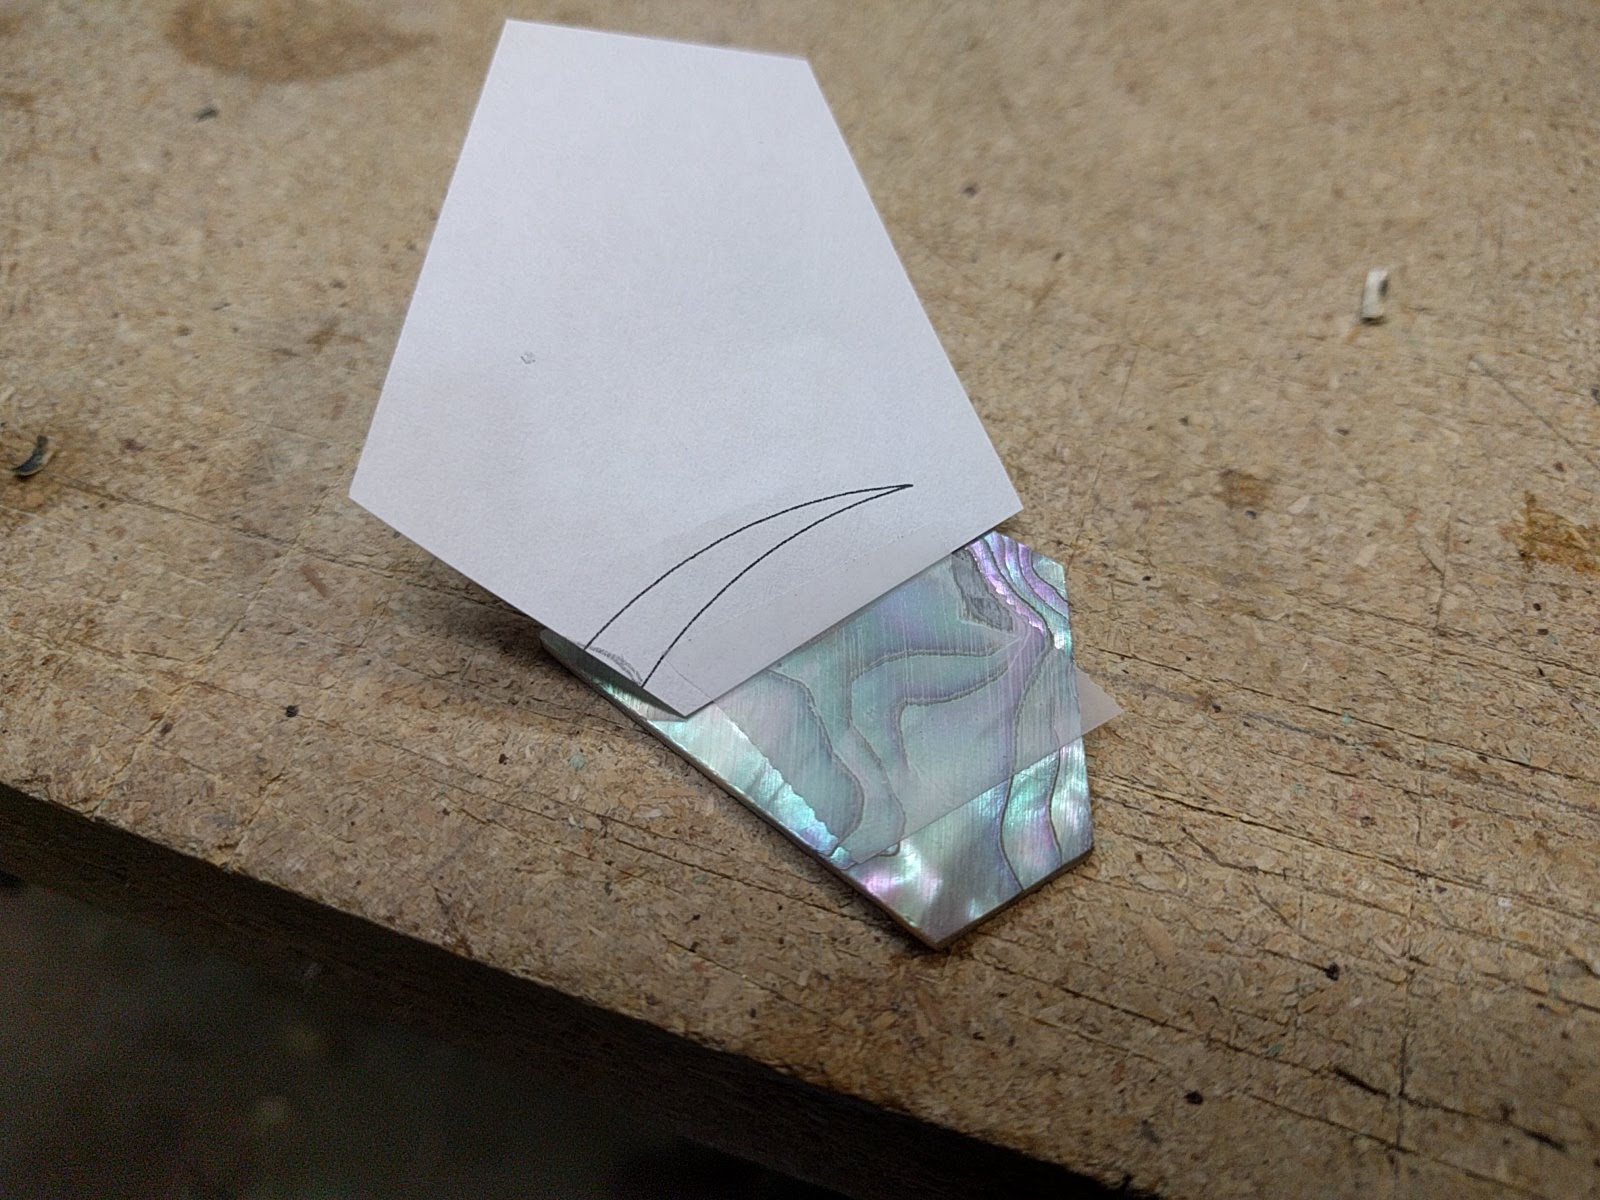
Using this hinge I can bend the paper pattern back, rubber cement the pearl and paper, let them dry and them hing the paper down to stick the pattern in the exact right spot. The pearl is cut with a jewelers saw, on a small platform with a hole in it through which one saws in an up-and-down motion. The sawblades go from fine to a hair so thin one can just barely see the teeth. For cutting rosettes, which does not involve a great deal of detail, I can use a ‘moderate’ thickness blade.

So you cut out a piece, maybe do a bit of filing so that it goes in the rosette channel, between the inner and out purfling, and put it in channel. Then you simply continue the process with the rest of the paper pattern, trying to match pearl color and grain as you go. When all the pearl is in place you flood the rosette with thin CA glue which wicks in and seals everything together. When the CA is hard the surface is sanded off to level the pearl with the top. The result is, rosettes:

Clockwise from the top – redwood concert top & asymmetric rosette in paua abalone, cypress tenor top (this is going to be a ‘Florida’ tenor) & spiral rosette in pink abalone, baritone ancient sitka spruce top & asymmetric rosette in pink abalone, tenor redwood top with asymmetric rosette and lower point (suggested by the customer) in paua abalone.