A side sound port is a popular new addition to the acoustic instrument making business. I was initially somewhat skeptical, but after I built my first one I was sold. It seems to really increase the overall sound and, as one of its popular benefits, it directs more sound up to the player. Many instruments now come with side sound ports, but many of them seem to be just a hole in the side, which has always seemed rather ‘unfinished’ to me. I really prefer having lines of purfling/binding around the edges of the sound port. Makes things look much more finished I think. I have been working on the best ways to add these purfling lines, and here is my current process.
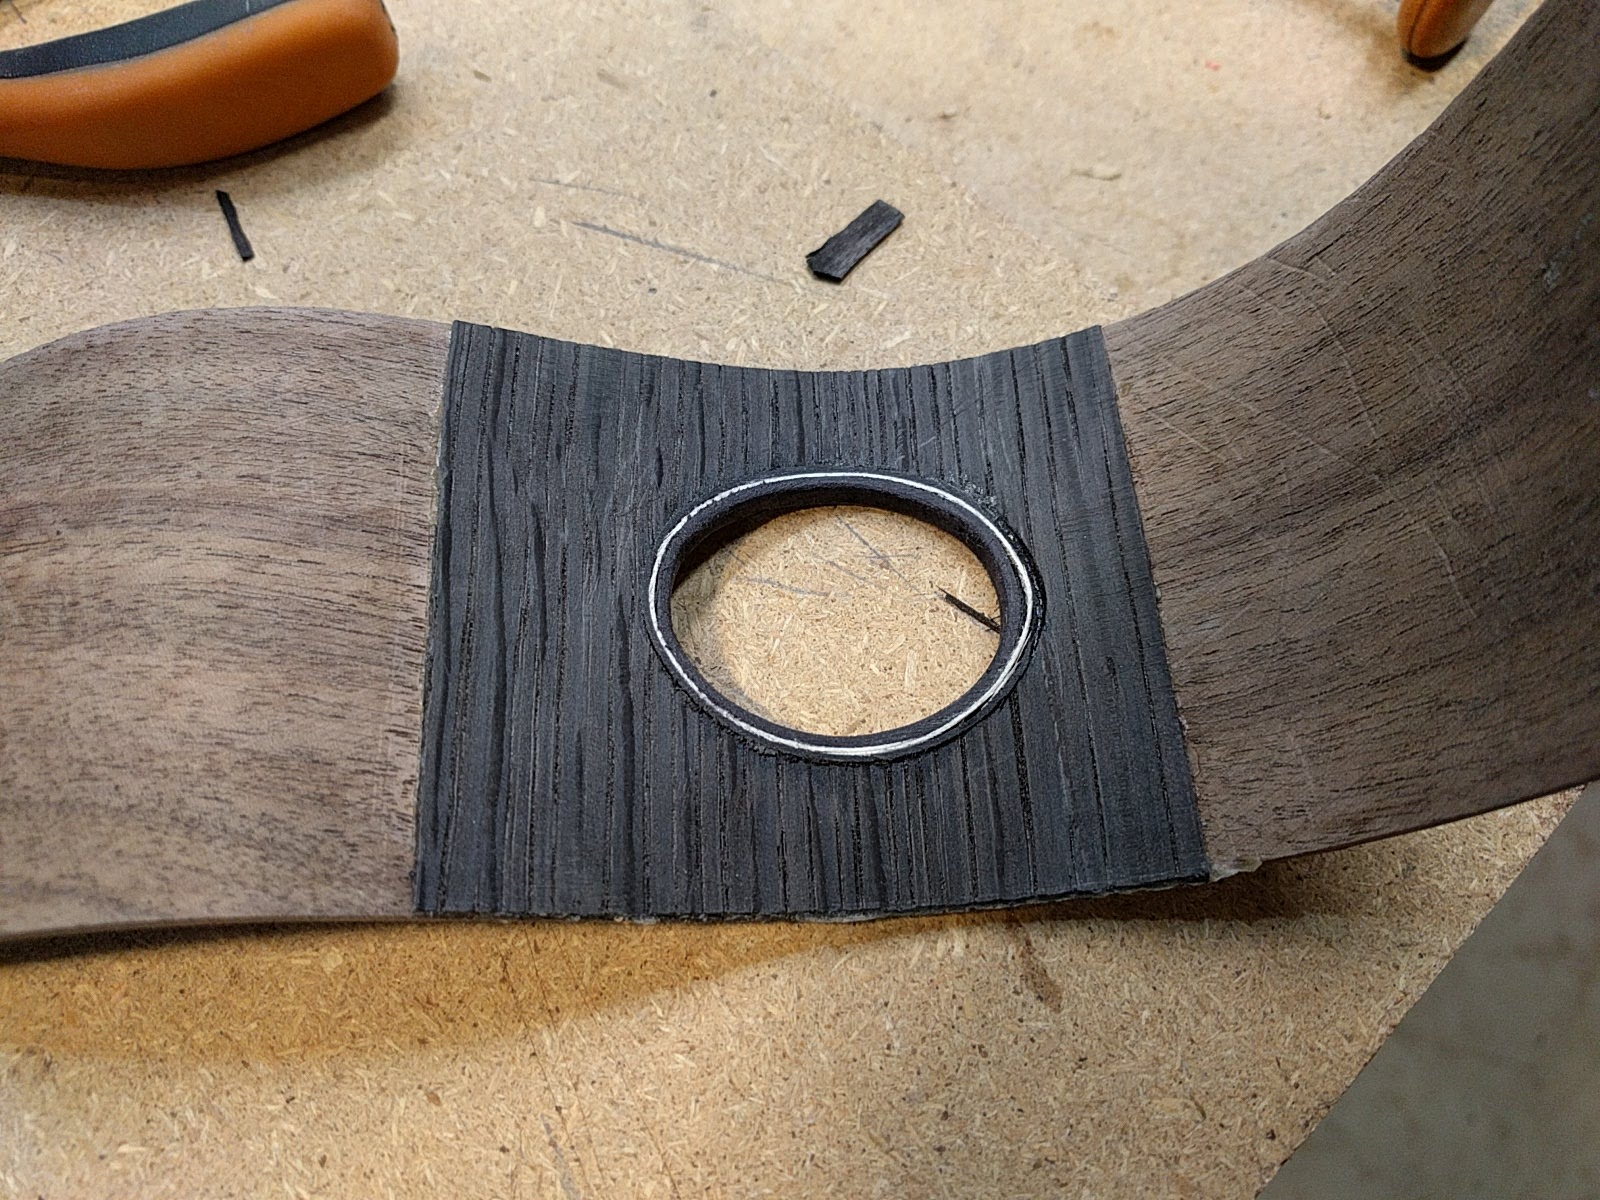
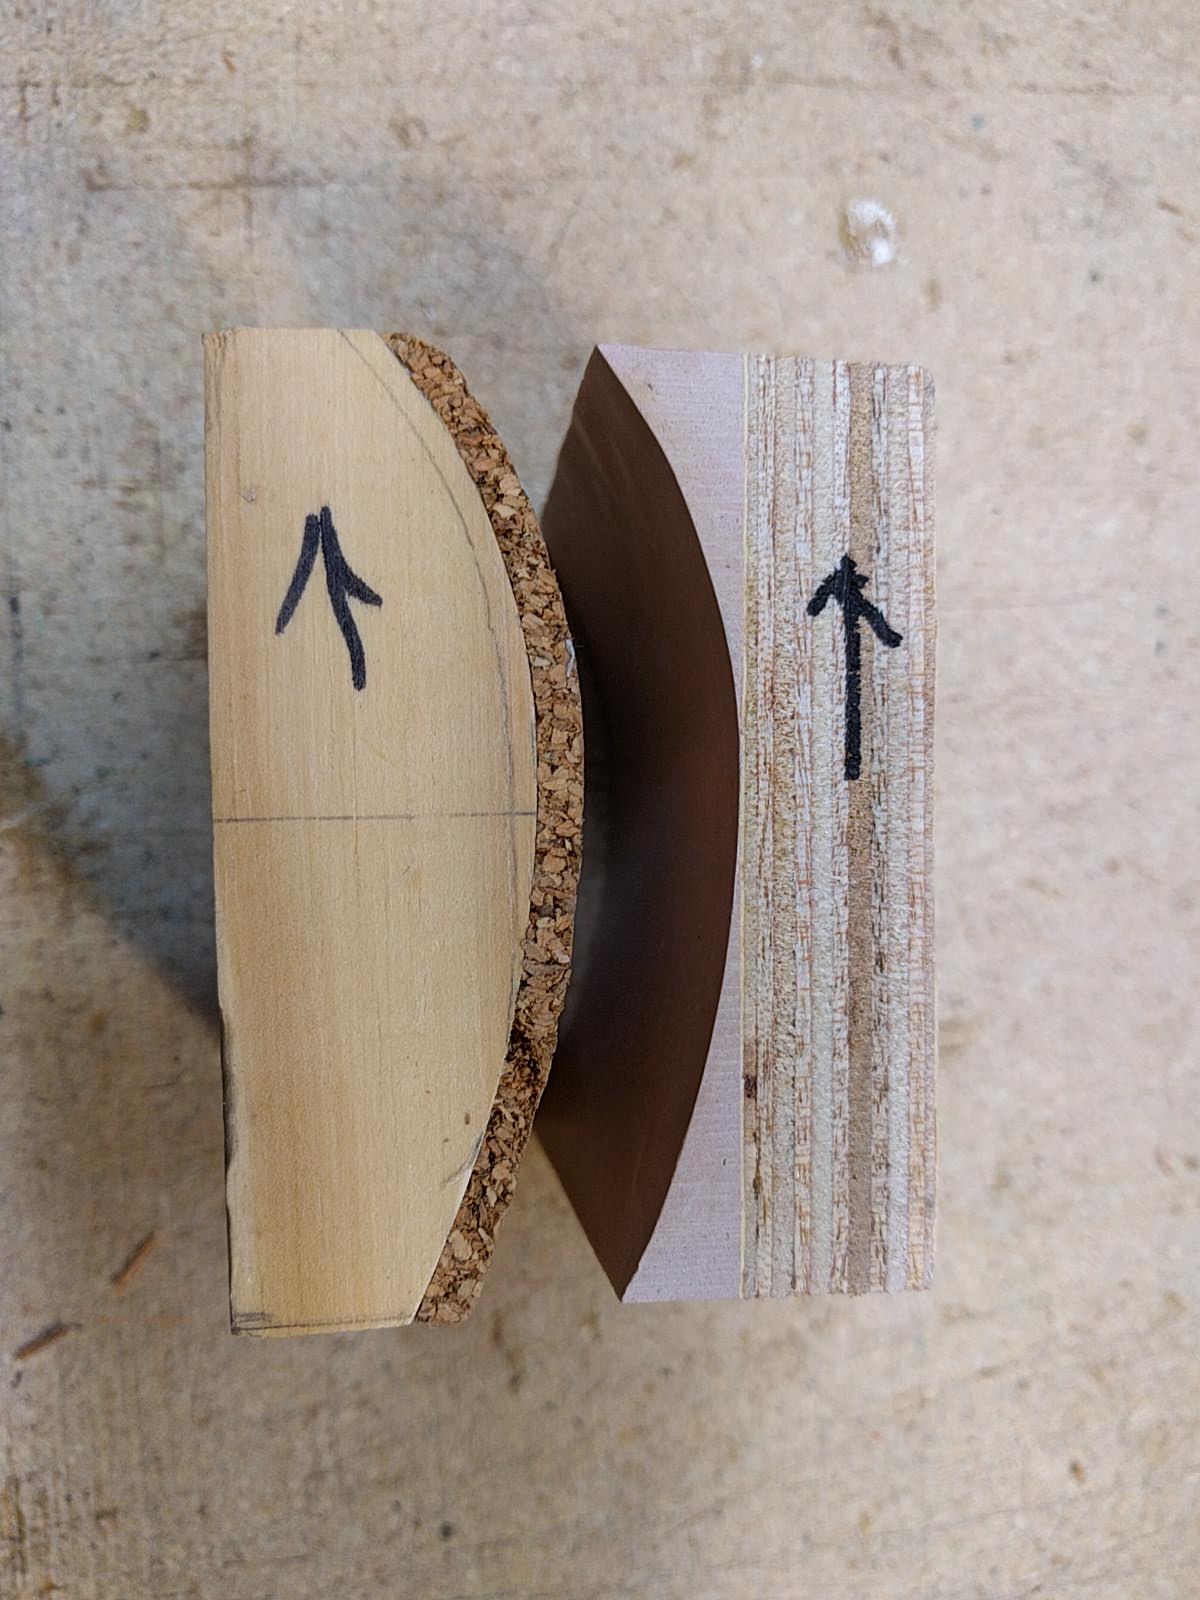
The first step is to glue in a piece of veneer wood, with the grain cross-wise to the grain of the side, to strengthen the side since one is going to cut a hole in it. The veneer bends easily around the curve of the side since the grain is along the axis of the bend. The only issue is clamping the veneer in place while gluing. To do this I made an inside caul, sanding the block until it fit the curve of the side (different ones for concert, tenor, and baritone). To make the outside caul I used the trick of a blob of bondo auto-body putty, with a piece of wax paper, and you just push the inside caul into the blob to get a perfect match. I lined the inside caul with a bit of cork to take up any slight irregularities.
I also started gluing the veneer to the side before I glue in the kerfed linings. This lets the veneer run the full width of the side for strength, and is much easier to clamp and glue. In fact, I have started doing the entire side sound port before gluing in the kerfed linings, makes triming the inside much easier.
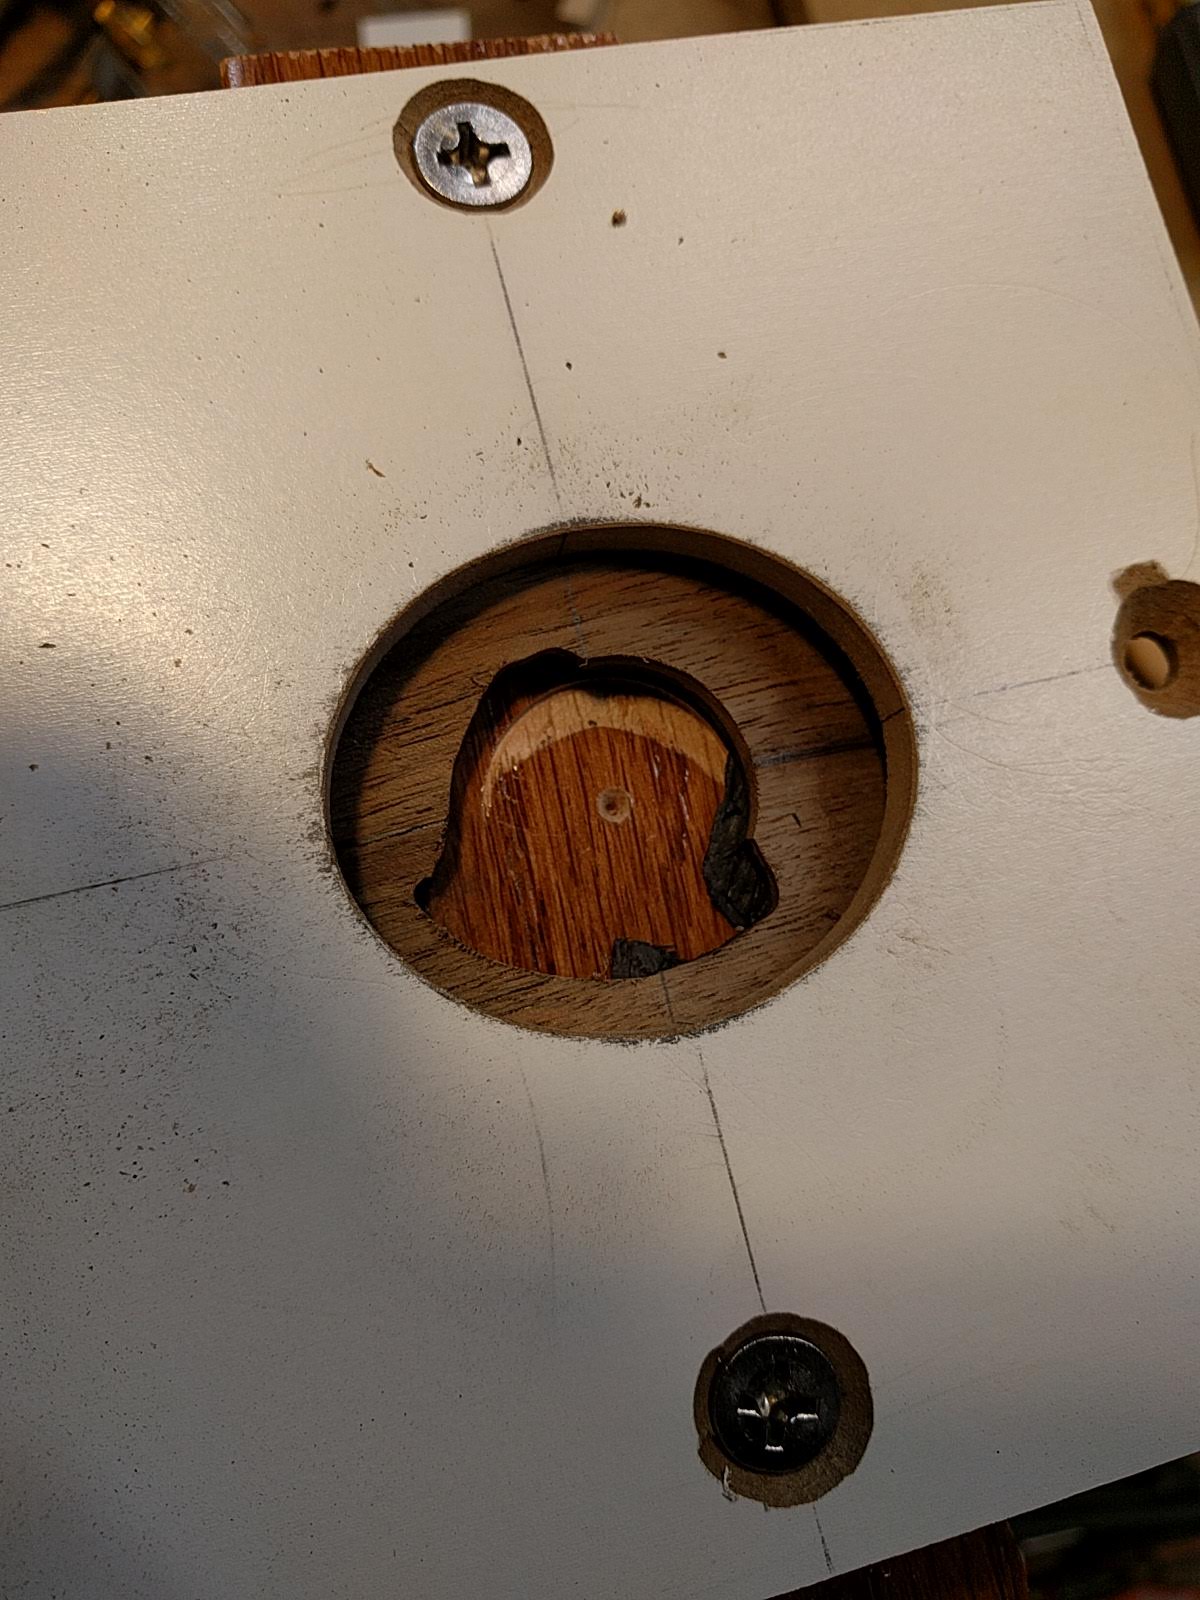
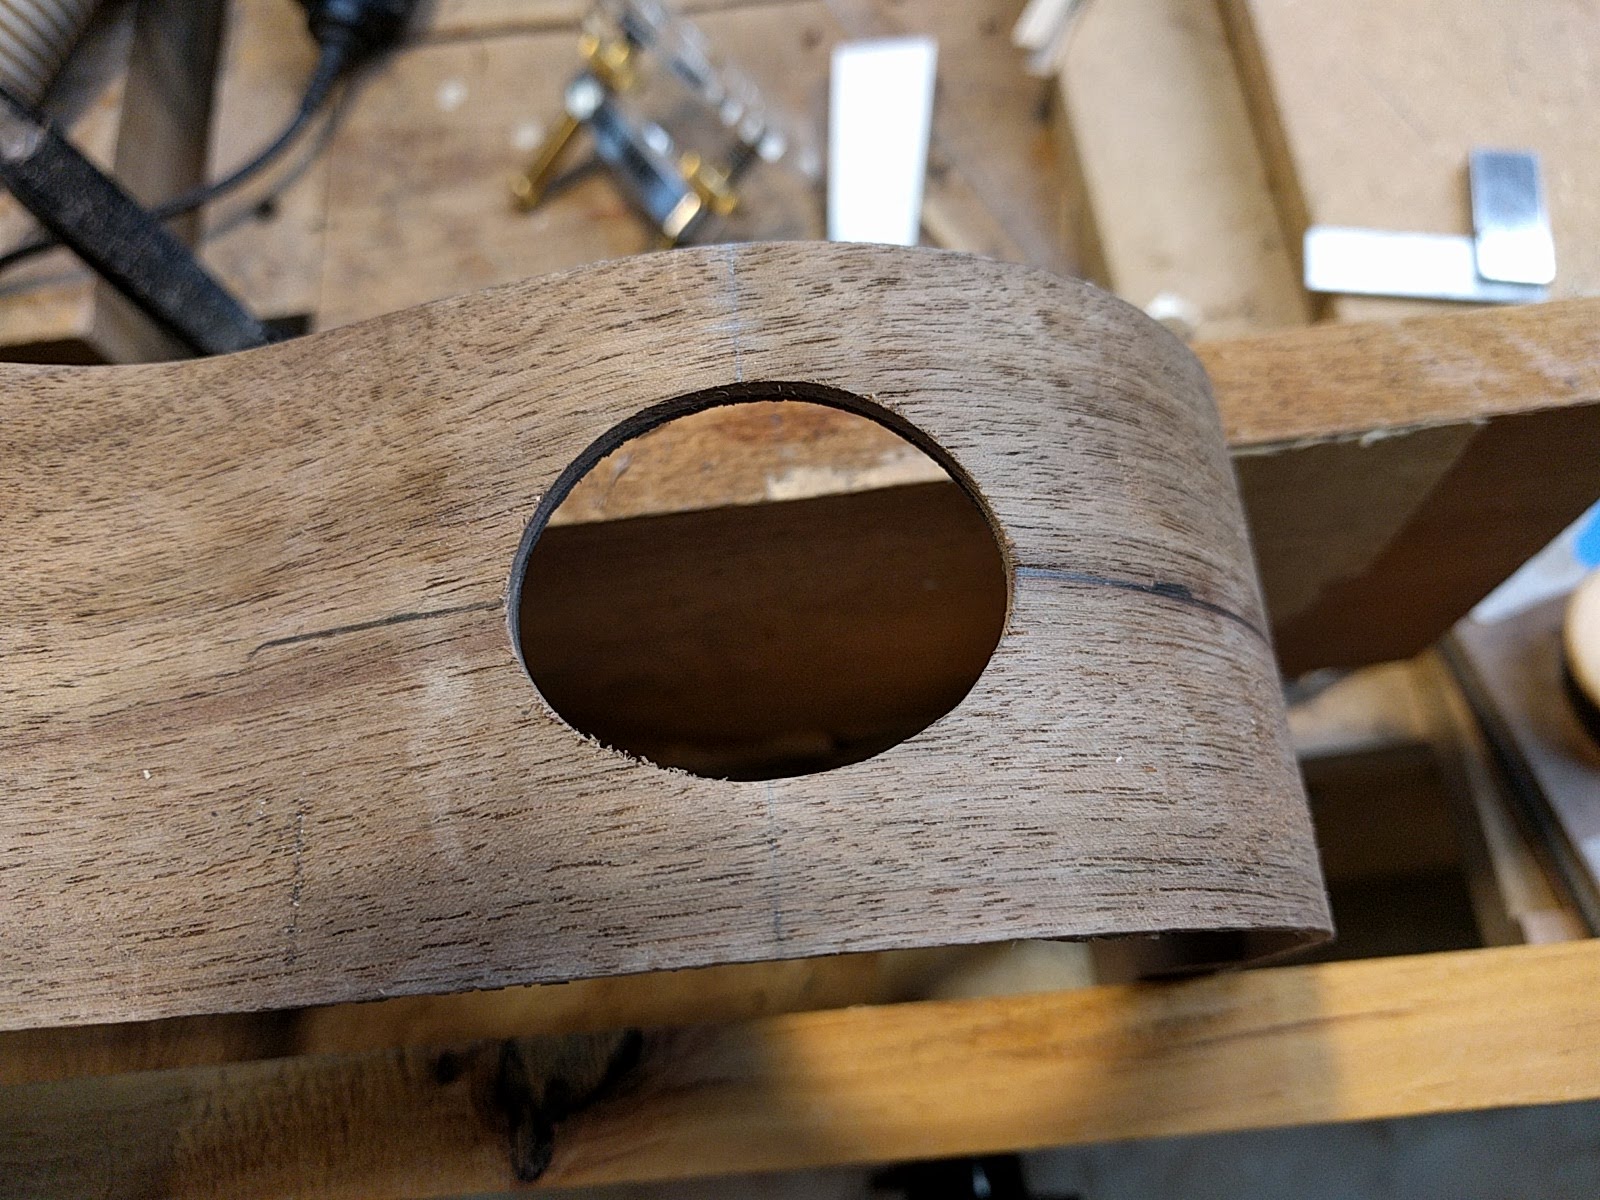
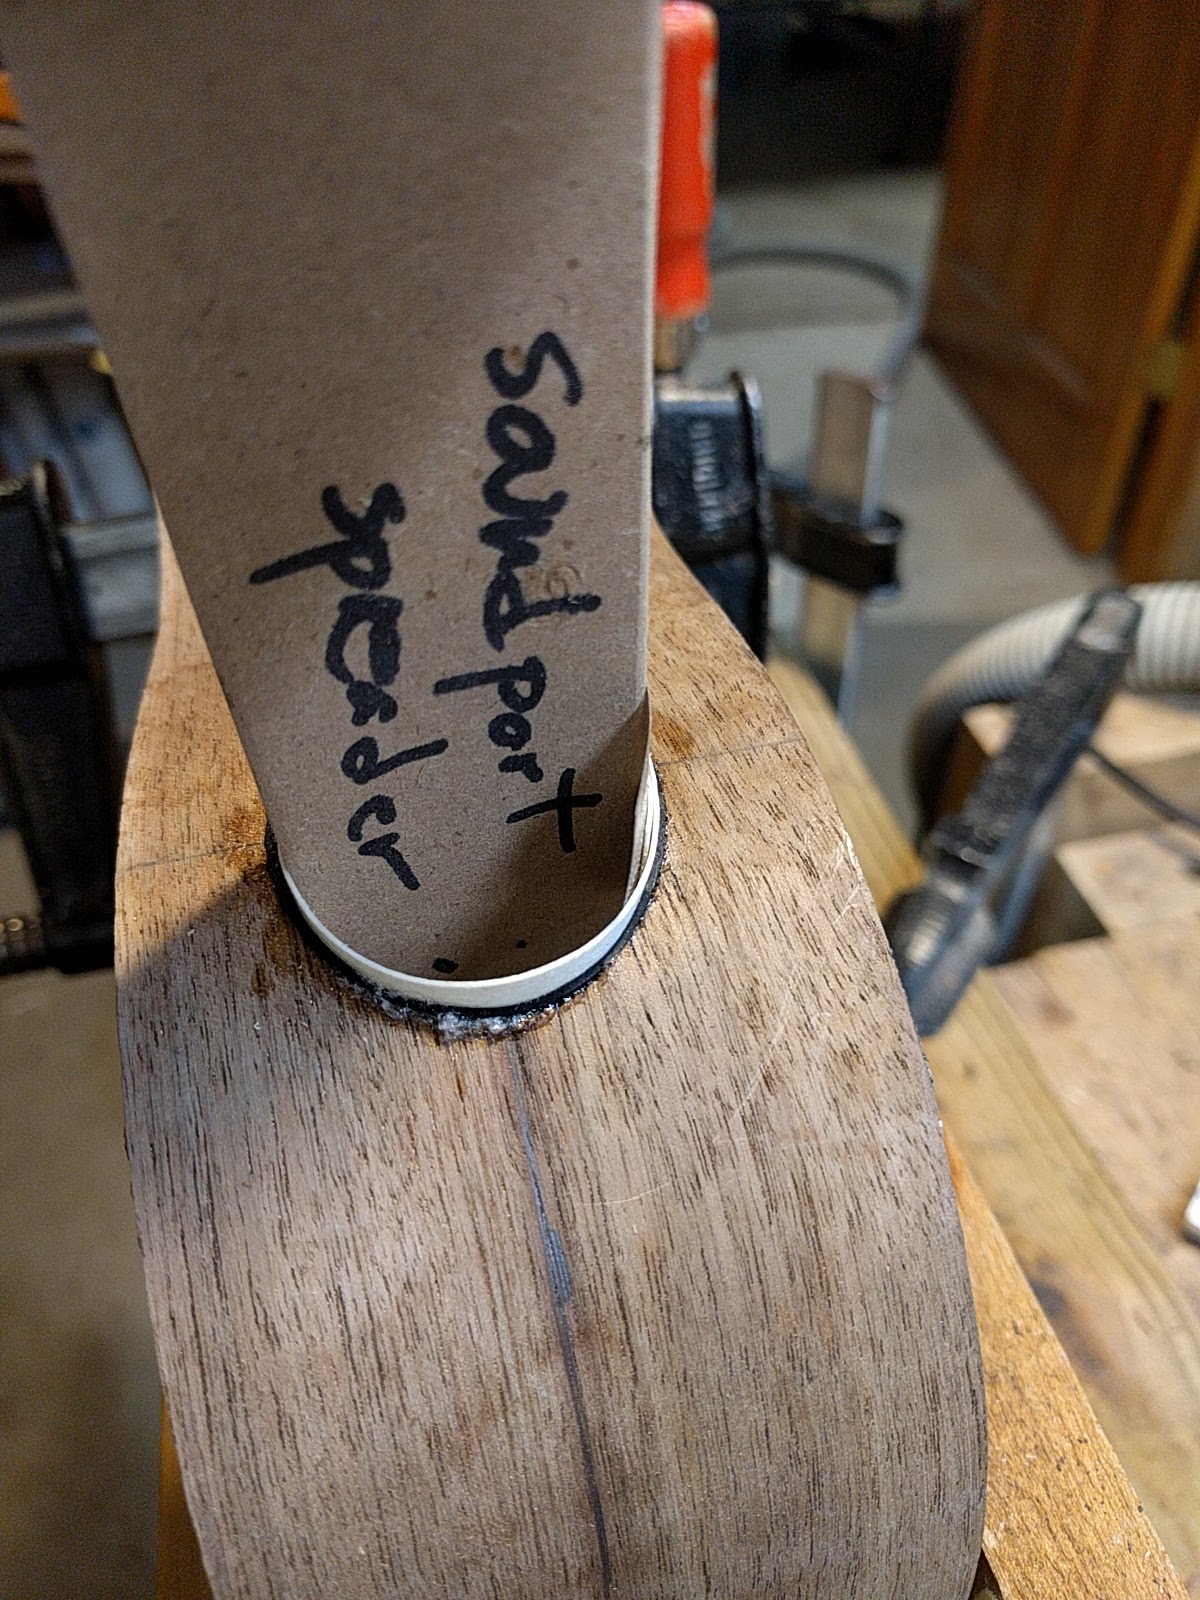
To cut the hole I made an oval pattern which then clamps onto the side of the instrument.

A while back I took a metal machining course and made a base for the Stewart Macdonald dremmel router that takes standard router template bushings. These are available in a number of incremental sizes, so I can determine the size of the oval hole cut by choosing the appropriate bushing.

To start the hole I cut out the middle with a forstner drill bit. Then I can use the dremmel to route out the remainder, leaving a nice oval hole, with the sides parallel in an up-and-down direction.
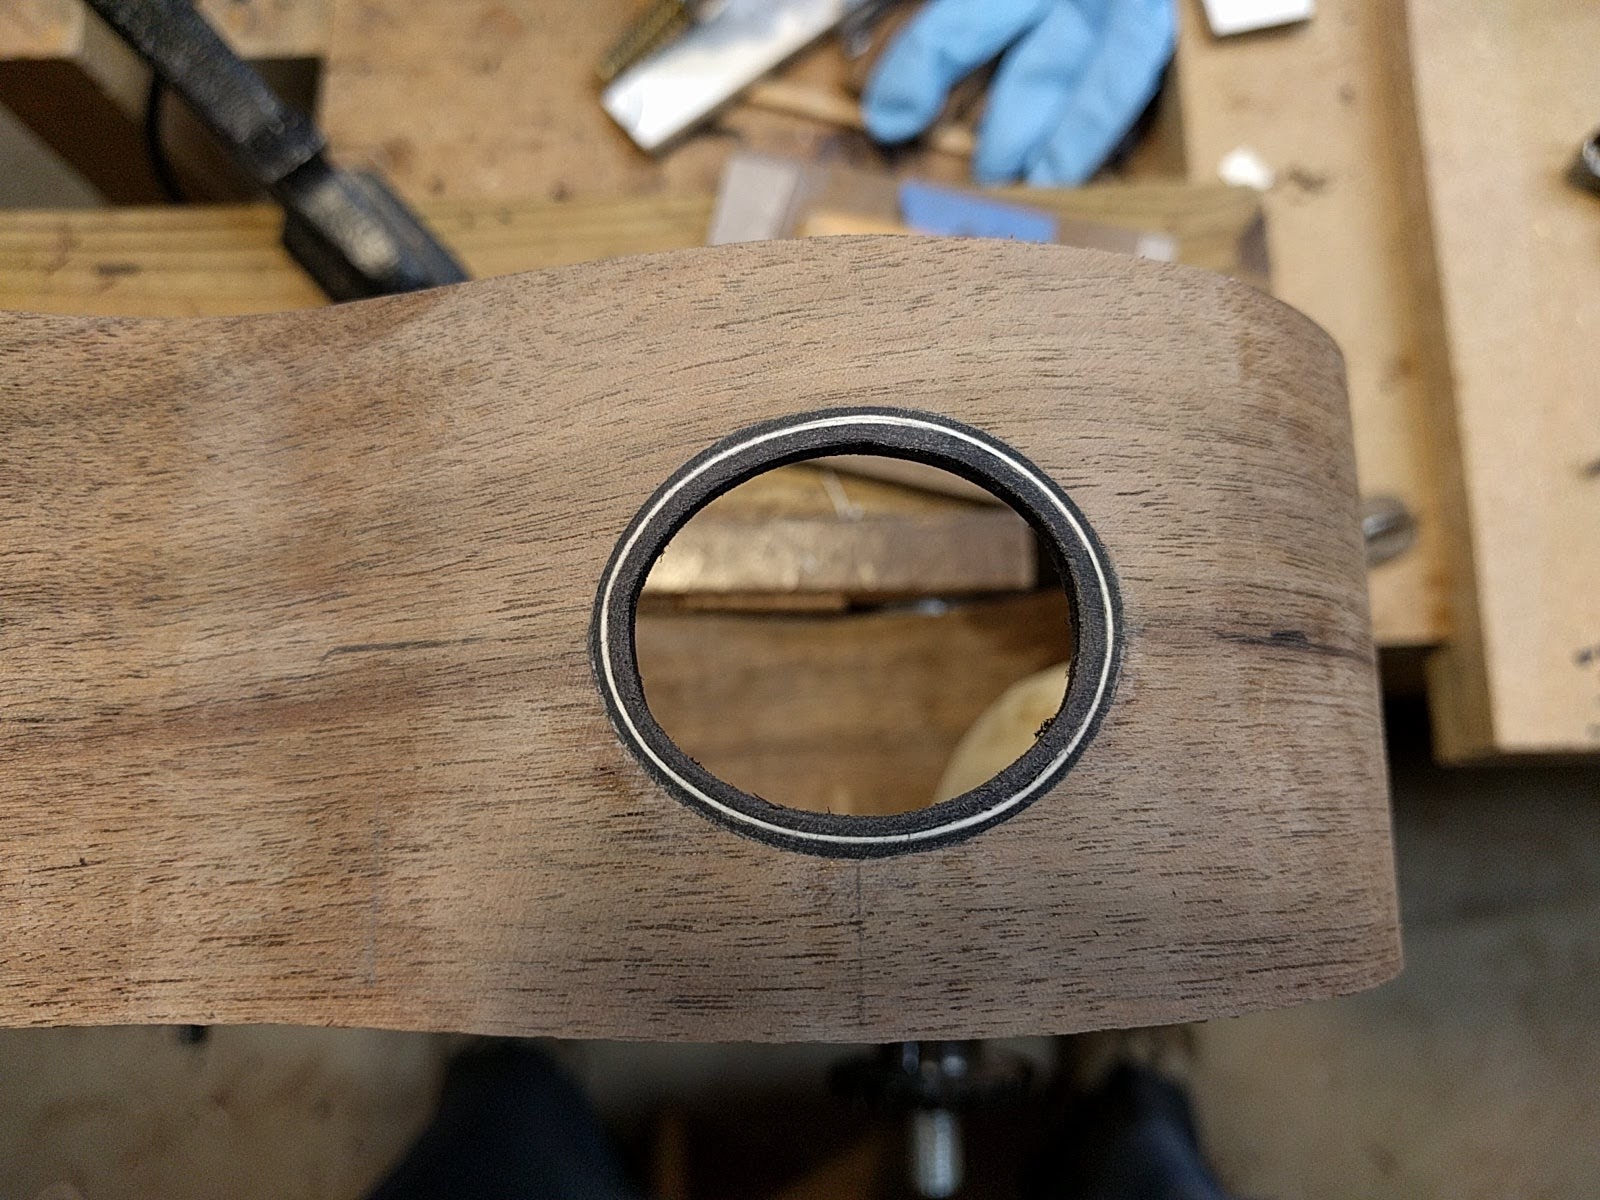
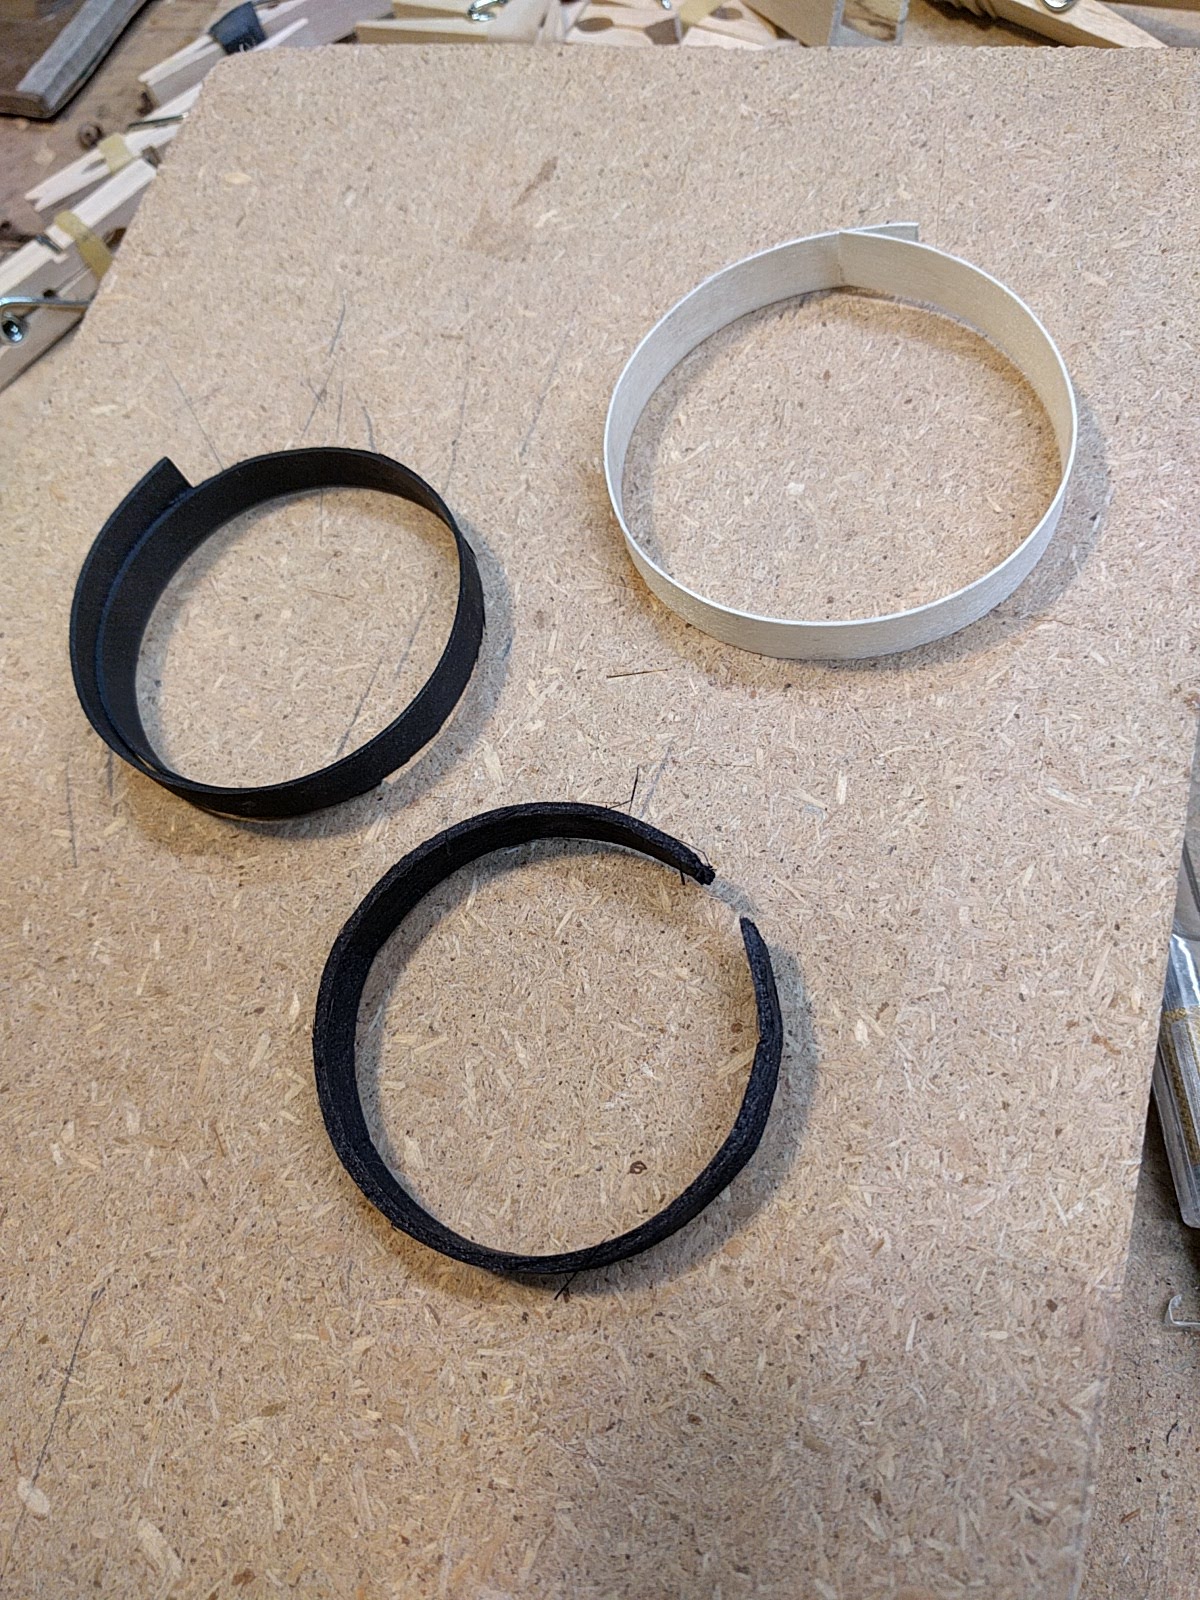
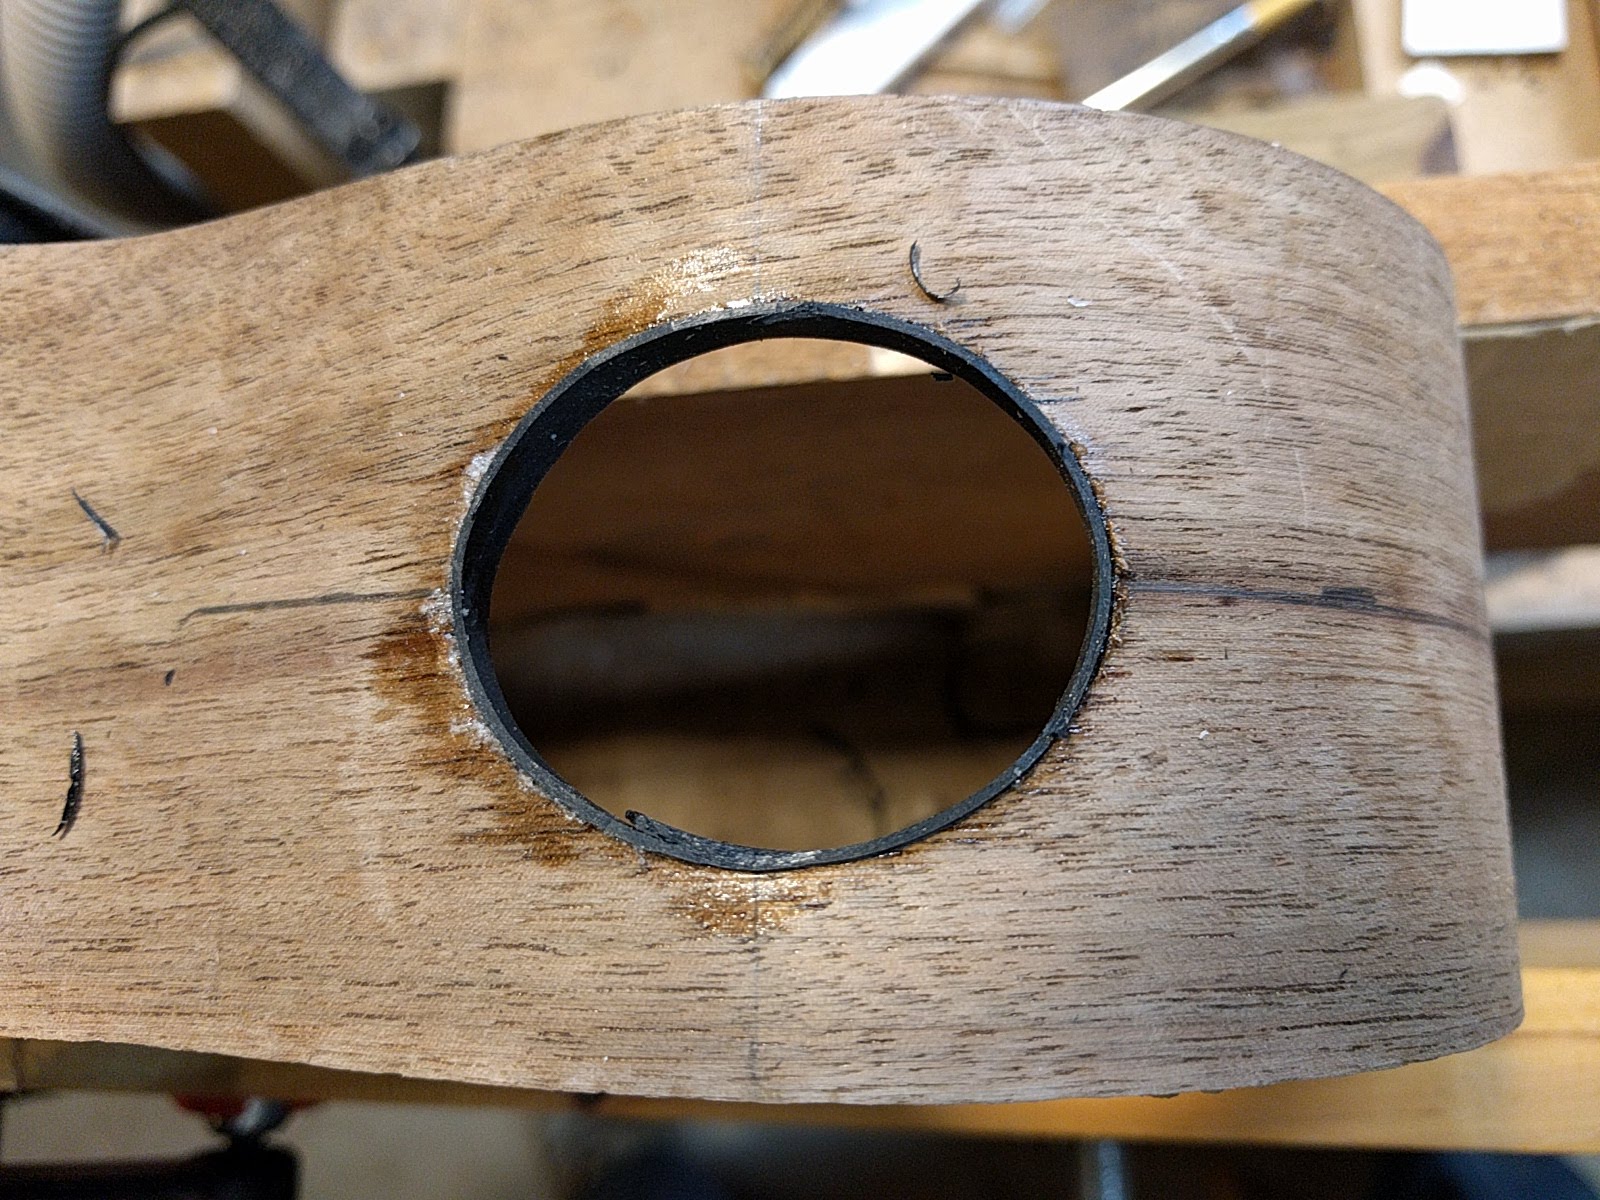
To line the hole I glue in layers of veneer, such as I use to make up purfling. This instrument is getting the classic black-white-black look. The two inner layers are thinner veneer, and the outside layer is a thick black veneer to give a ‘stronger’ edge. I cut stripes of veneer and then bend them on a hot pipe into little circles, ready to be stuffed into the hole.
To glue the veneers around the edge of the hole I use thin CA glue (cyanoacrylate, aka super glue). This wicks easily into the joint, and I can spray on a little accelerator and keep working with no breaks to let the glue dry. The veneer is glued in separate layers. I start with a spot on the edge opposite the joint, glue a little bit, move around, press things tight, glue a bit more … I can generally press the veneer tight to the edge of the hole with a finger, protected by a rubber glove and a piece of a Teflon baking mat to which CA glue will not stick.
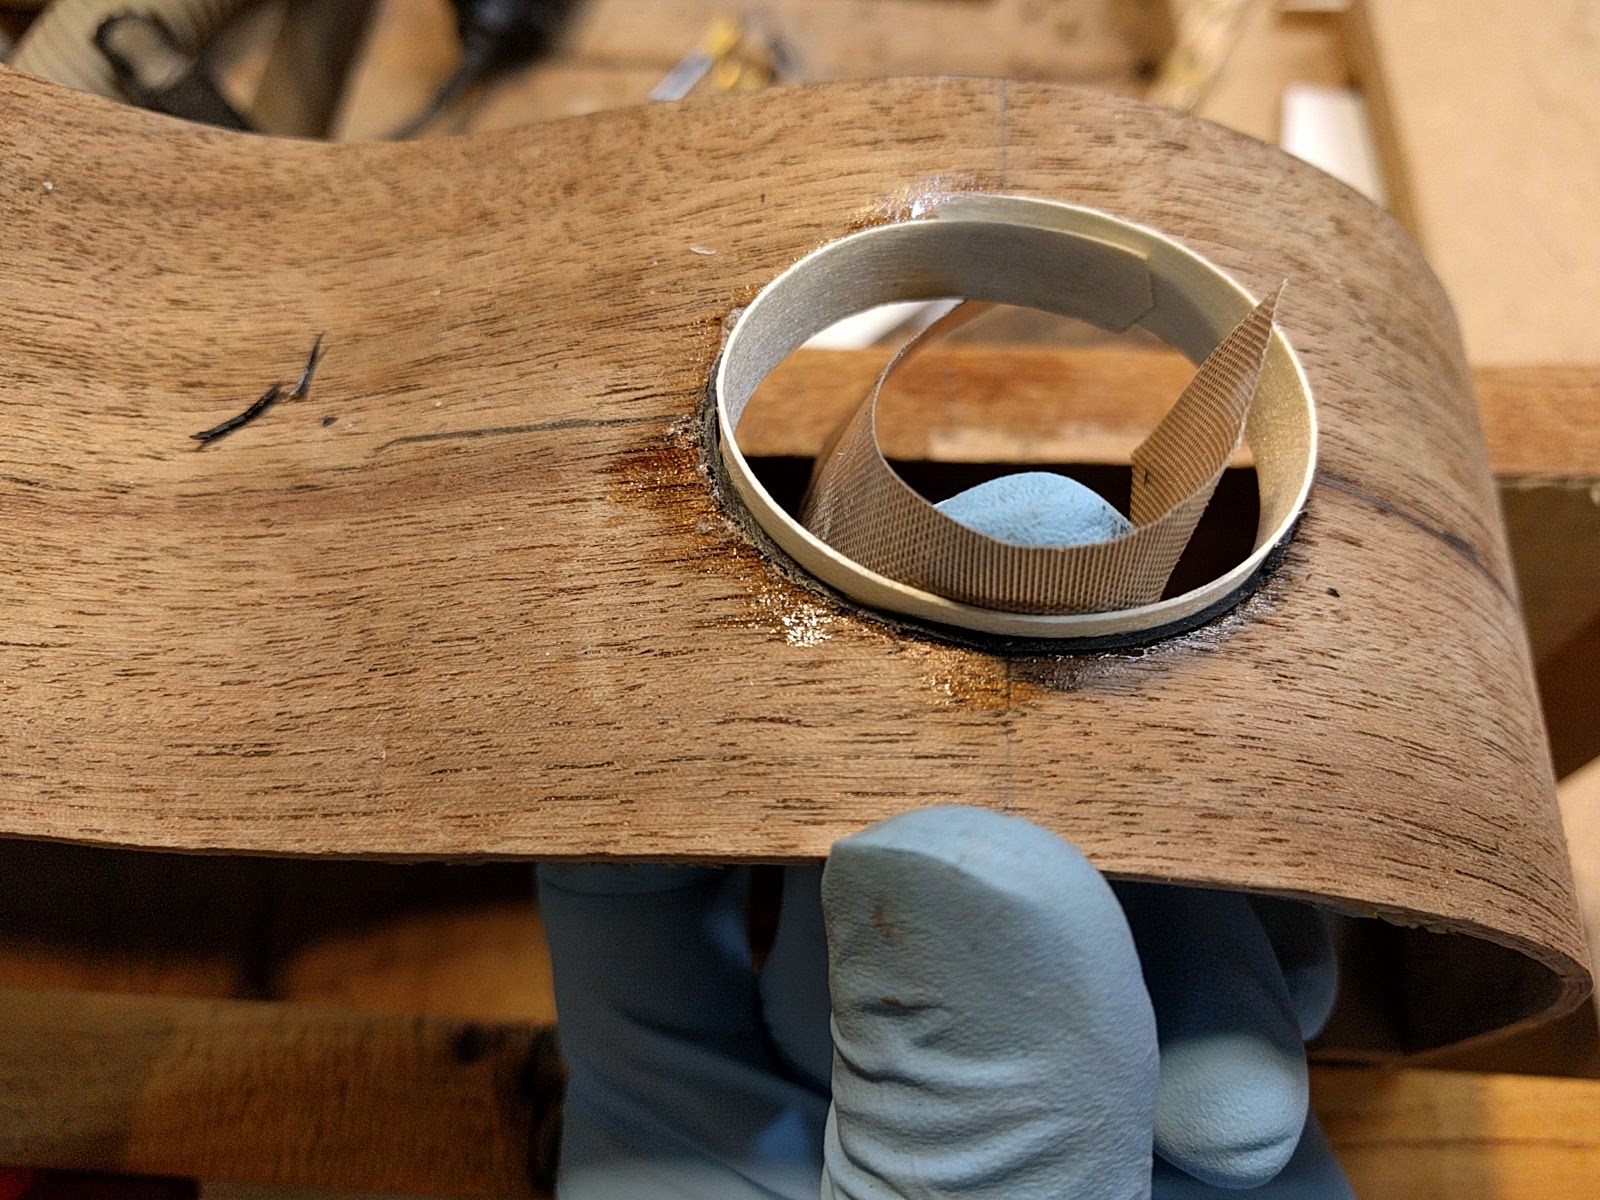
For areas where things need a bit more pressure, particularly with the last veneer which is quite a bit thicker and stiffer, I made a set of small wedges that can be pushed in to apply a lot of pressure, right where one wants it.
The question then becomes, how to deal with the joint in the veneer. It is very difficult to make a butt joint that fits tight since it is hard to cut the veneer to just the right length as it is being stretched around the hole. To solve this problem I taper the ends of one side of the veneer with a sharp exacto and just let the other end lap over. When the glue hardens (almost instantly) I just trim the excess flat to keep the veneer width. An invisible joint, and no measuring or ‘fitting’ required. It is like this:
When you are done with the final layer one simply sands the edges flush and same on the inside.