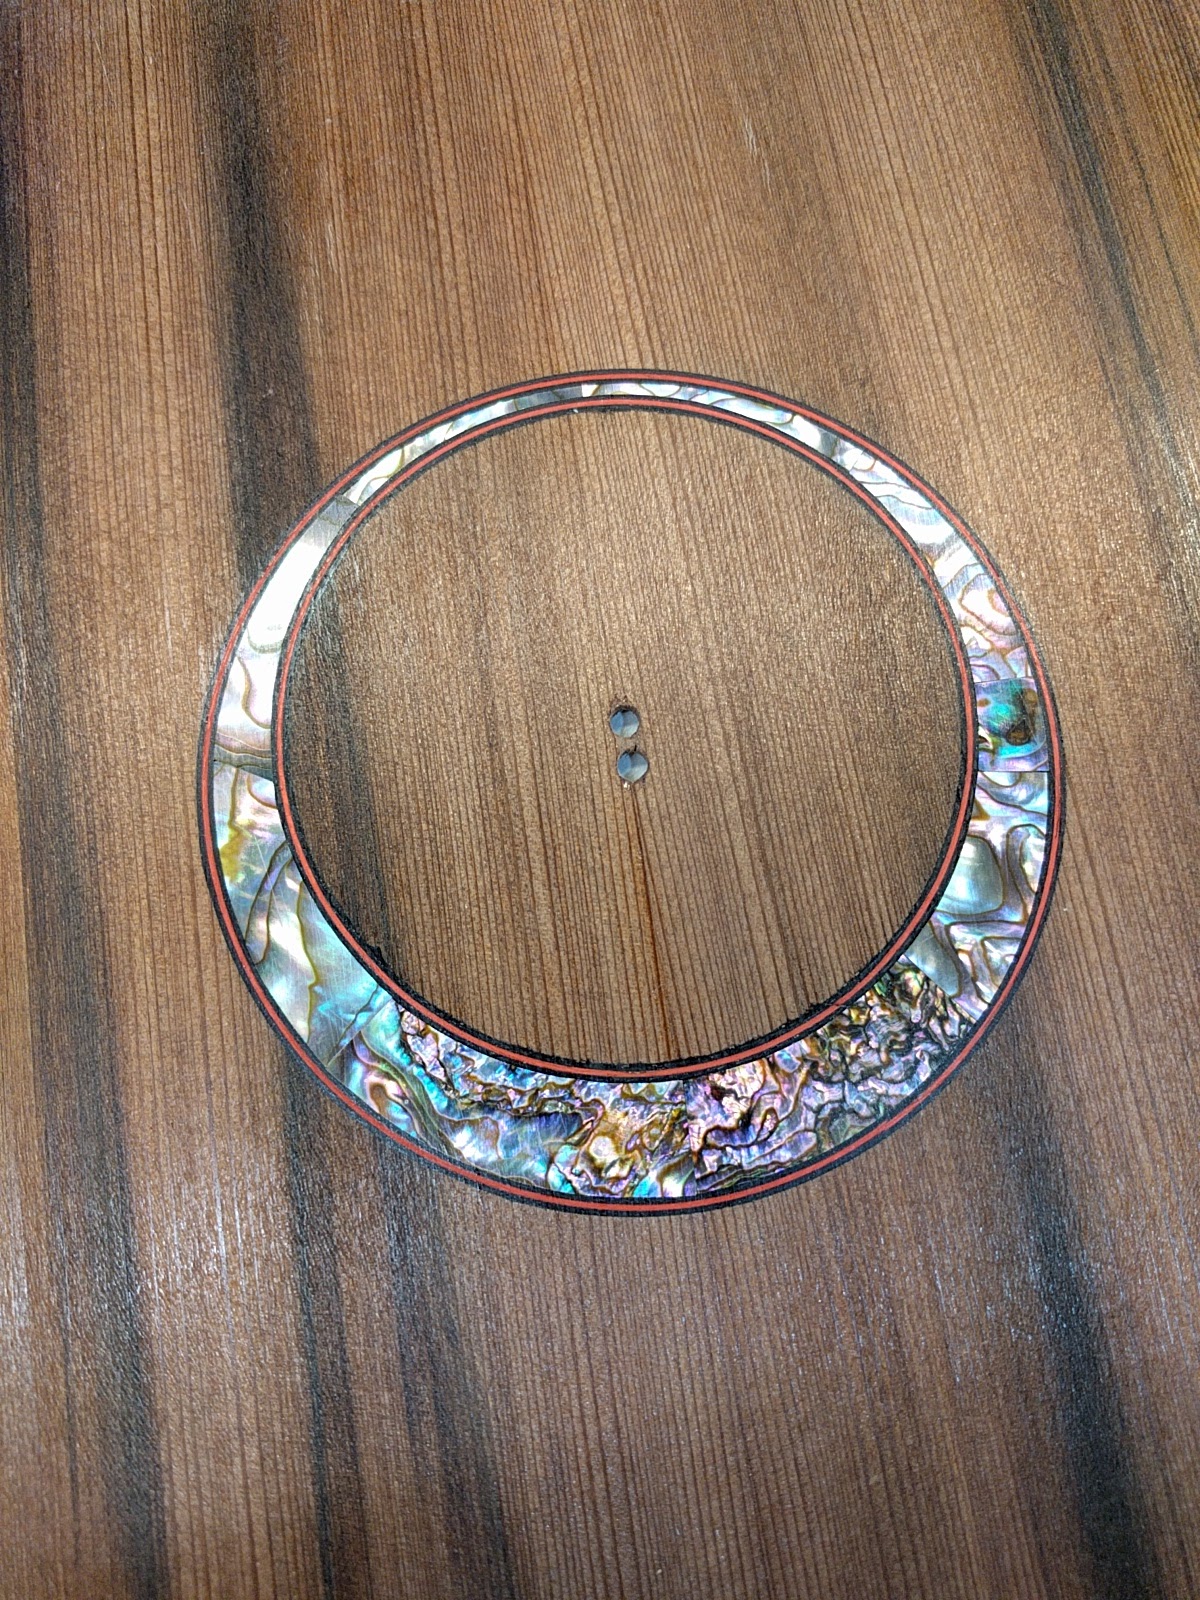
I like mother of pearl rosettes. With the router base I have developed it is easy to cut an asymmetric rosette (thicker at the bottom than the top) and this has become a bit of a ‘signature’ design element for my instruments.
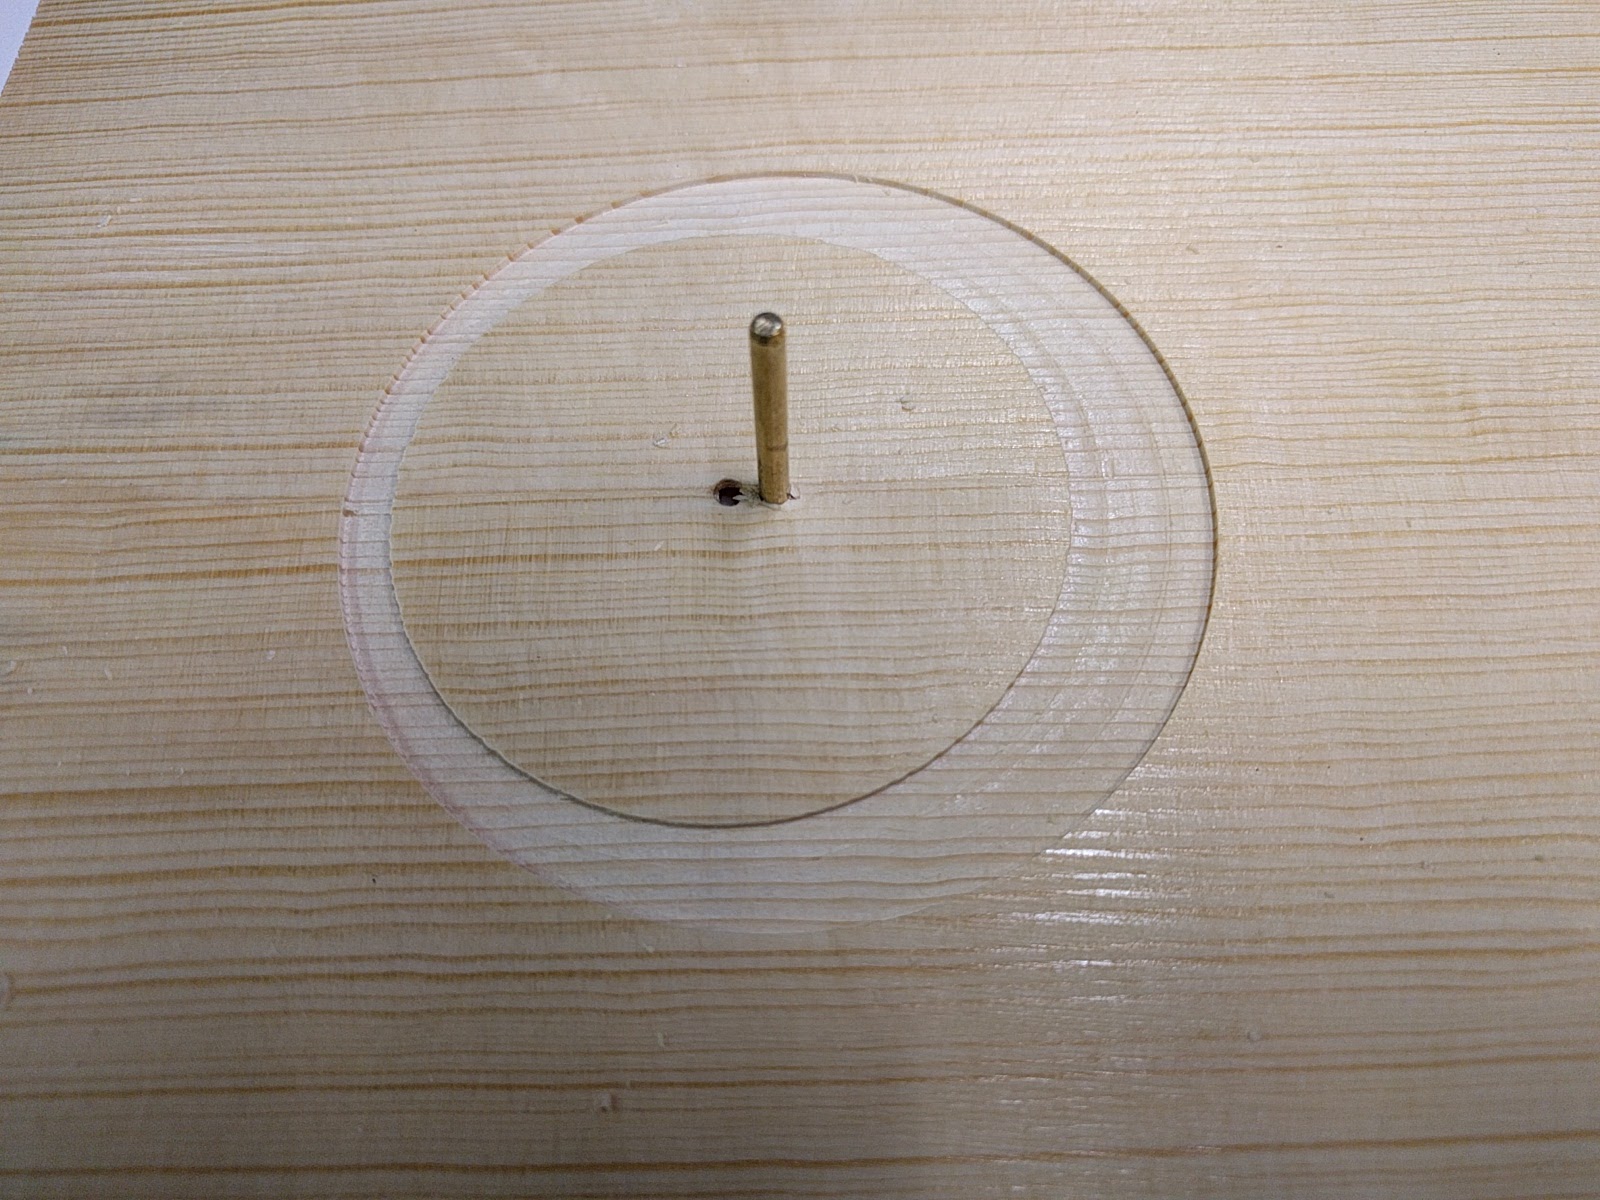
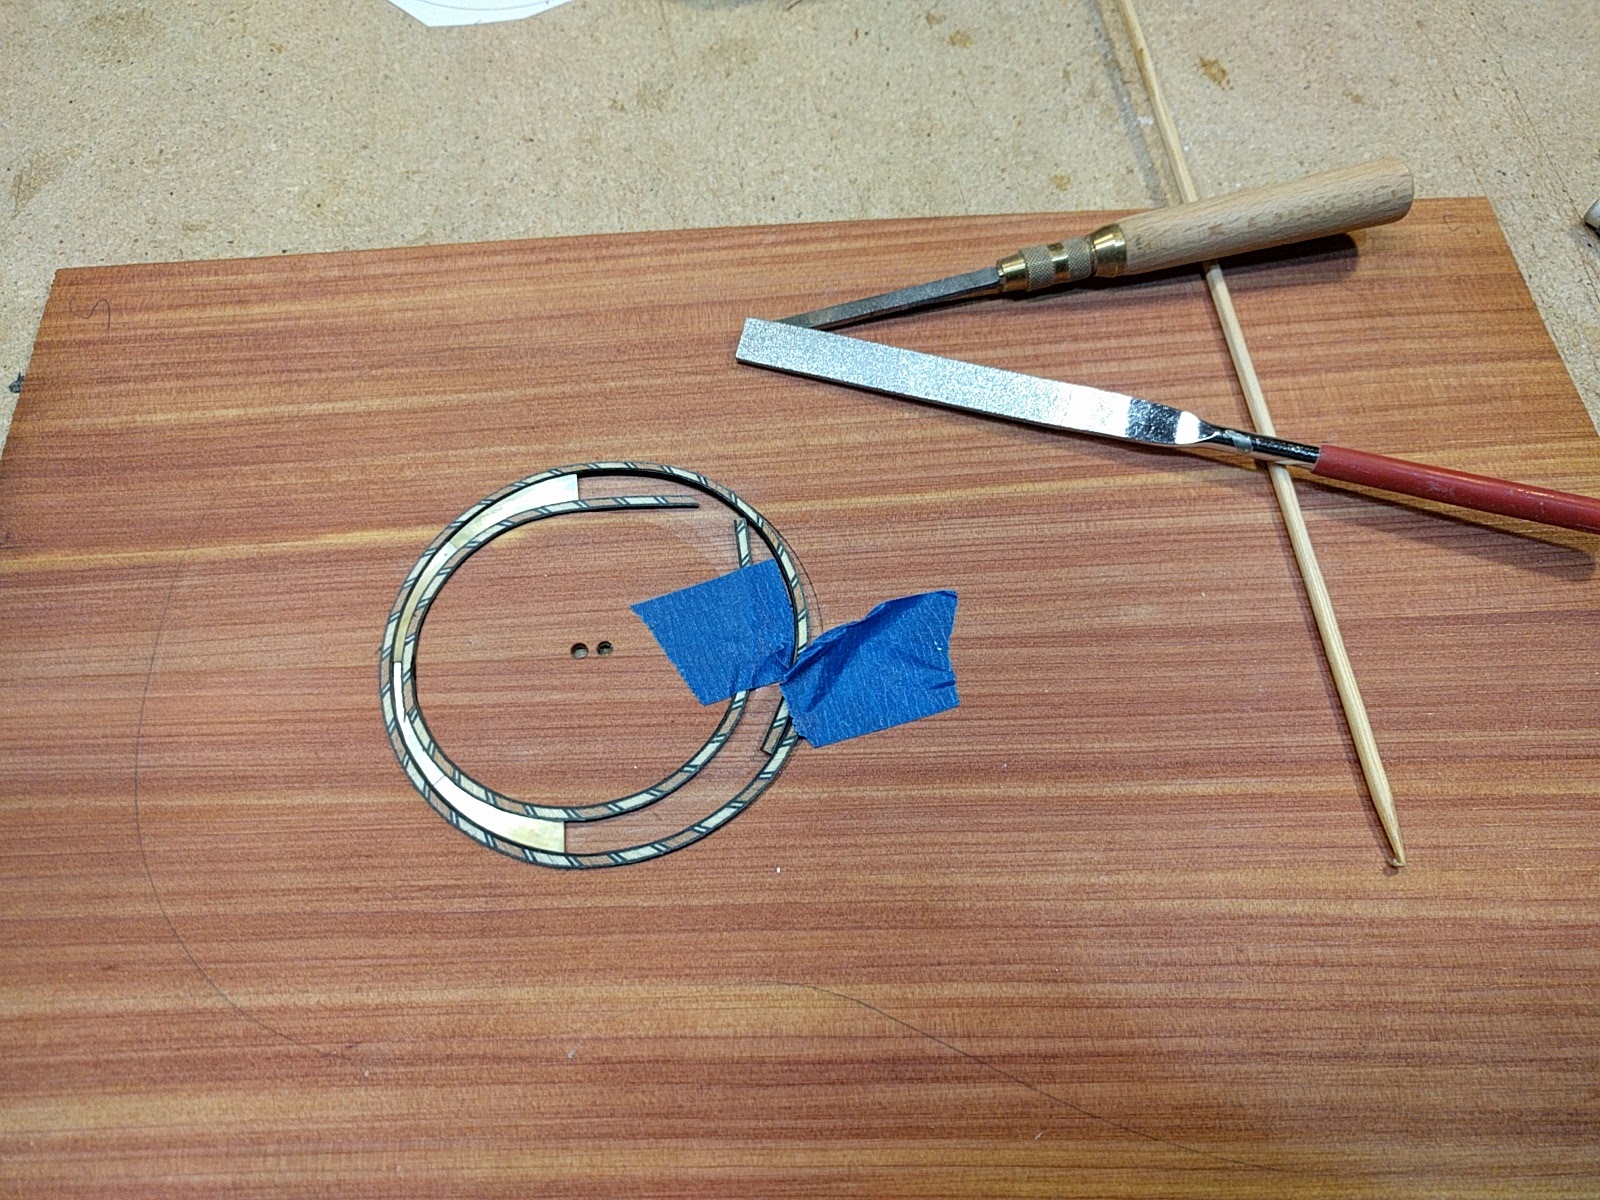
I first cut the rosette channel using a 1/8 inch down-cut carbide bit in the dremmel router base which rotates on a pin sticking up through holes in the soundboard. The top hole becomes the center for the sound hole (parallel to the inner circle of the rosette), and the lower hole (3/16 of an inch offset) with a larger diameter makes the asymmetric rosette.
I measure the inner and outer diameter with a digital caliper (to 3 decimal places), and use this with a drawing program on the computer to make circles of the exact diameter. I then increase the inner circle diameter and decrease the outer circle diameter to account for the purfling thickness. Then I can print out an exact pattern for the pearl.
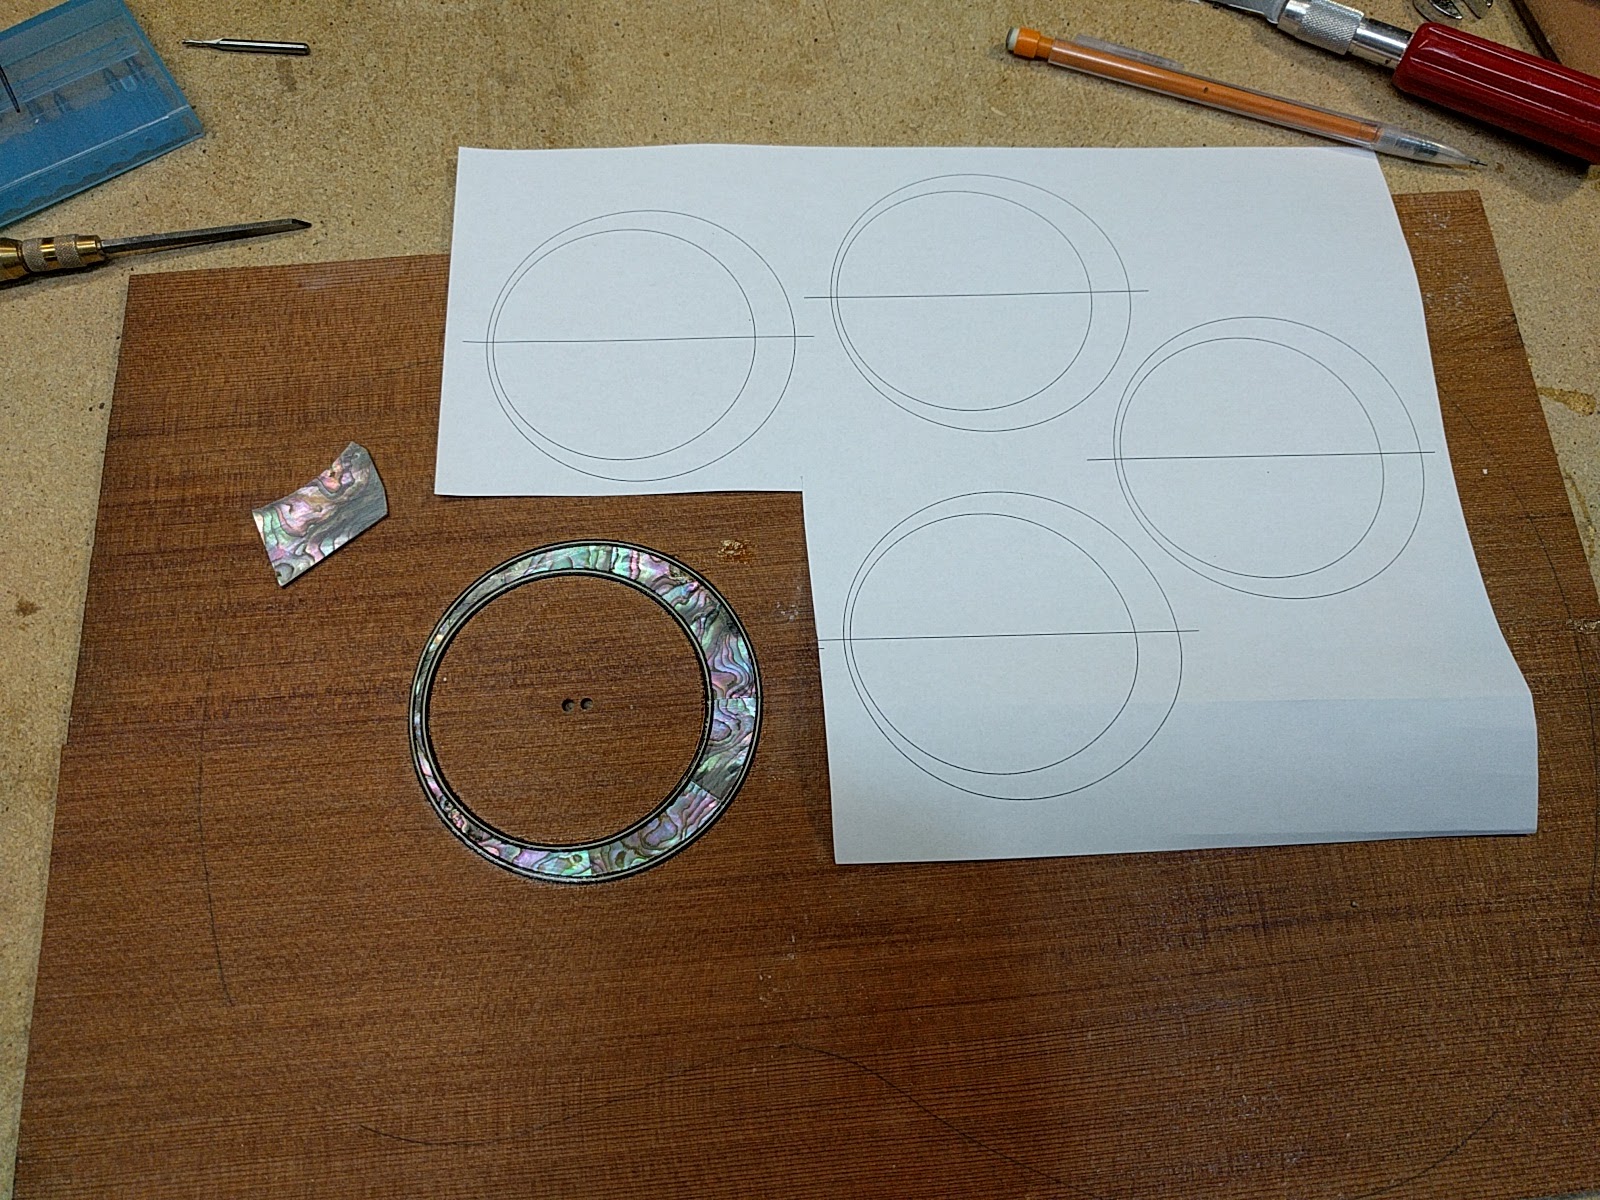
The operation then becomes gluing pieces of the paper pattern onto pearl blanks, sawing them out, and fitting them end-to-end in the rosette channel. The pearl is cut with a jewelers saw, and refined with some diamond files. Lots of small tools. In addition, it is actually easier to cut the pearl for an asymmetric rosette than a simple circular one. When doing a simple circular rosette the pearl has to be cut to exactly the right width, and one has to work it into the channel, without damaging the side purfling. With an asymmetric rosette each piece is tapered, so one can slide it along the channel, which really tightens up the side purfling. Only the last piece needs to be fit exactly.
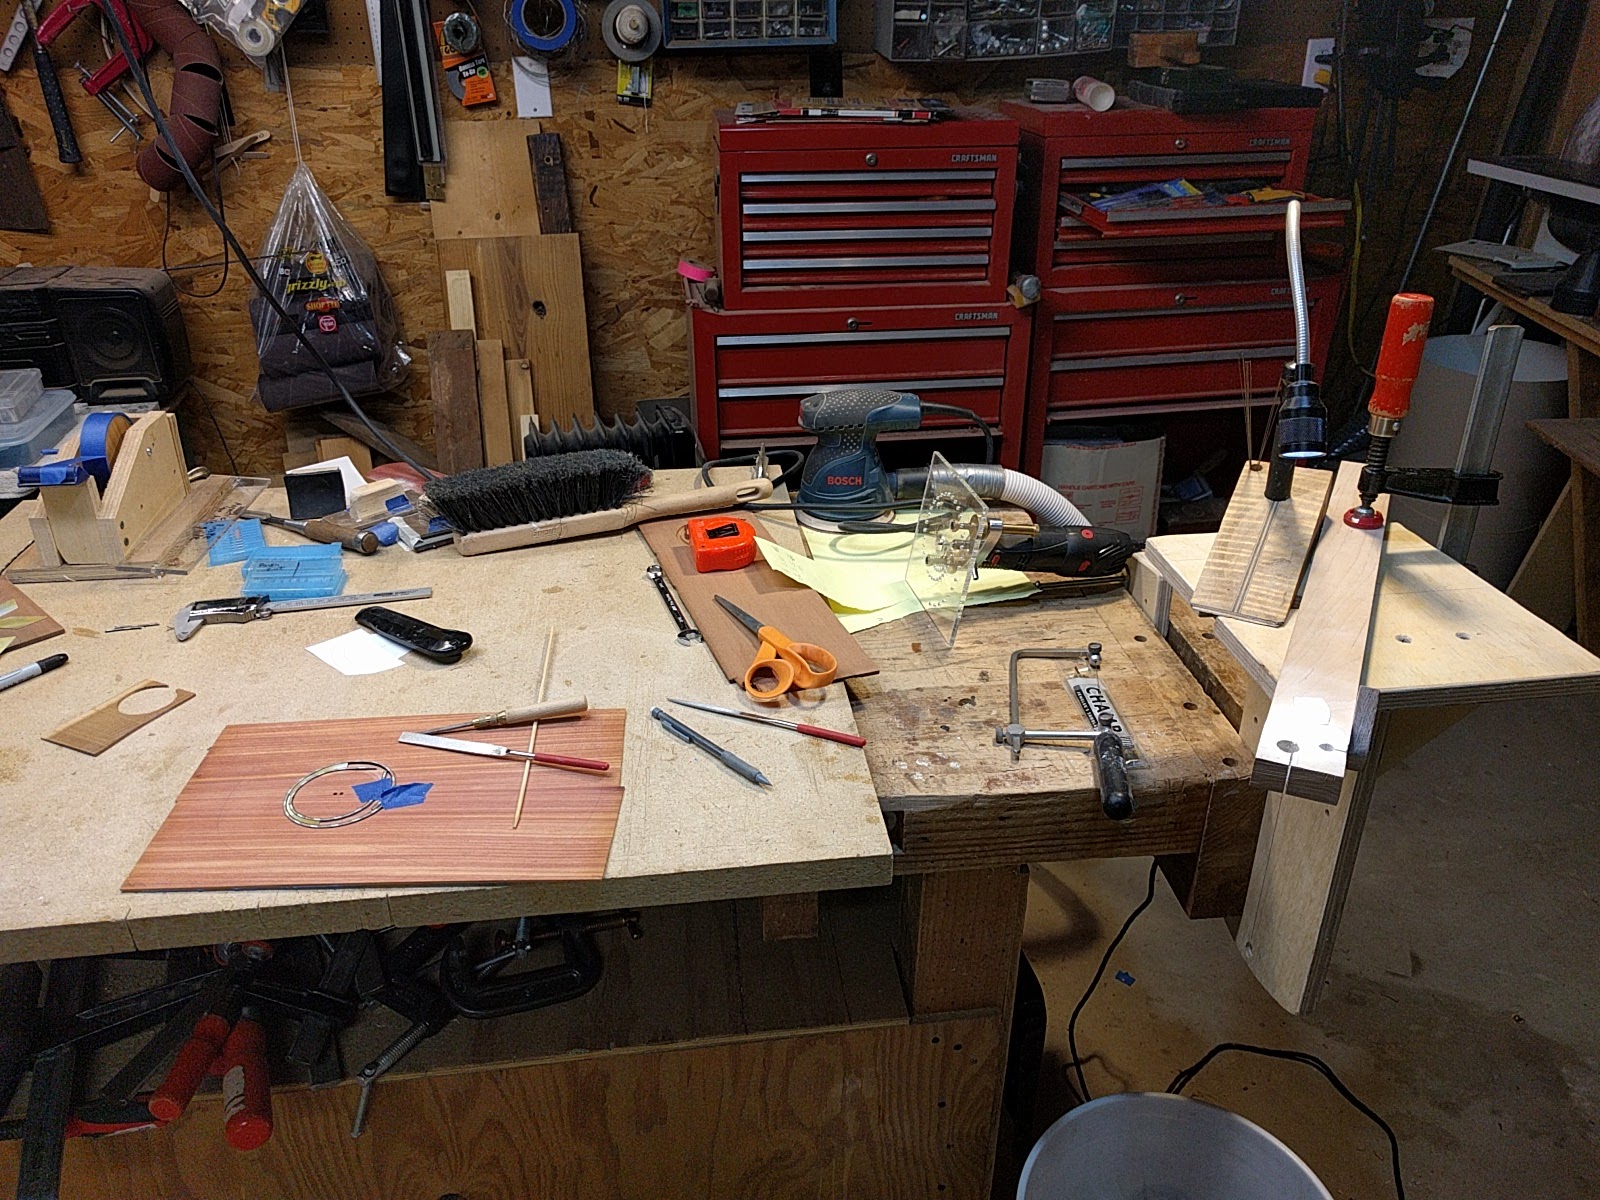
There are tricky parts like joining the ends of the purfling as invisibly as possible, and the fitting of the very last piece.
Then the whole mess is glued down with CA glue, and sanded flush with the top.