I use a bolt-on style of neck attachment. It allows easy neck removal if something needs to be fixed and is easier (in my opinion) to construct. I used to make instruments with the body flat where the neck meets the body so that one could get a good fit by having the base of the neck equally flat. With the system outlined below ‘flat’ is not necessary and I have changed my body design so that the neck attachment area is curved to echo the lower bout. I like the curved look much better.
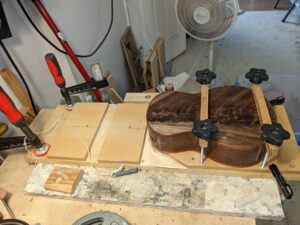
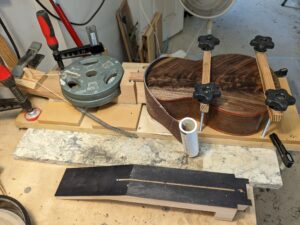
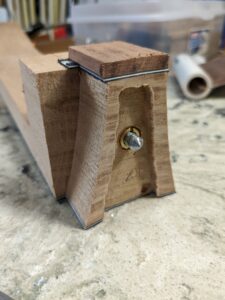
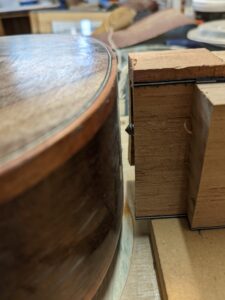
To fit a neck to the body I made this jig, which kind of looks like some sort of medieval torture device. It is a flat MDF base, which I clamp to a chunk of marble counter top to insure flatness. There is a center line drawn down the length of the jig, clamps to hold the body on the center line, and brass pins to align the neck. The neck at this stage has a channel routed that will eventually have a carbon fiber beam inserted but for now the channel provides a sliding alignment channel.
The neck is placed on the brass pins, a spring and loop of string is used to pull the neck against the body, and some weights are placed on top of the neck to stabilize it. Then a strip of sandpaper (a belt-sander belt cut open with PVC handles) is inserted. The sandpaper is worked back and forth vigorously. (One of the few aerobic exercise parts of ukulele building.) Since the back of the sandpaper is running against the body the neck gets sanded so it exactly matches the body shape, regardless of the exact curve of the body.
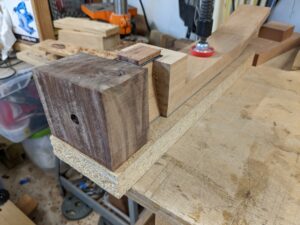
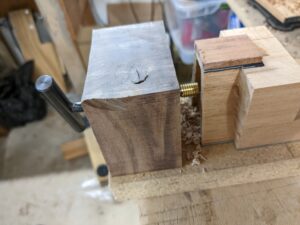
When the neck is fitted to the body it goes over to another jig, also with brass pins that fit into the carbon fiber channel, to drill the hole for the brass insert into which the attachment bolt will thread. This jig is used to both drill the hole and then to actually thread in the brass insert so it goes in aligned perfectly. There is an oak dowel extending vertically through the neck so the brass insert is threaded into oak cross-grain, not just into the end-grain of the neck which would be much weaker.
With the brass insert in place a small center-point is threaded in. With the neck back on the sanding jig (body was not moved) the exact location of the bolt-hole can be marked by sliding the neck against the body so the center-point leaves a mark.
