This little pig went to market. This little pig stayed home and played the bagpipes.
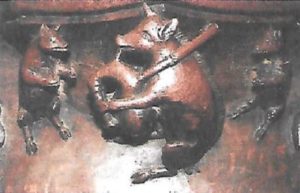
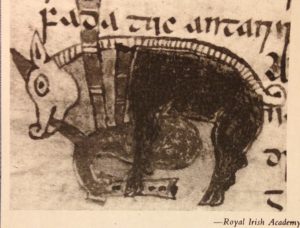
The idea of a pig playing the bagpipes goes way back in time. Two examples:
The drawing on the right is from the 14’th or 16’th century.
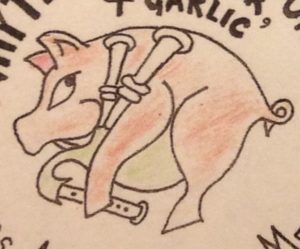
What has all this got to do with ukuleles? Well, I have a customer who plays the bagpipes, and who has a personal logo (used on jars of chutney he makes for example) of a ‘piping pig’.
An interesting design, but that was all I thought about it until we got to discussing bagpipes. He said that the pipes themselves on his were made of ivory. I remarked that ivory carries a lot of bad stuff with it these days, CITES regulations, public perception, etc. He said, ‘not a problem, the pipes are made of mastodon ivory, from mastodons that died thousands of years ago’. The old tusks are dug out of tundra up north. I realized that I had some pieces of mastodon ivory that I has acquired a number years ago, just because I though it was pretty cool. So, with this I could do a piping pig inlay, with the pipes made of mastodon ivory, just like the real thing. That was the clincher. So, here is a brief description of how I go about producing such an inlay.
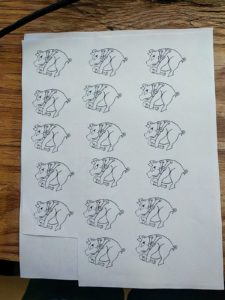
From his drawing, using Corel Draw on the computer I made an full-size outline that I could print out in multiple copies.
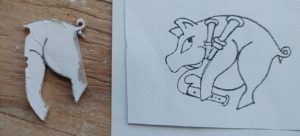
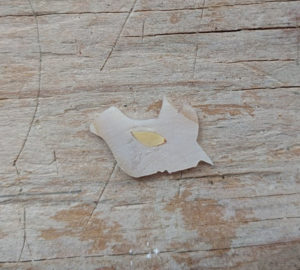
I cut this up into what will be the various pieces of the inlay. A piece is glued to the pearl (pink in the piggy case) and then the outline is sawn out with a jewelers saw. Here is a piece partially cut out, with another copy of the image.
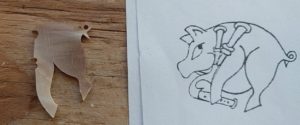
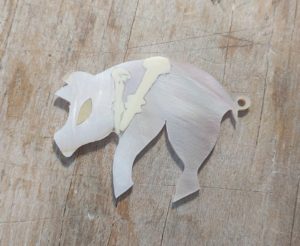
When it is all cut out you peel off the pattern, leaving the cut out pearl
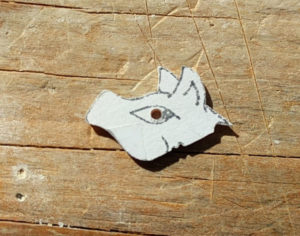
The inside of the curly tail, and the eye on the head are ‘holes’ in the pearl. To make these I drill a small hole using a Dremmel tool and a small carbide bit.
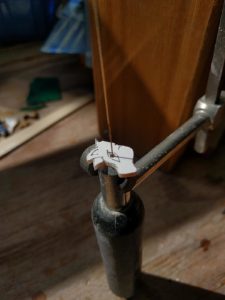
I then thread the sawblade through the hole, and saw out the pattern to size.
For the eye, once the eye hole is sawn out, I then use the hole itself as a pattern to draw the corresponding piece on another piece of pearl, yellow pearl in this case. The eye is sawn out, a little large, and then the edges are filed so one gets a nice tight fit. The eye pupil, and a thin black line around the eye will be added by engraving the pearl after the inlay is installed and sanded down flat. The same is true for other details which are ‘drawn’ in the surface.
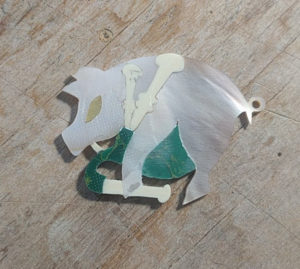
Starting from the head, I then cut and fit each piece working towards the tail end. I have found that it is easier to fit just one side of a piece such as a pipe (which is pretty small) leaving the other side un-cut. I then glue the one side to the head with CA glue, which gives me a bigger ‘handle’. I then cut the other side of the pipe. This process continues. Cut, fit, glue, cut the other side with the final thing being fitting the tail end already cut out.
Once the pig is complete I can fit the bagpipe bag, made of green recon stone. When the bag is done I then cut and fit the pipe the pig is holding, and finally the mouthpiece.
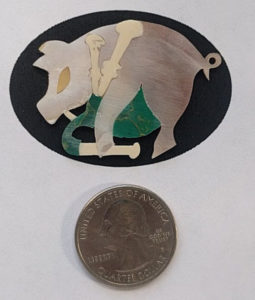
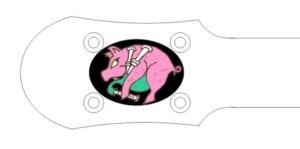
Doing inlay such as this, which has some small complex interior openings is very hard to do into light colored wood. Doing inlay there is always a little filler around the inlay, and on a lighter wood it is very very hard to make it non-obvious, particularly if you are a stickler for up-close detail. That is why fancy inlay is often done against a black background. The black filler blends completely. The customer really likes wood, and wanted an interesting wood headplate so I was reluctant do an inlay like this because of the filler problem. I have made, for various people, inlay ‘jewlery’, with things inlayed into ebony ovals. I realized that I could do the same here, inlay the pig into an ebony oval, and then inlay the whole thing into the fancy wood headplate. So the final thing will (with the addition of the engraved lines, some cleanup etc.) something like this:
