It used to be that ‘necking’ was something that happened out along on Reservoir Hill road on a Saturday night. These days it is taking a rough piece of wood and turning it into a smooth, rounded rather complex shape that is a pleasure to hold and fits the hand well. Here is a brief overview of a concert neck.
The shape is roughed out on the band say, then I cut two cross-wise channels with a micoplane tool to establish the basic curve profile. Then using a spokeshave one cuts away the wood between the two channels. (A spokeshave is an ancient instrument that has been around as long as there have been wooden wagon wheels with spokes but there is still no substitute.)
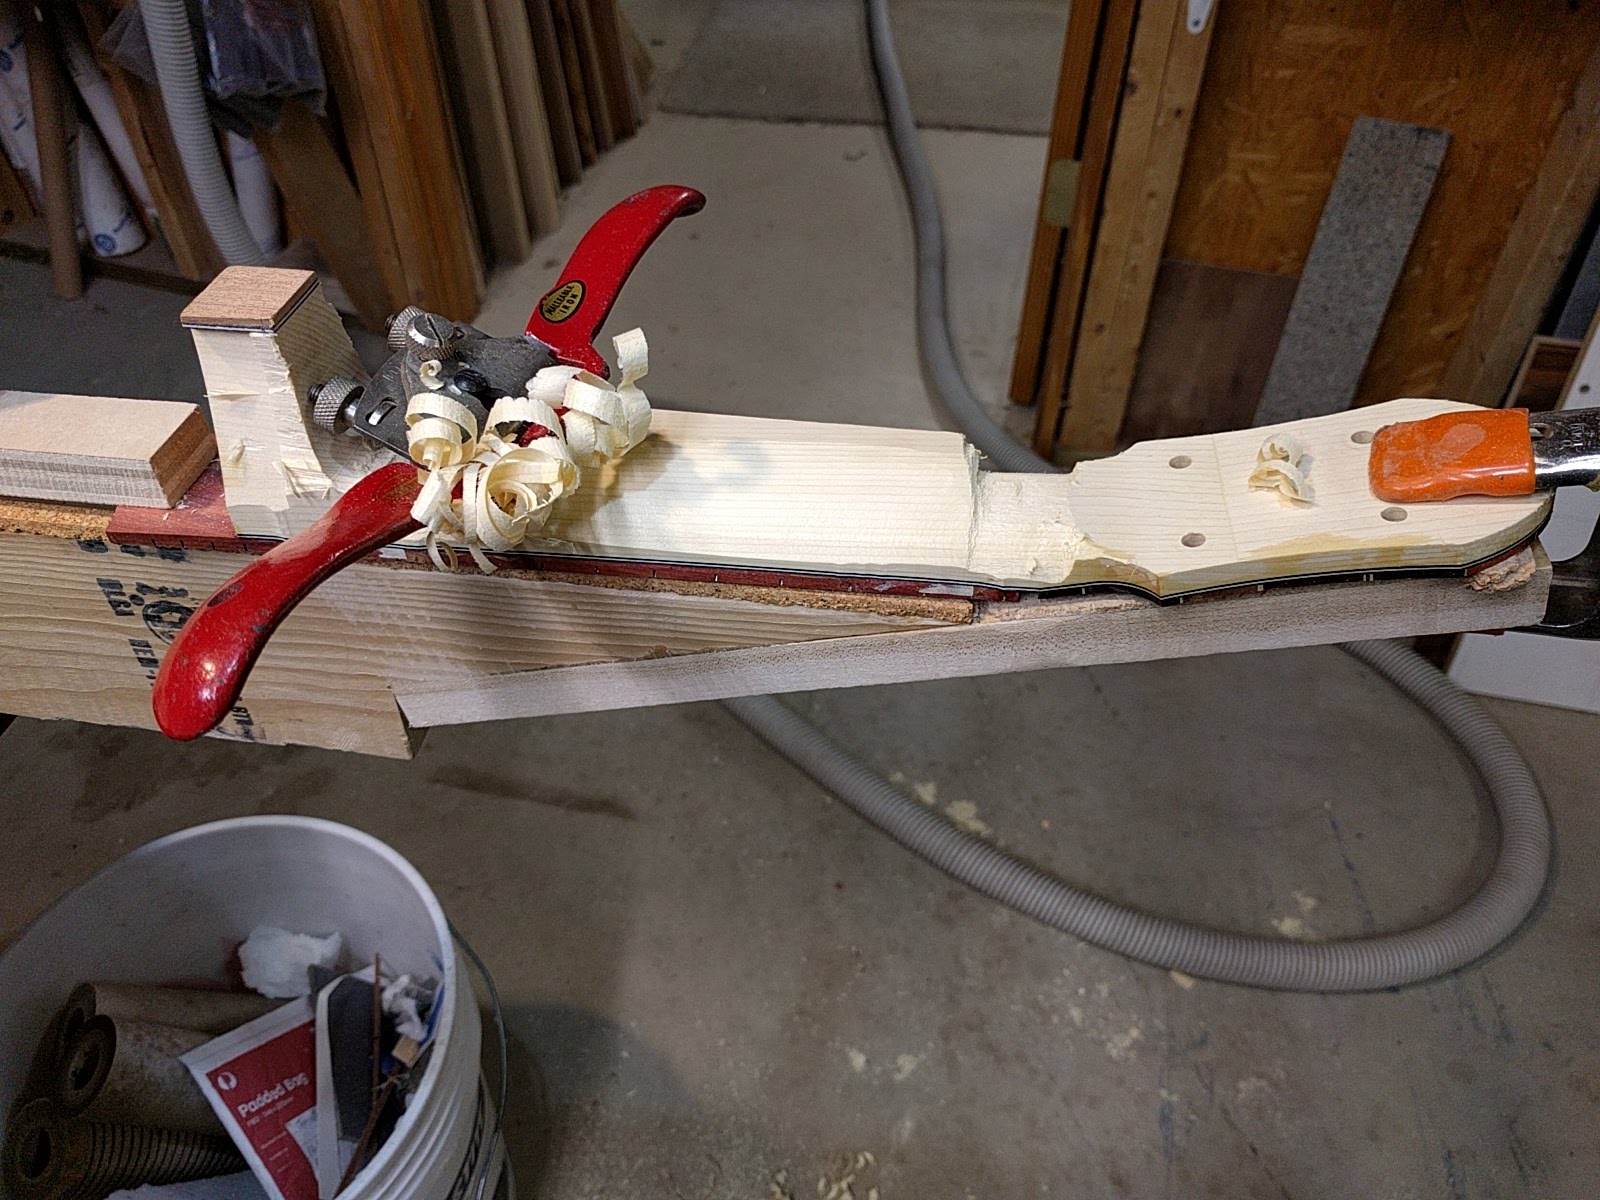
Then follows work with the microplane, chisels, scraper, and various files to refine the shape, and most particularly begin to work on the complex curves around the heel. Not only are the curves complex, but the heel area is end grain which is harder and more difficult to cut cleanly. Part way through things look like:
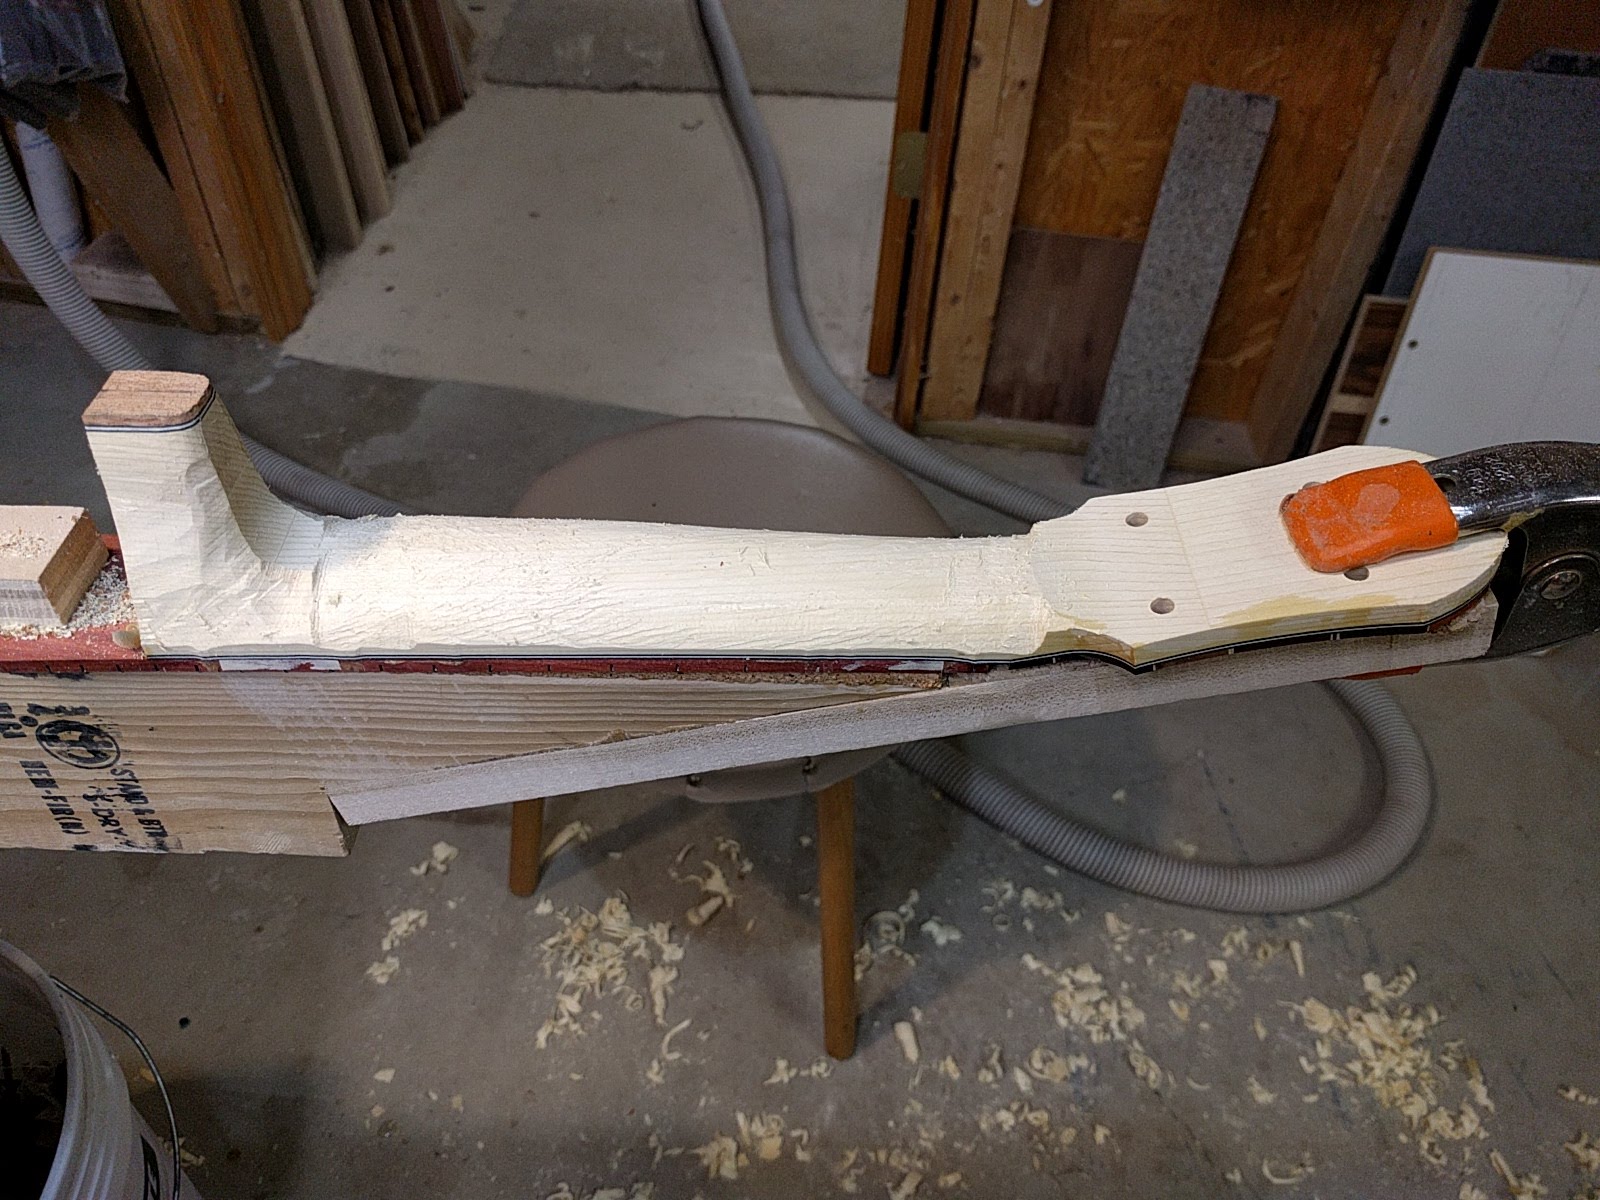
This yellow cedar has a very distinctive scent. One can tell that one was cutting and sanding yellow cedar for a number of days around the shop. After the filing operations comes the rough sanding.
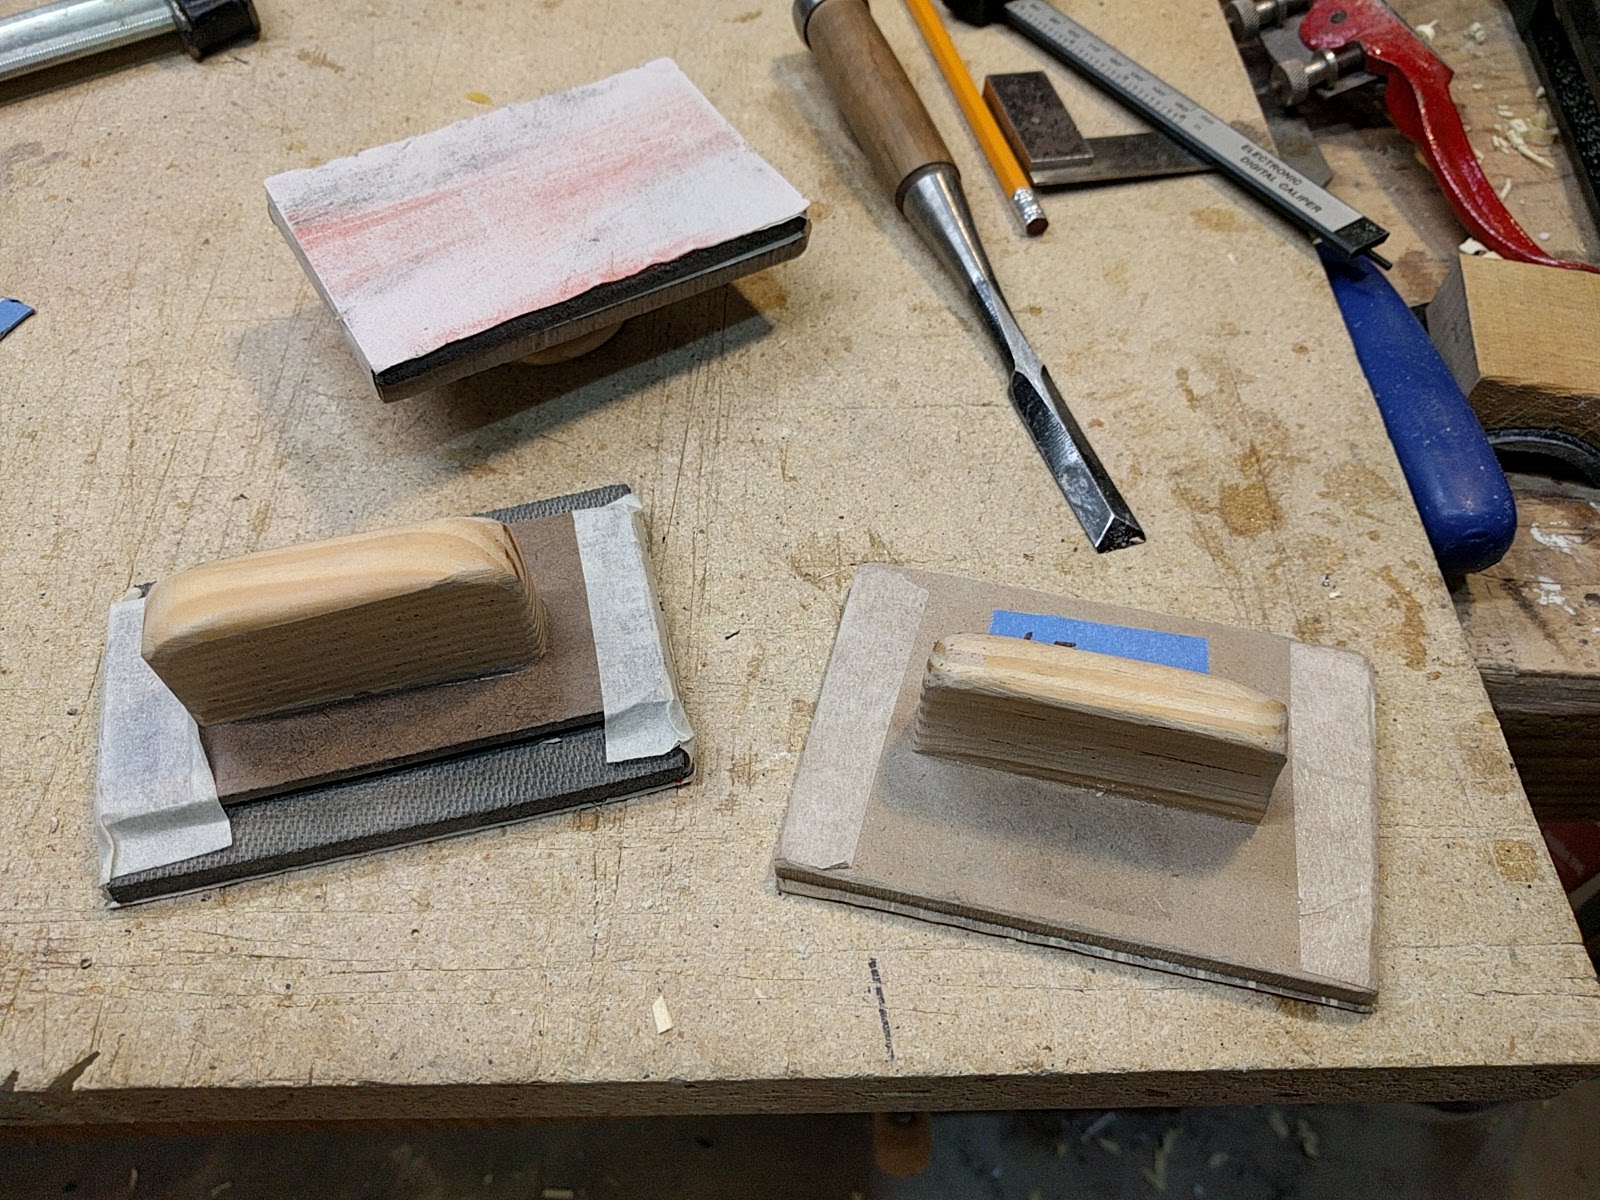
To sand, thanks to an idea from Brian Griffin of Griffin Ukuleles, I made up a number of little sanding pads from Masonite with wood handles simply glued on. The flat pads allow me to sand a very flat even surface. To some pads I added a layer of wet-suit neoprene to provide some cushioning for a more curved surface. On some I extended the neoprene out the sides to allow me to sand around a tight curve. They are very easy to grip and makes sanding much less stressful on the hands. For sandpaper I use self-stick paper that is available (cheap) in rolls. It takes just a minute to stick on a new piece of sandpaper, and the sandpaper, being fully supported by being stuck on the pad, lasts a very long time. The stick-um on some of the paper is so strong it can pull the surface off the Masonite when it is removed so I have gone to using an inter-layer of masking tape. I keep a bunch of these around in various grits.
When the sanding is done things look like a neck.

Then it is time to install the side dots, check to see that there are no places that were missed in the sanding, and things are pretty much done, ready for sealing and the inevitable re-sanding when little rough spots are discovered.
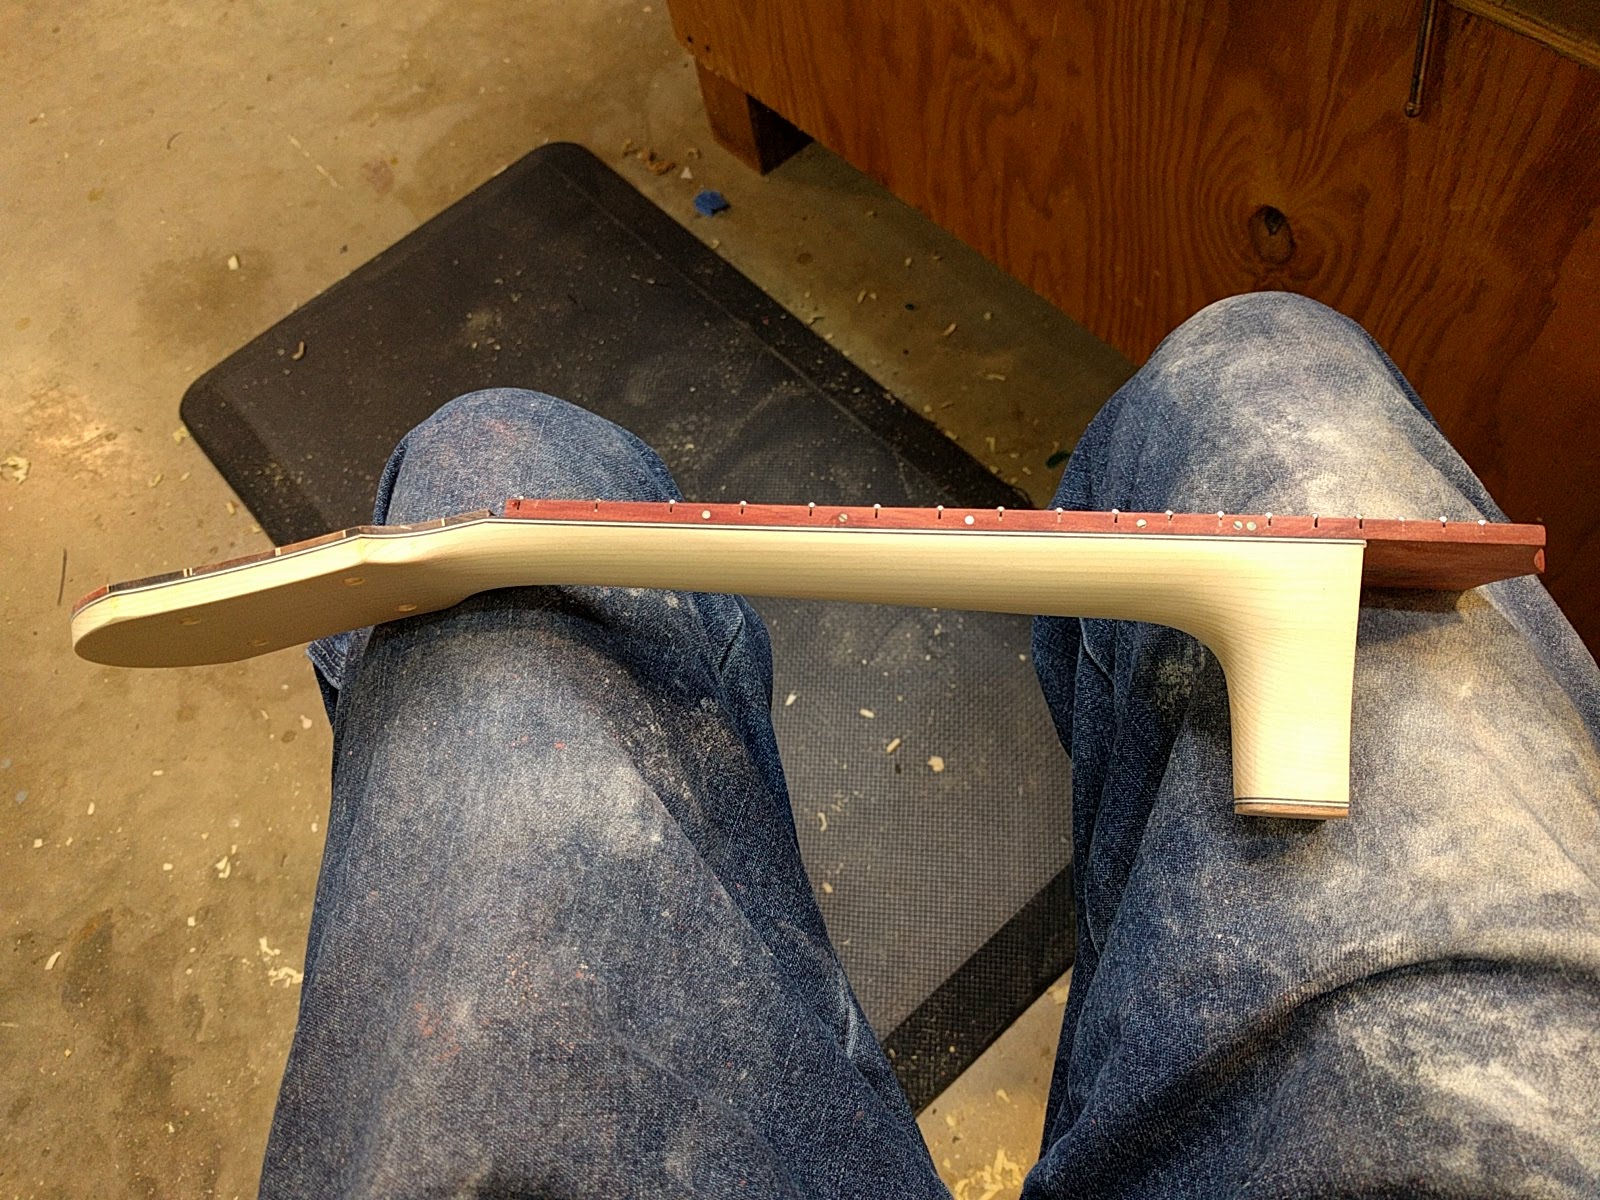
I like this neck. I chose the Picasso headplate to go with the redheart fingerboard and it looks good I think.
