I take the pattern, whether it is on paper or transparency, roughly cut out the target piece, align the pattern on the pearl the way I want it, and then tape one edge down with a little piece of scotch tape. This makes a little hinge that I can fold back so I can rubber cement the pattern and pearl. Let the rubber cement dry, and then fold the pattern back down, sticking it to the pearl in exactly the original place.

Then the pearl is cut out using a jewelers saw, with a fine blade. I usually use a 3/0 blade, but they go down to 8/0 which is so fine you can only barely see the teeth.

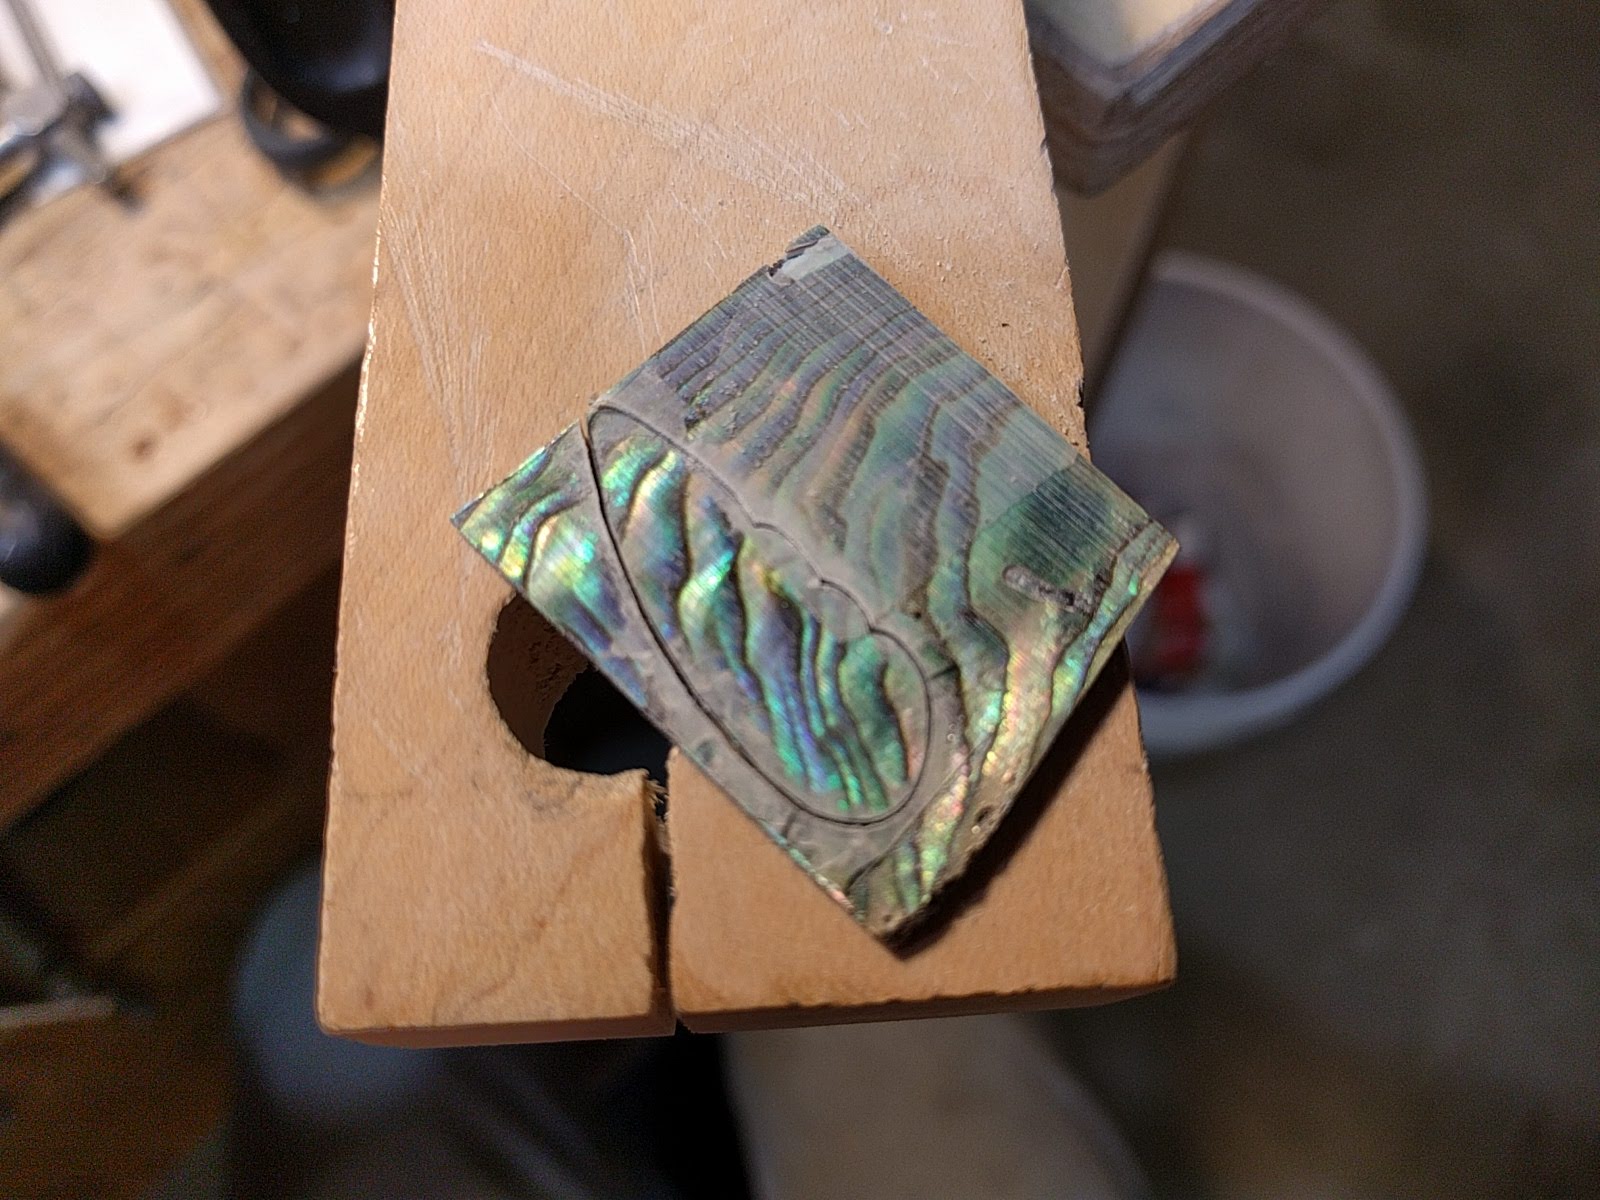
The pearl is placed on a small flat board with a hole in it to support the pearl, and the sawing is done vertically.
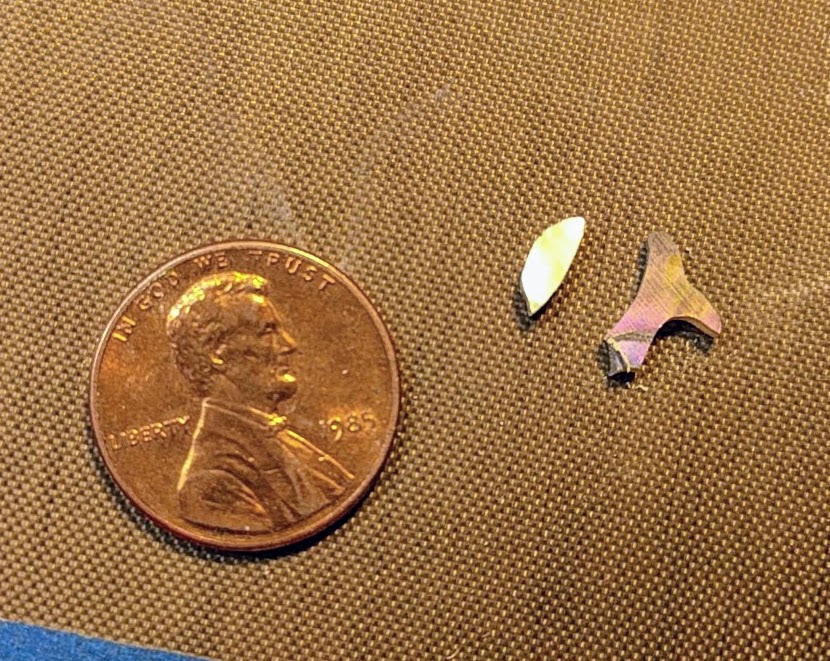
Some of the pieces in the design get pretty small. These are some of the throat pieces.
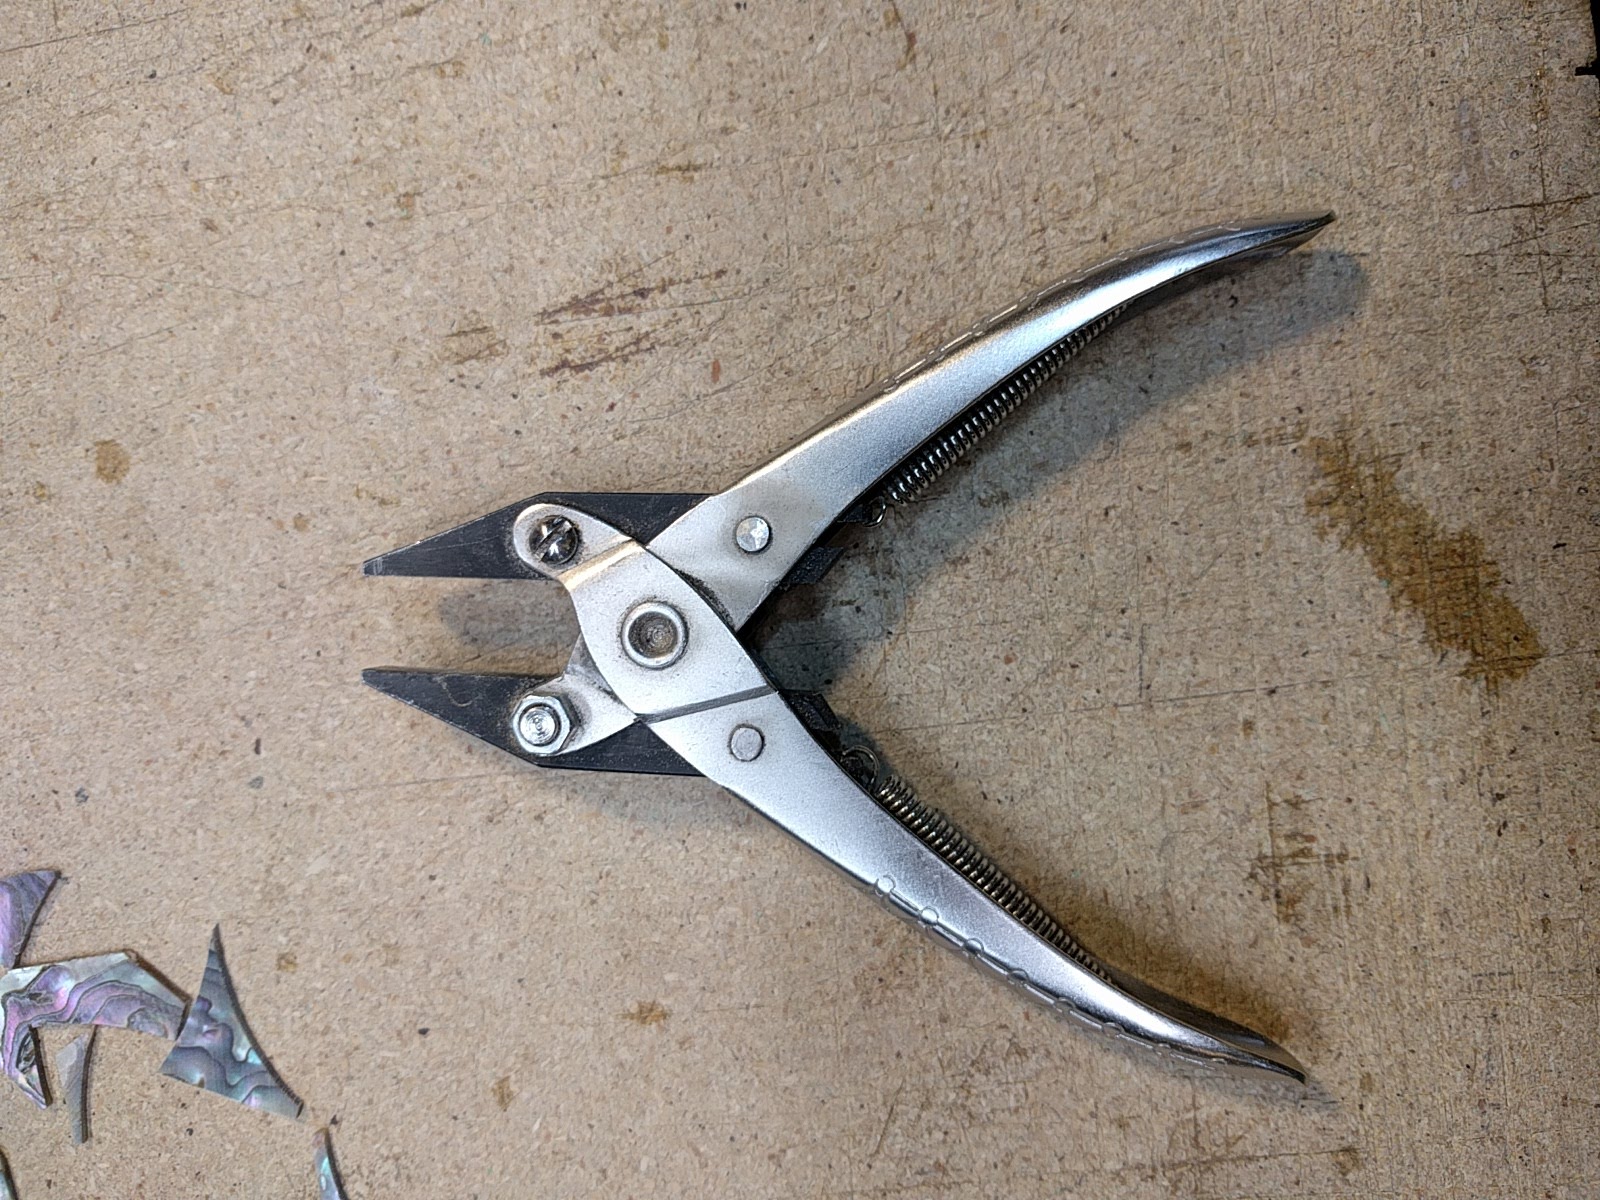
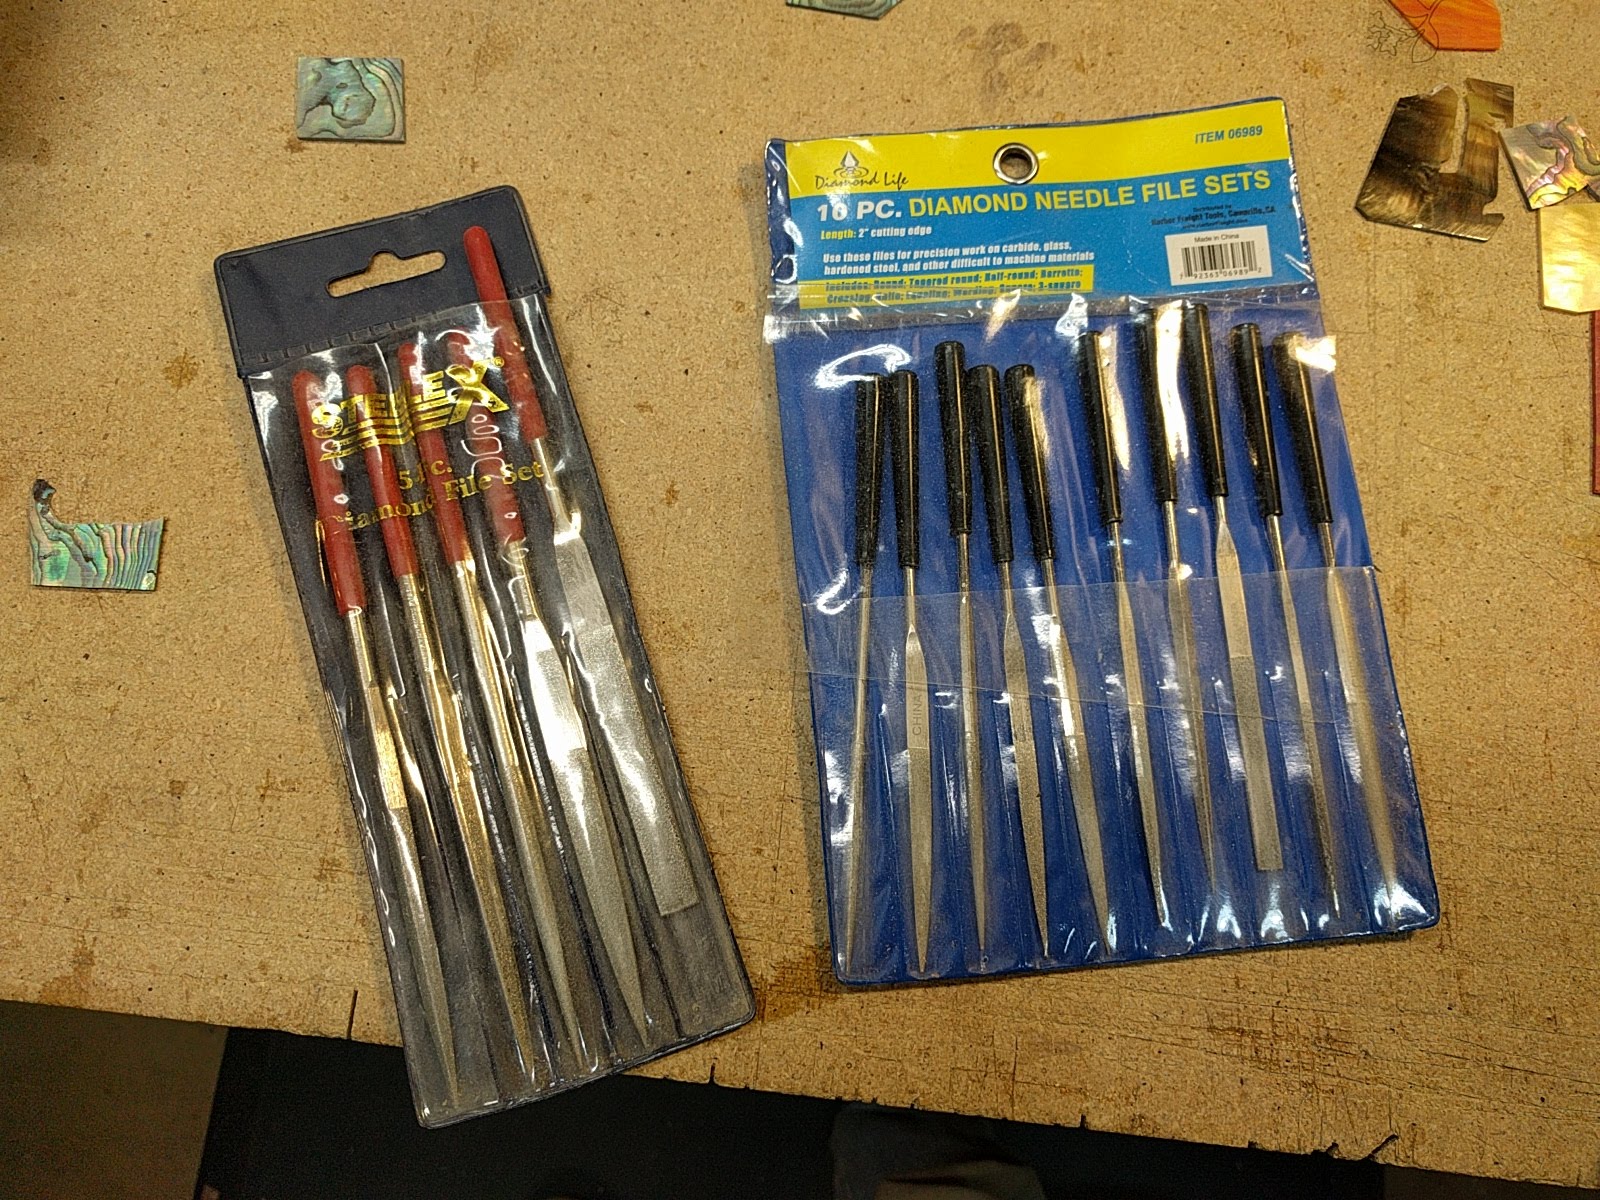
As the various pieces are cut out, they need to be fit together. I use some small diamond files and a set of parallel-jaw pliers (to hold small pieces) to file and fit pieces together.
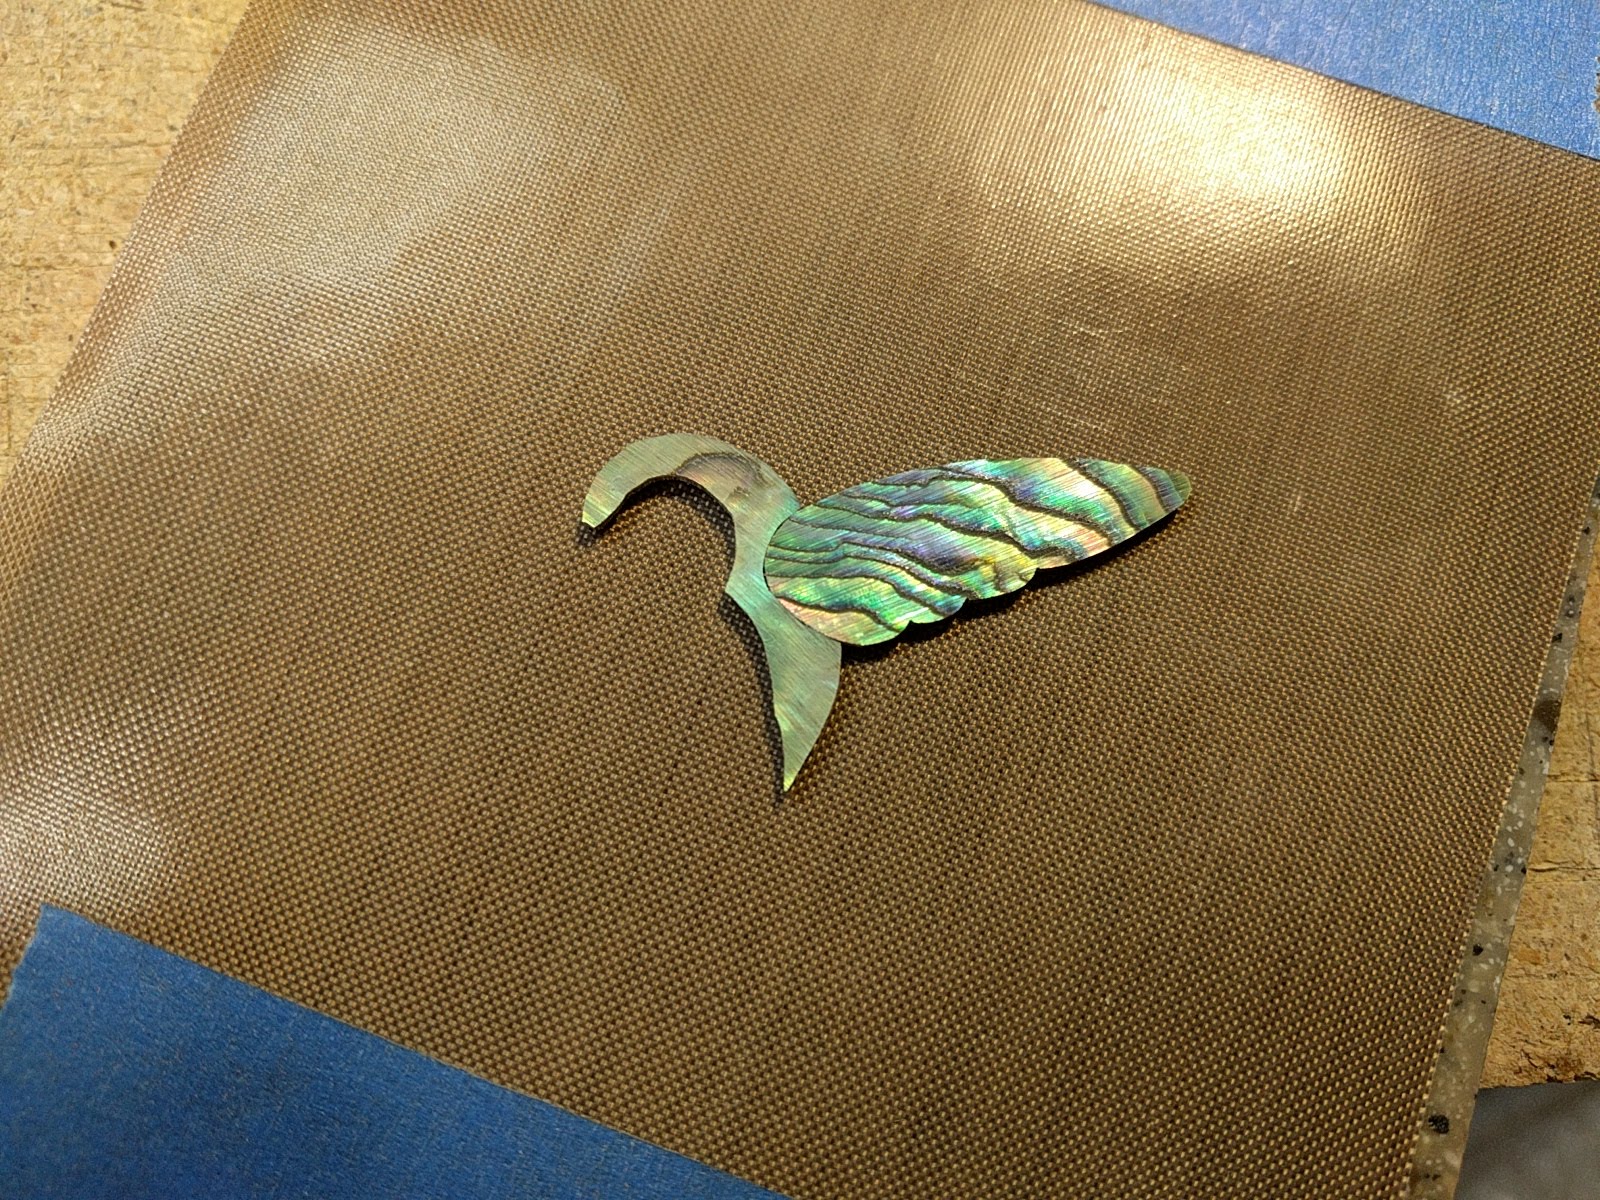
When pieces are fitted I glue them together with a drop of thin super-glue (CA glue). I glue the pieces upside down so what will be the top of the inlay is as flat as possible, since the pieces of pearl are not exactly the same thickness. The back can always be sanded level later. I do the CA gluing on some Teflon oven cooking sheets which are inexpensive and the CA glue only sticks very slightly. The first set of pieces fitted:
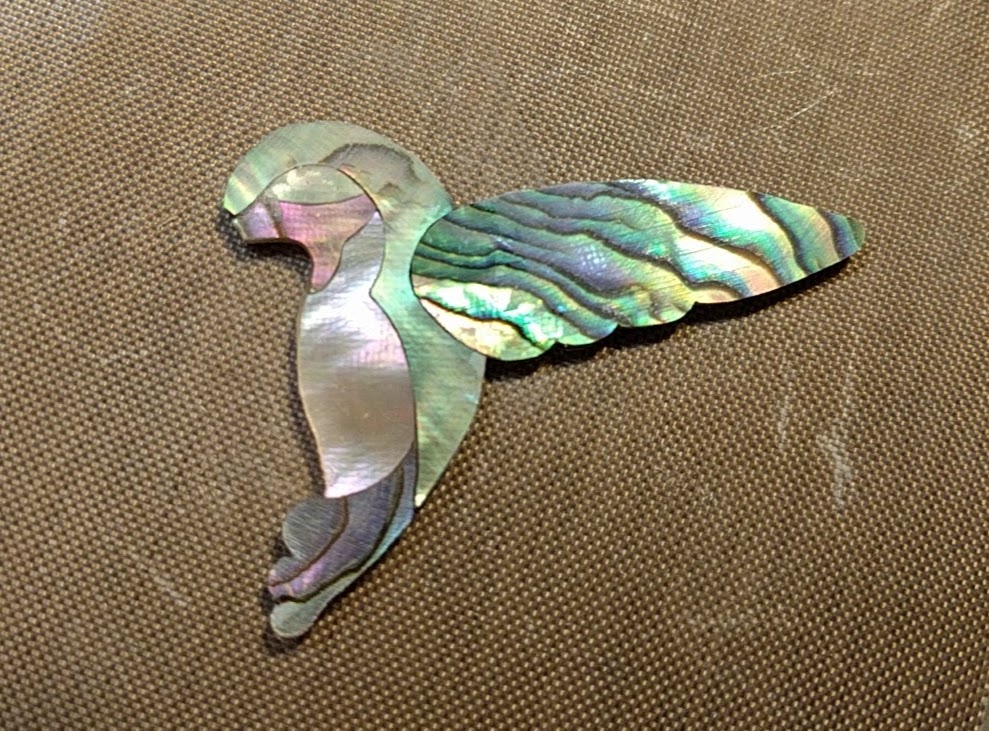
The fitting process continues, generally working from the inside of the design to the outside. You don’t want to have small pieces which may need a bunch of fitting because there is not enough material to file away to get the fit right. Continuing …
Finally, when one gets all the pieces cut, and things fitted together, the result is:
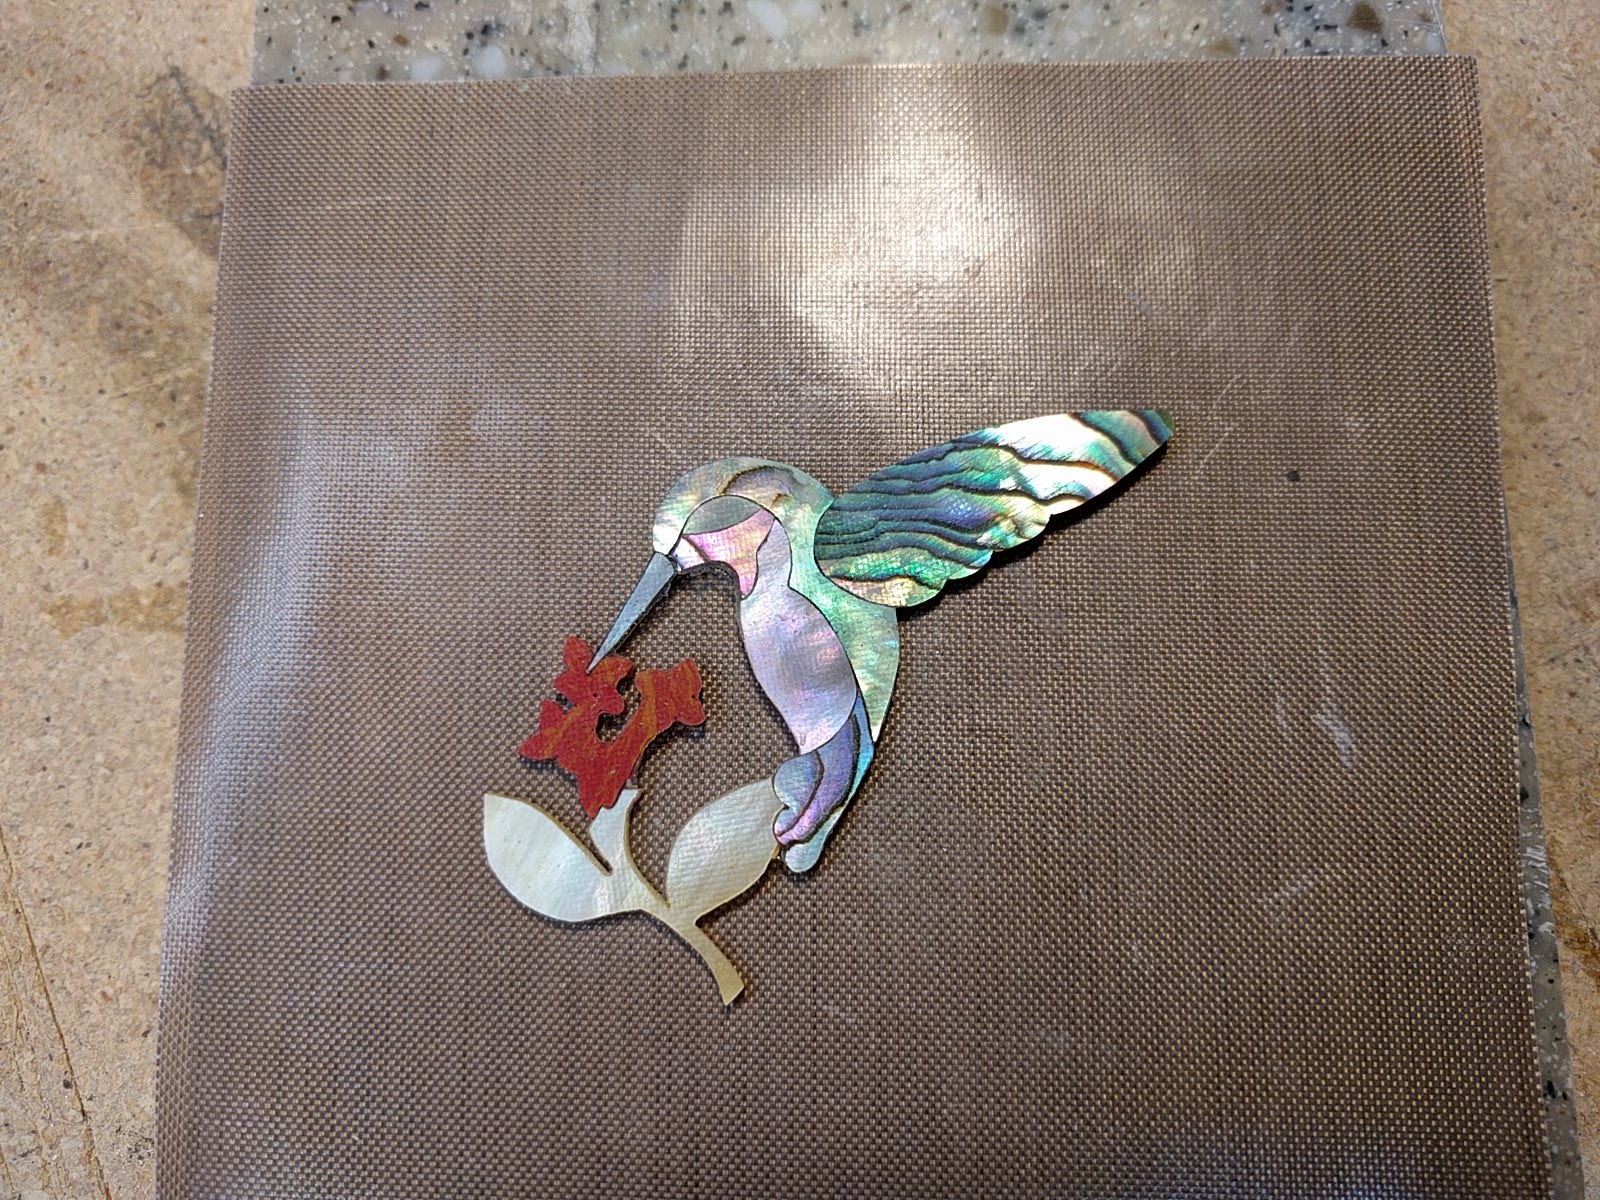
I have some small black pearl dots that I will use for the hummingbird’s eye but I will put the eye in after bird is inlayed into the headstock, since I will be drilling a small hole into the pearl and I want it very well supported.