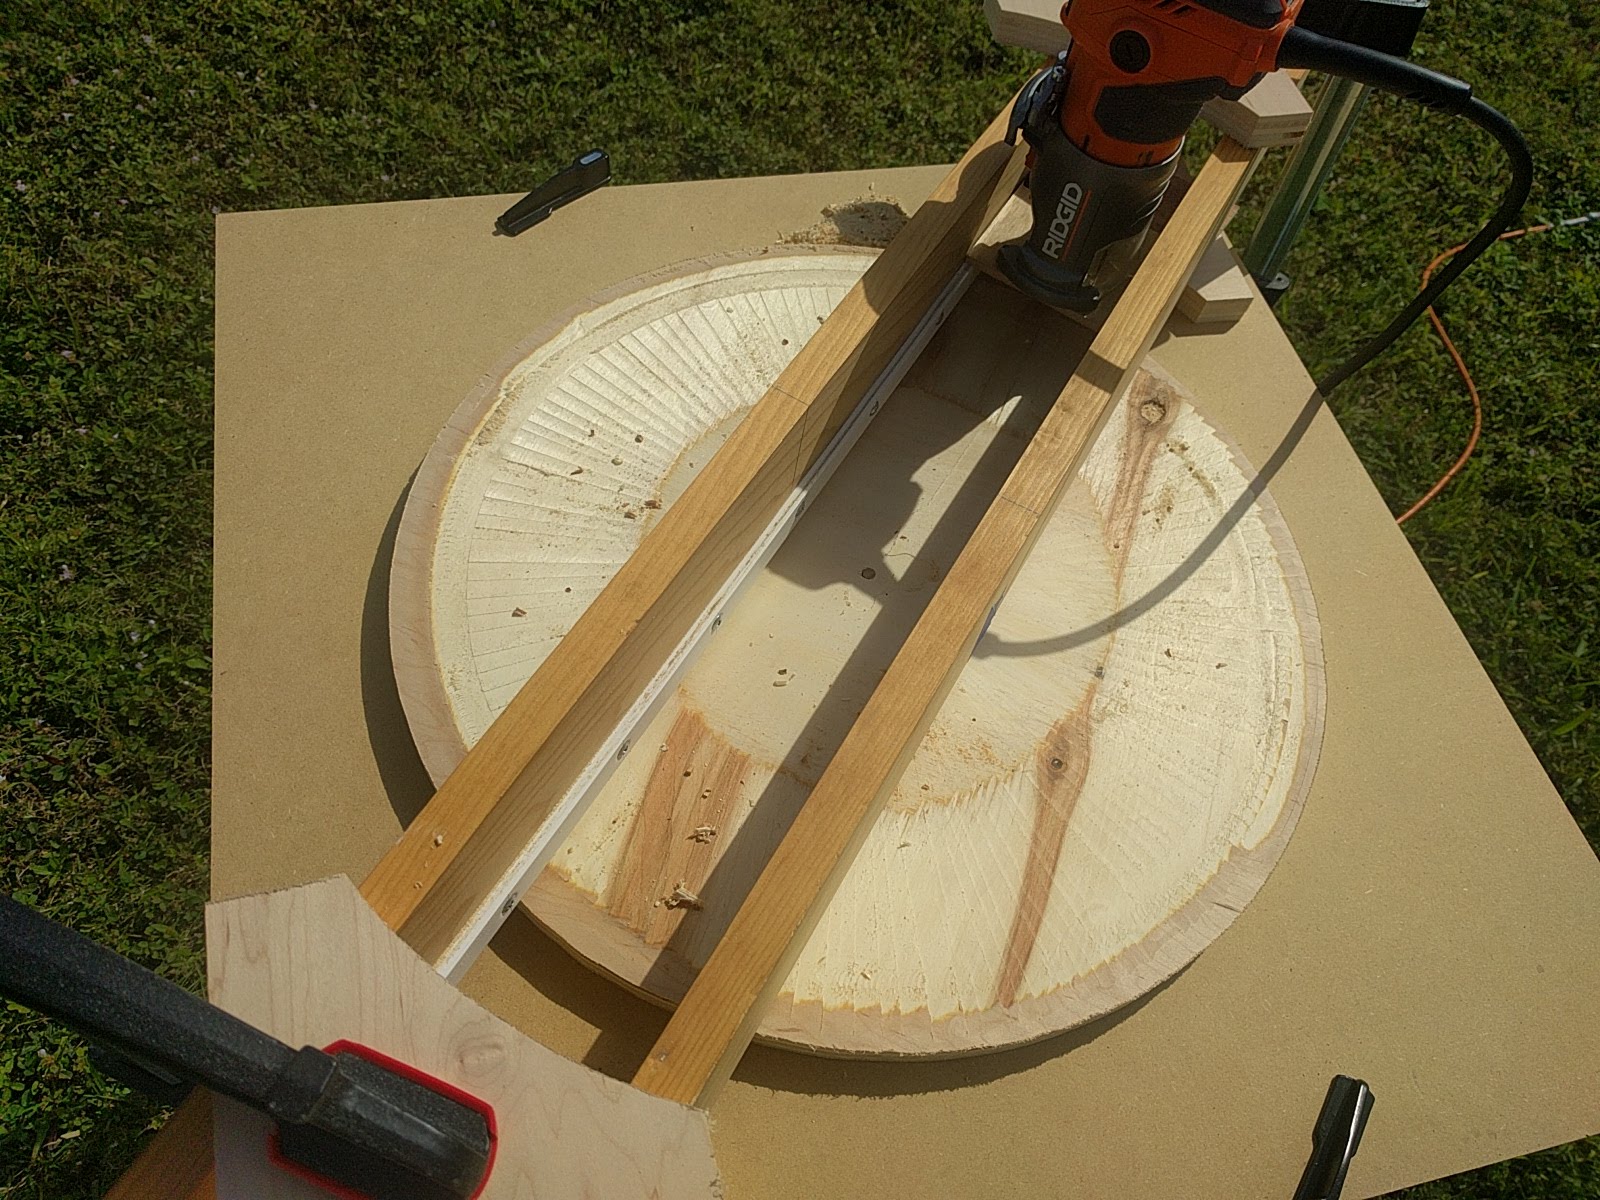
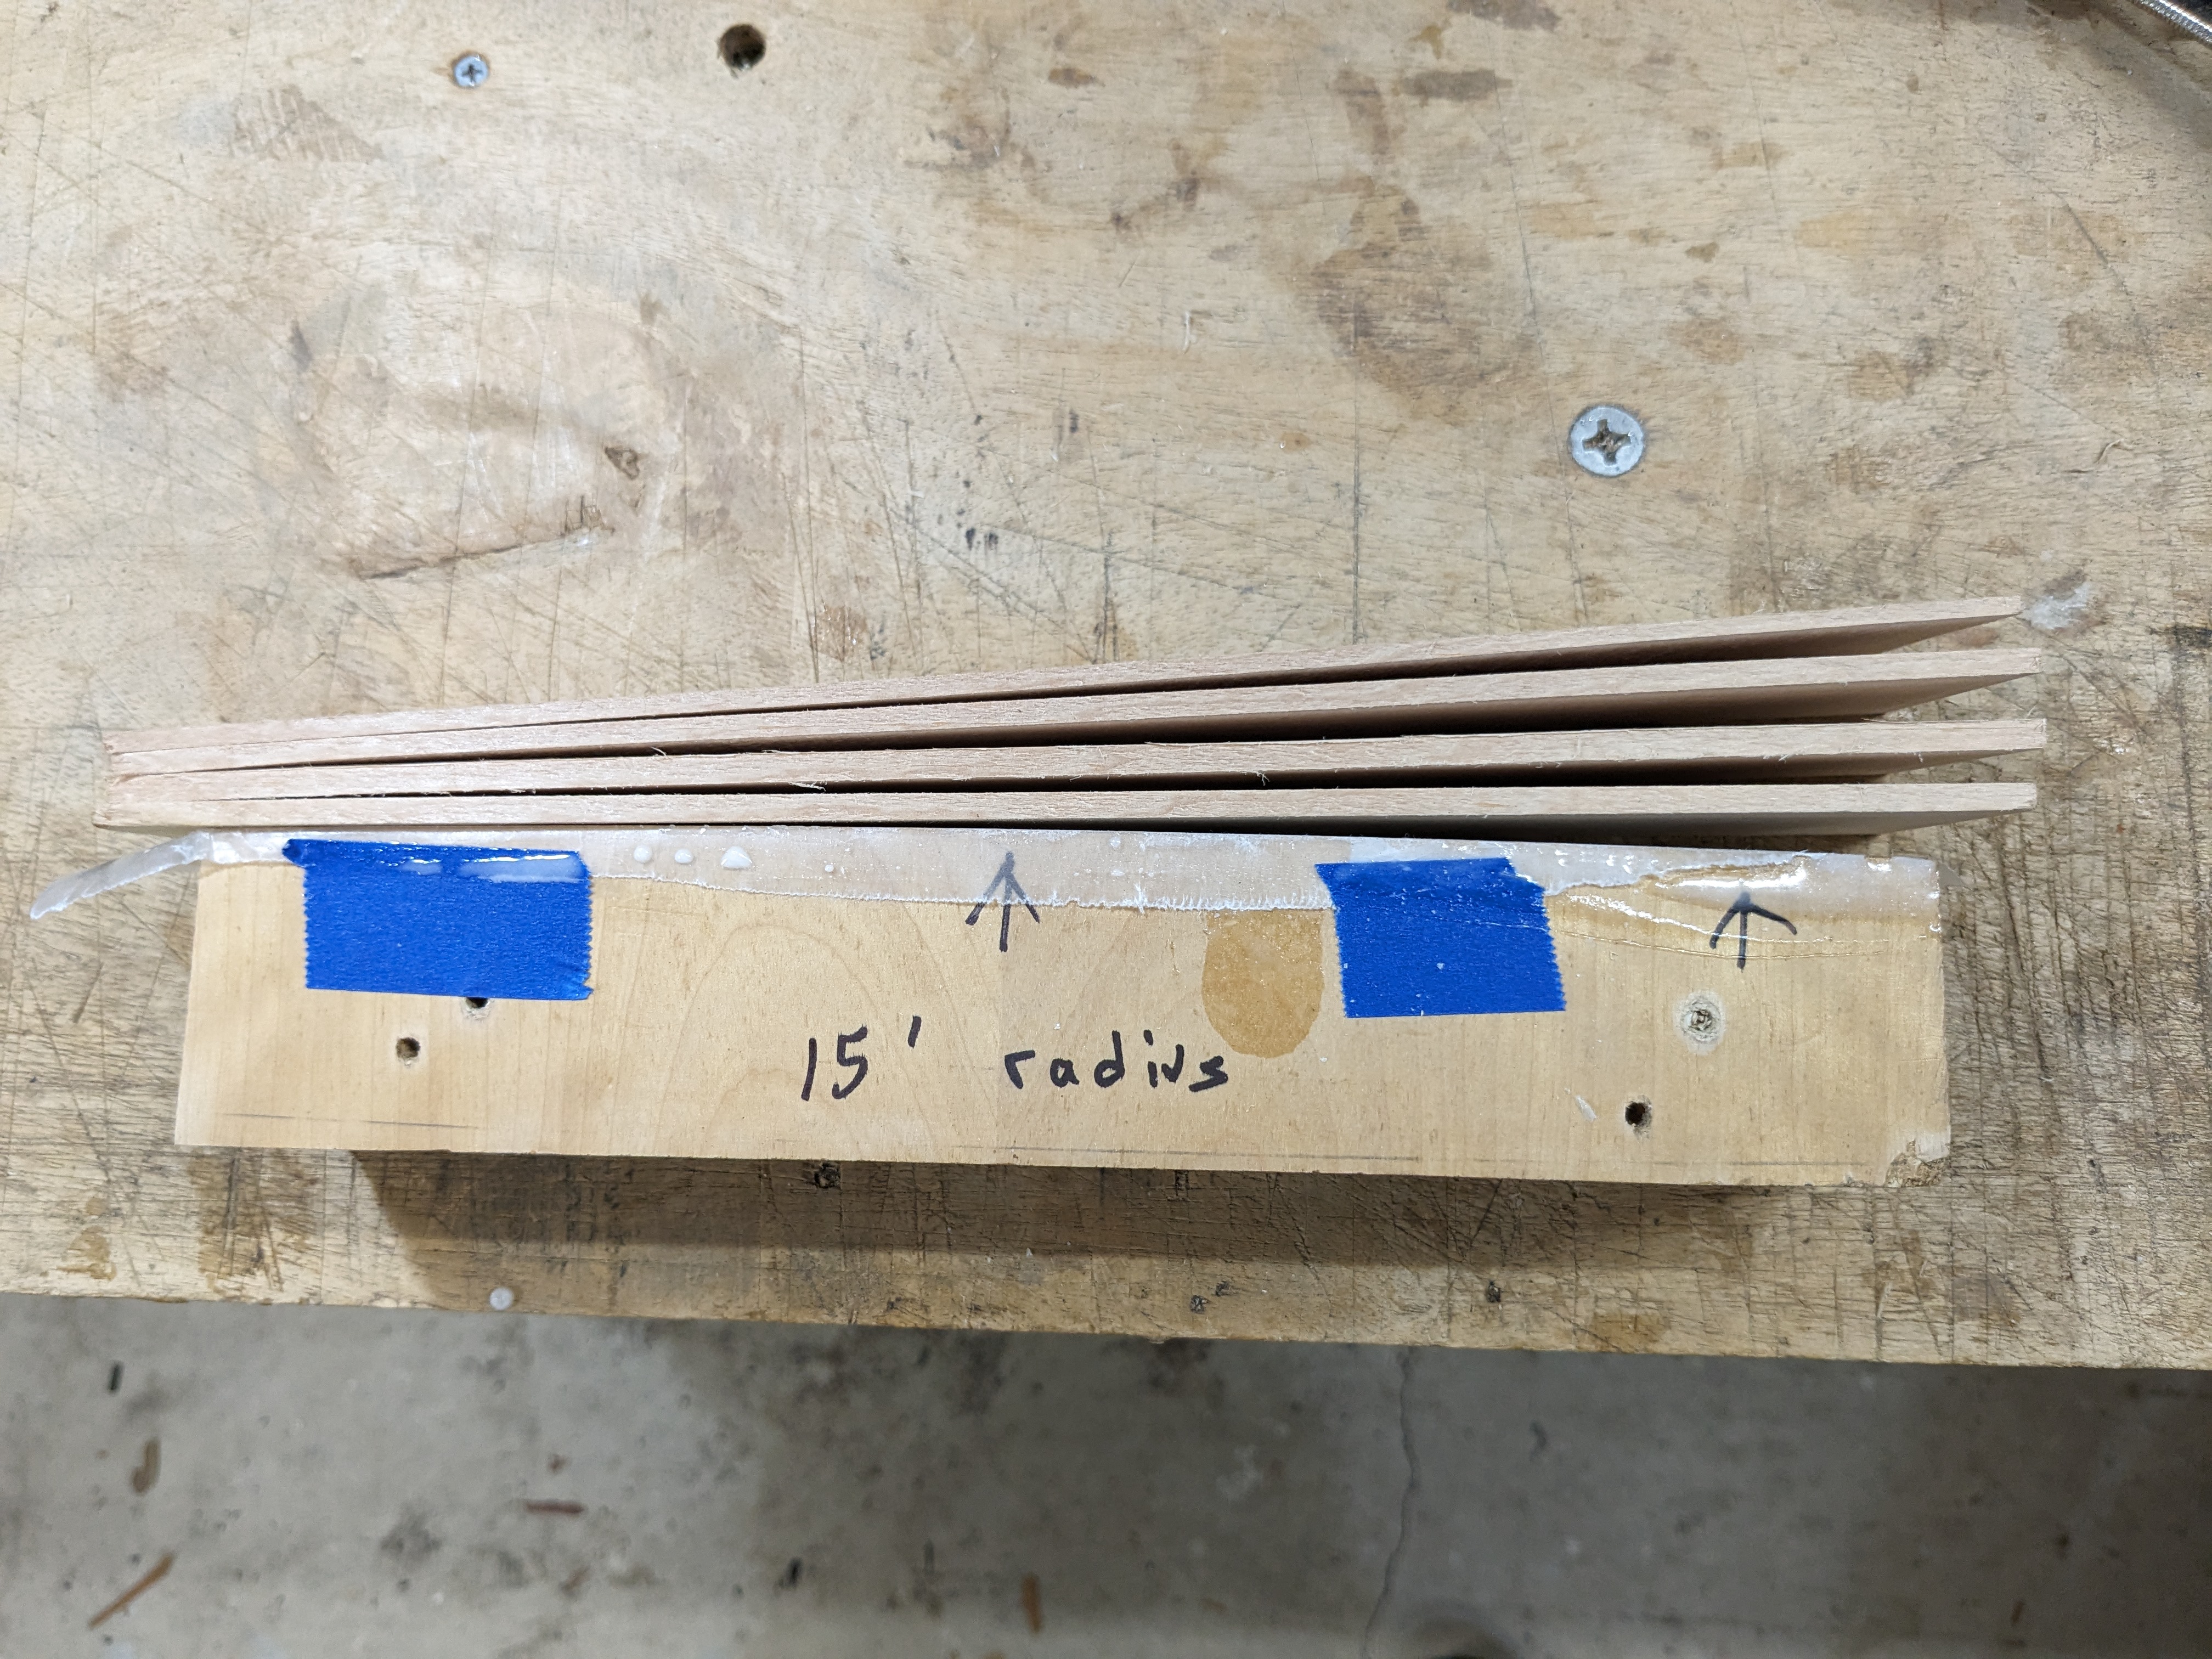
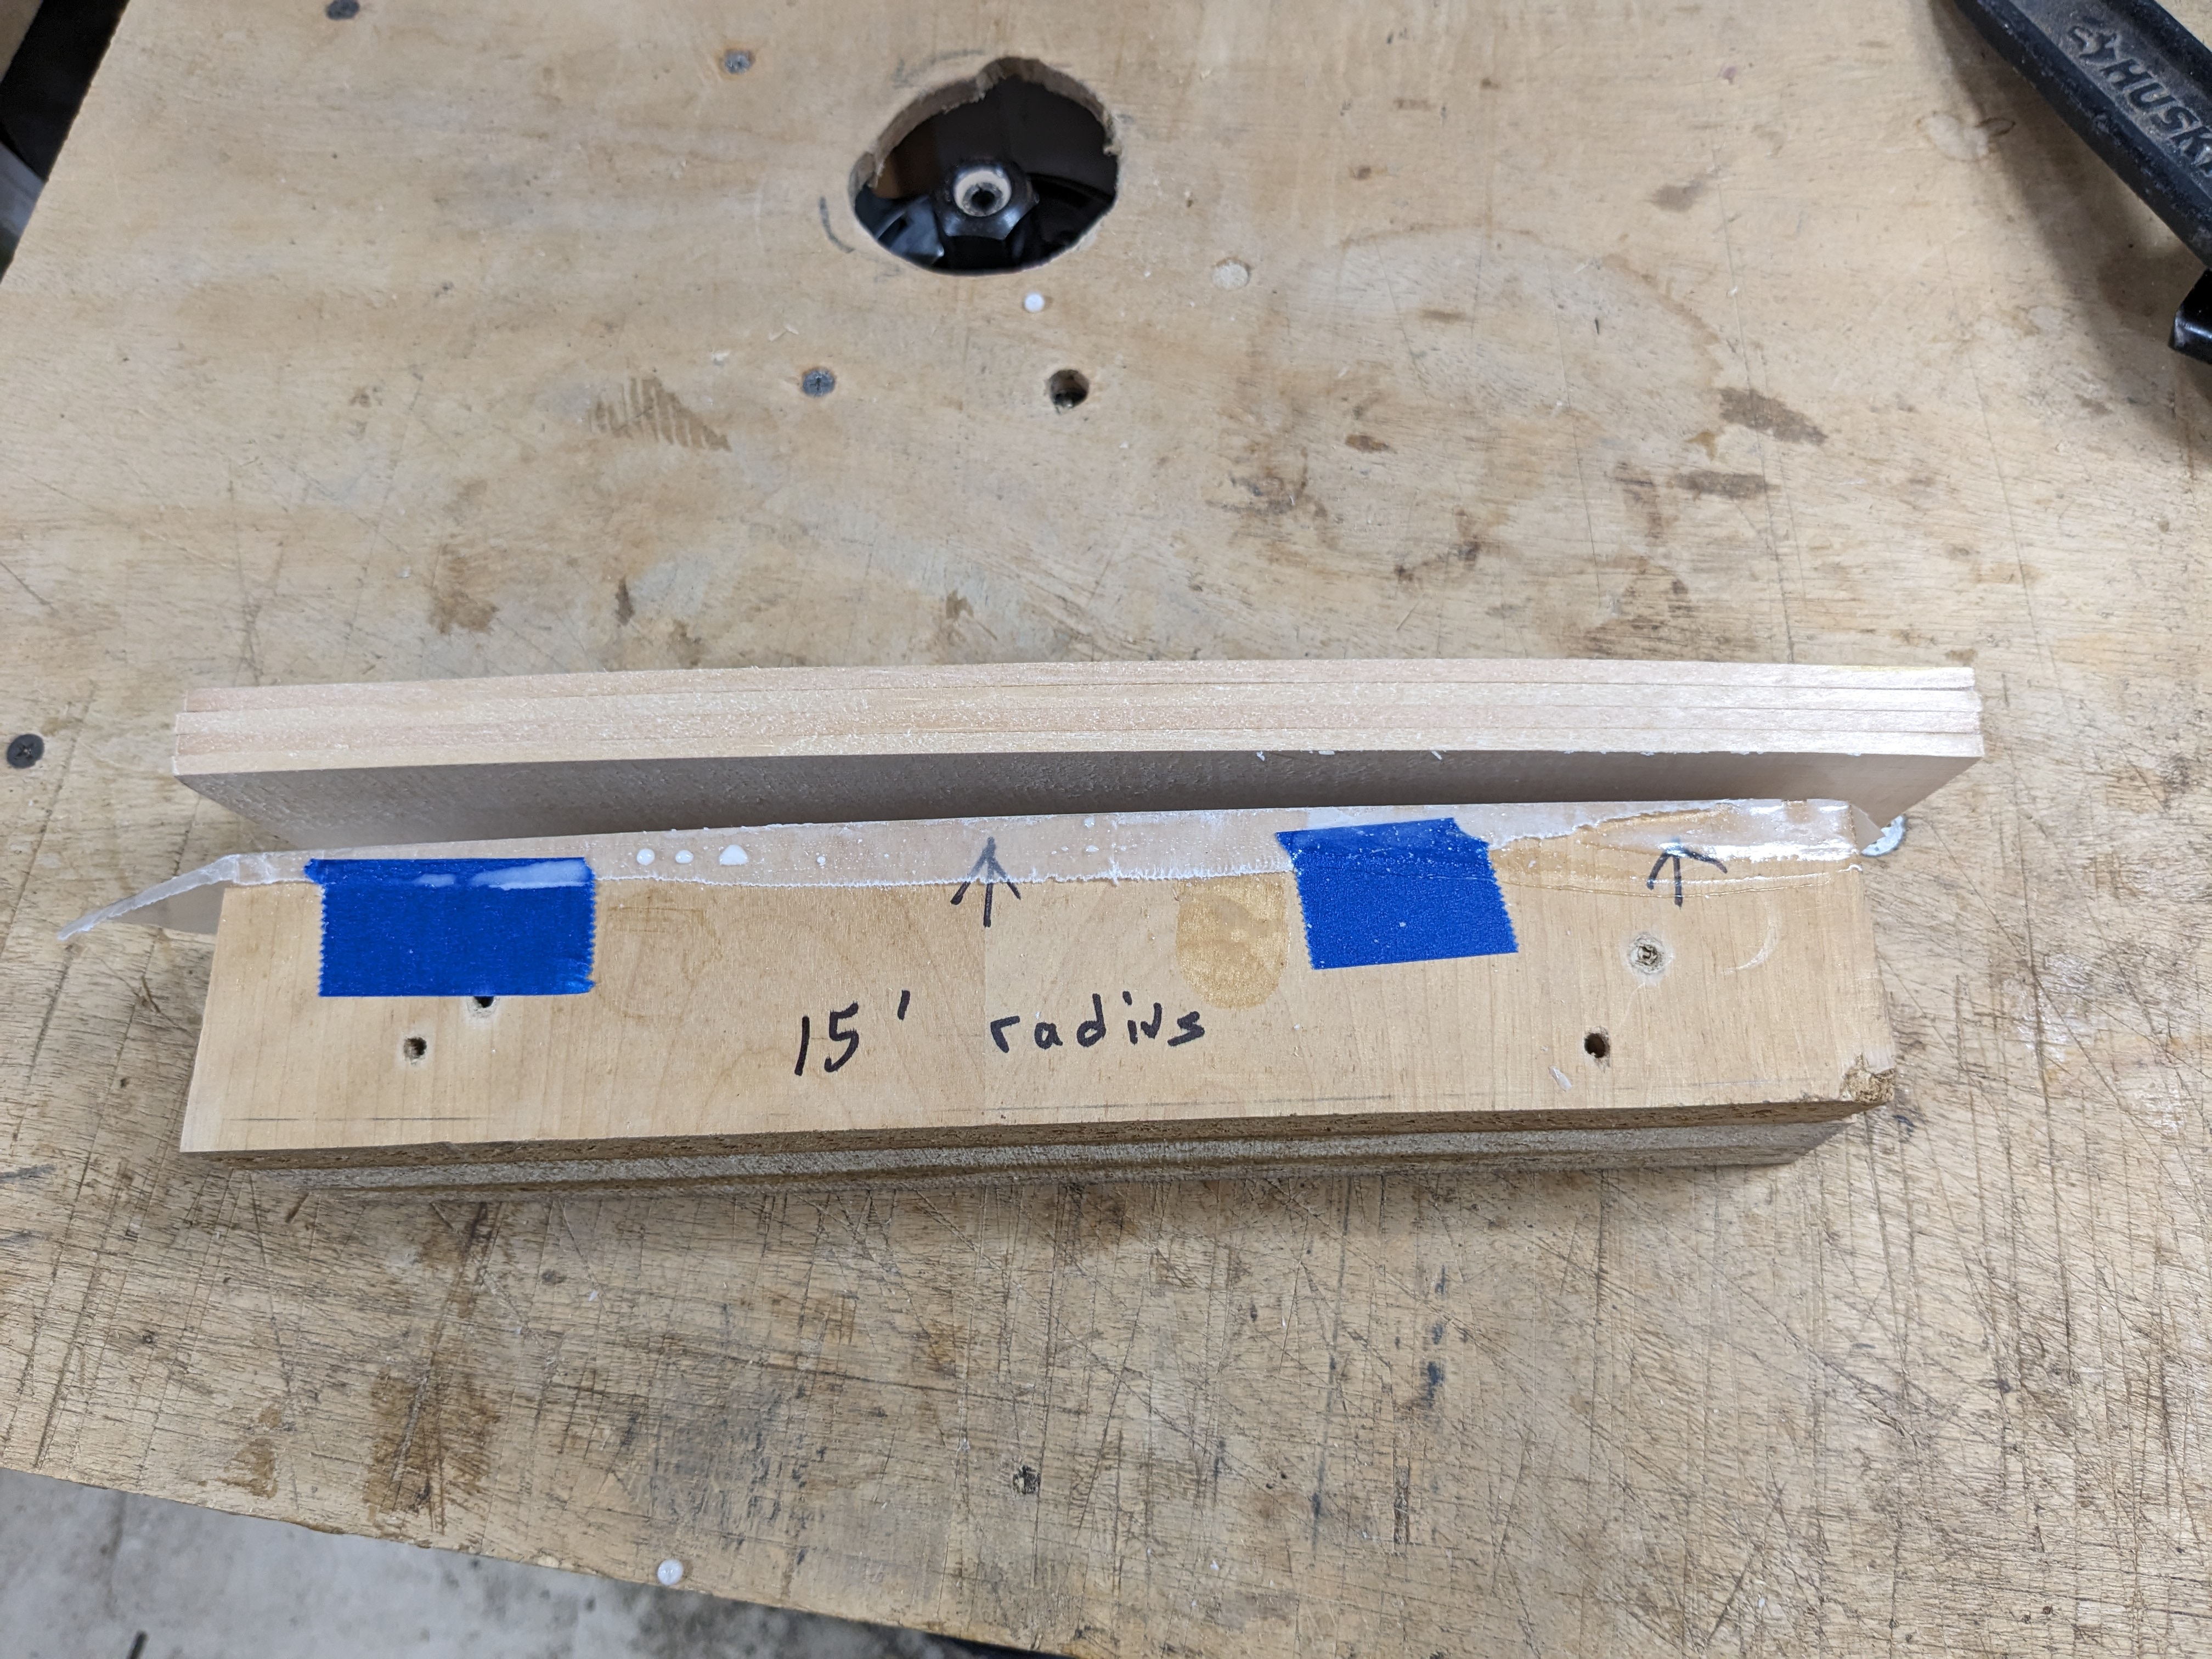
The backs of most modern musical instruments have a slight arch to them, they are not flat. The slight arch makes the instrument stronger, and allows expansion and contraction with changes in humidity. As the back swells with increased humidity the arch gets a little higher. I use a pretty standard arch which is a circle with a radius of 15 feet. The back braces are also cut with this 15 foot radius arch so that when they are glued to the back, the back has the desired arch. The braces are glued to the back in a dish which has the same 15 foot radius cut into the surface. One can buy these radius dishes, but they are (in my mind) pretty expensive, so I have cut my own. As I build out the shop here in Florida, I need to cut some new dishes.
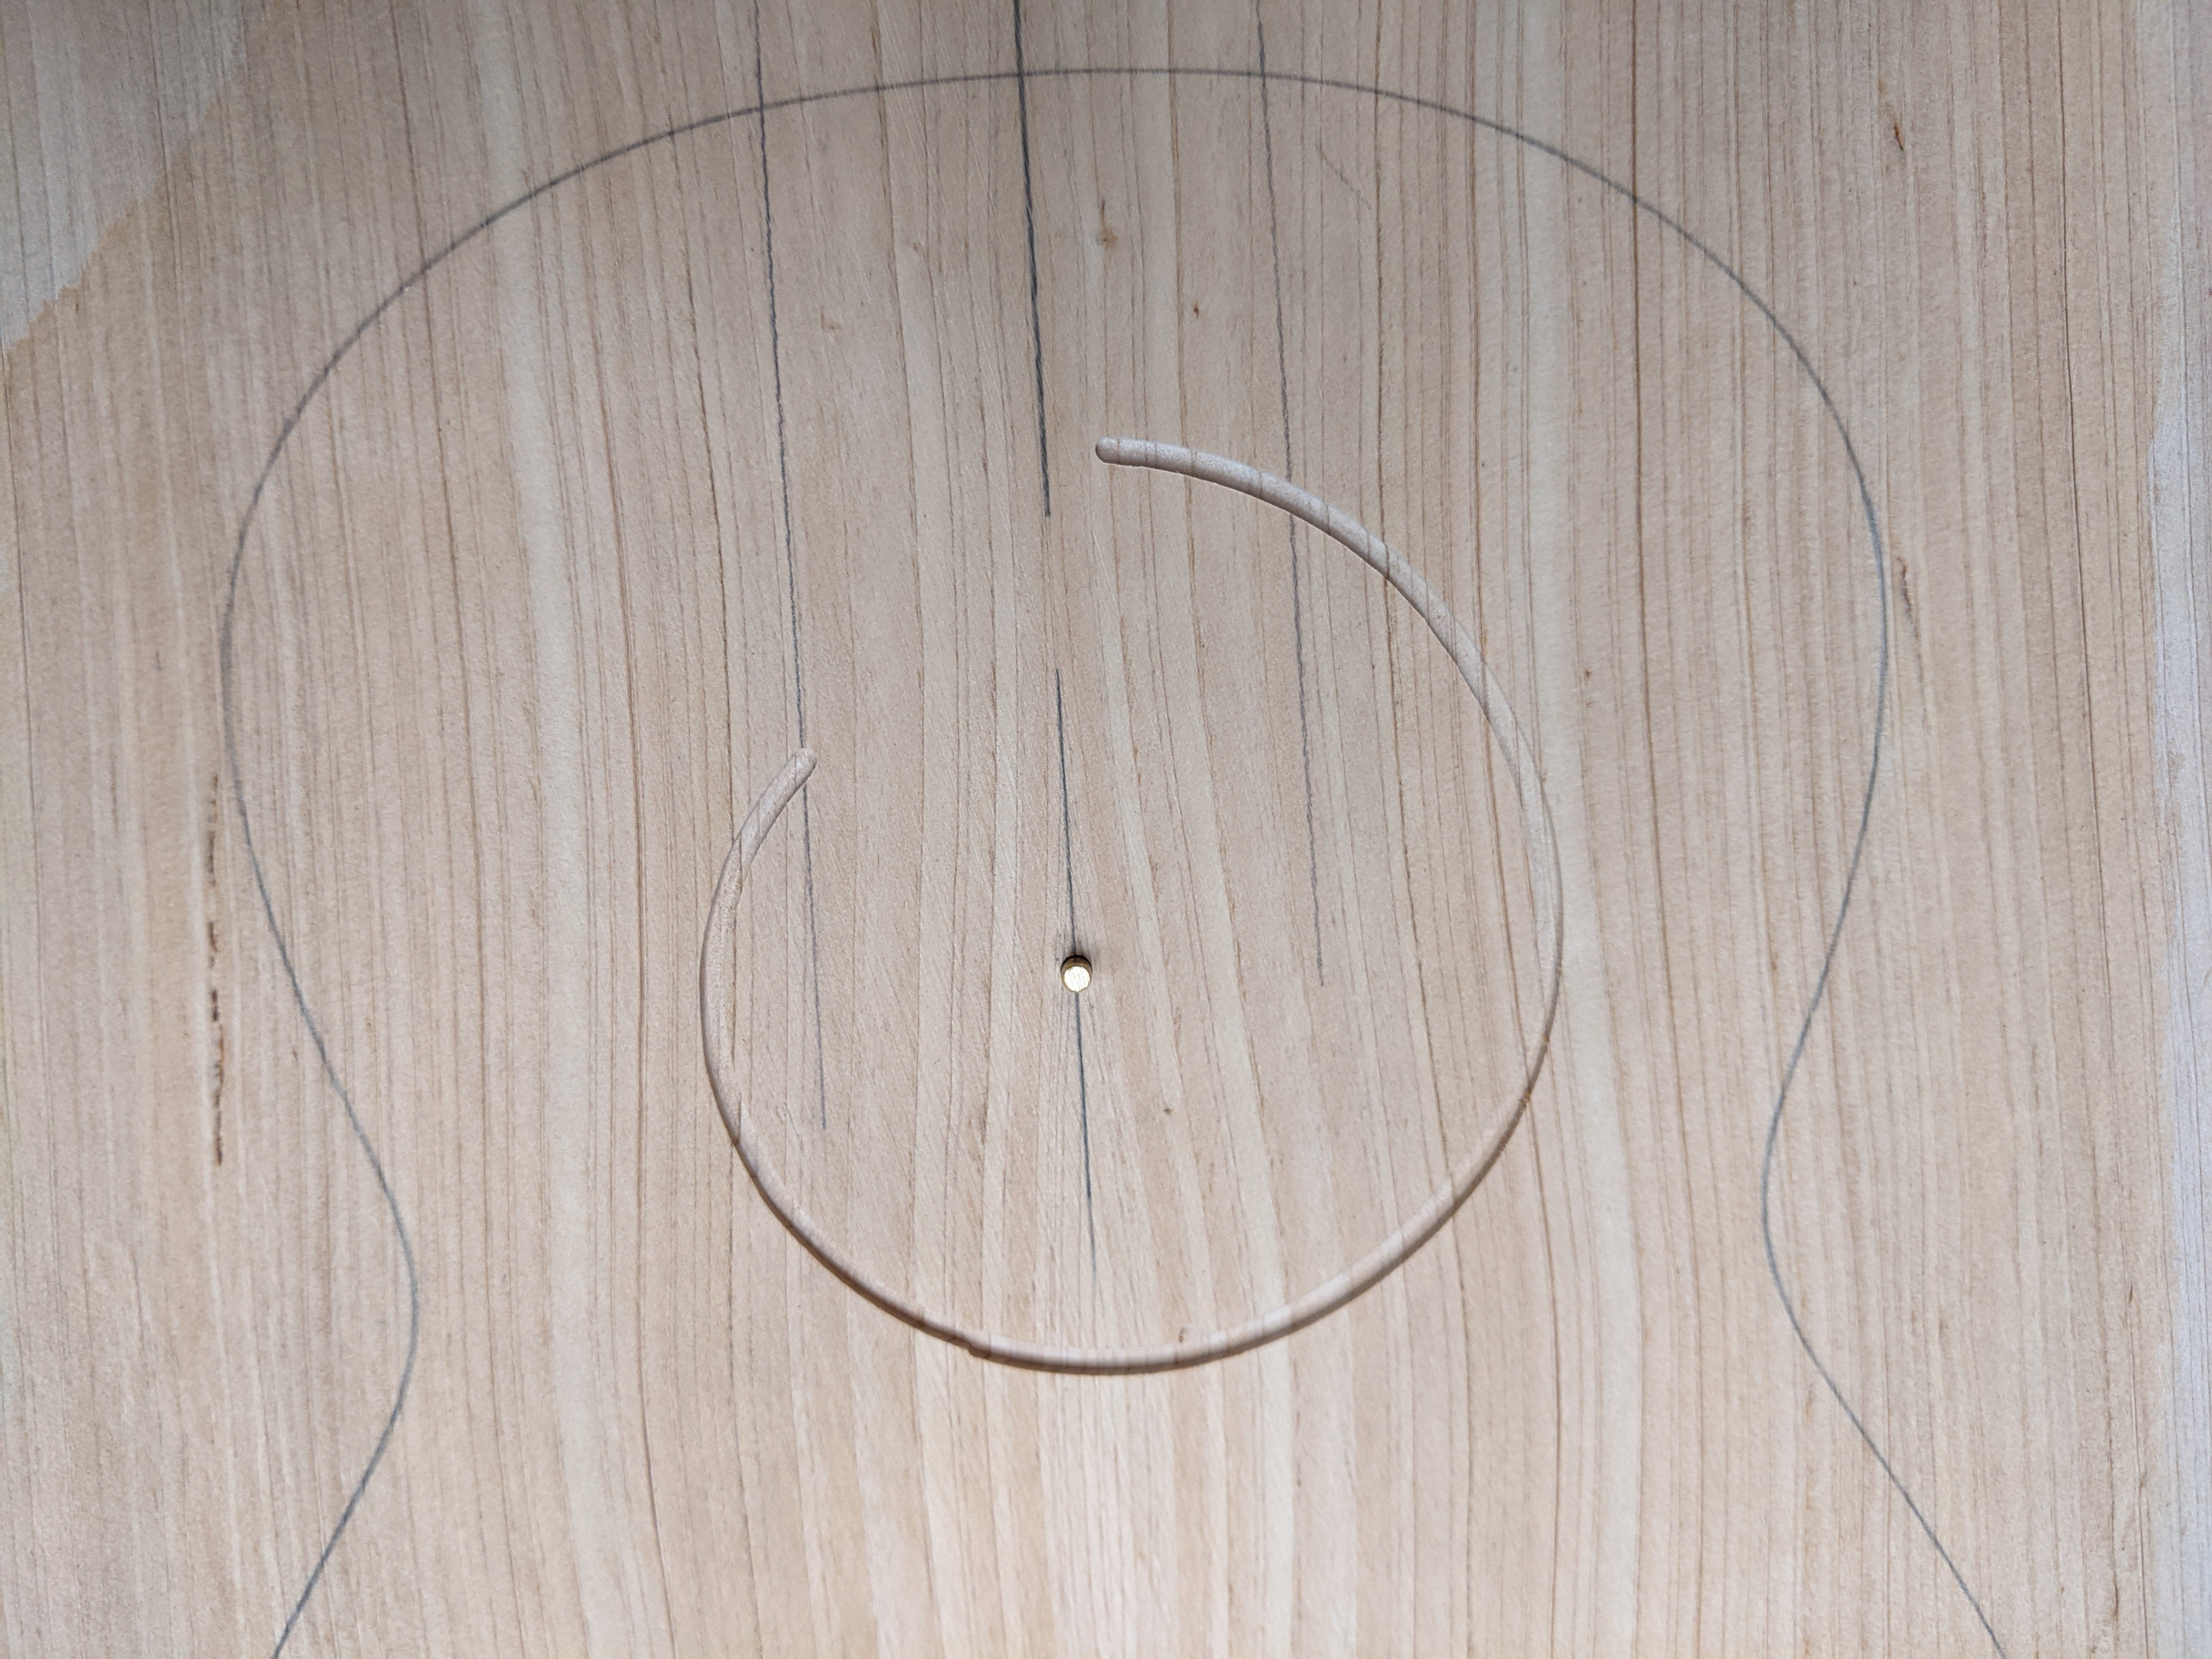
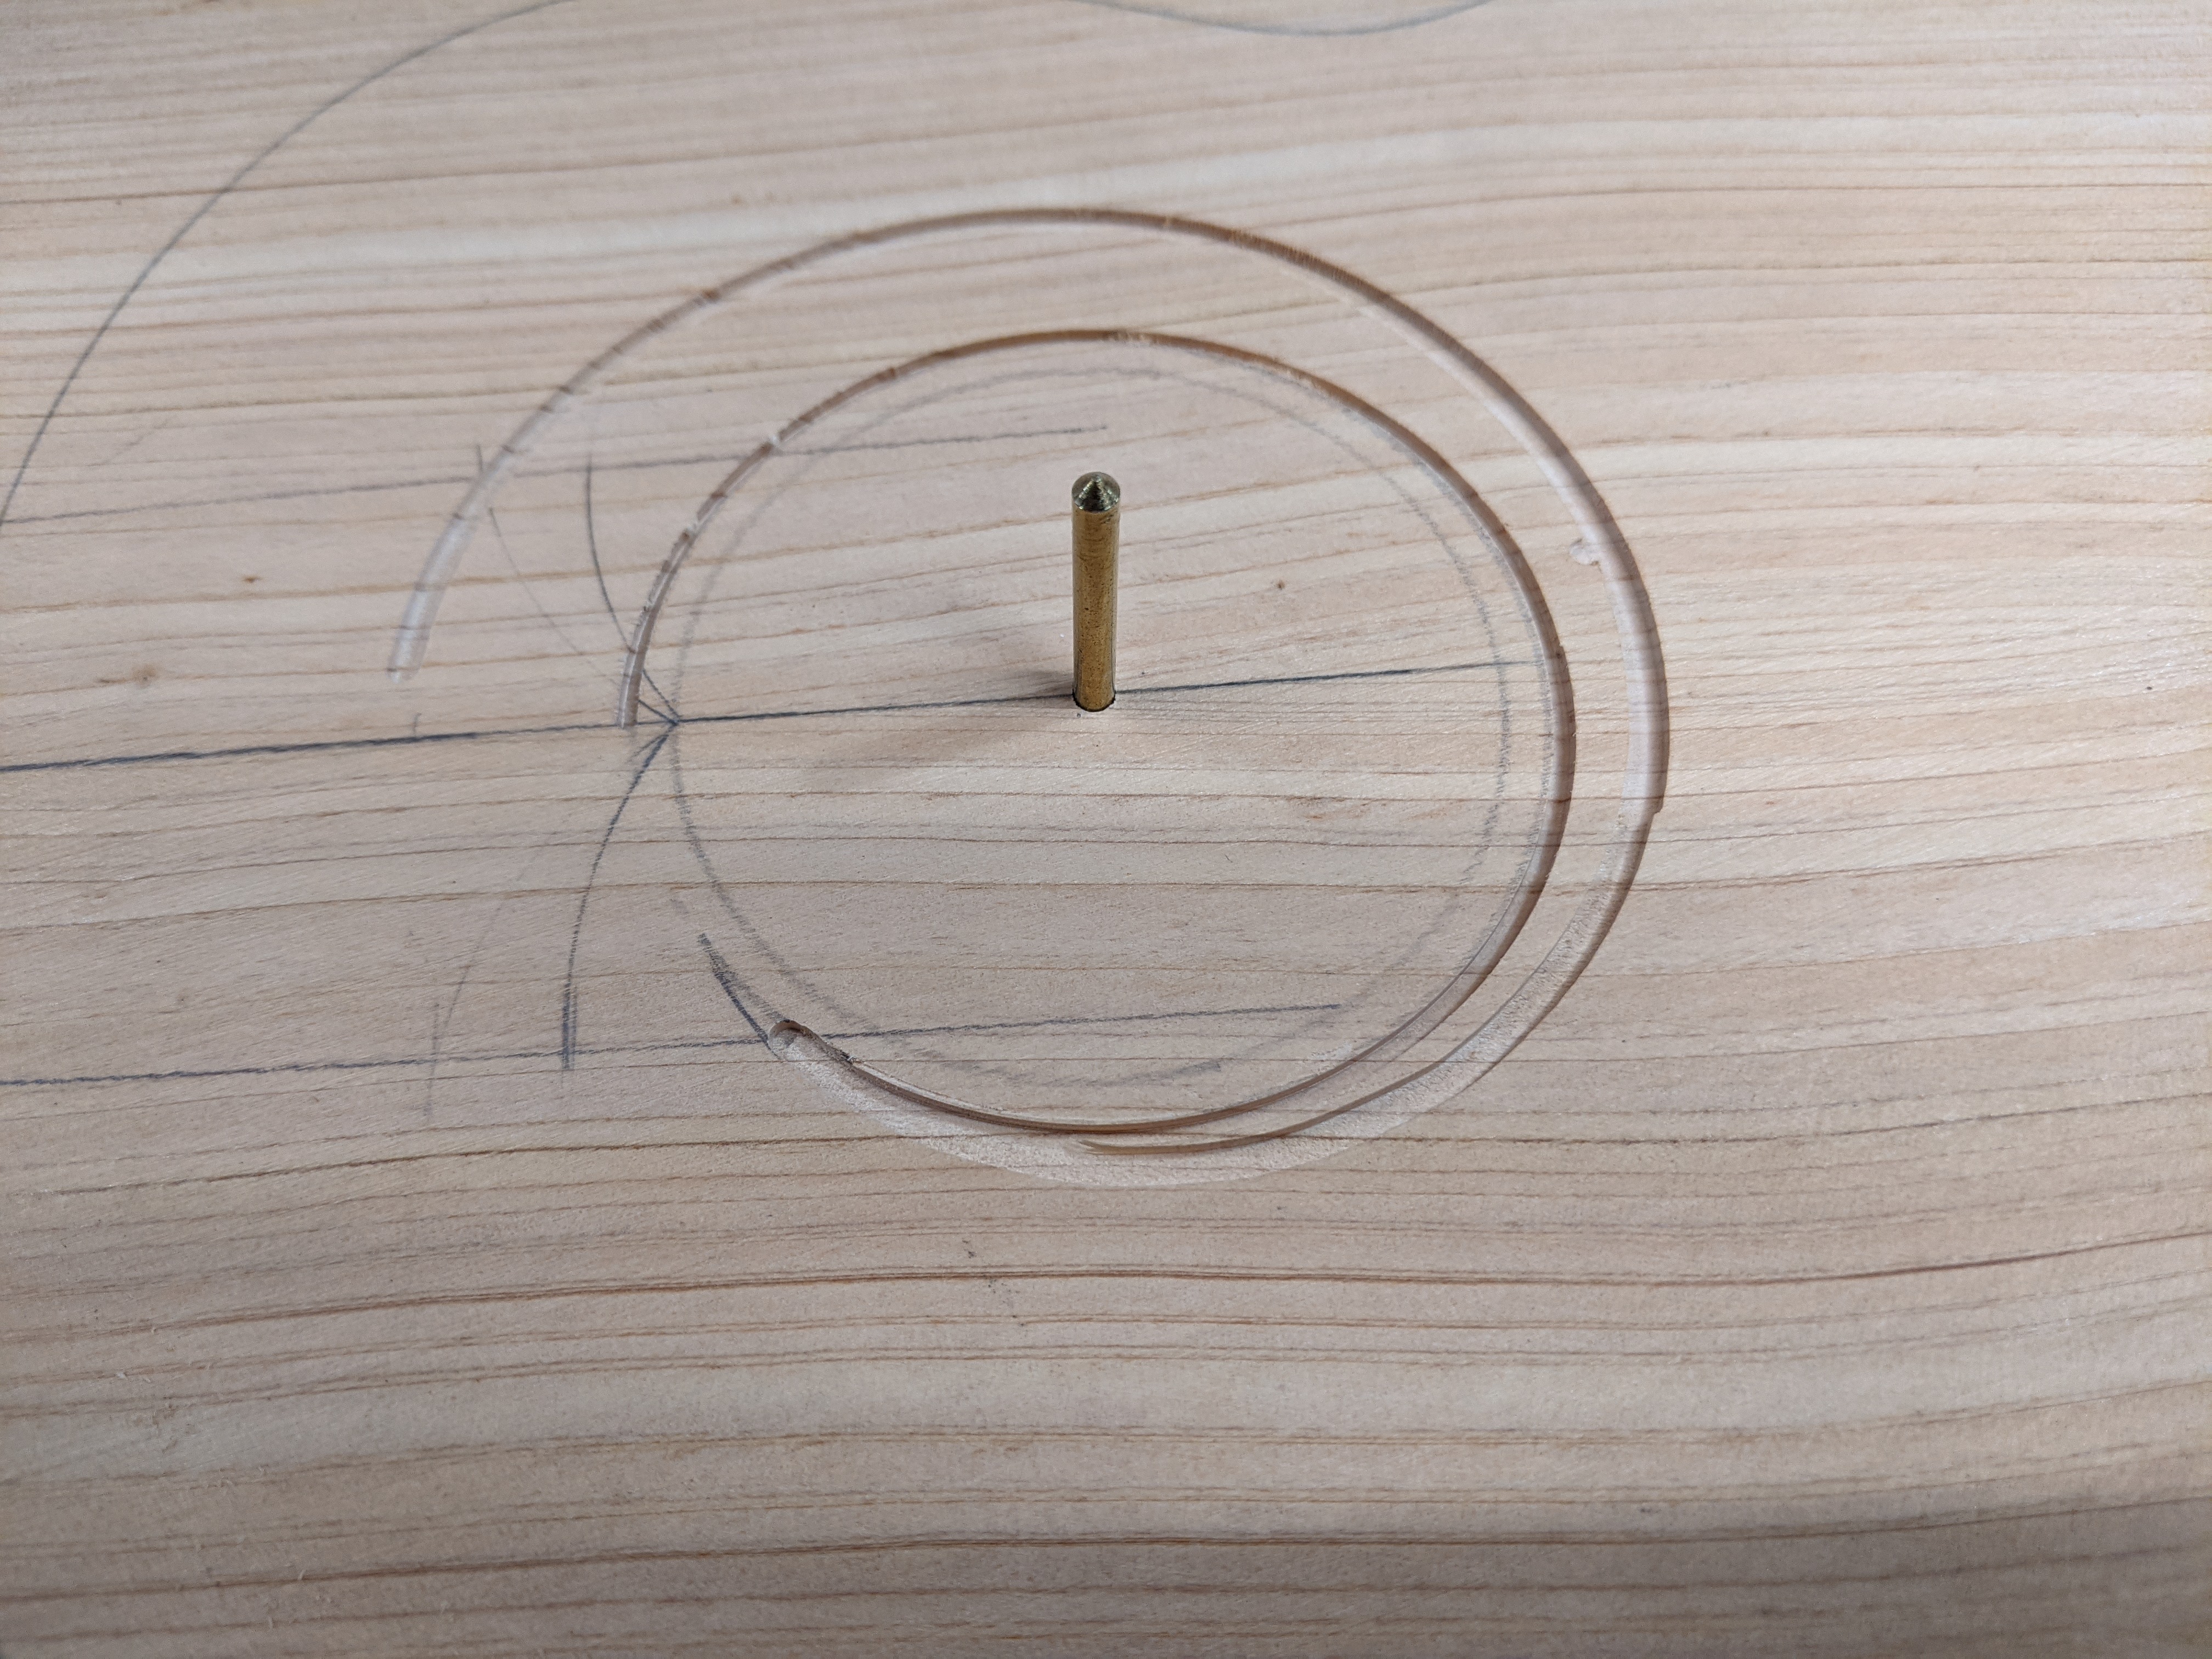
To cut a dish I made up a jig which is a channel just the width of a router base. The bottom of the channel is made with some thin plastic trim molding which is bent along a 15 foot radius line. Then as the router is run along, it cuts the 15 foot radius line. The dish has a center pin, so you just rotate the dish and re-run the router along the channel. A great project to do outside on a cool and breezy day because it makes a lot of sawdust cutting that dish out of a piece of plywood. When you are done with the router a quick sanding to take off any unevenness and fuzz, a coat of shellac to seal the surface, and you are good to go.


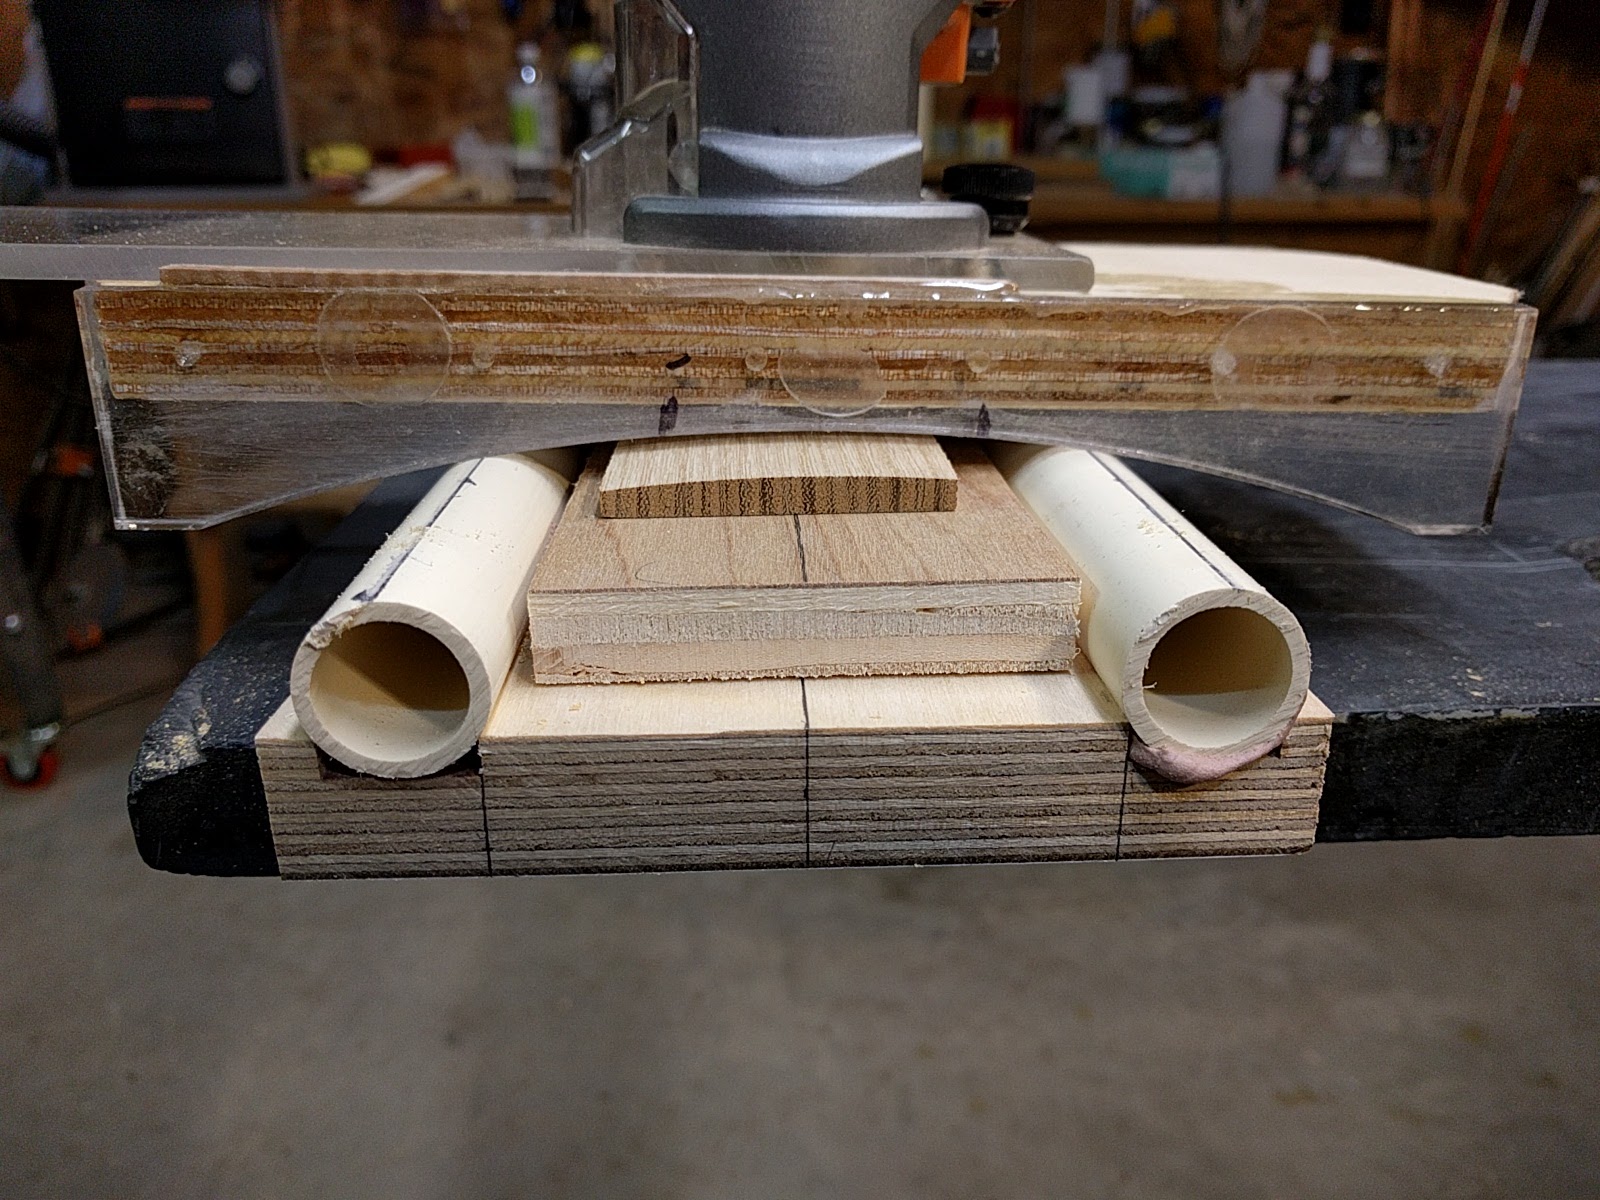
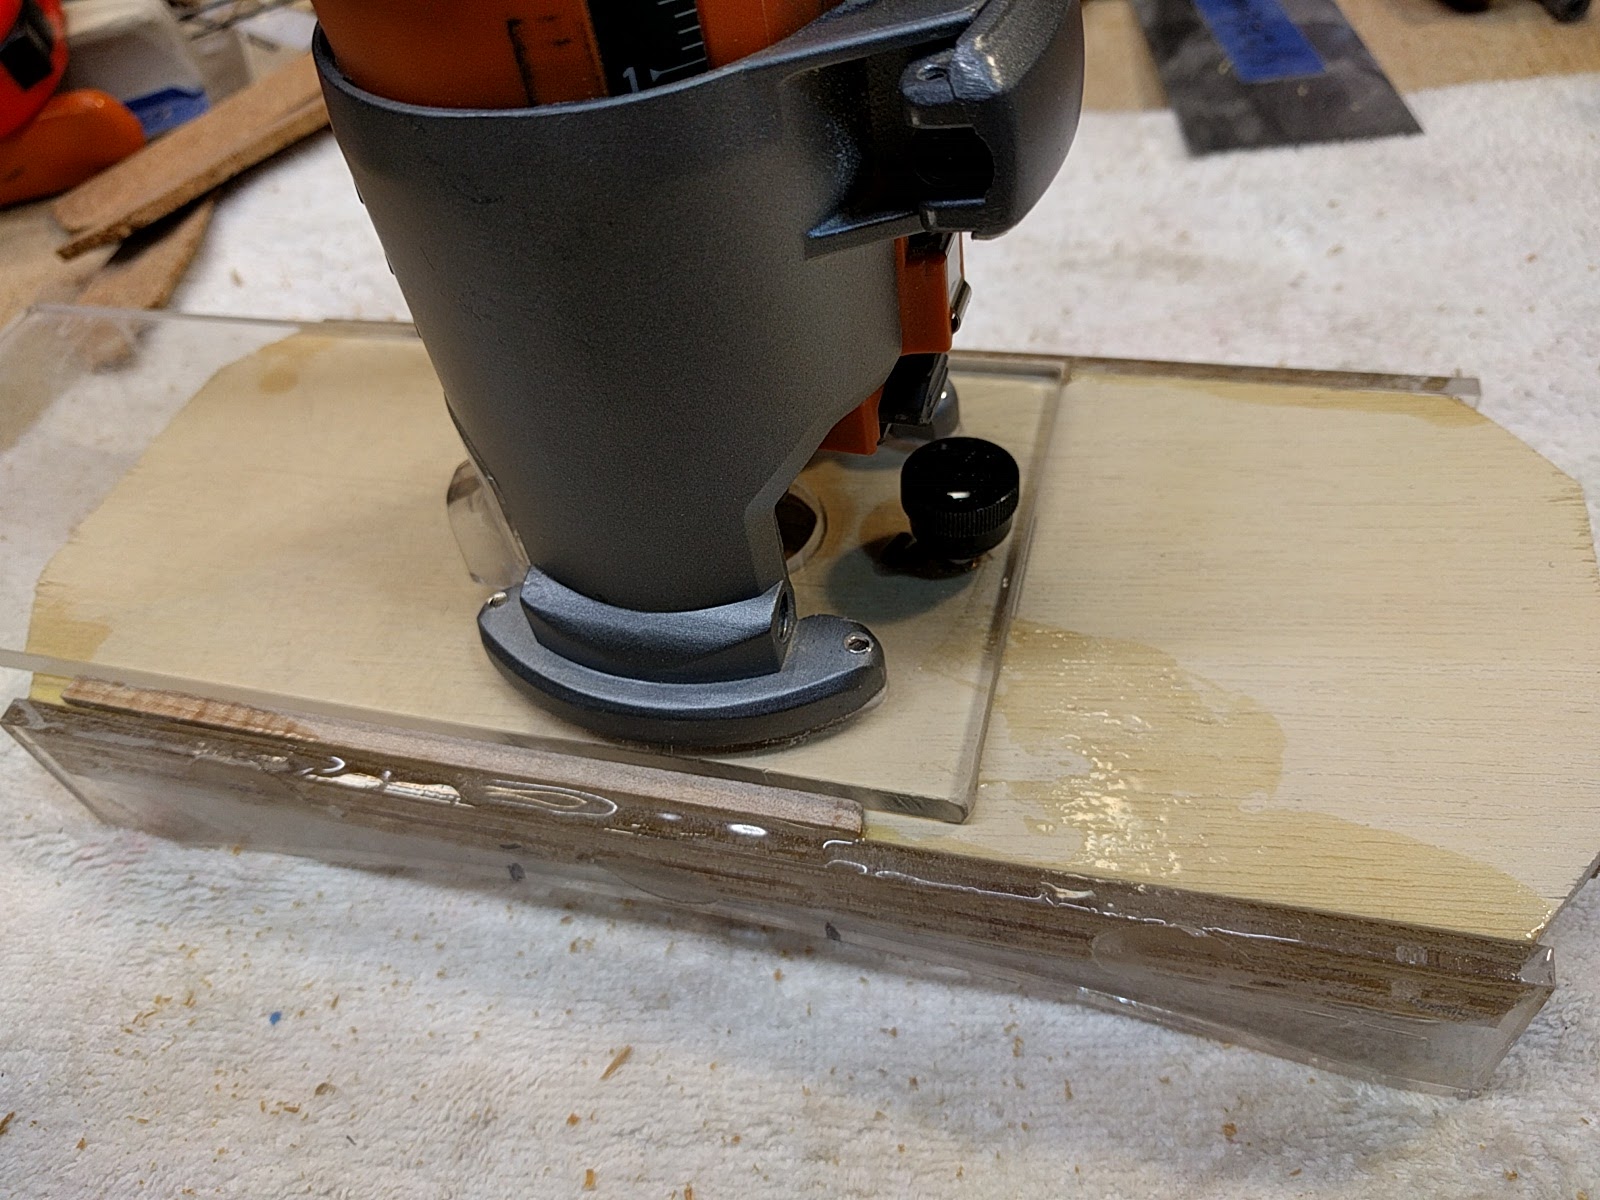
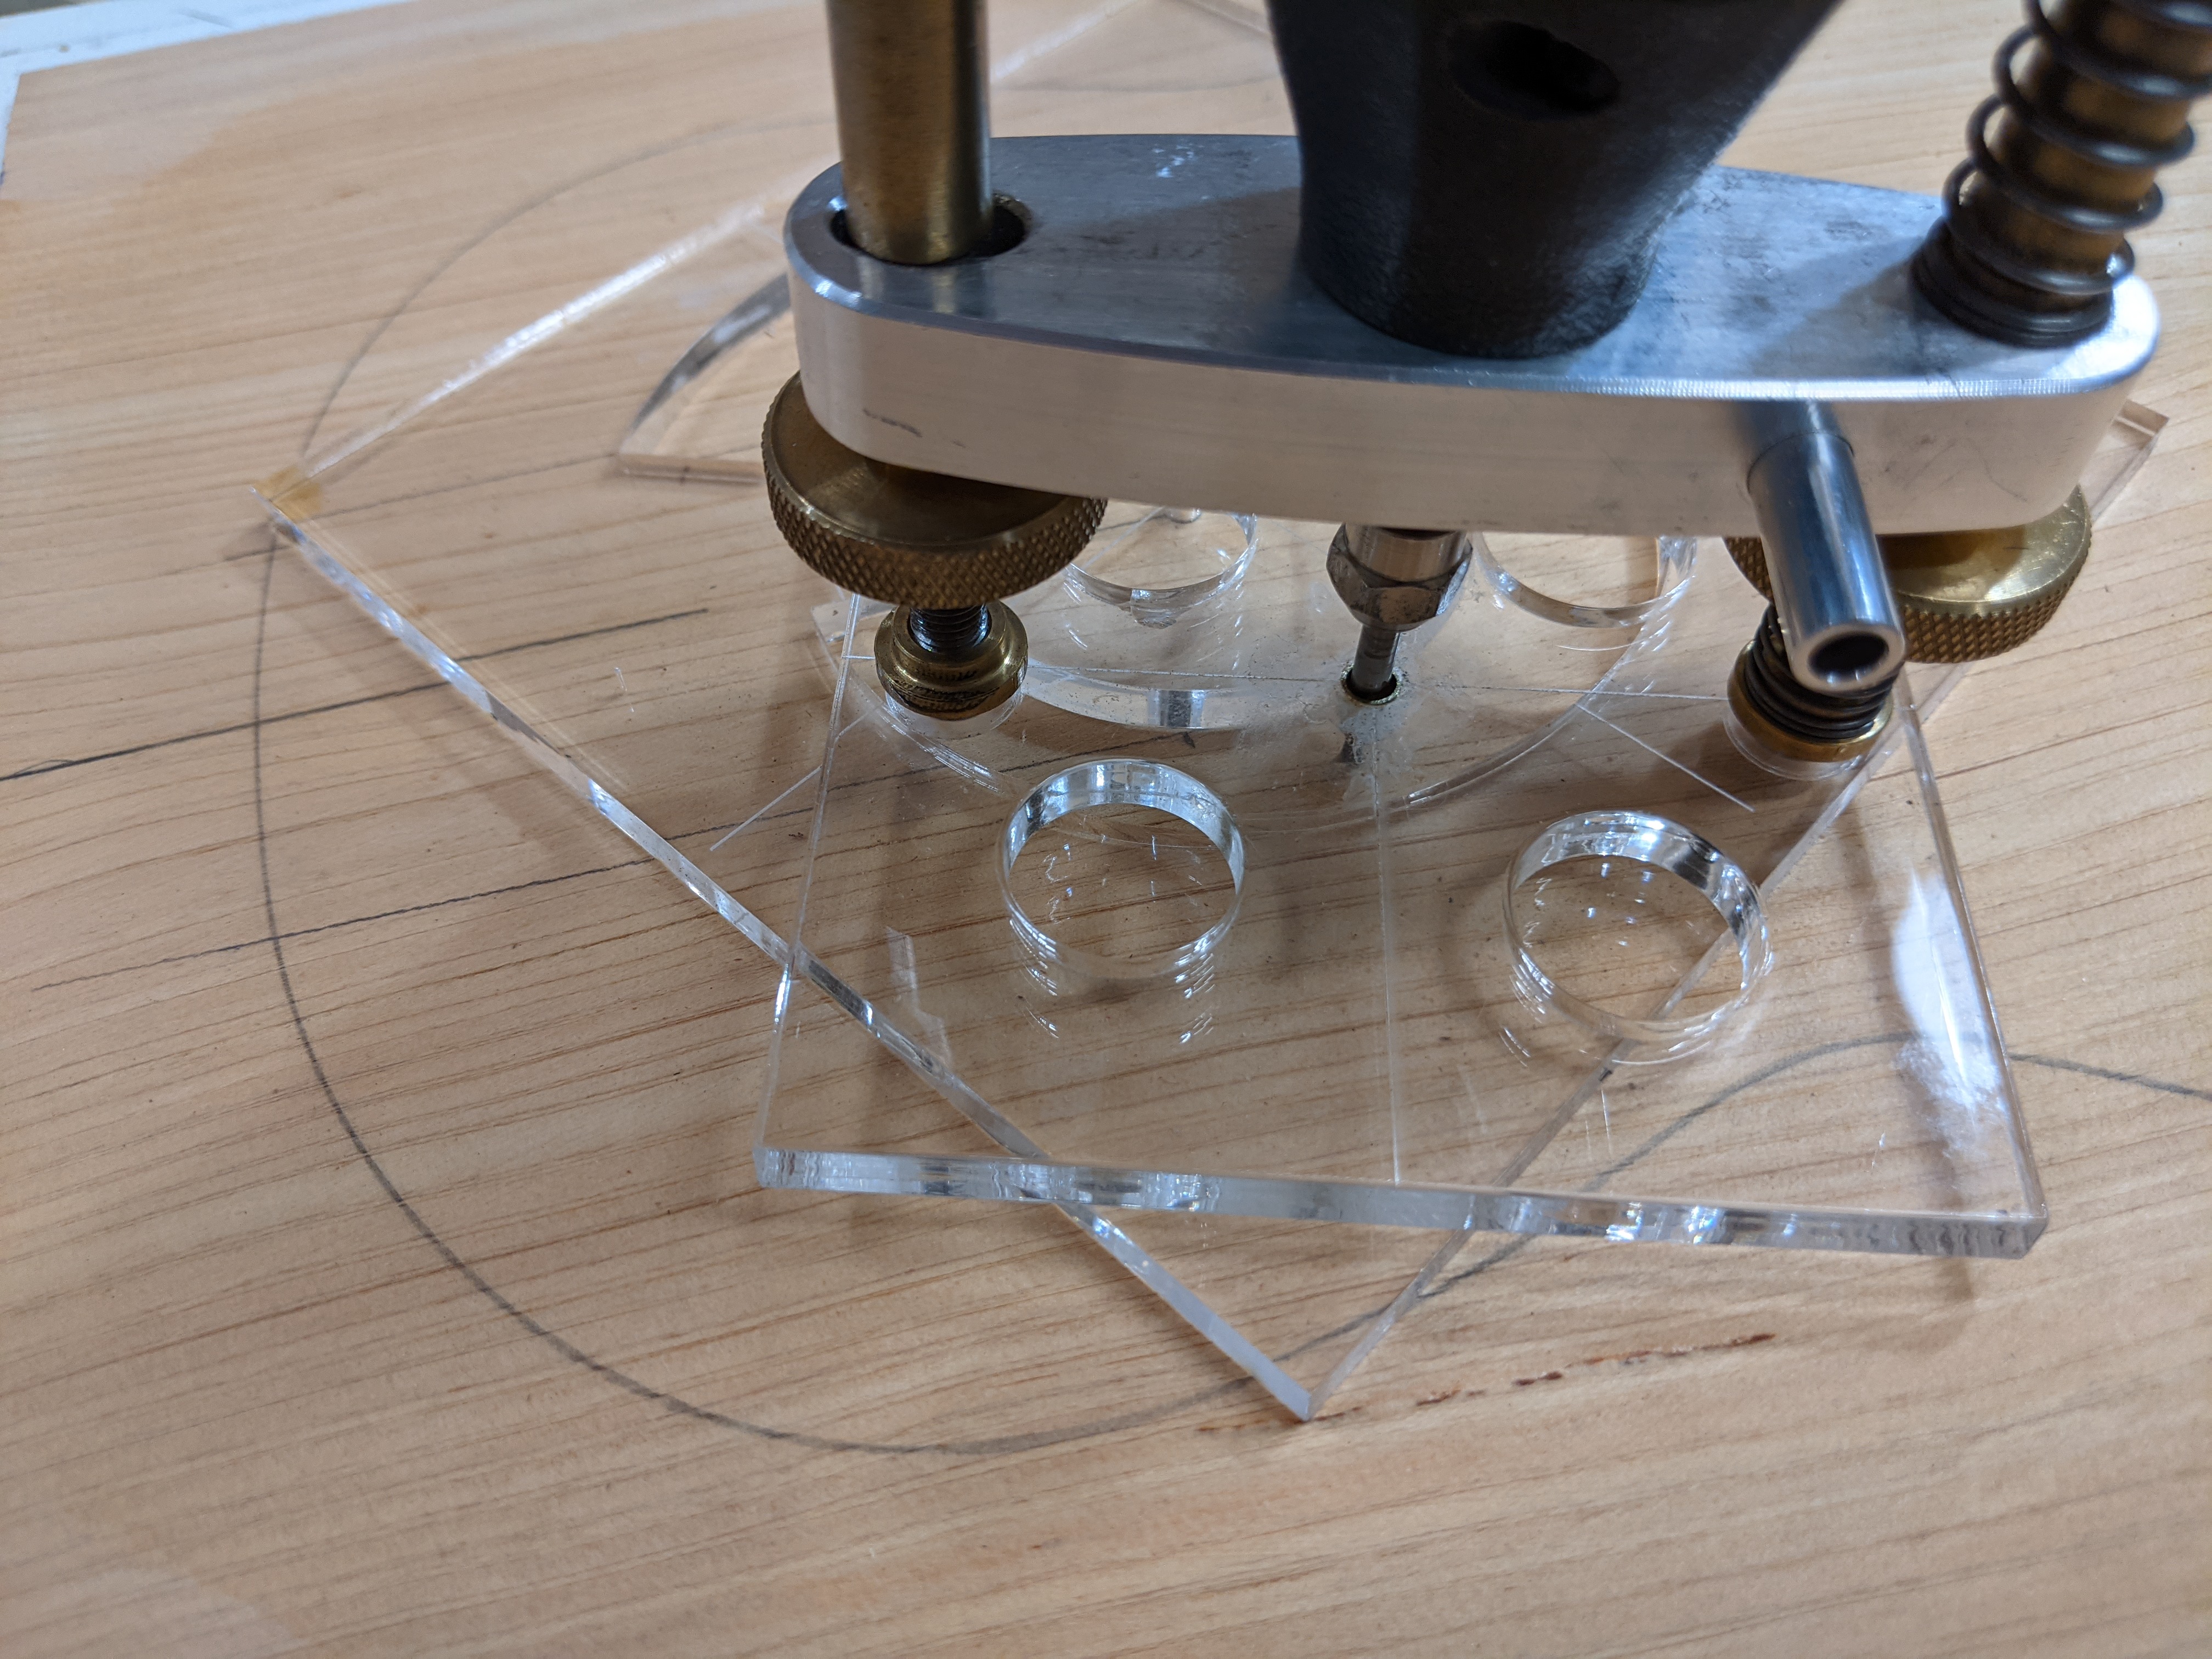
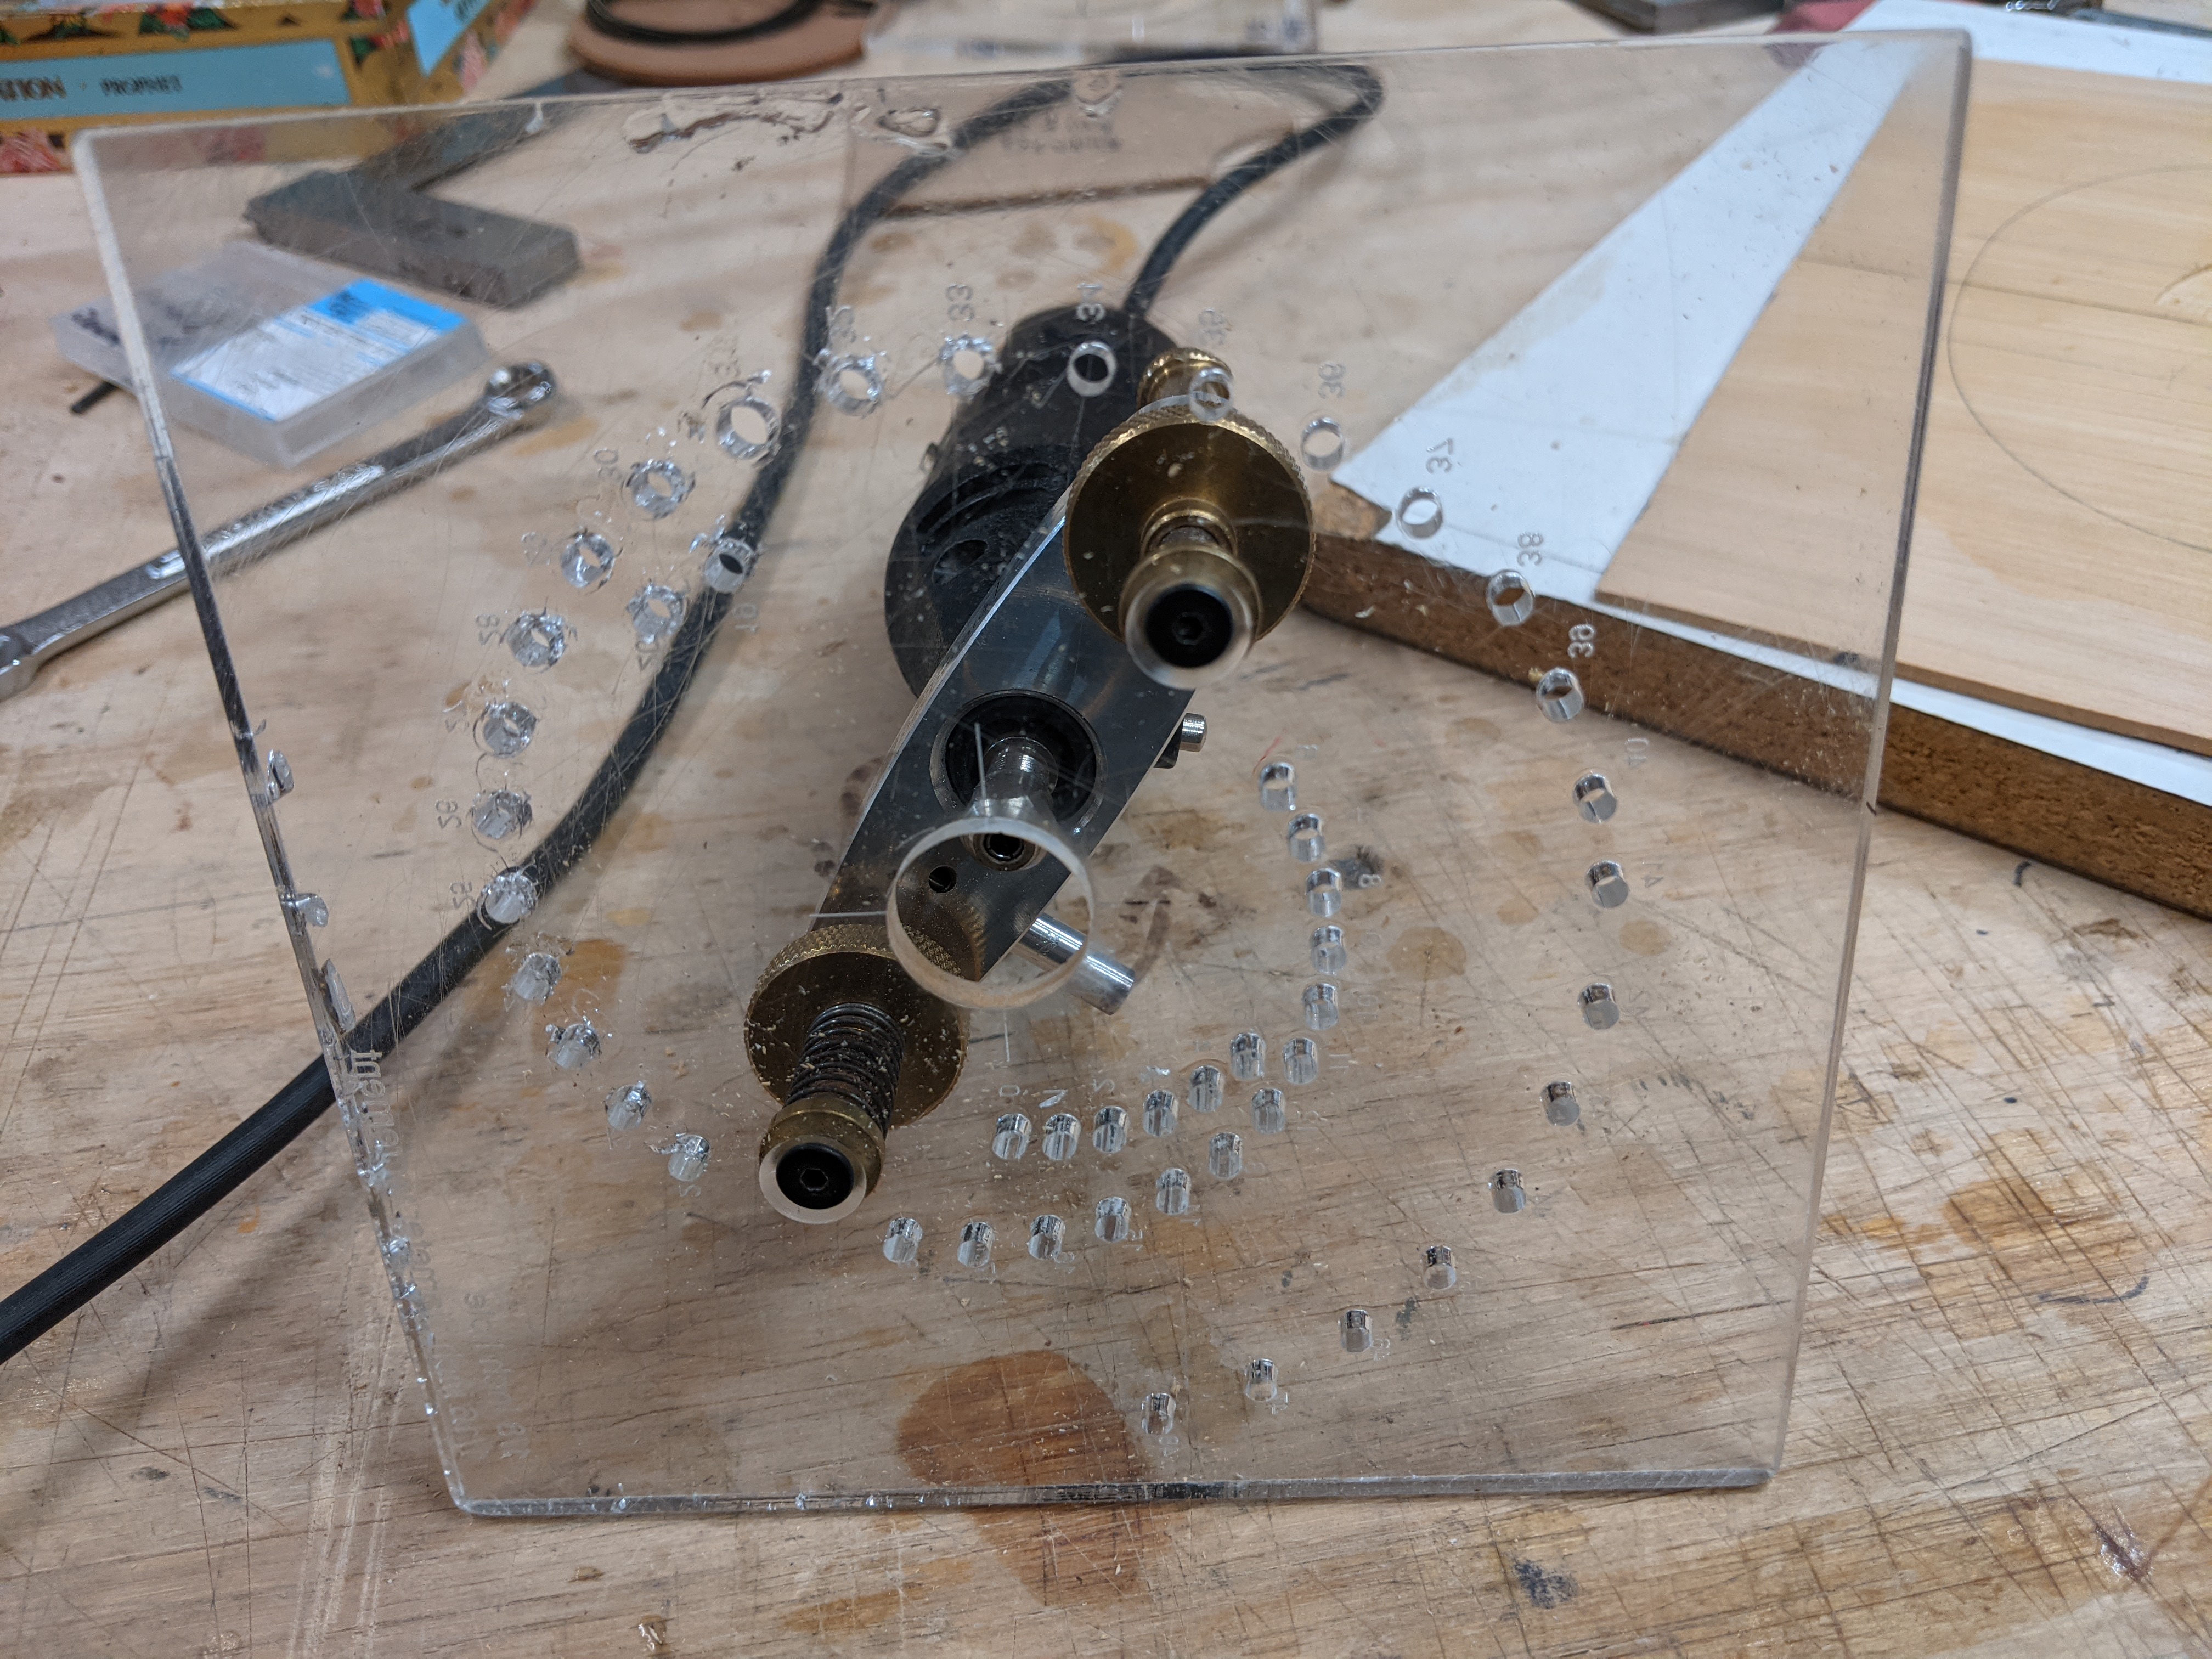
I have received a number of requests for ukuleles with a radiused fingerboard (a slight convex curvature of the fingerboard). This is supposed to make playing easier, particularly if you play bar chords, with a finger (naturally curved) across all four strings. A 12 inch radius of curvature seems to be pretty well accepted. The issue is, how to easily and reliable cut the top surface of the fingerboard into the proper radius. I have seen a number of jigs around, but a number of them were rather complex to construct. I came up with the following design.
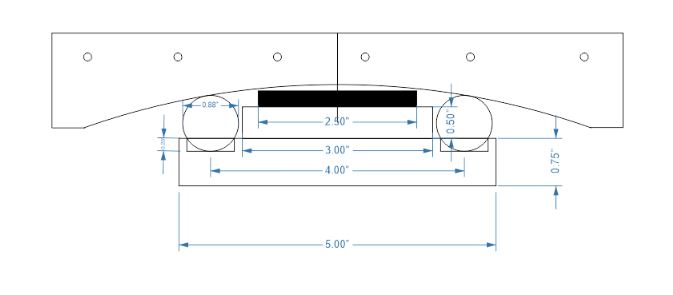
Using the laser cutter I cut 12″ radius curves into two matching acrylic side plates. (The laser cutter allows one to make things very exactly, exactly a 12″ radius, and the two side plates are exactly the same.) I realized that one only needs to have 2 points for these curved side plates to slide along to get a circle, so I used two sections of 3/4″ PVC pipe as it is very uniform, and rather slippery. I routed two parallel groves into a pieces of really good plywood I came up with and bedded the PVC in auto bondo. I epoxied the side plates to a top piece of good plywood, and added a threaded insert to the top with a corresponding hole in the acrylic baseplate of my router so I can easily affix the router to cut fingerboards, and away you go. Works great, so in the future a radiused fingerboard will appear on some ukuleles, and will be an option for a custom order uke.


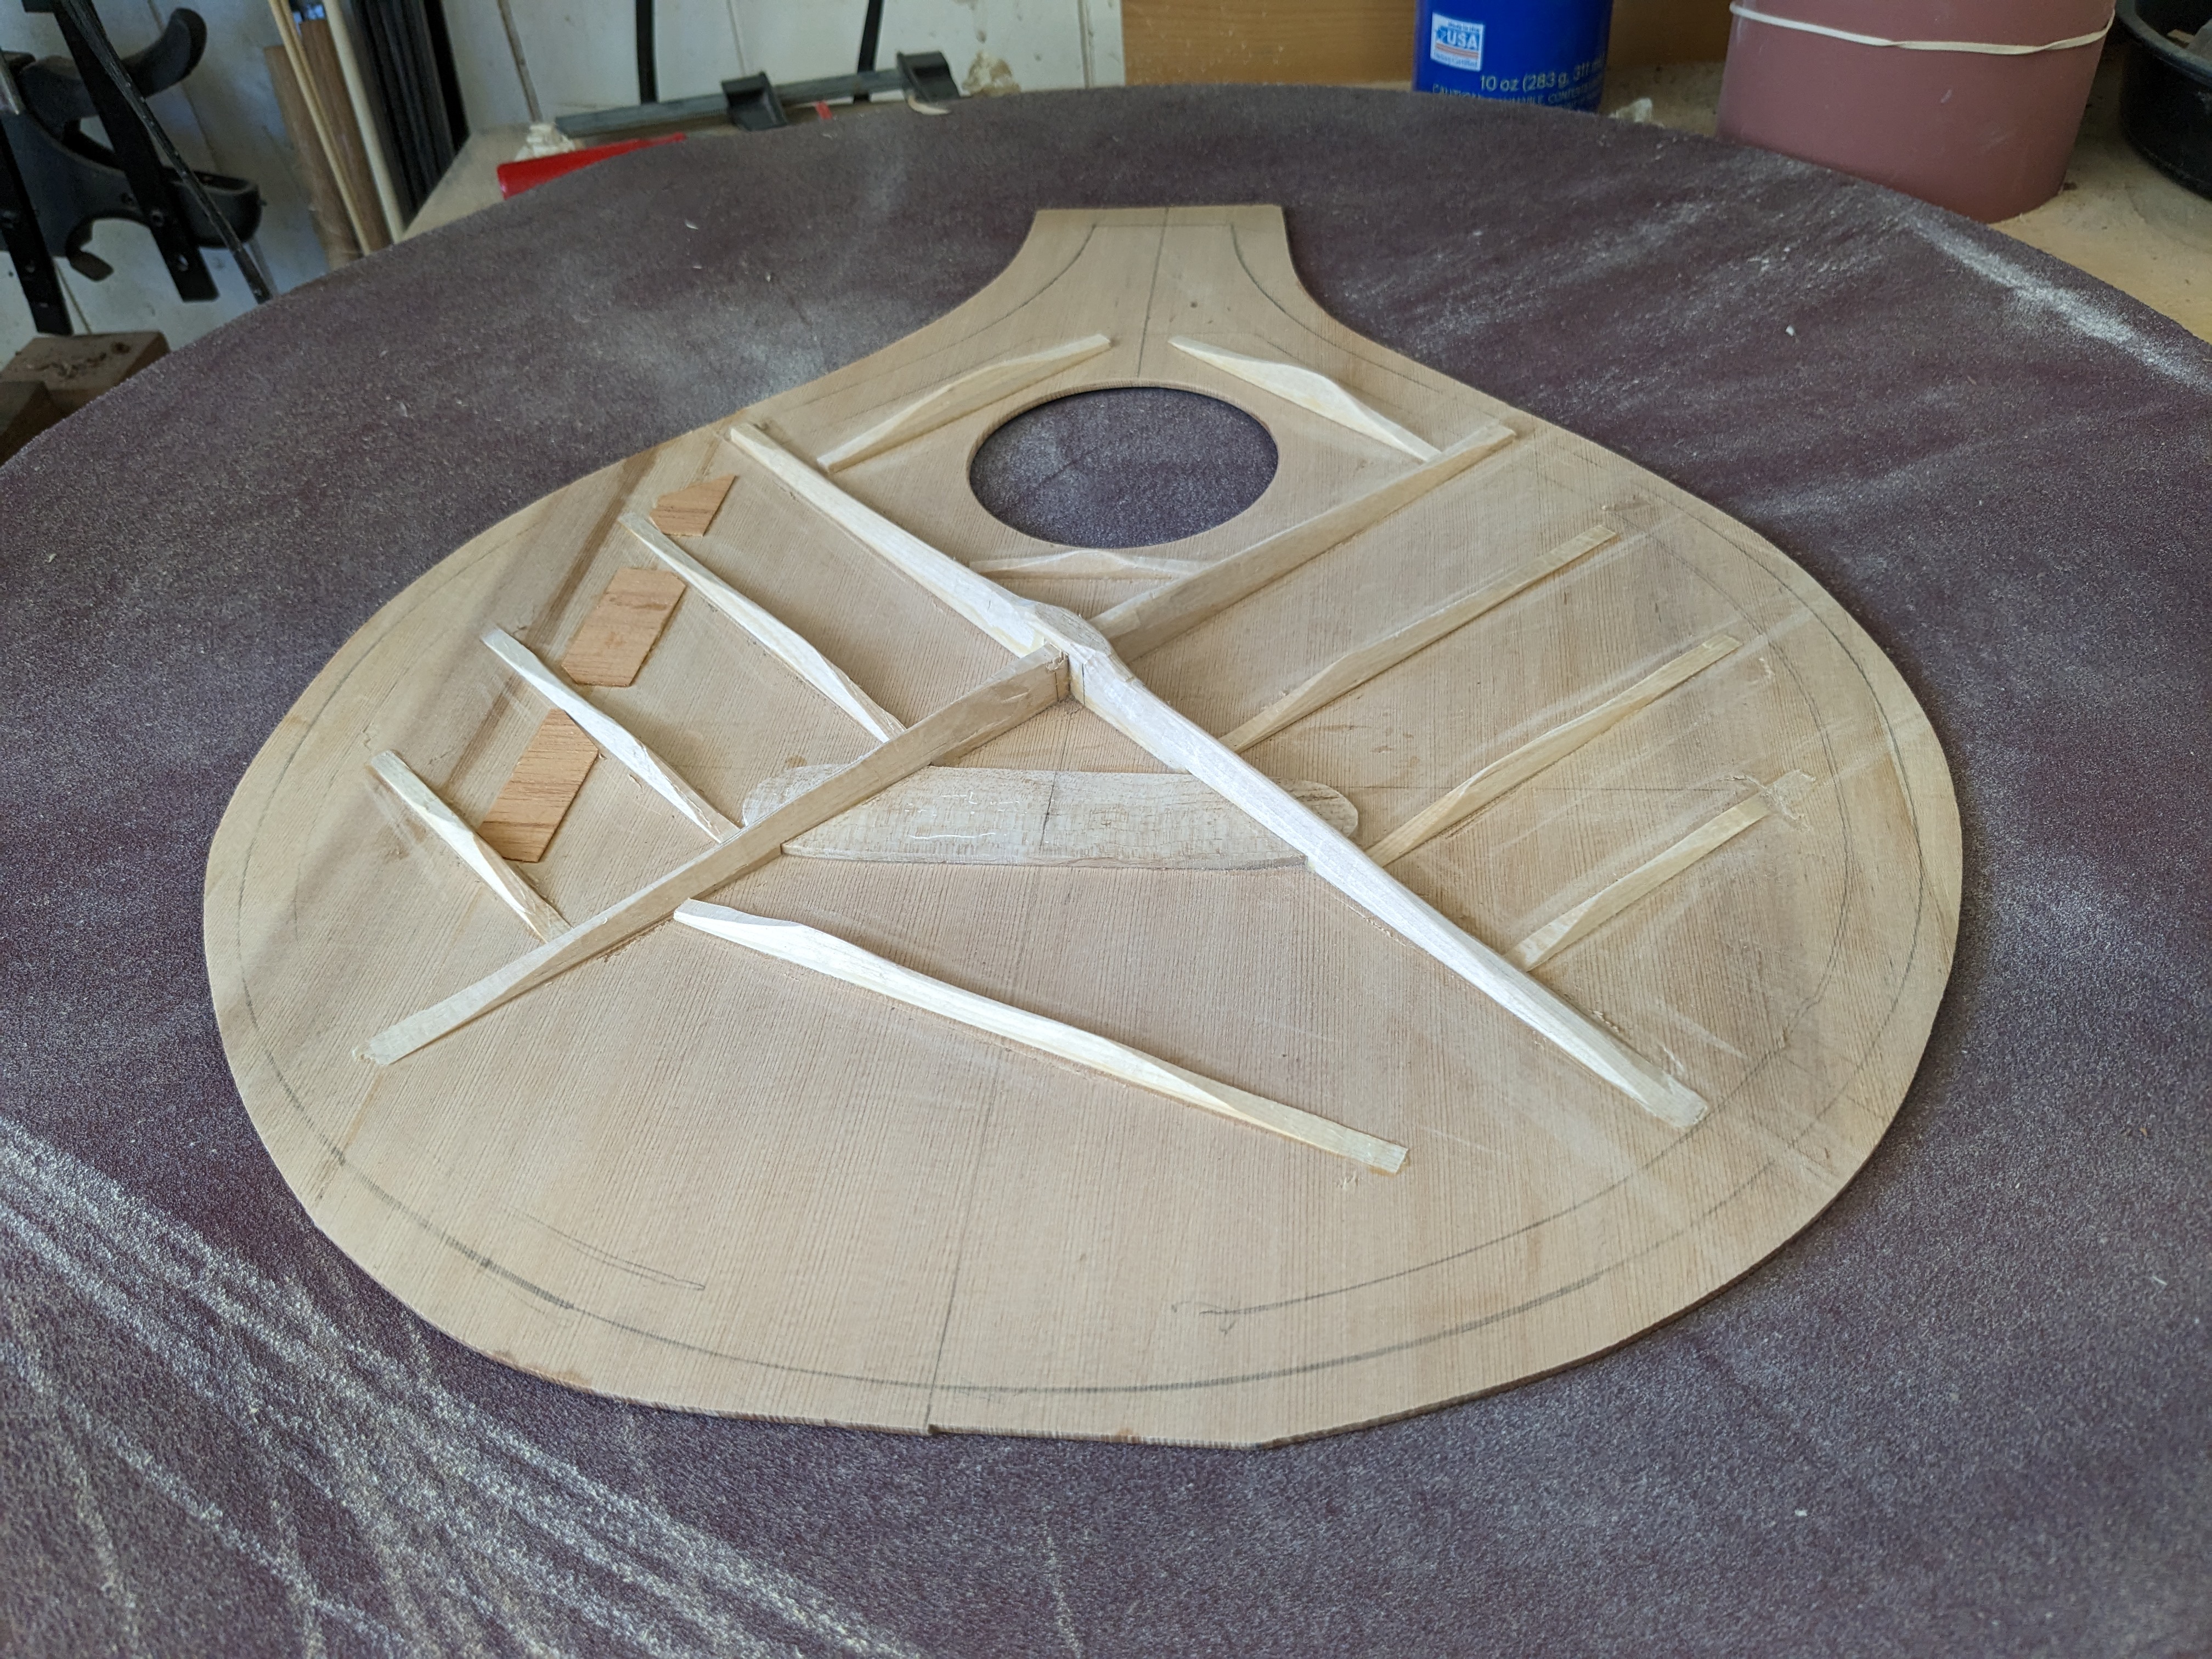
A little while back I built an octave mandolin. I built what is called a ‘flat top’ mandolin (as opposed to a carved top like a violin) though the top and back are not flat. Both the top and the back have a 15 foot radius. I have 15′ radius dishes from building ukuleles (the backs) so I was familiar with the radius of the plates.
I merged a couple of different plans, and settled on an X braced top. (I build ukuleles with X braced tops.) The plans also had an X braced back, so I did an X brace on the back as well.
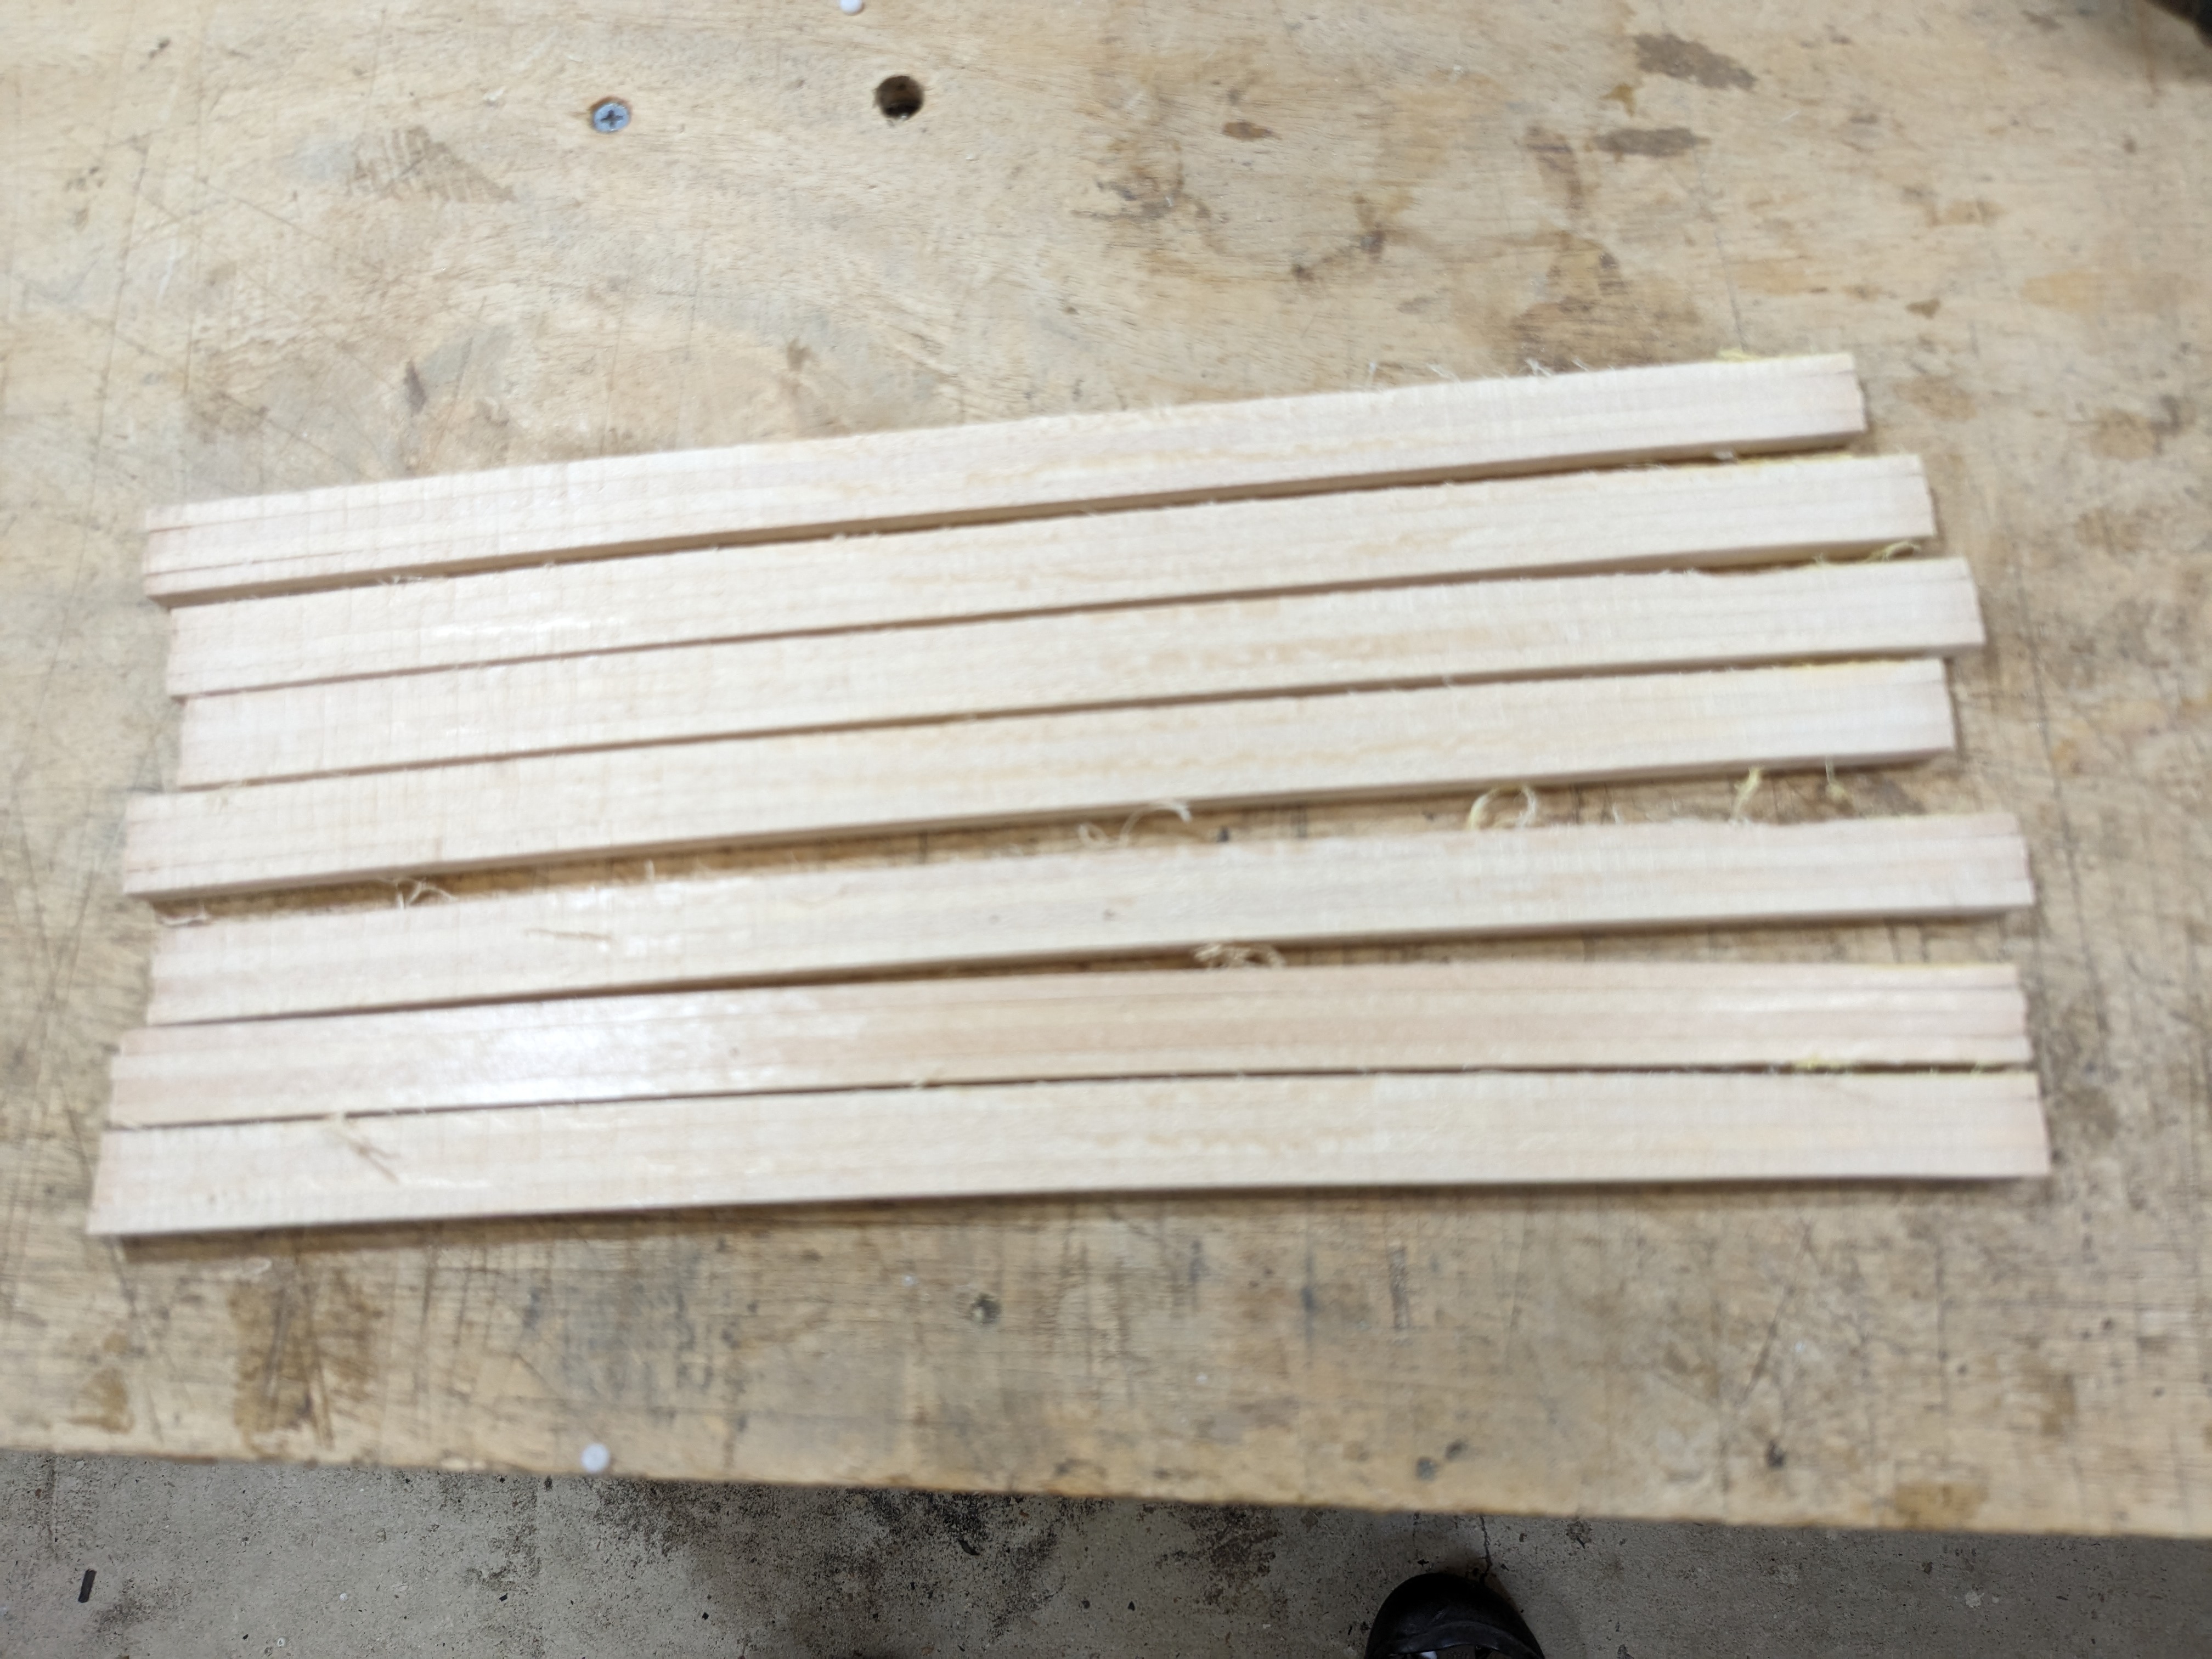
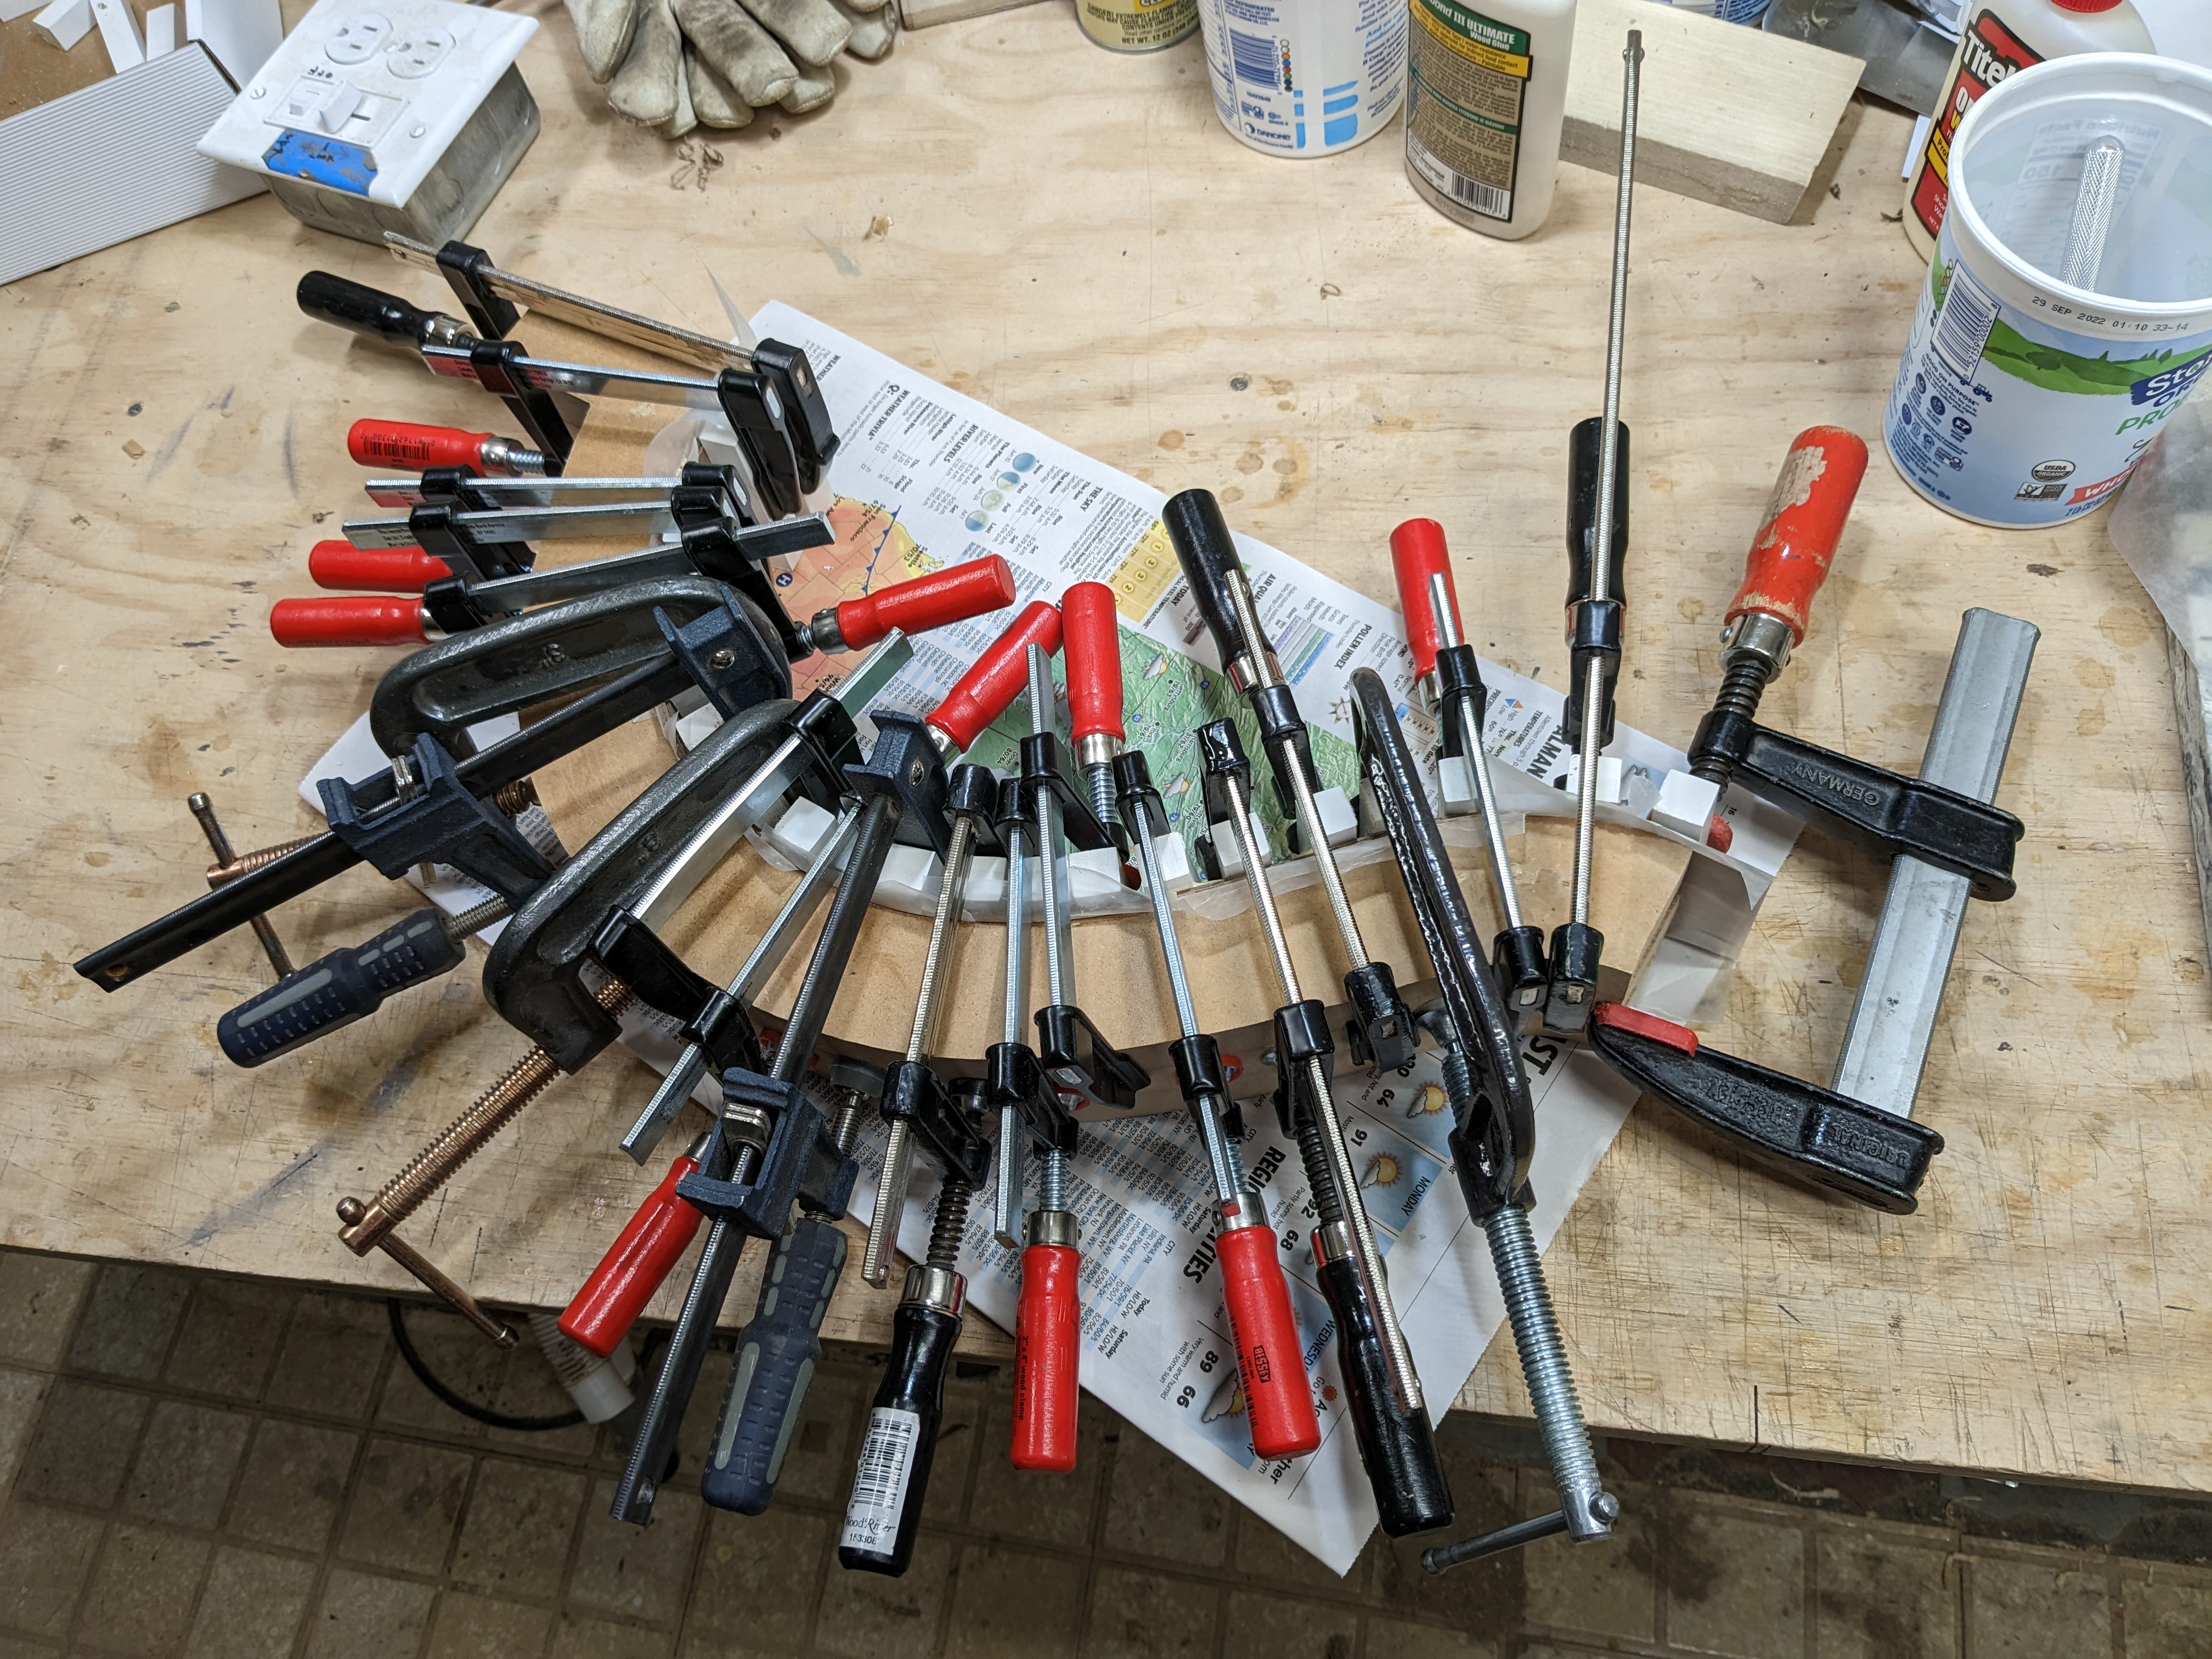
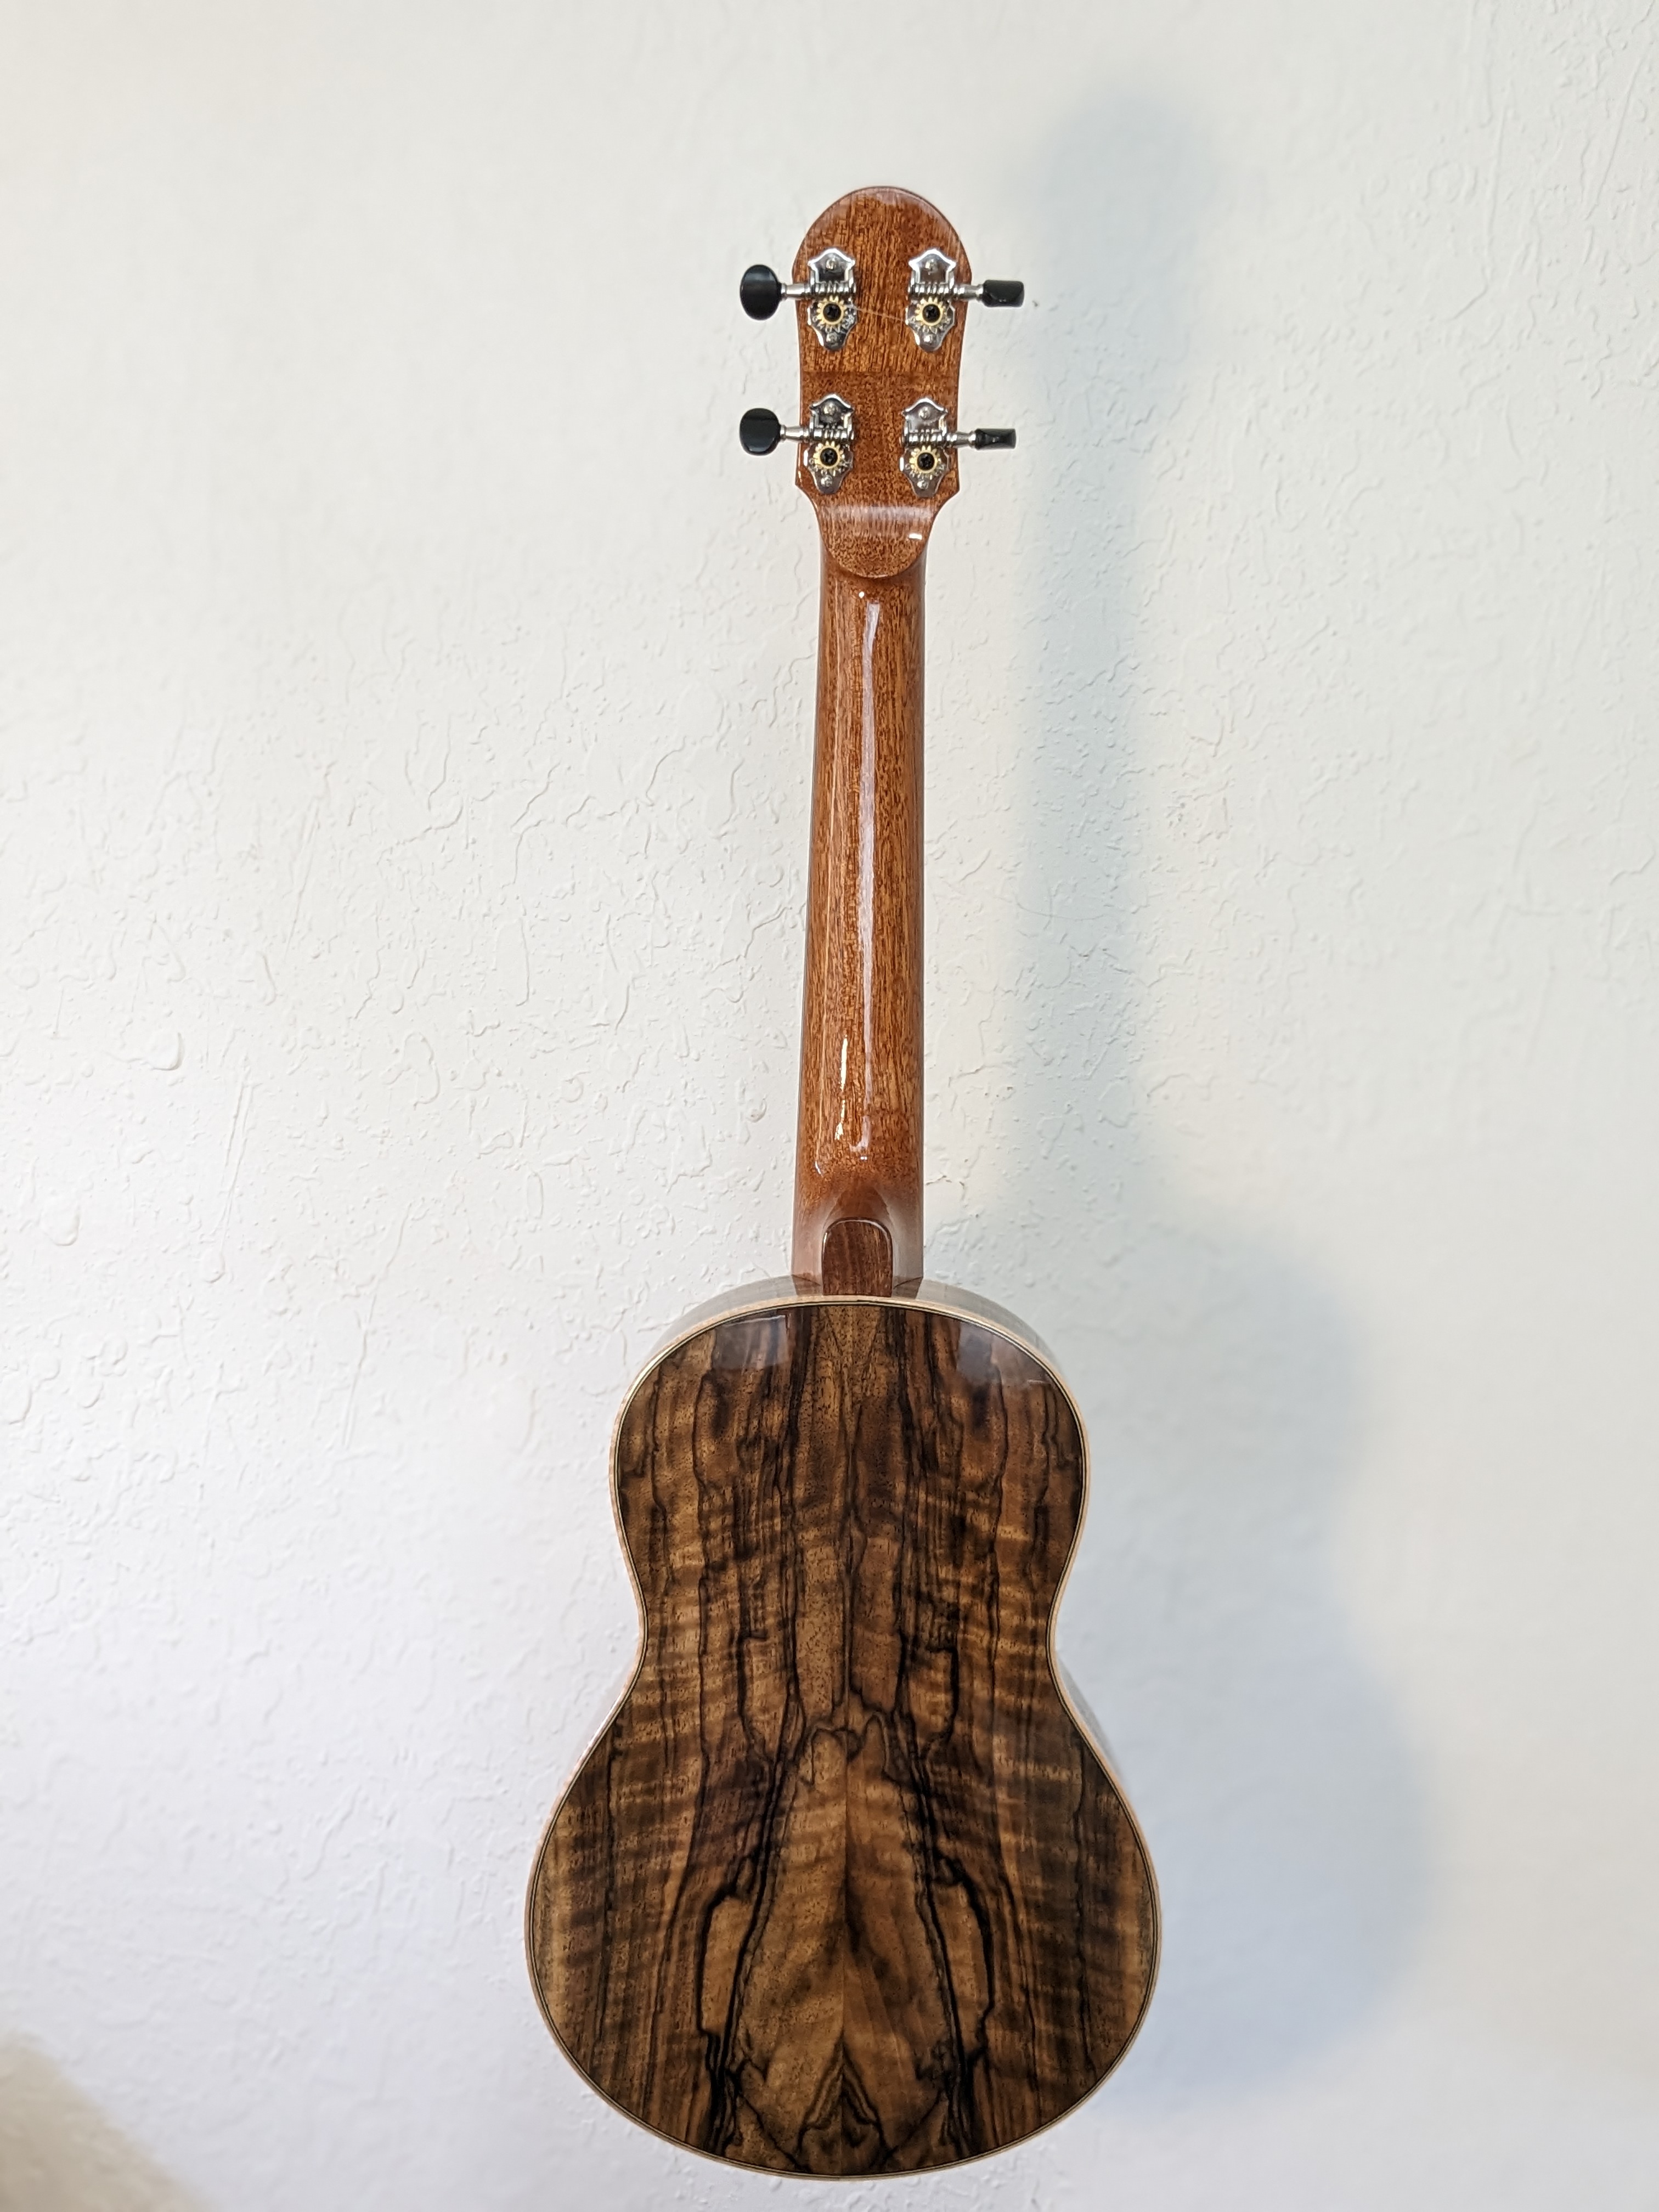
On the next set of ukulele builds (tenors) I decided to try an X braced back with a single cross brace in the upper bout. It worked out really well. I think that the X holds the radius dome of the back better than the previously used 3 cross braces. I radiused the braces individually, glued the X together, and then re-sanded the entire X in the radius dish. With the X I could place the center of the dome exactly where I wanted it, and I was not relying on the radius profile of the sides to establish the top-to-bottom radius to match the side-to-side radius imparted by cross braces.
I also think that an X braced back puts less strain on the instrument with humidity changes. With a cross brace the back wood is expanding/contracting across the length of the brace. But the brace does not get much longer/shorter with humidity changes since wood does not change much in length. This always has bothered me. The back wood is expanding/contracting and trying to break free of the brace. With an X brace the stress should be less because the X is at 45 degrees to the direction of wood movement so there should be less movement per-unit-length of the brace. The X brace is longer so the wood movement is spread out over a longer distance.
I see no reason to go back to cross braced backs, at least on tenor or baritone sized instruments.
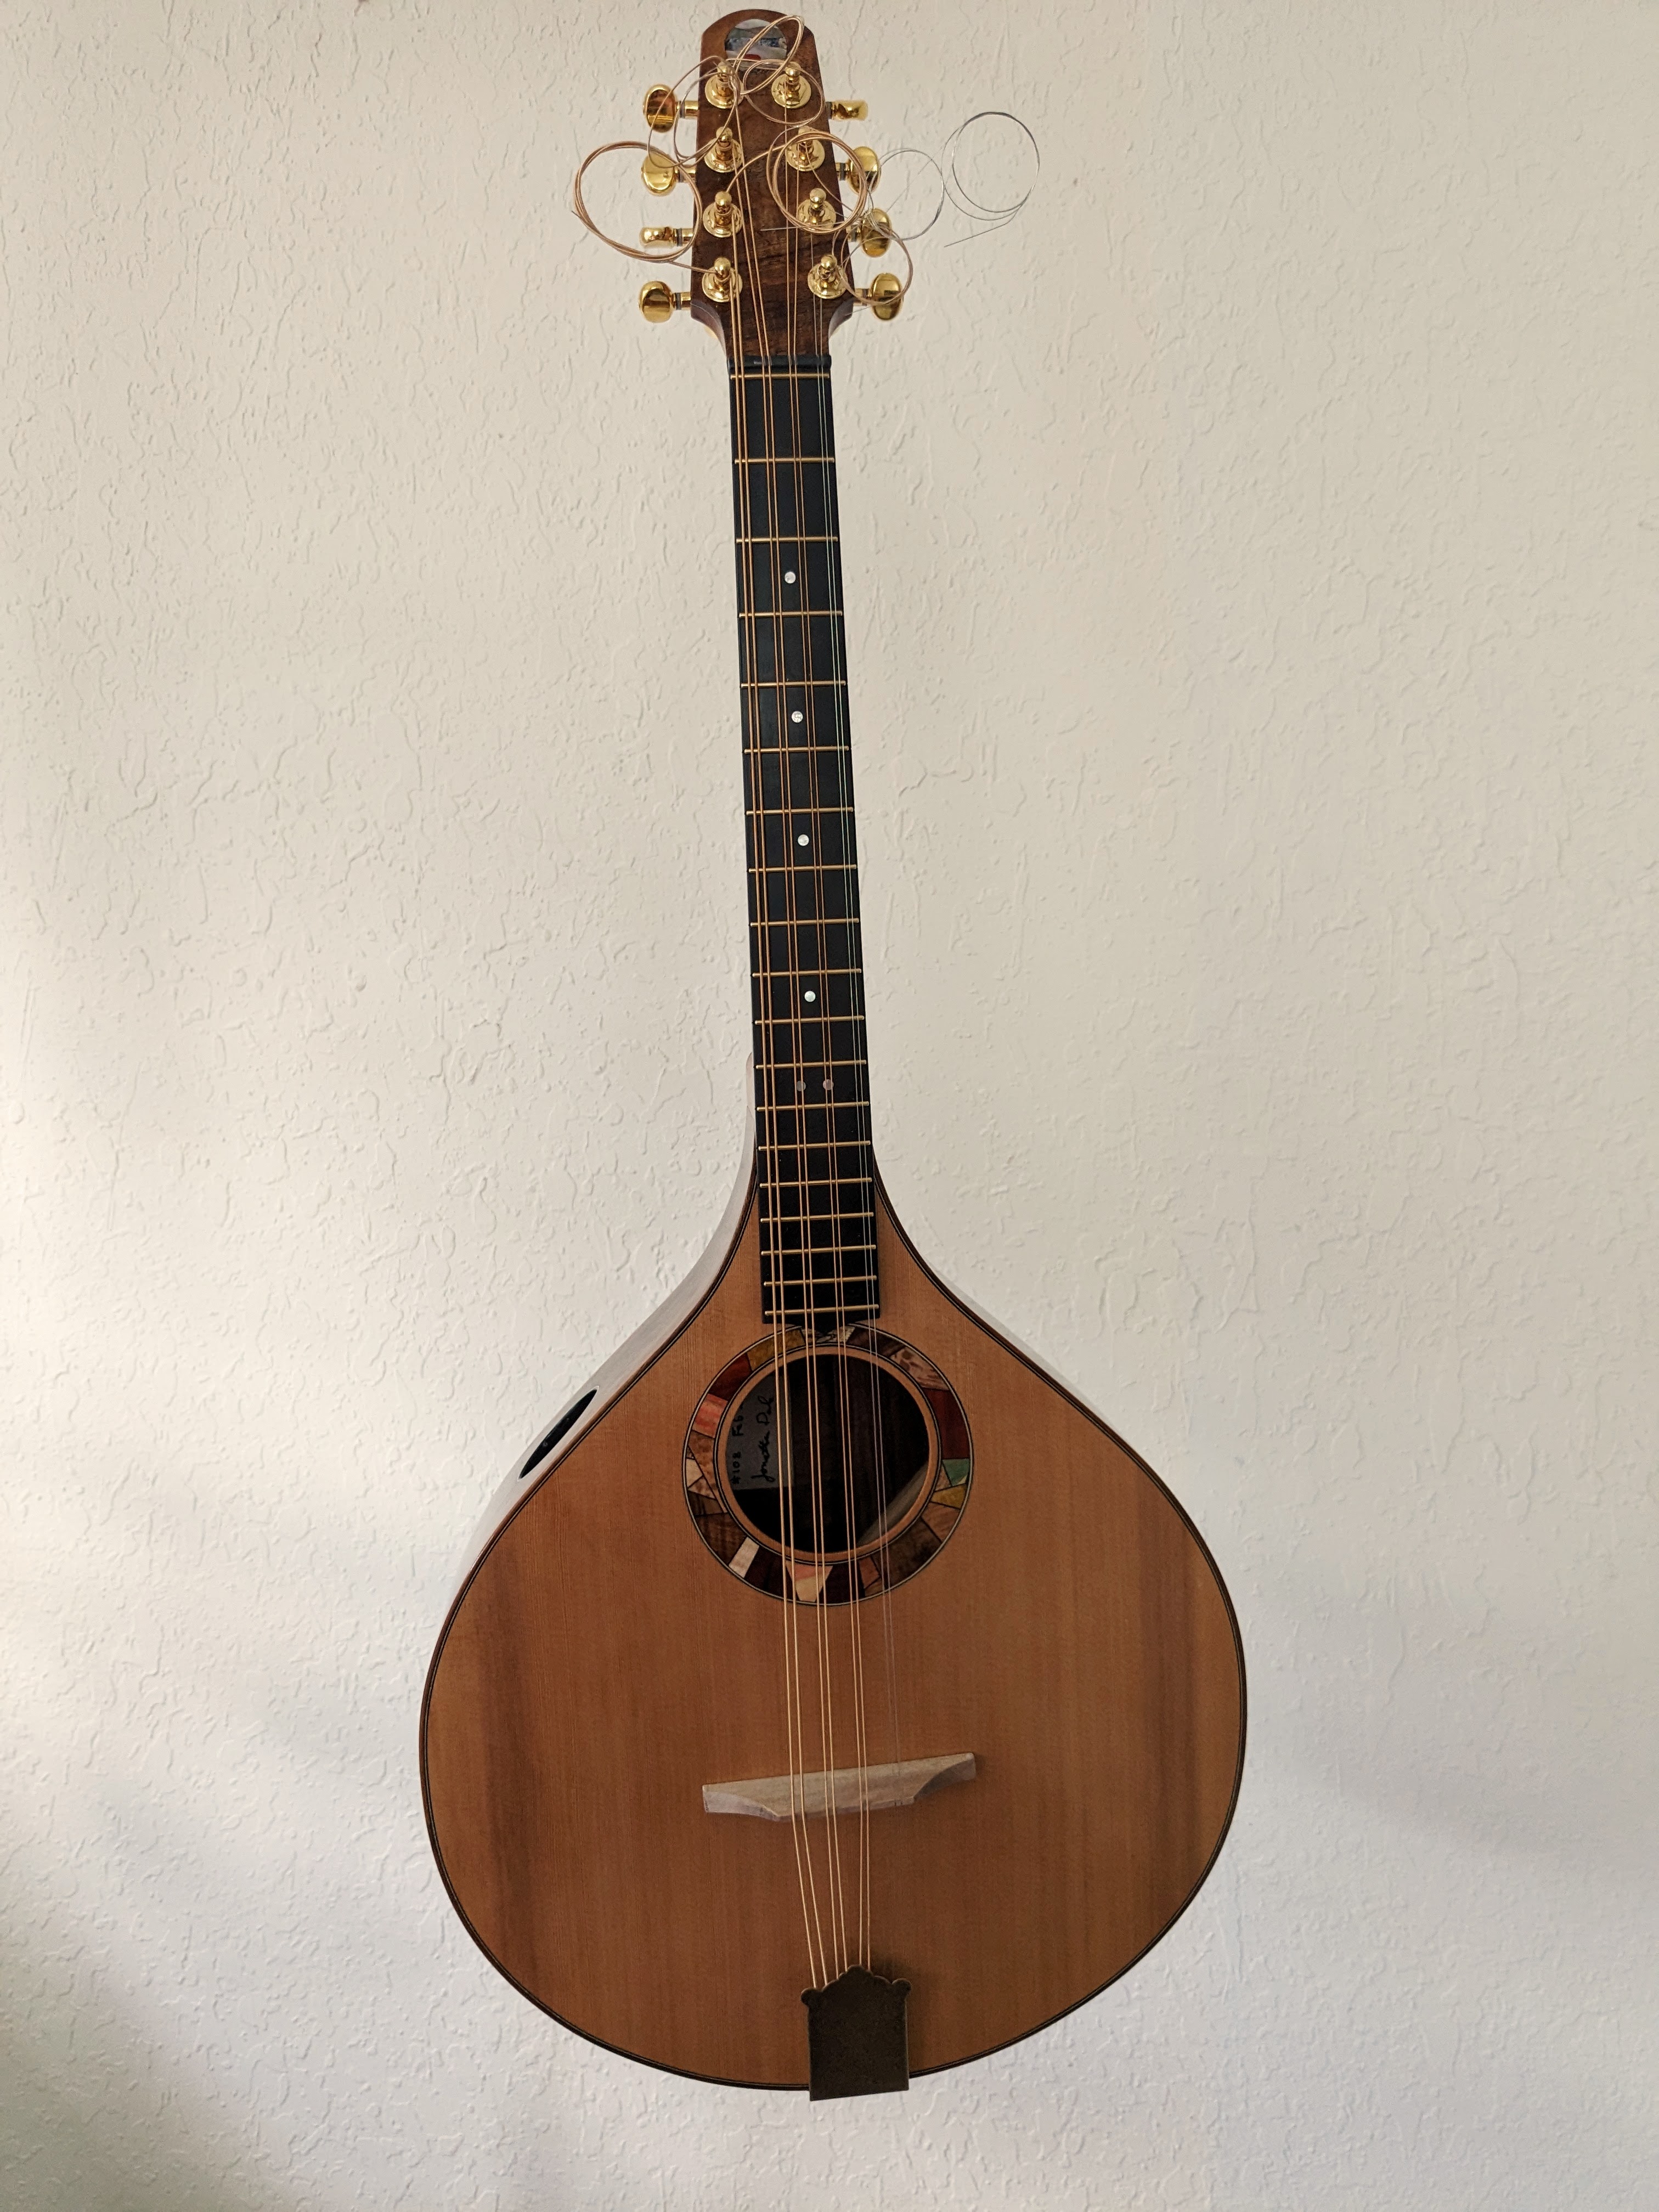
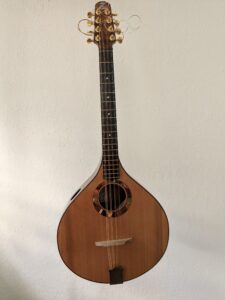
I wanted to do something a little different, just for fun and a bit of a challenge. I like Irish/Celtic music which often features an octave mandolin (the Irish Bouzouki is an octave mandolin). An octave mandolin is tuned just like a standard mandolin, only a full octave lower.
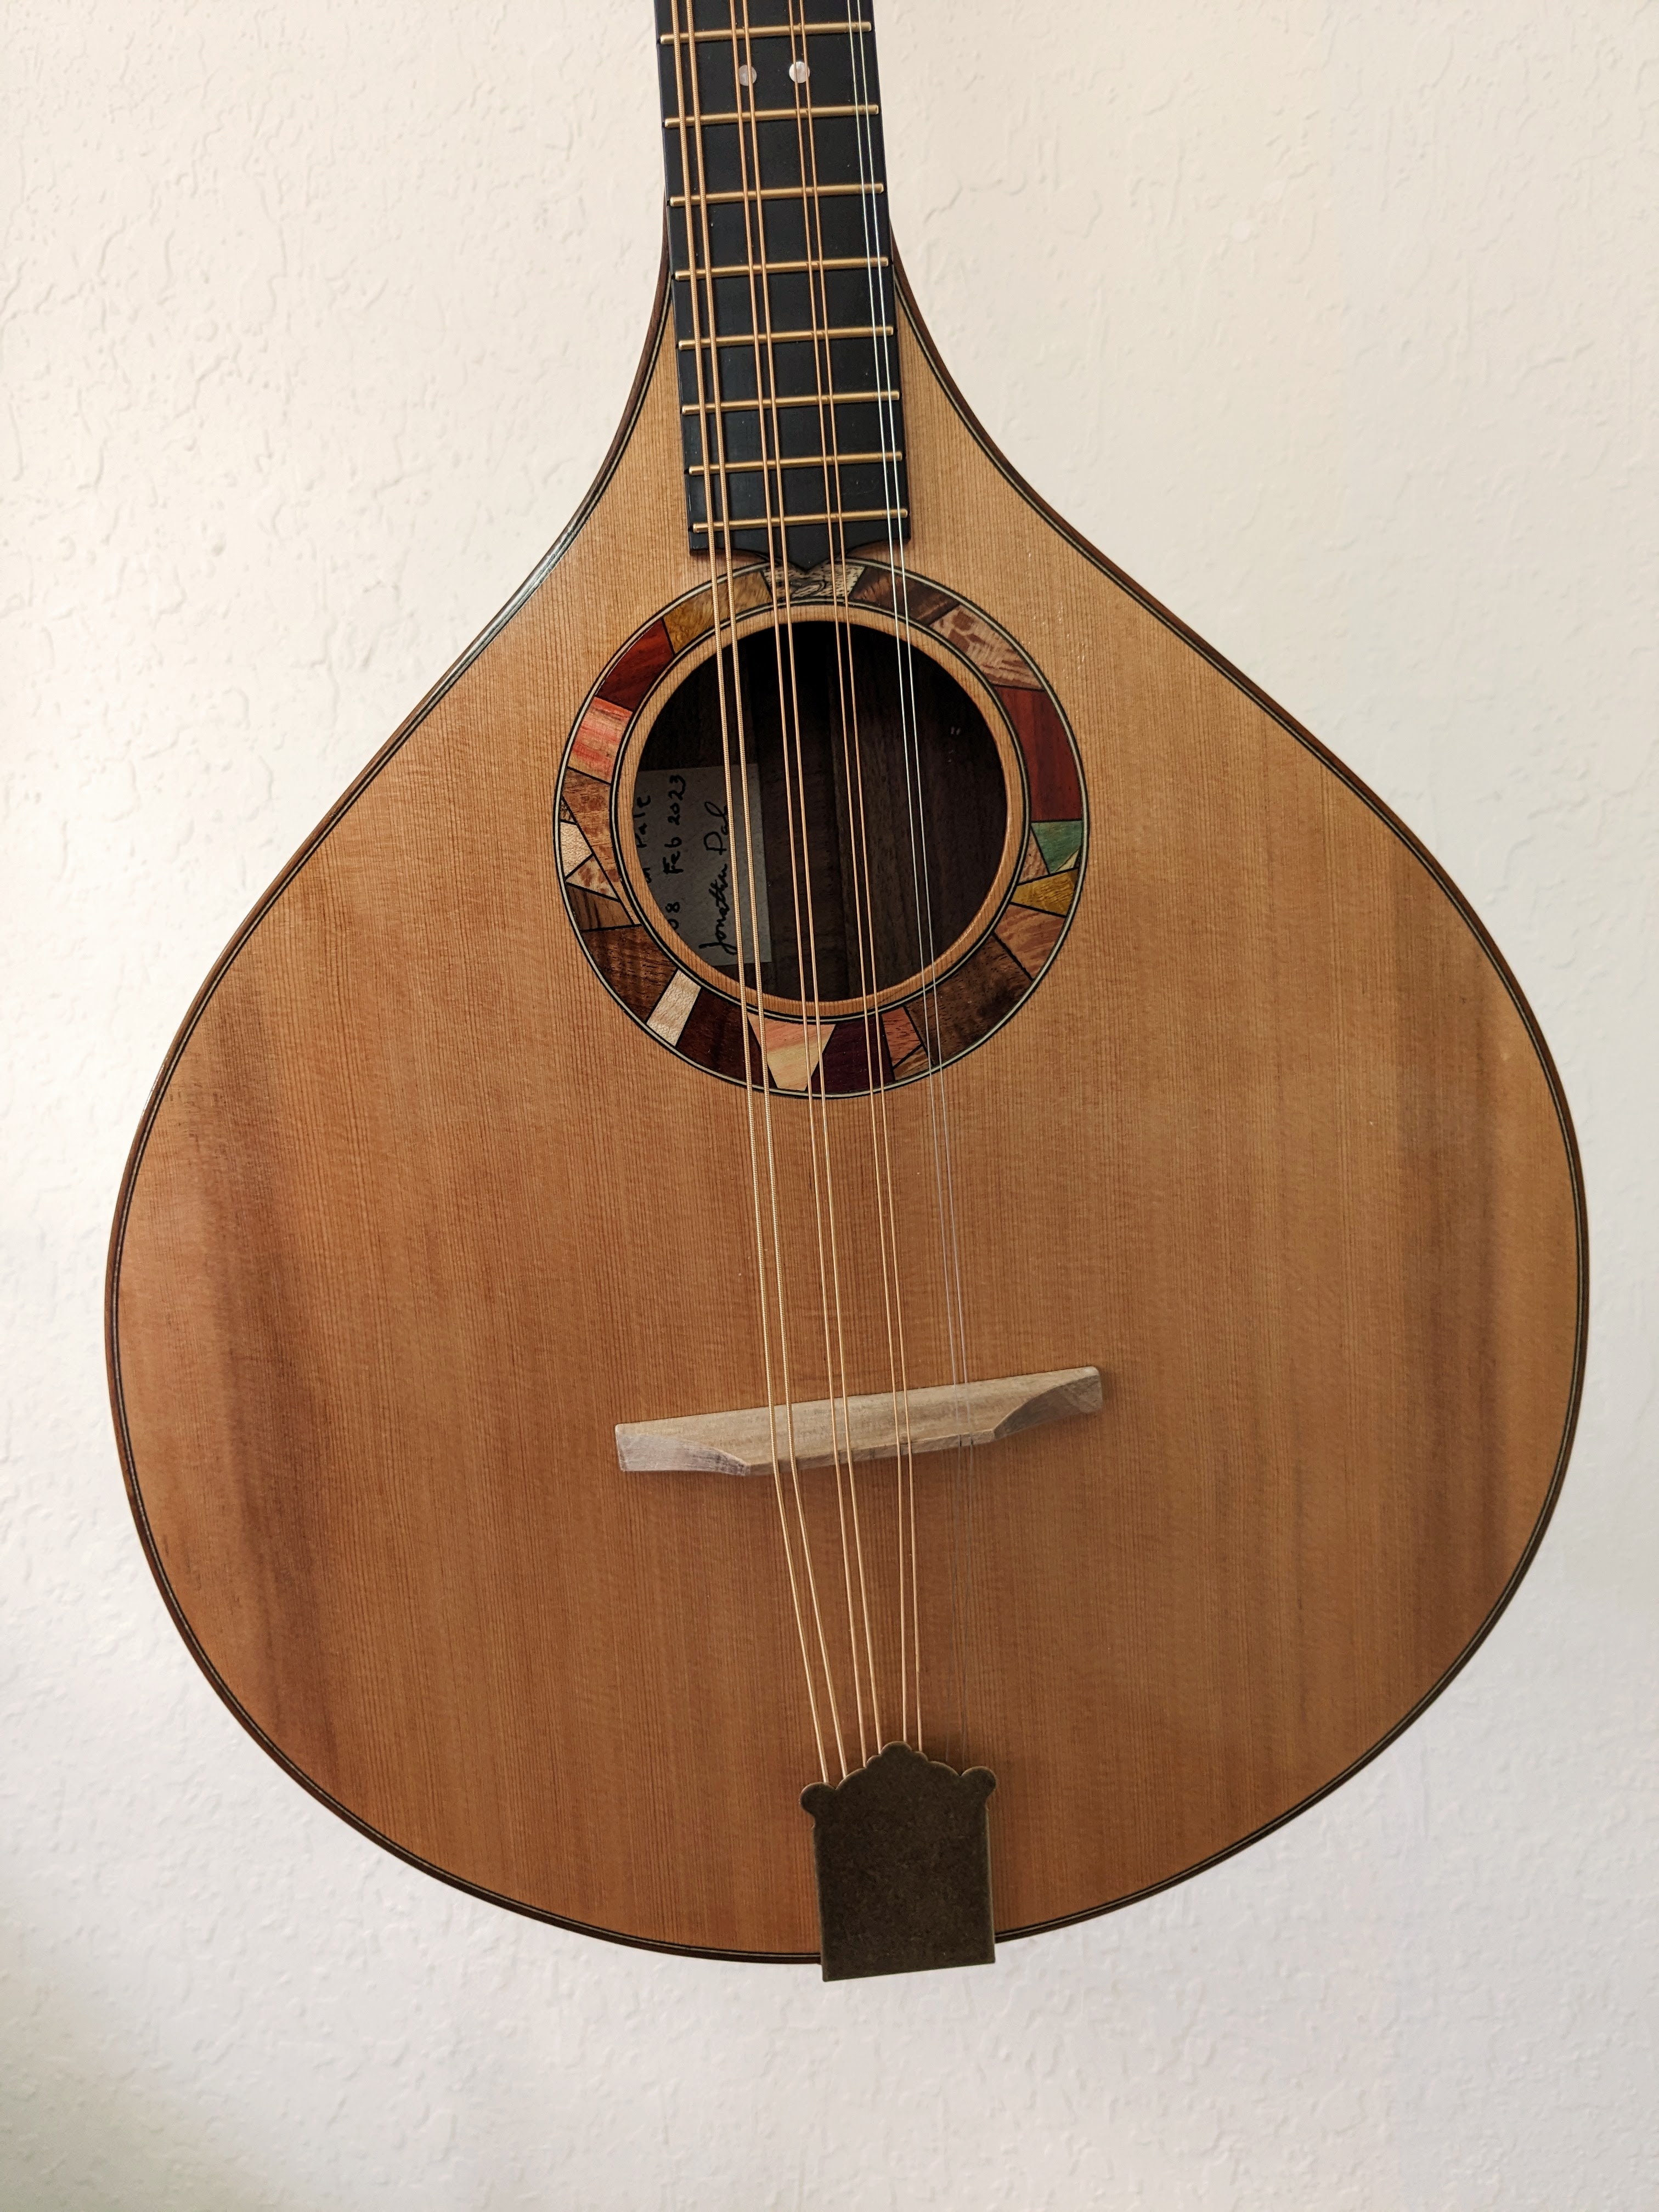
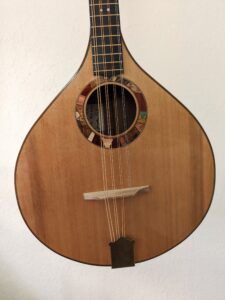
The scale length and body size are not far off from a baritone ukulele so the basic parameters were in my wheel-house. It was also an opportunity to experiment with some new things like laminated sized and wood Picasso rosettes. It came out pretty well, loud and resonate.
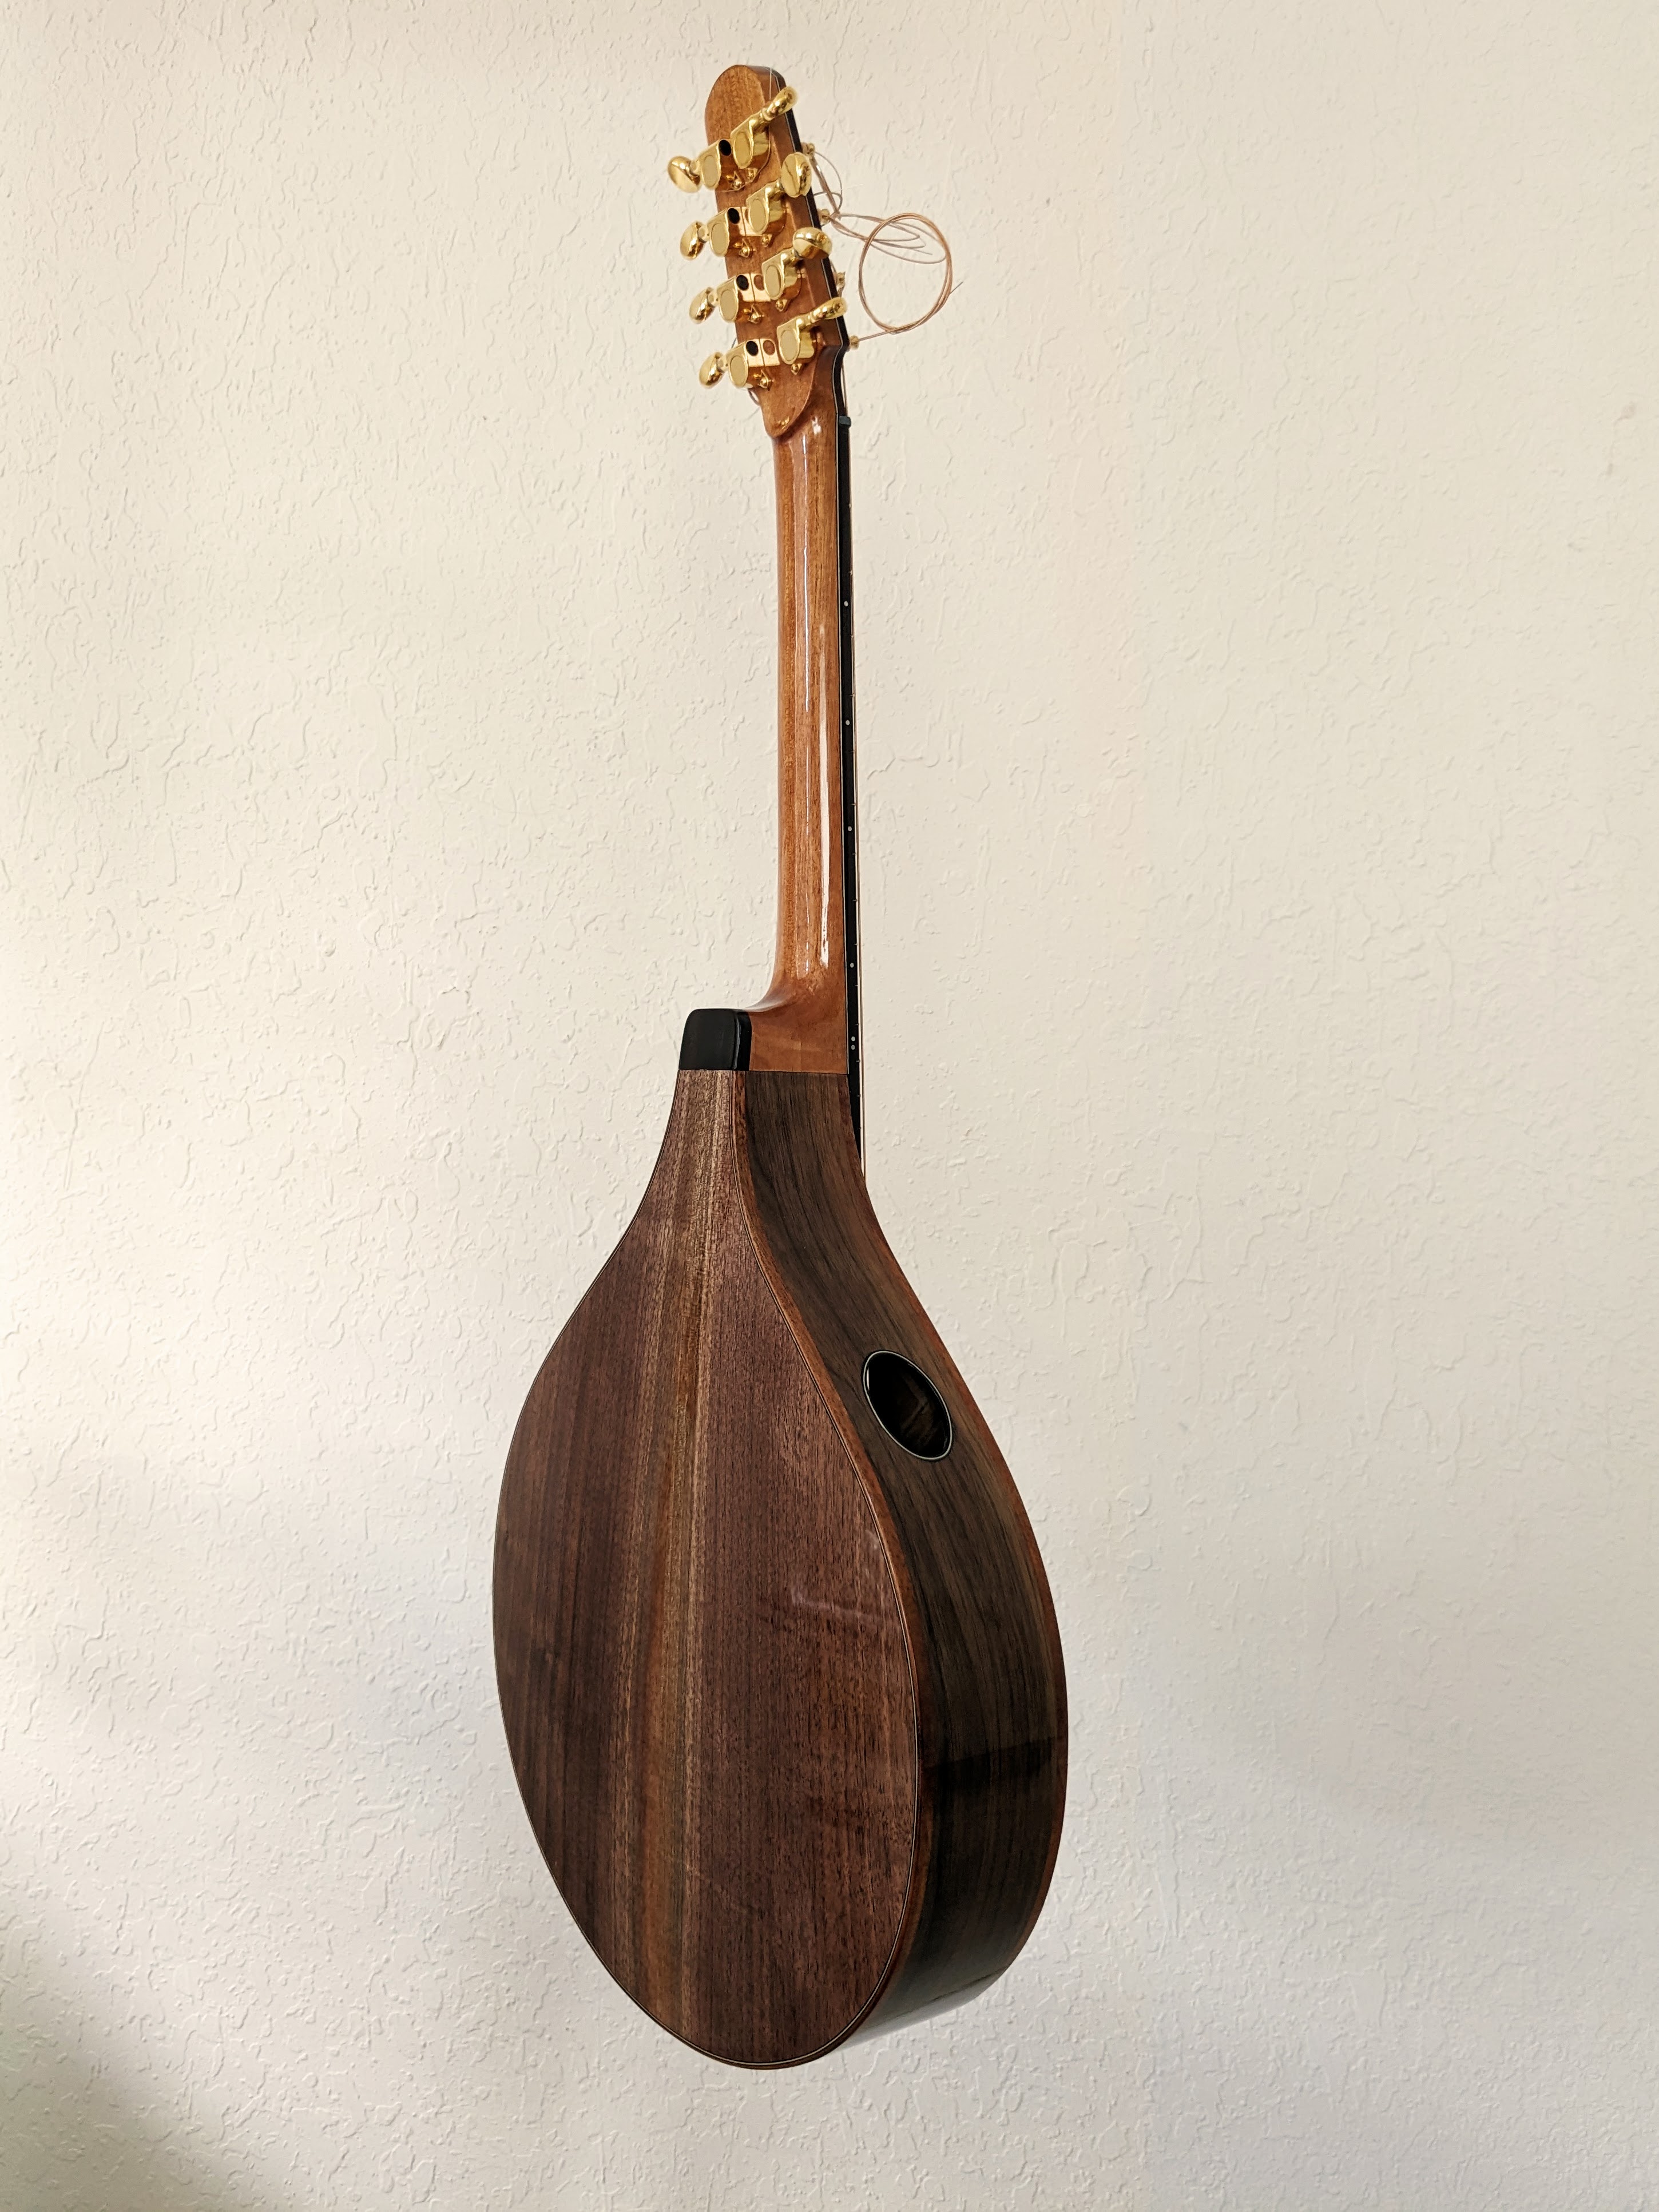
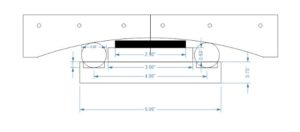
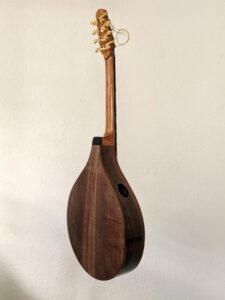
Black walnut back and sides, Alaskan yellow cedar top, X braced top and back, each with a 15 foot radius, floating casuarina bridge.

This is one of the “three tenors” made as a bit of a sound experiment. There is a more detailed write-up in the blog.
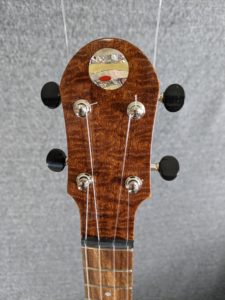
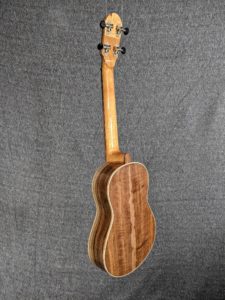
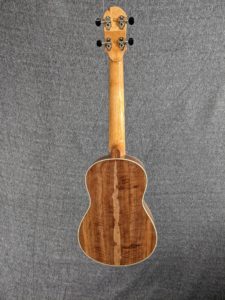
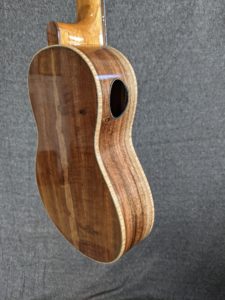
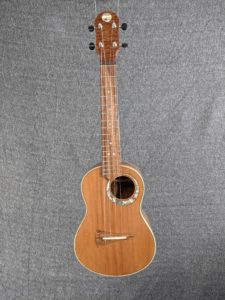
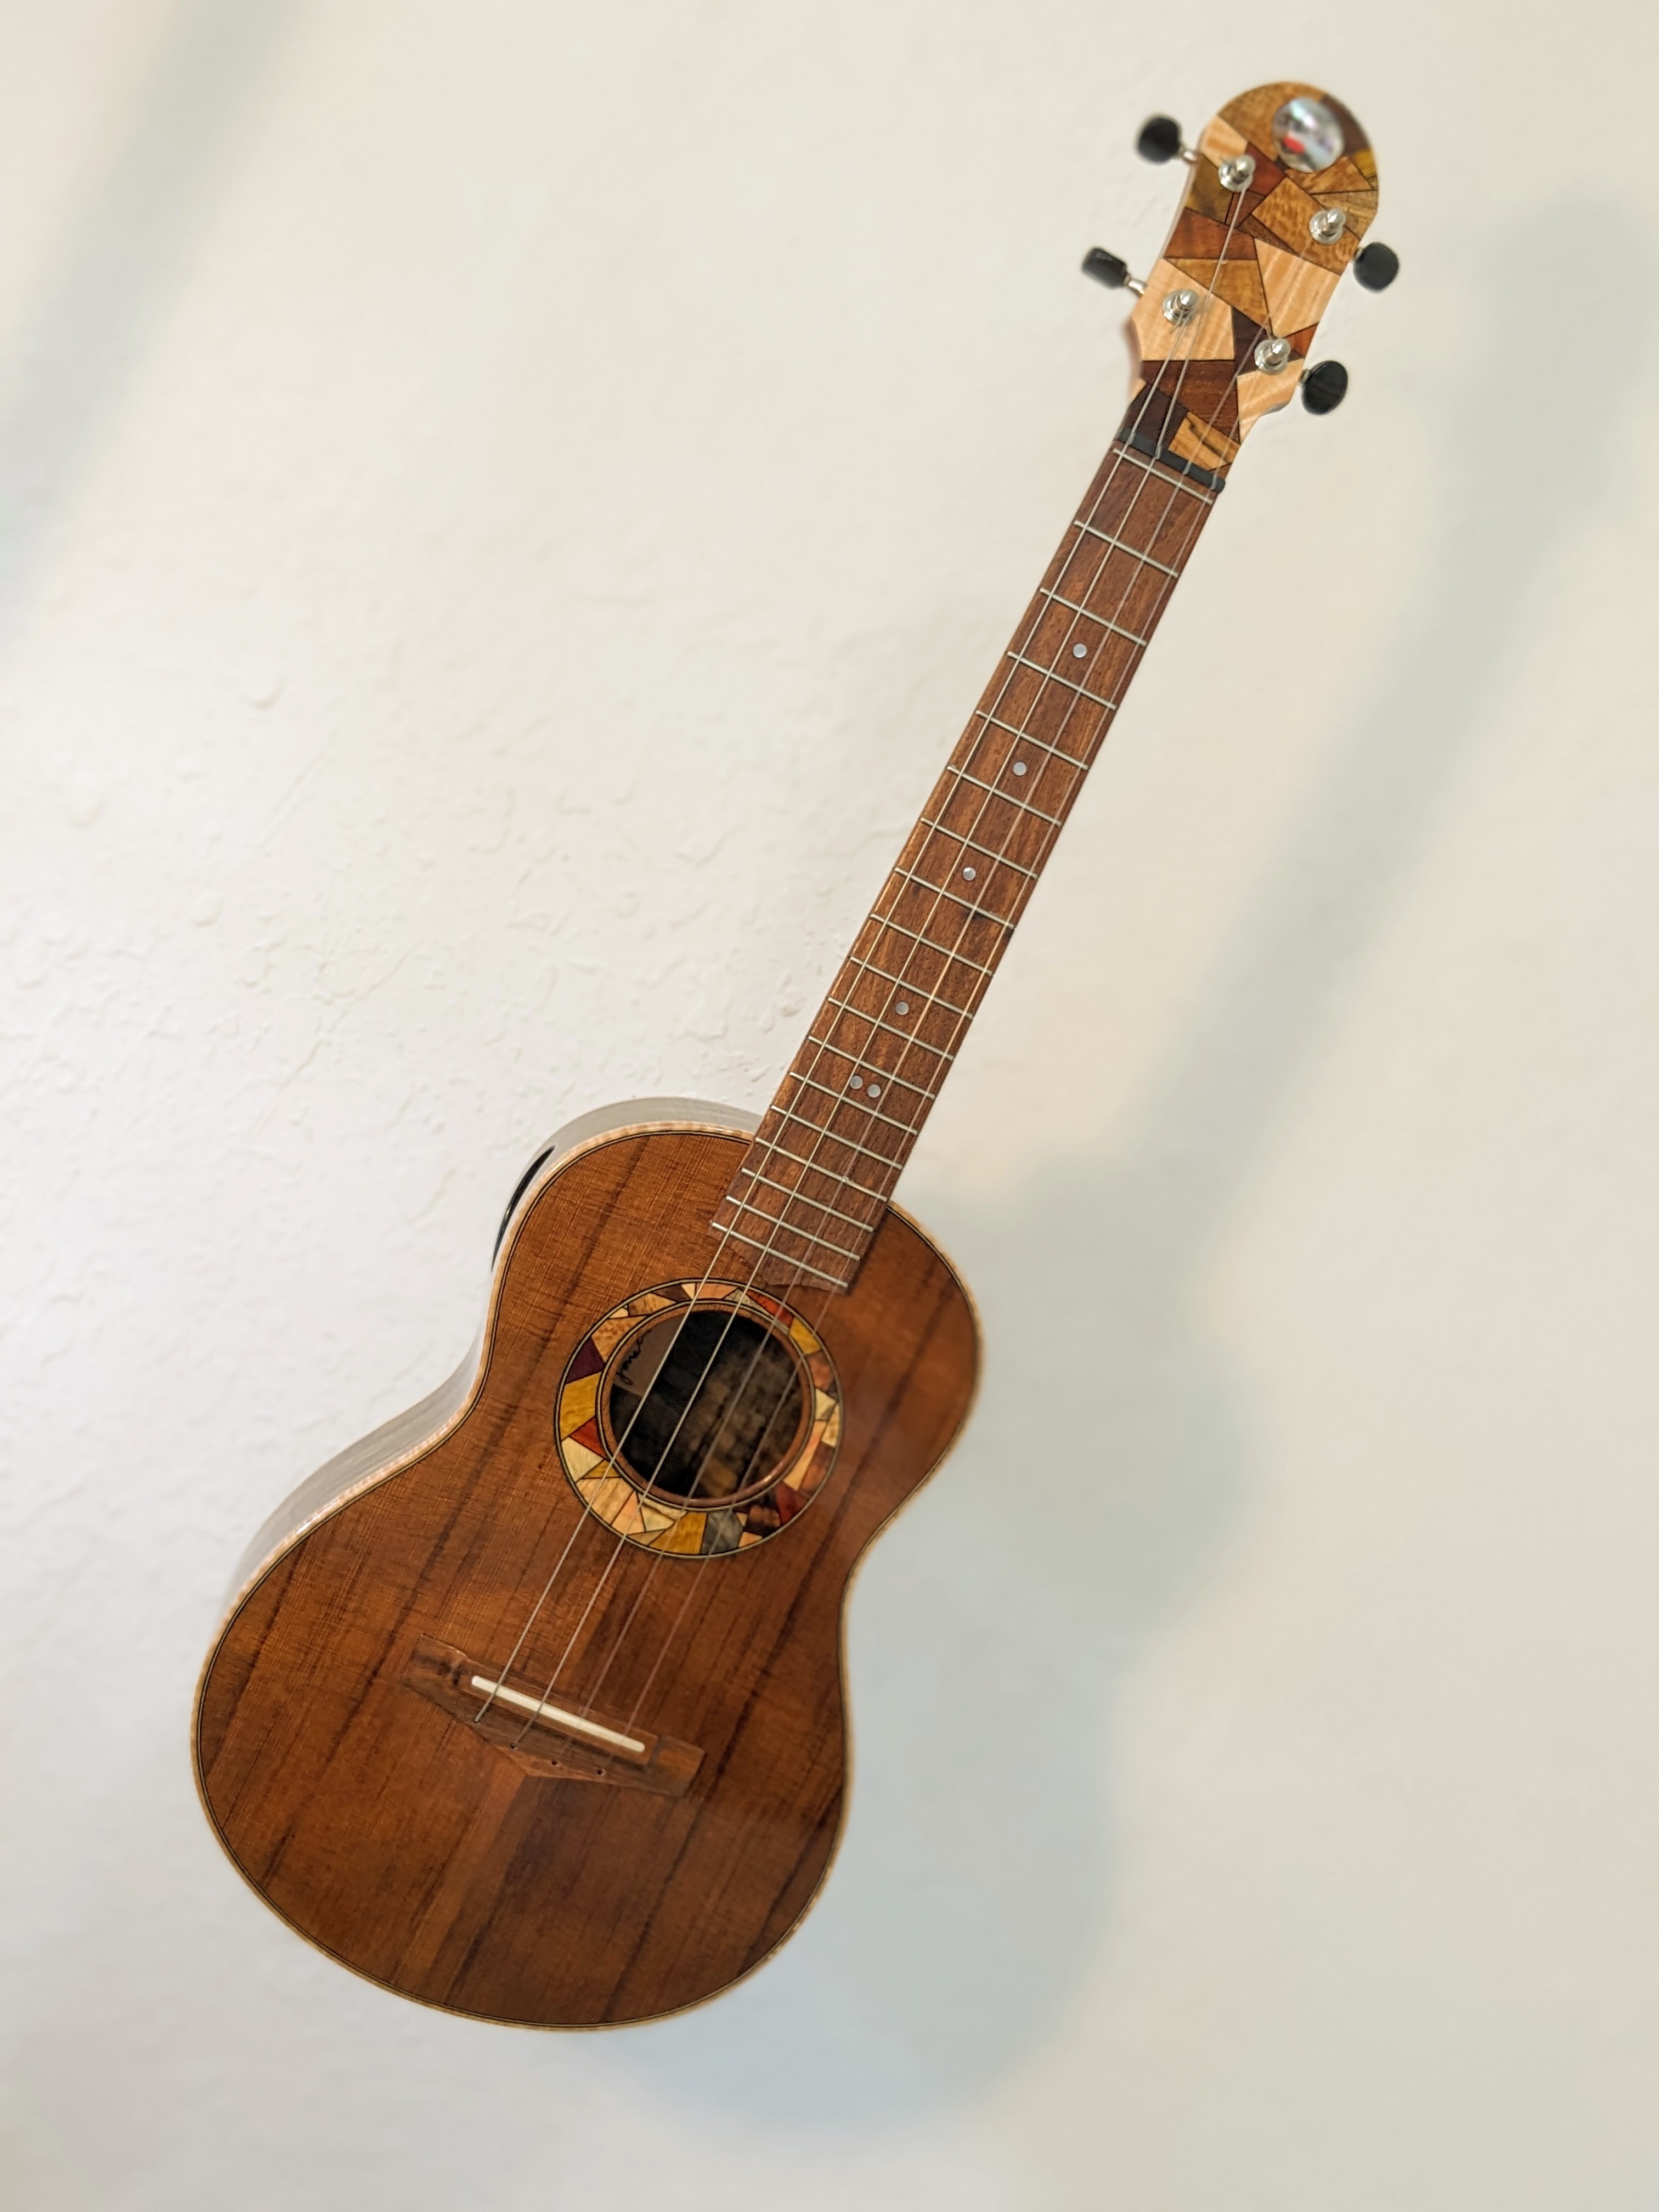
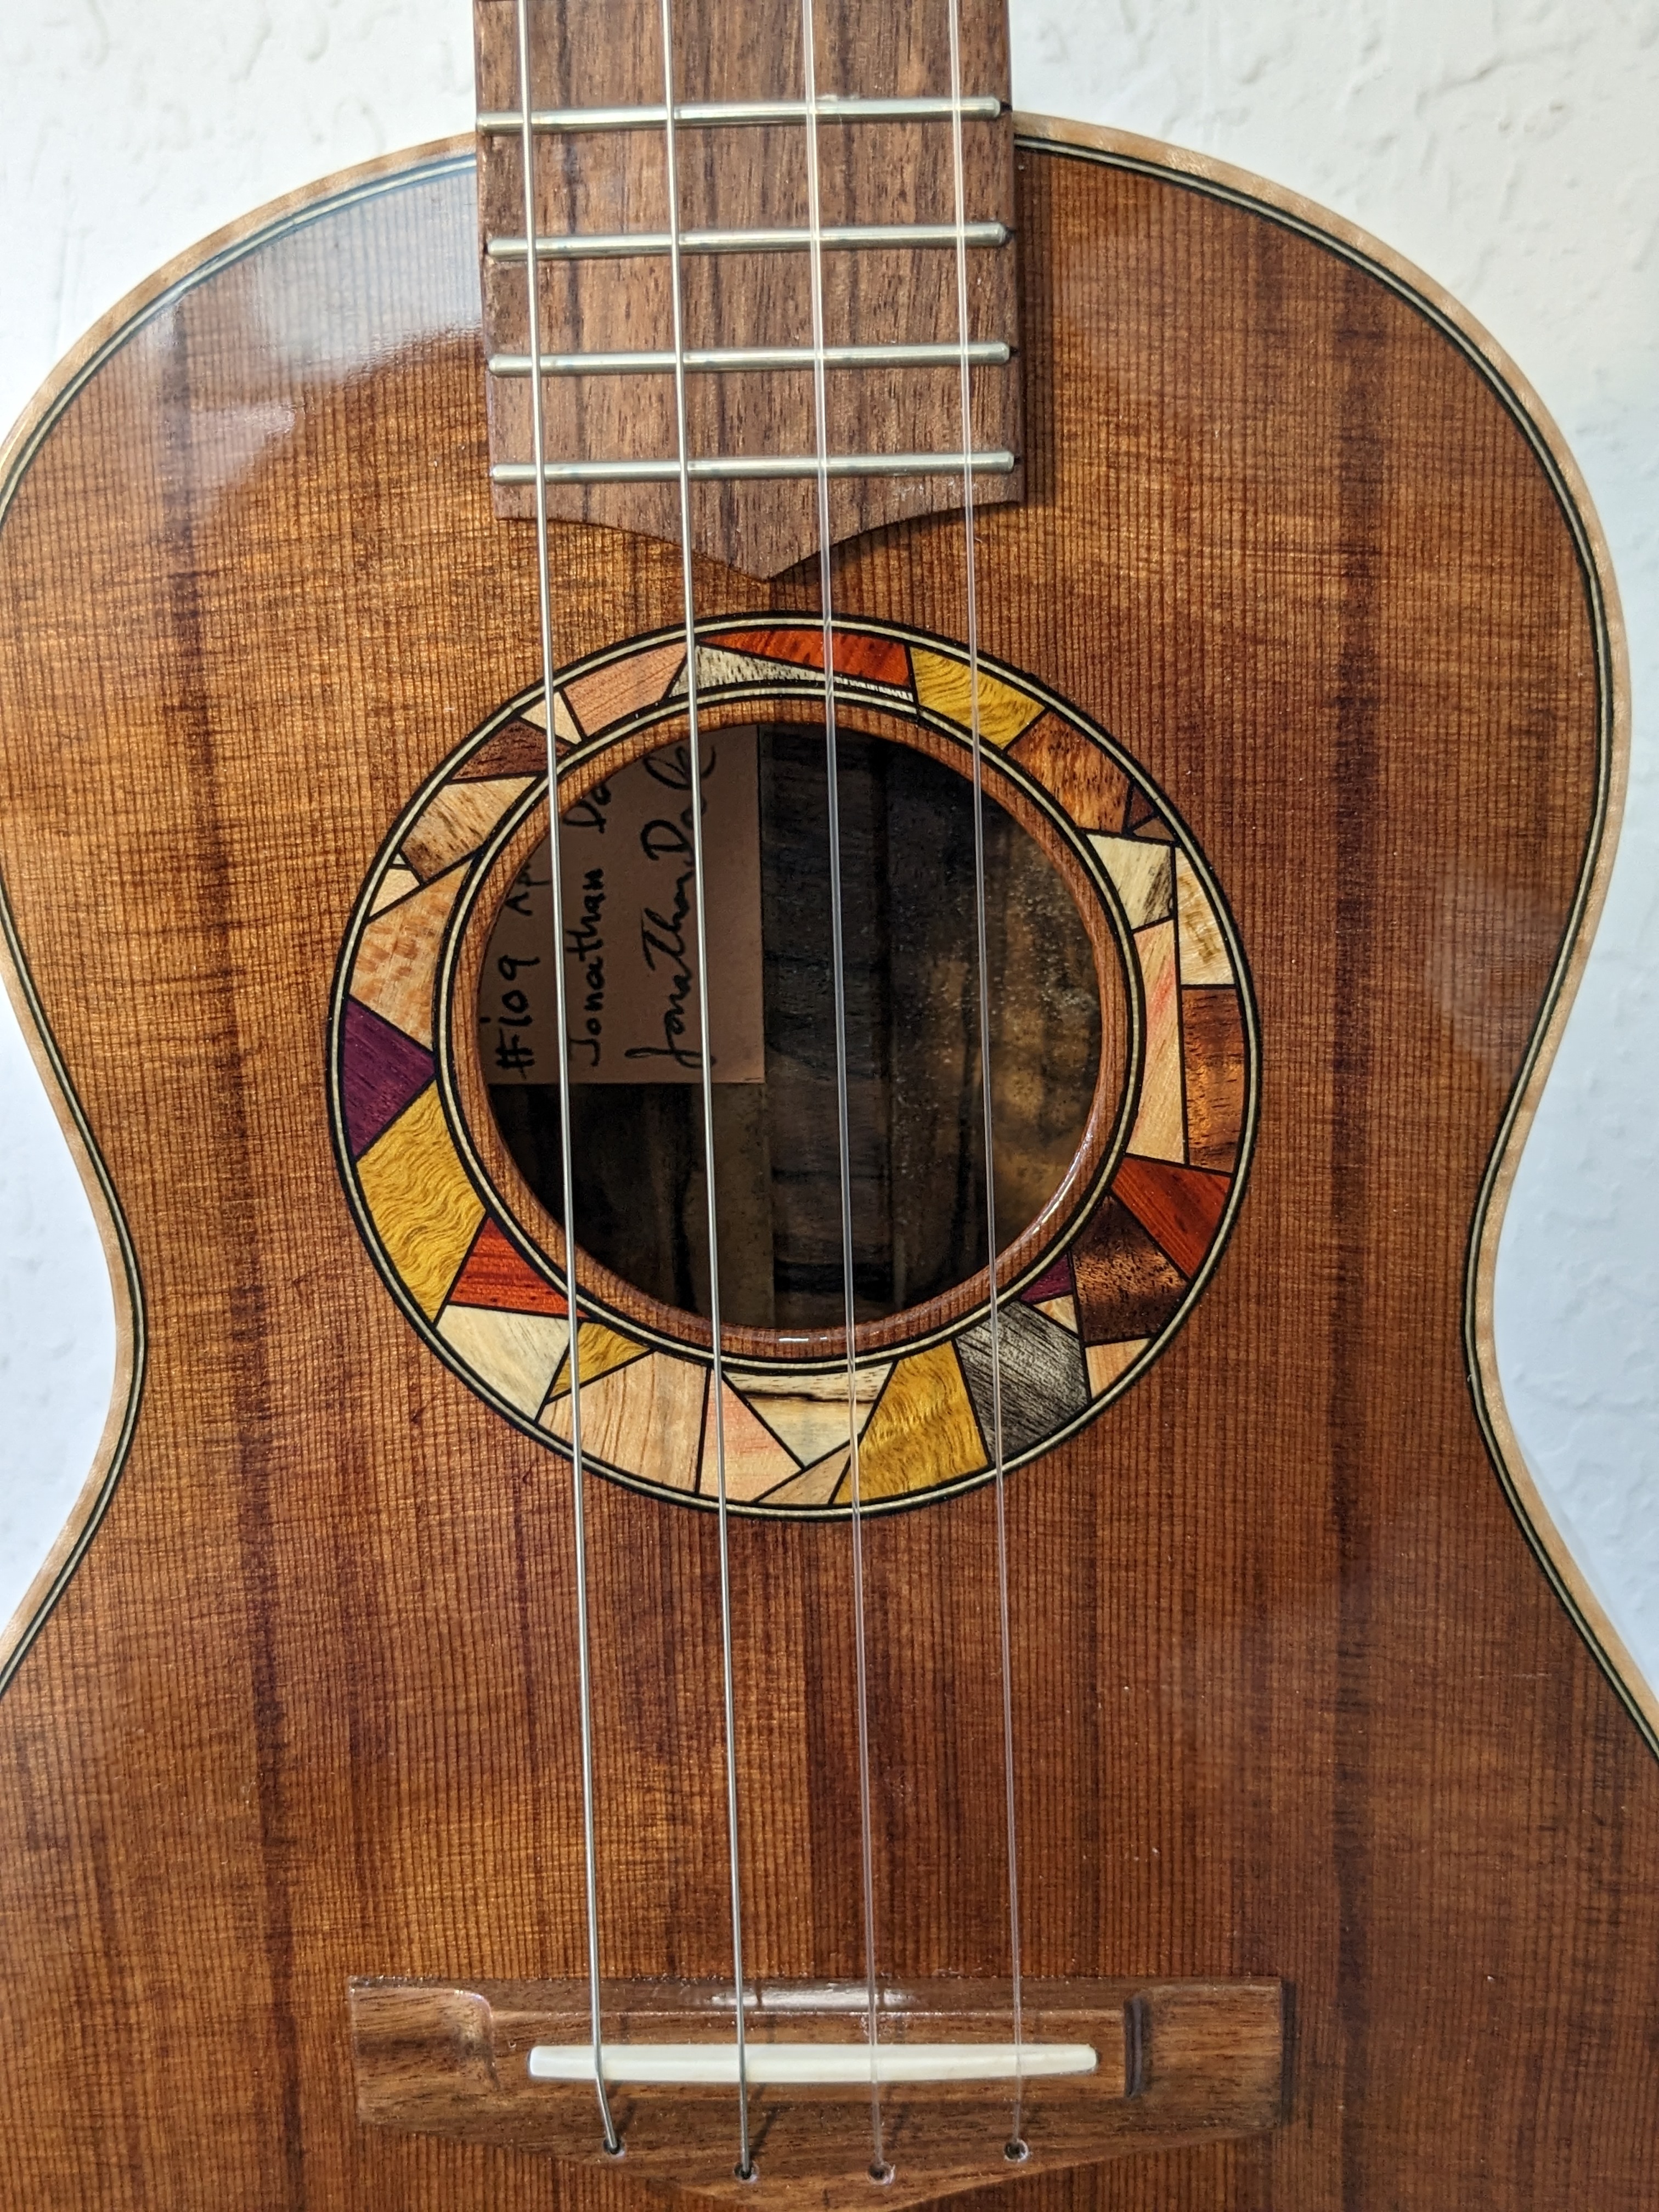
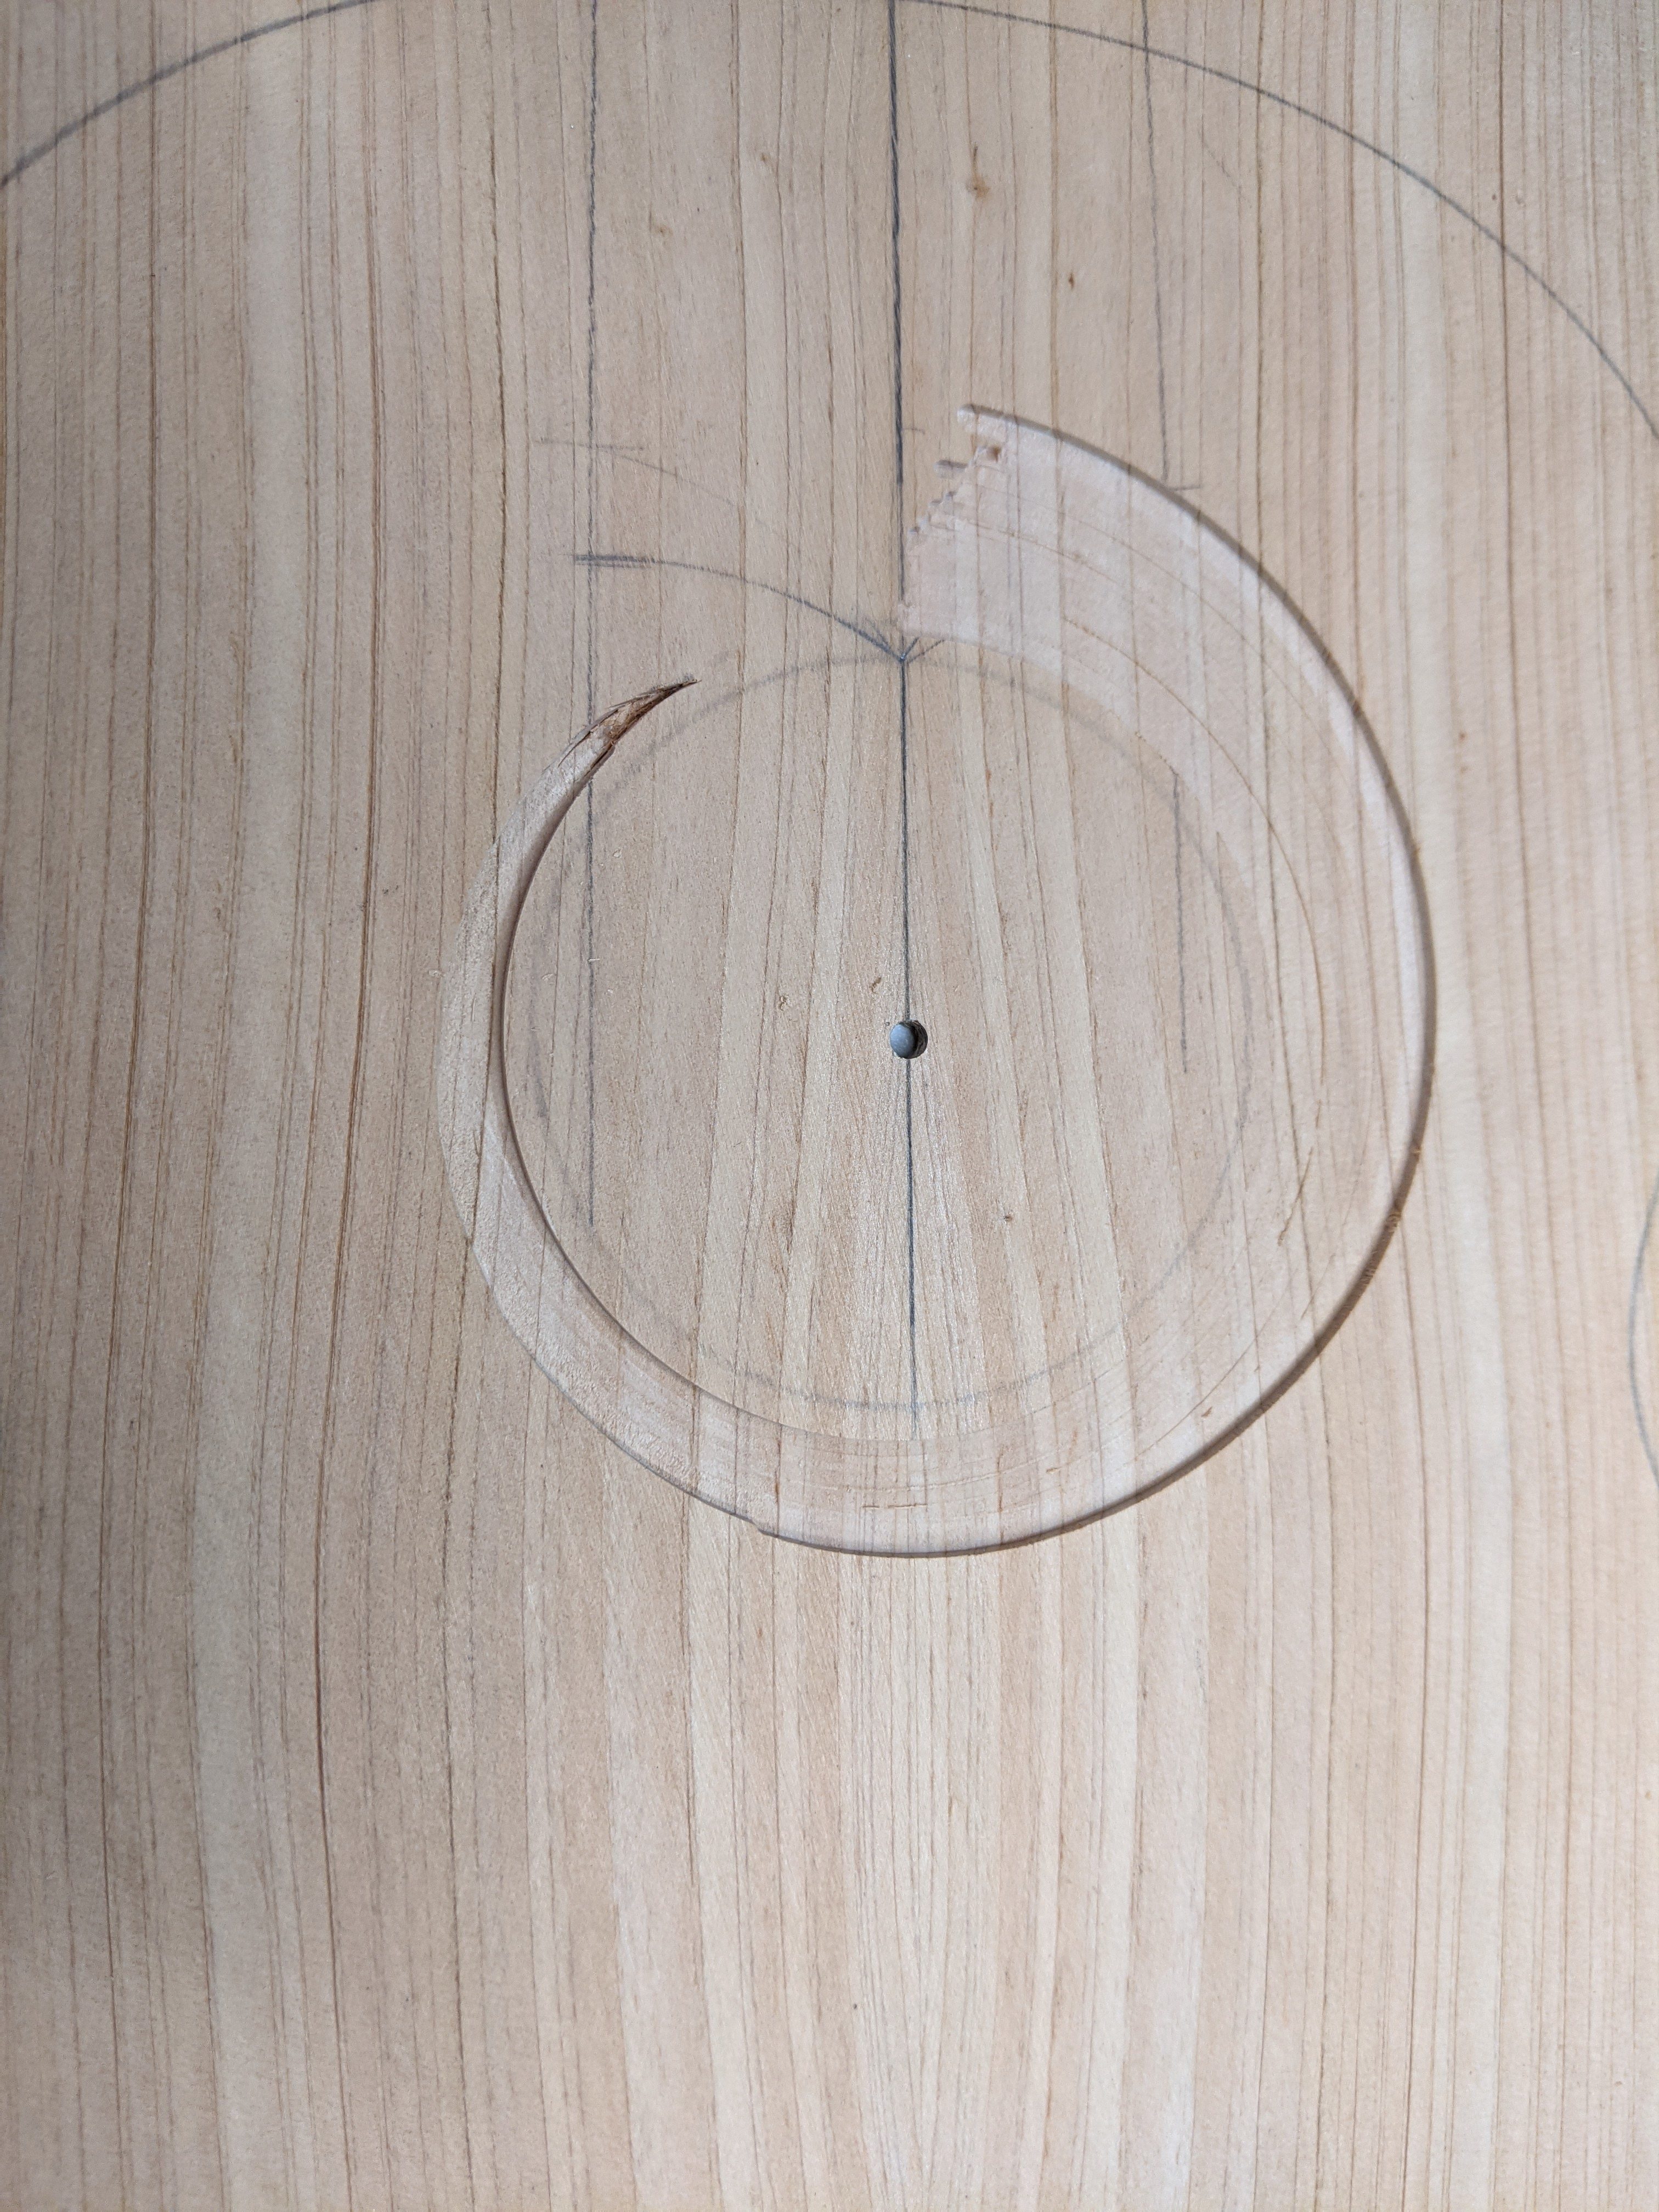
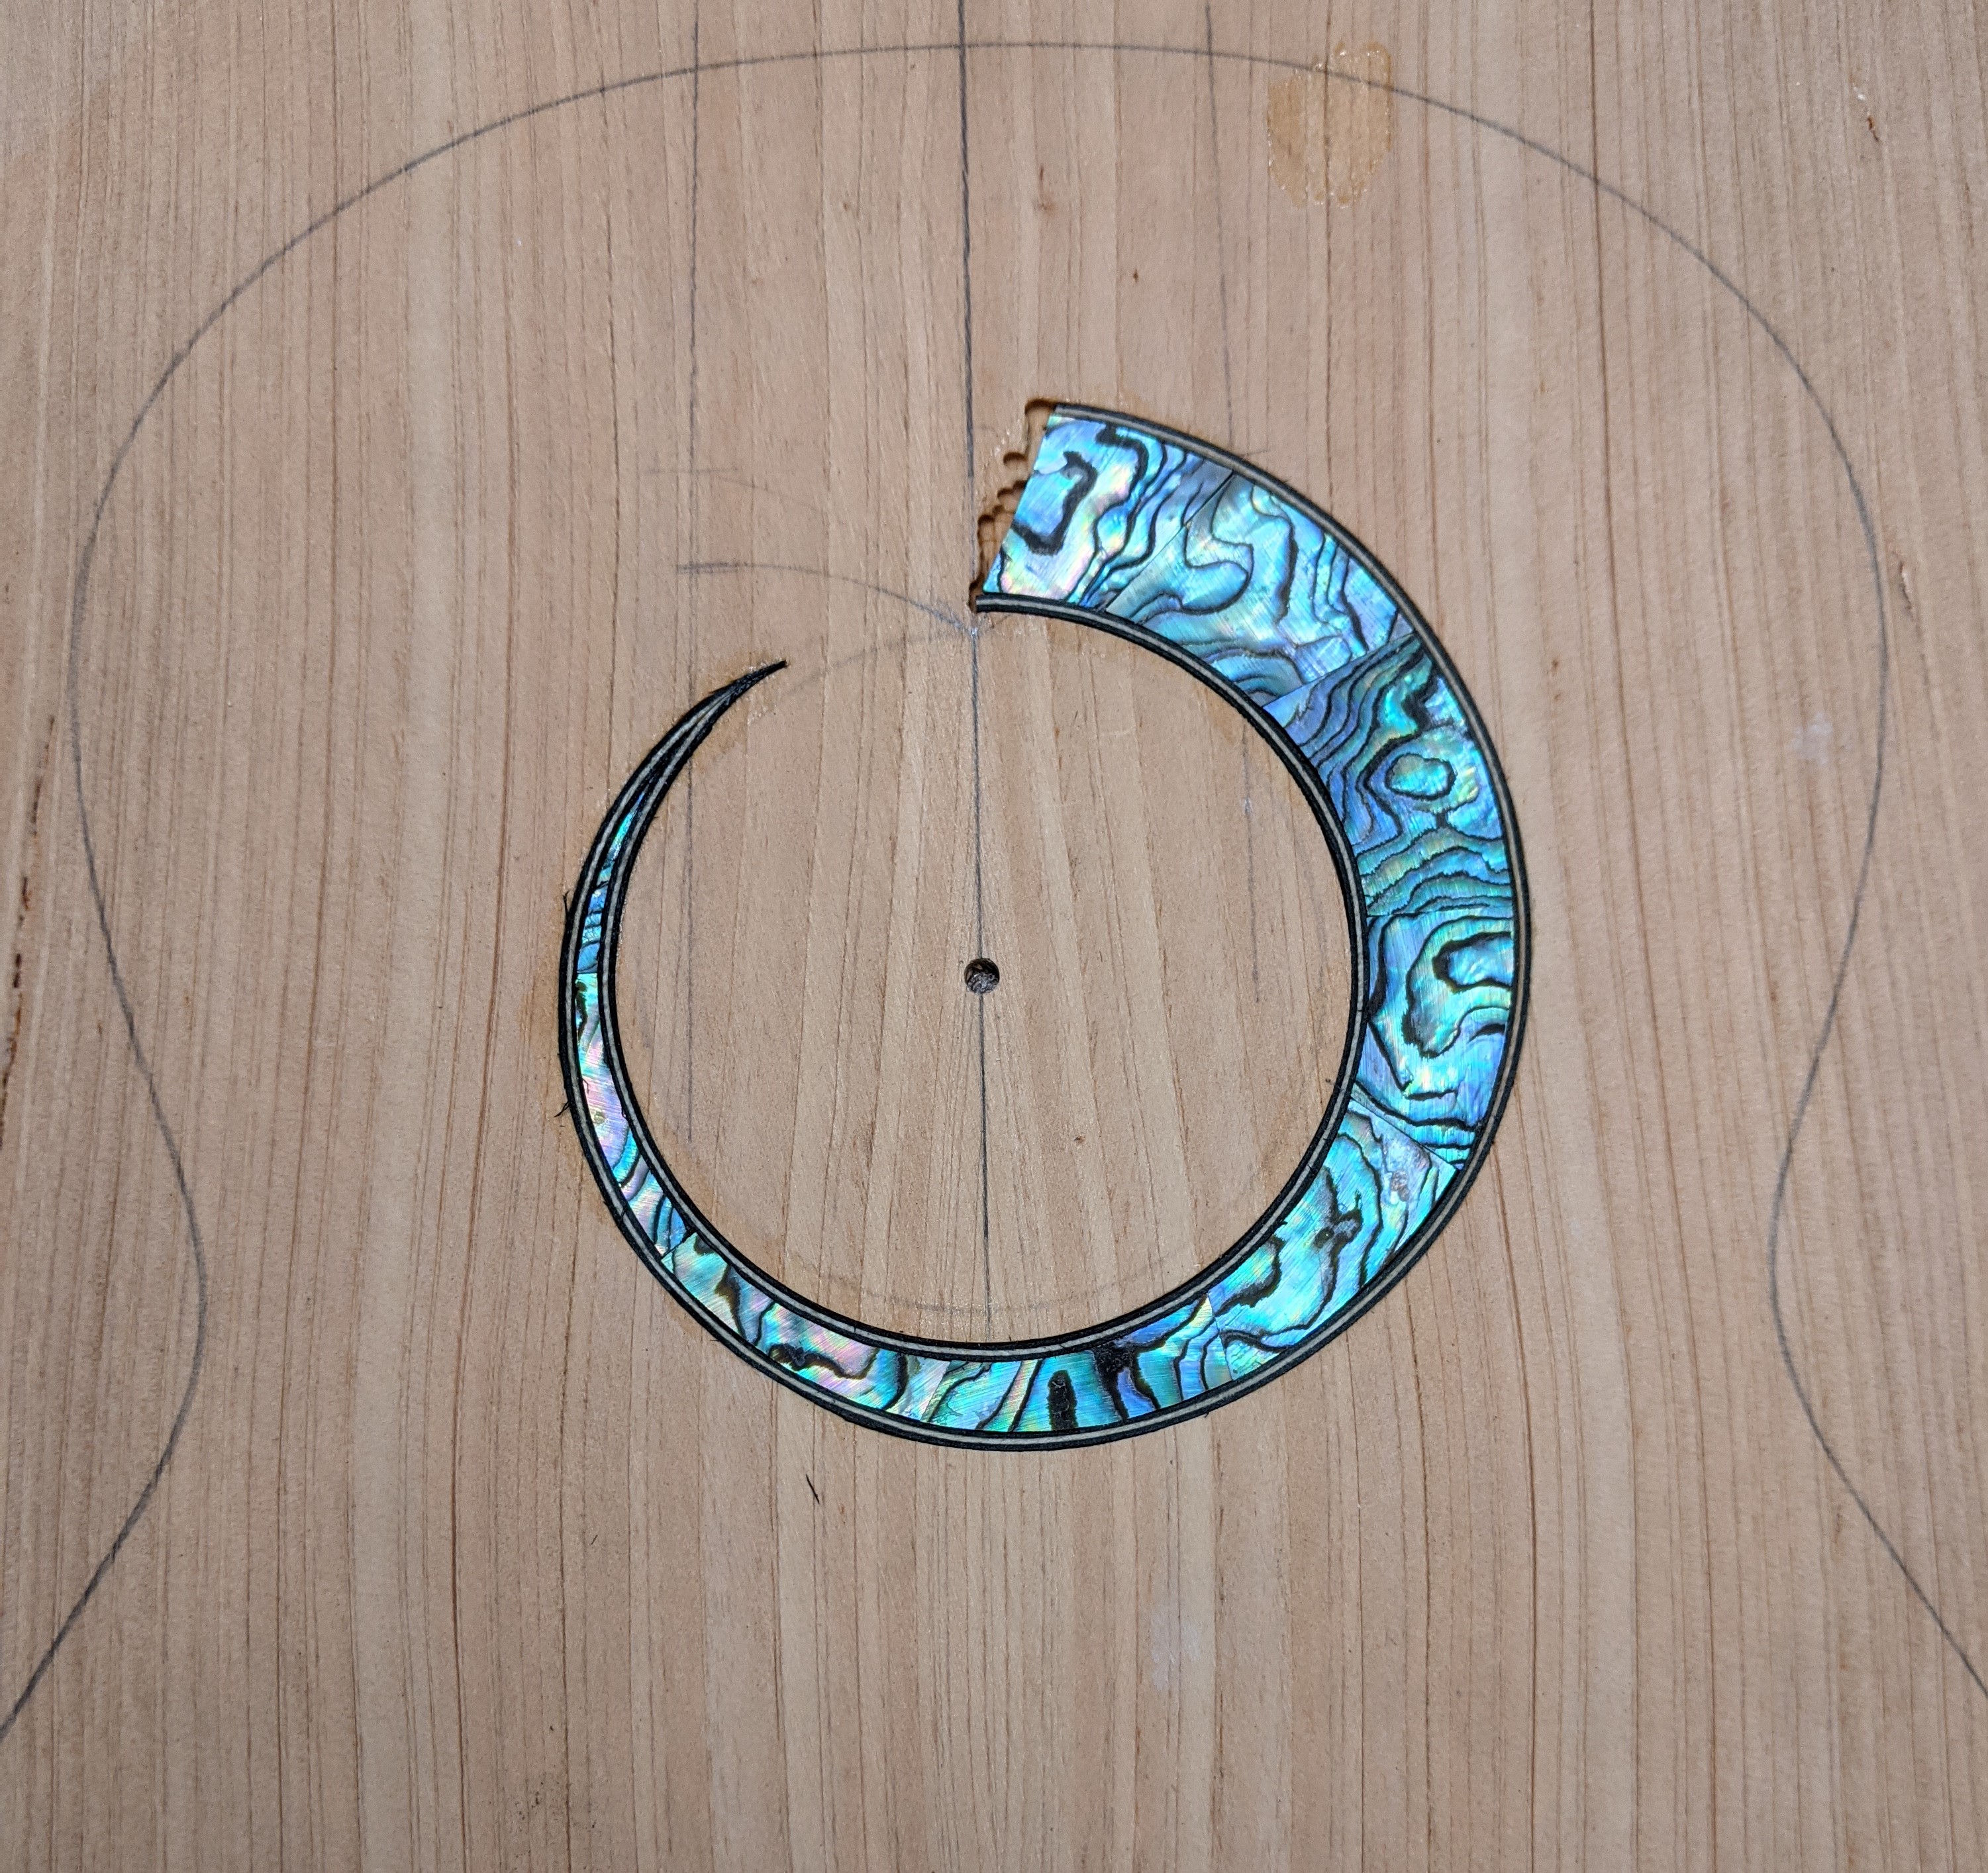
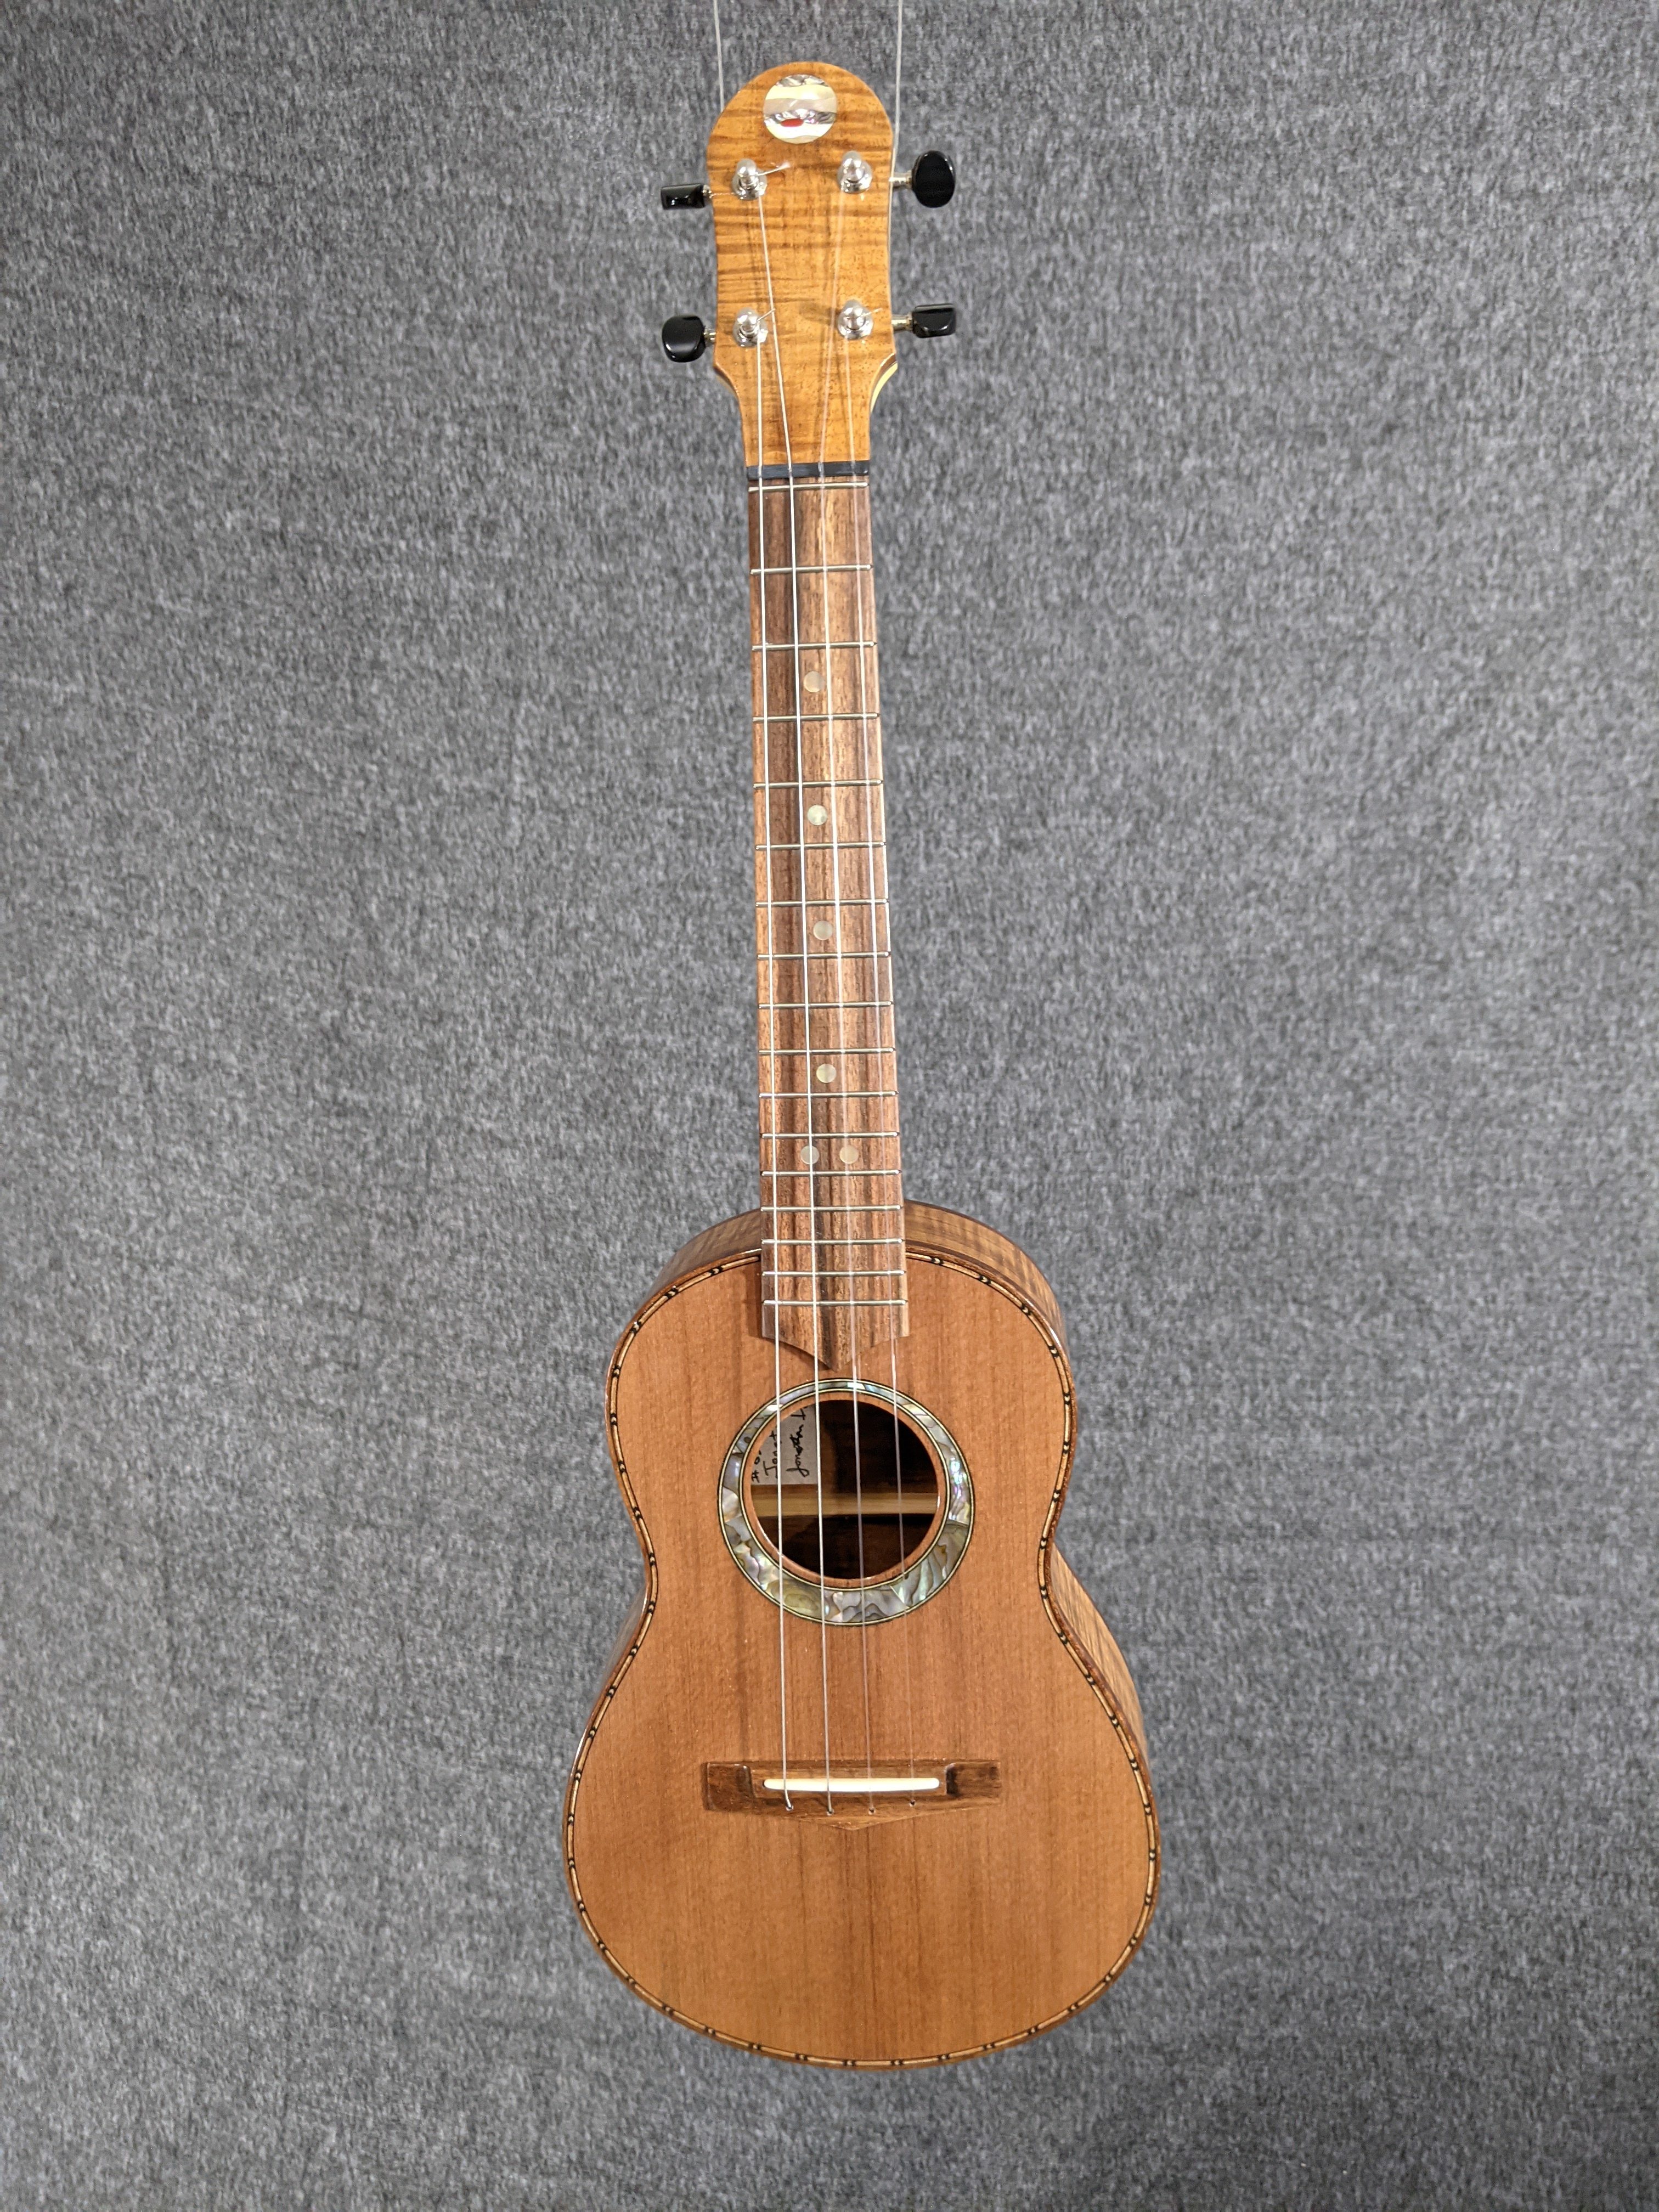
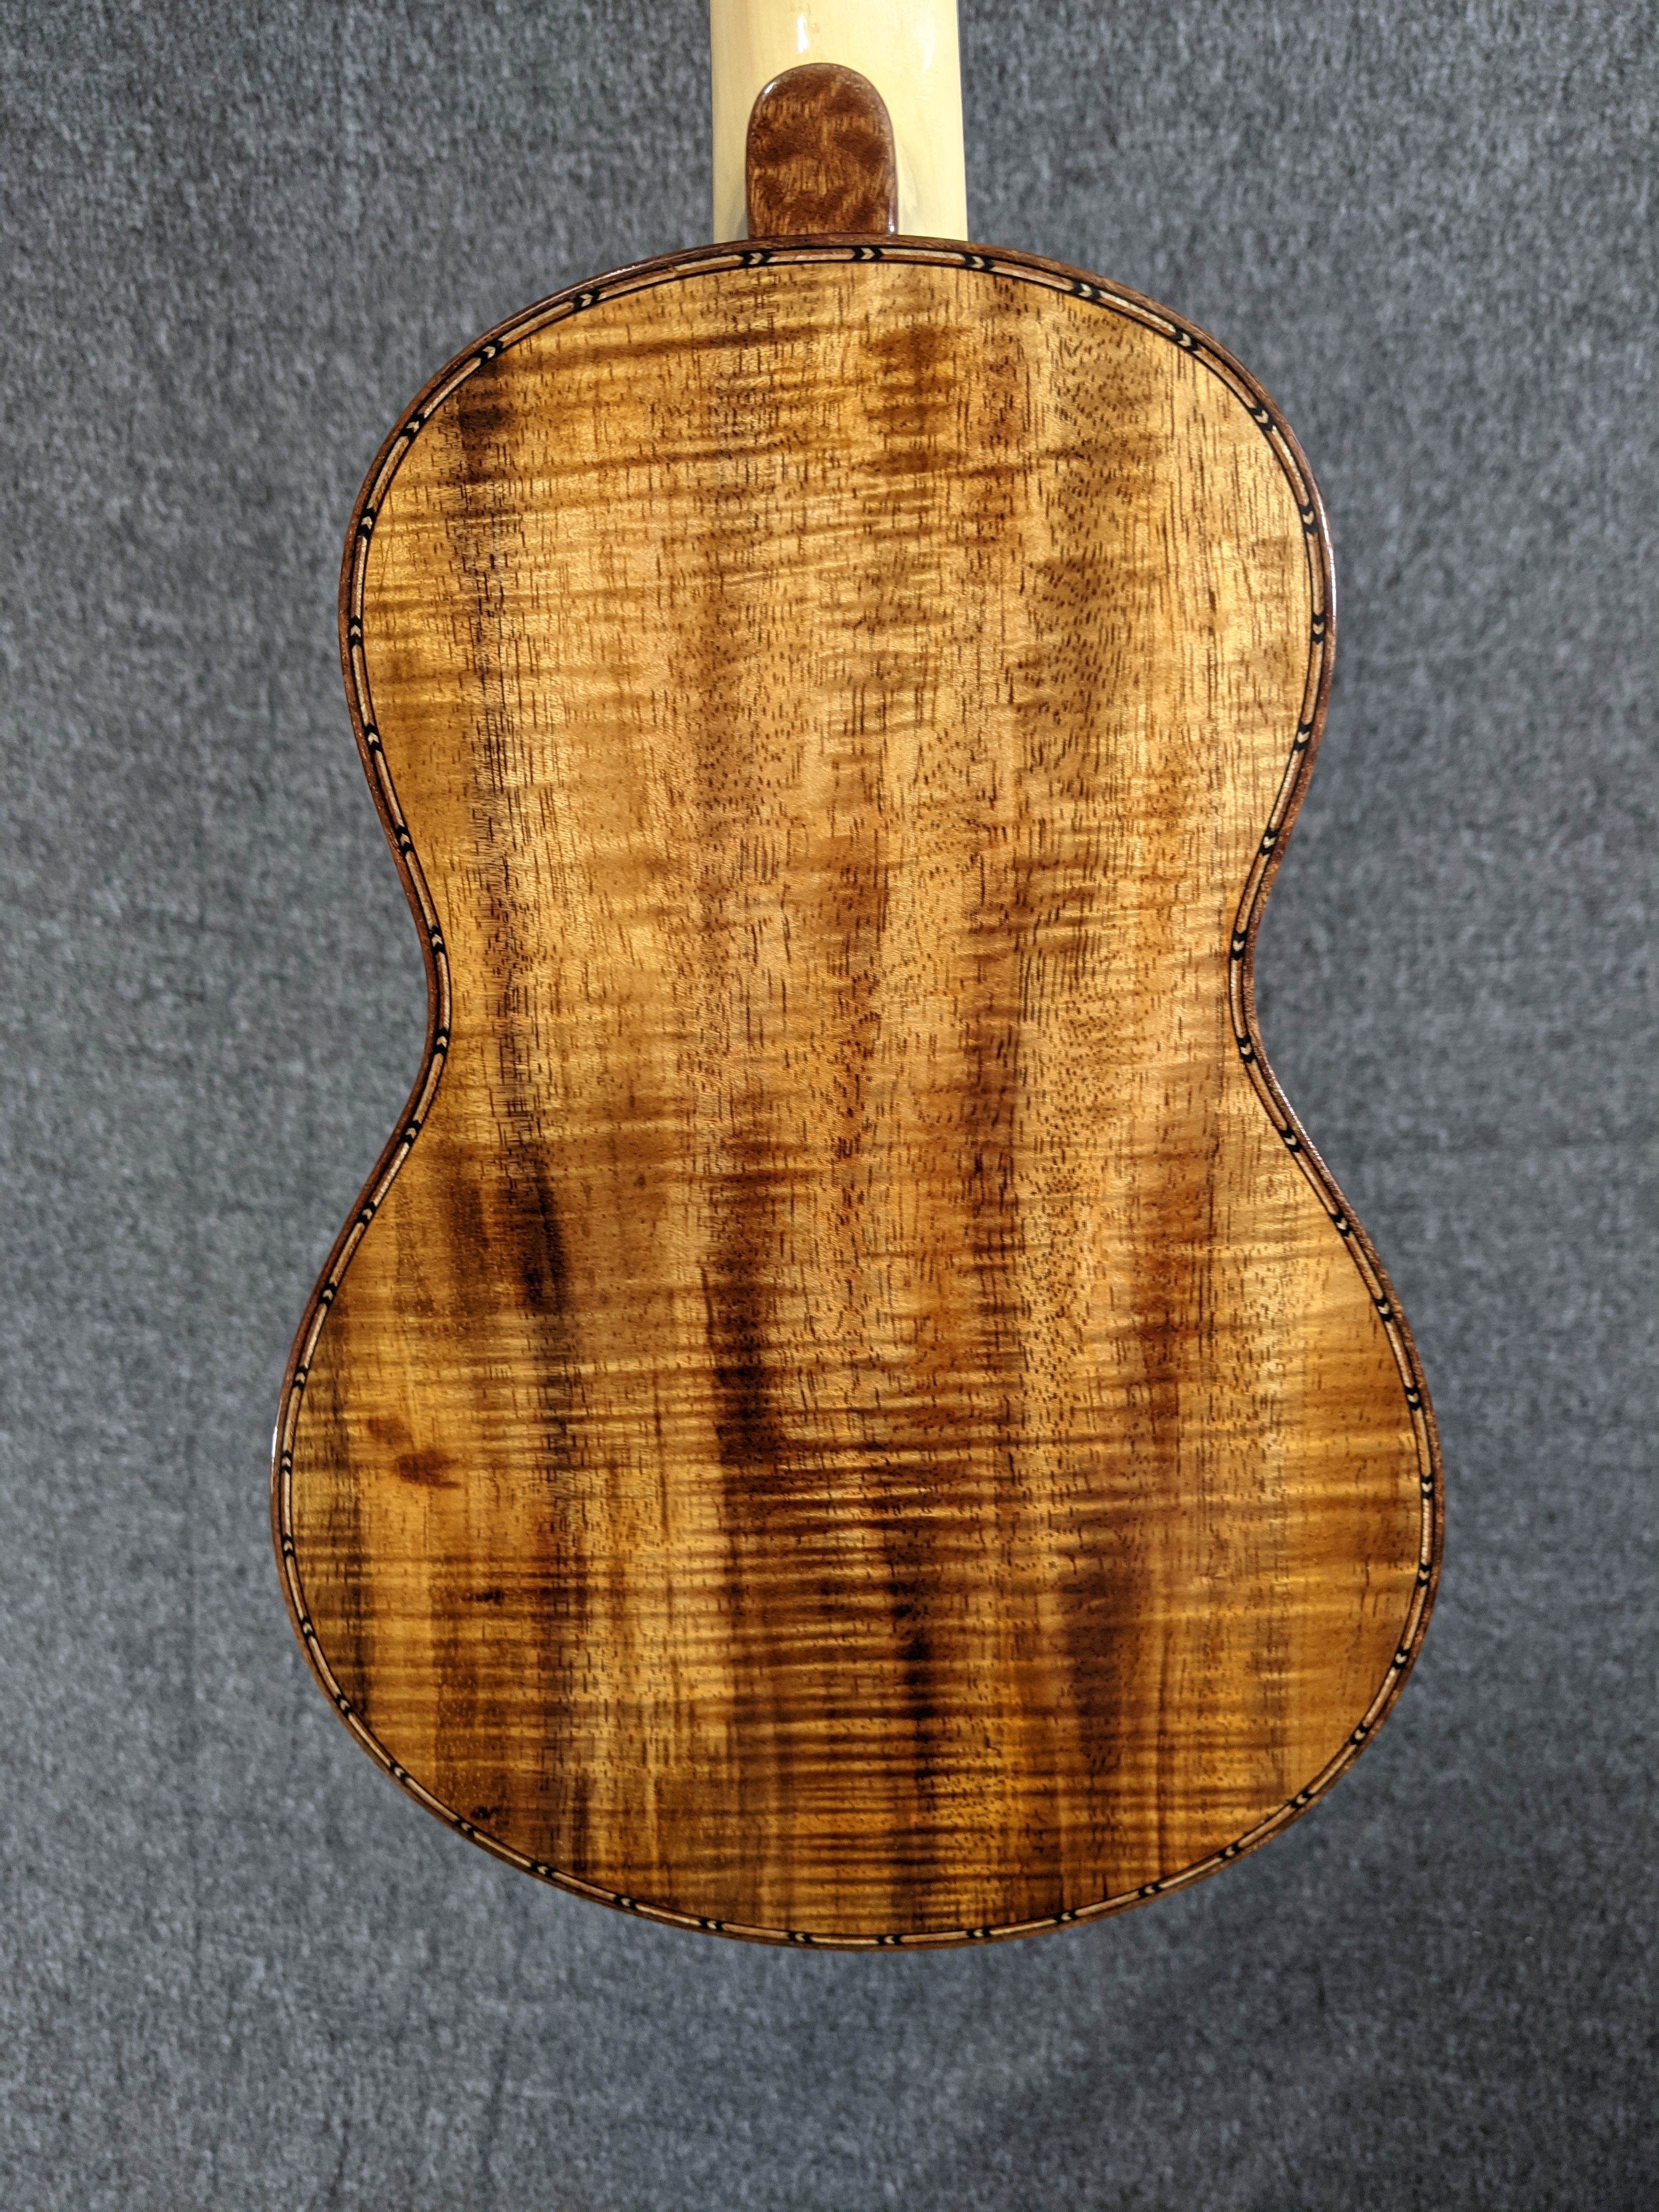
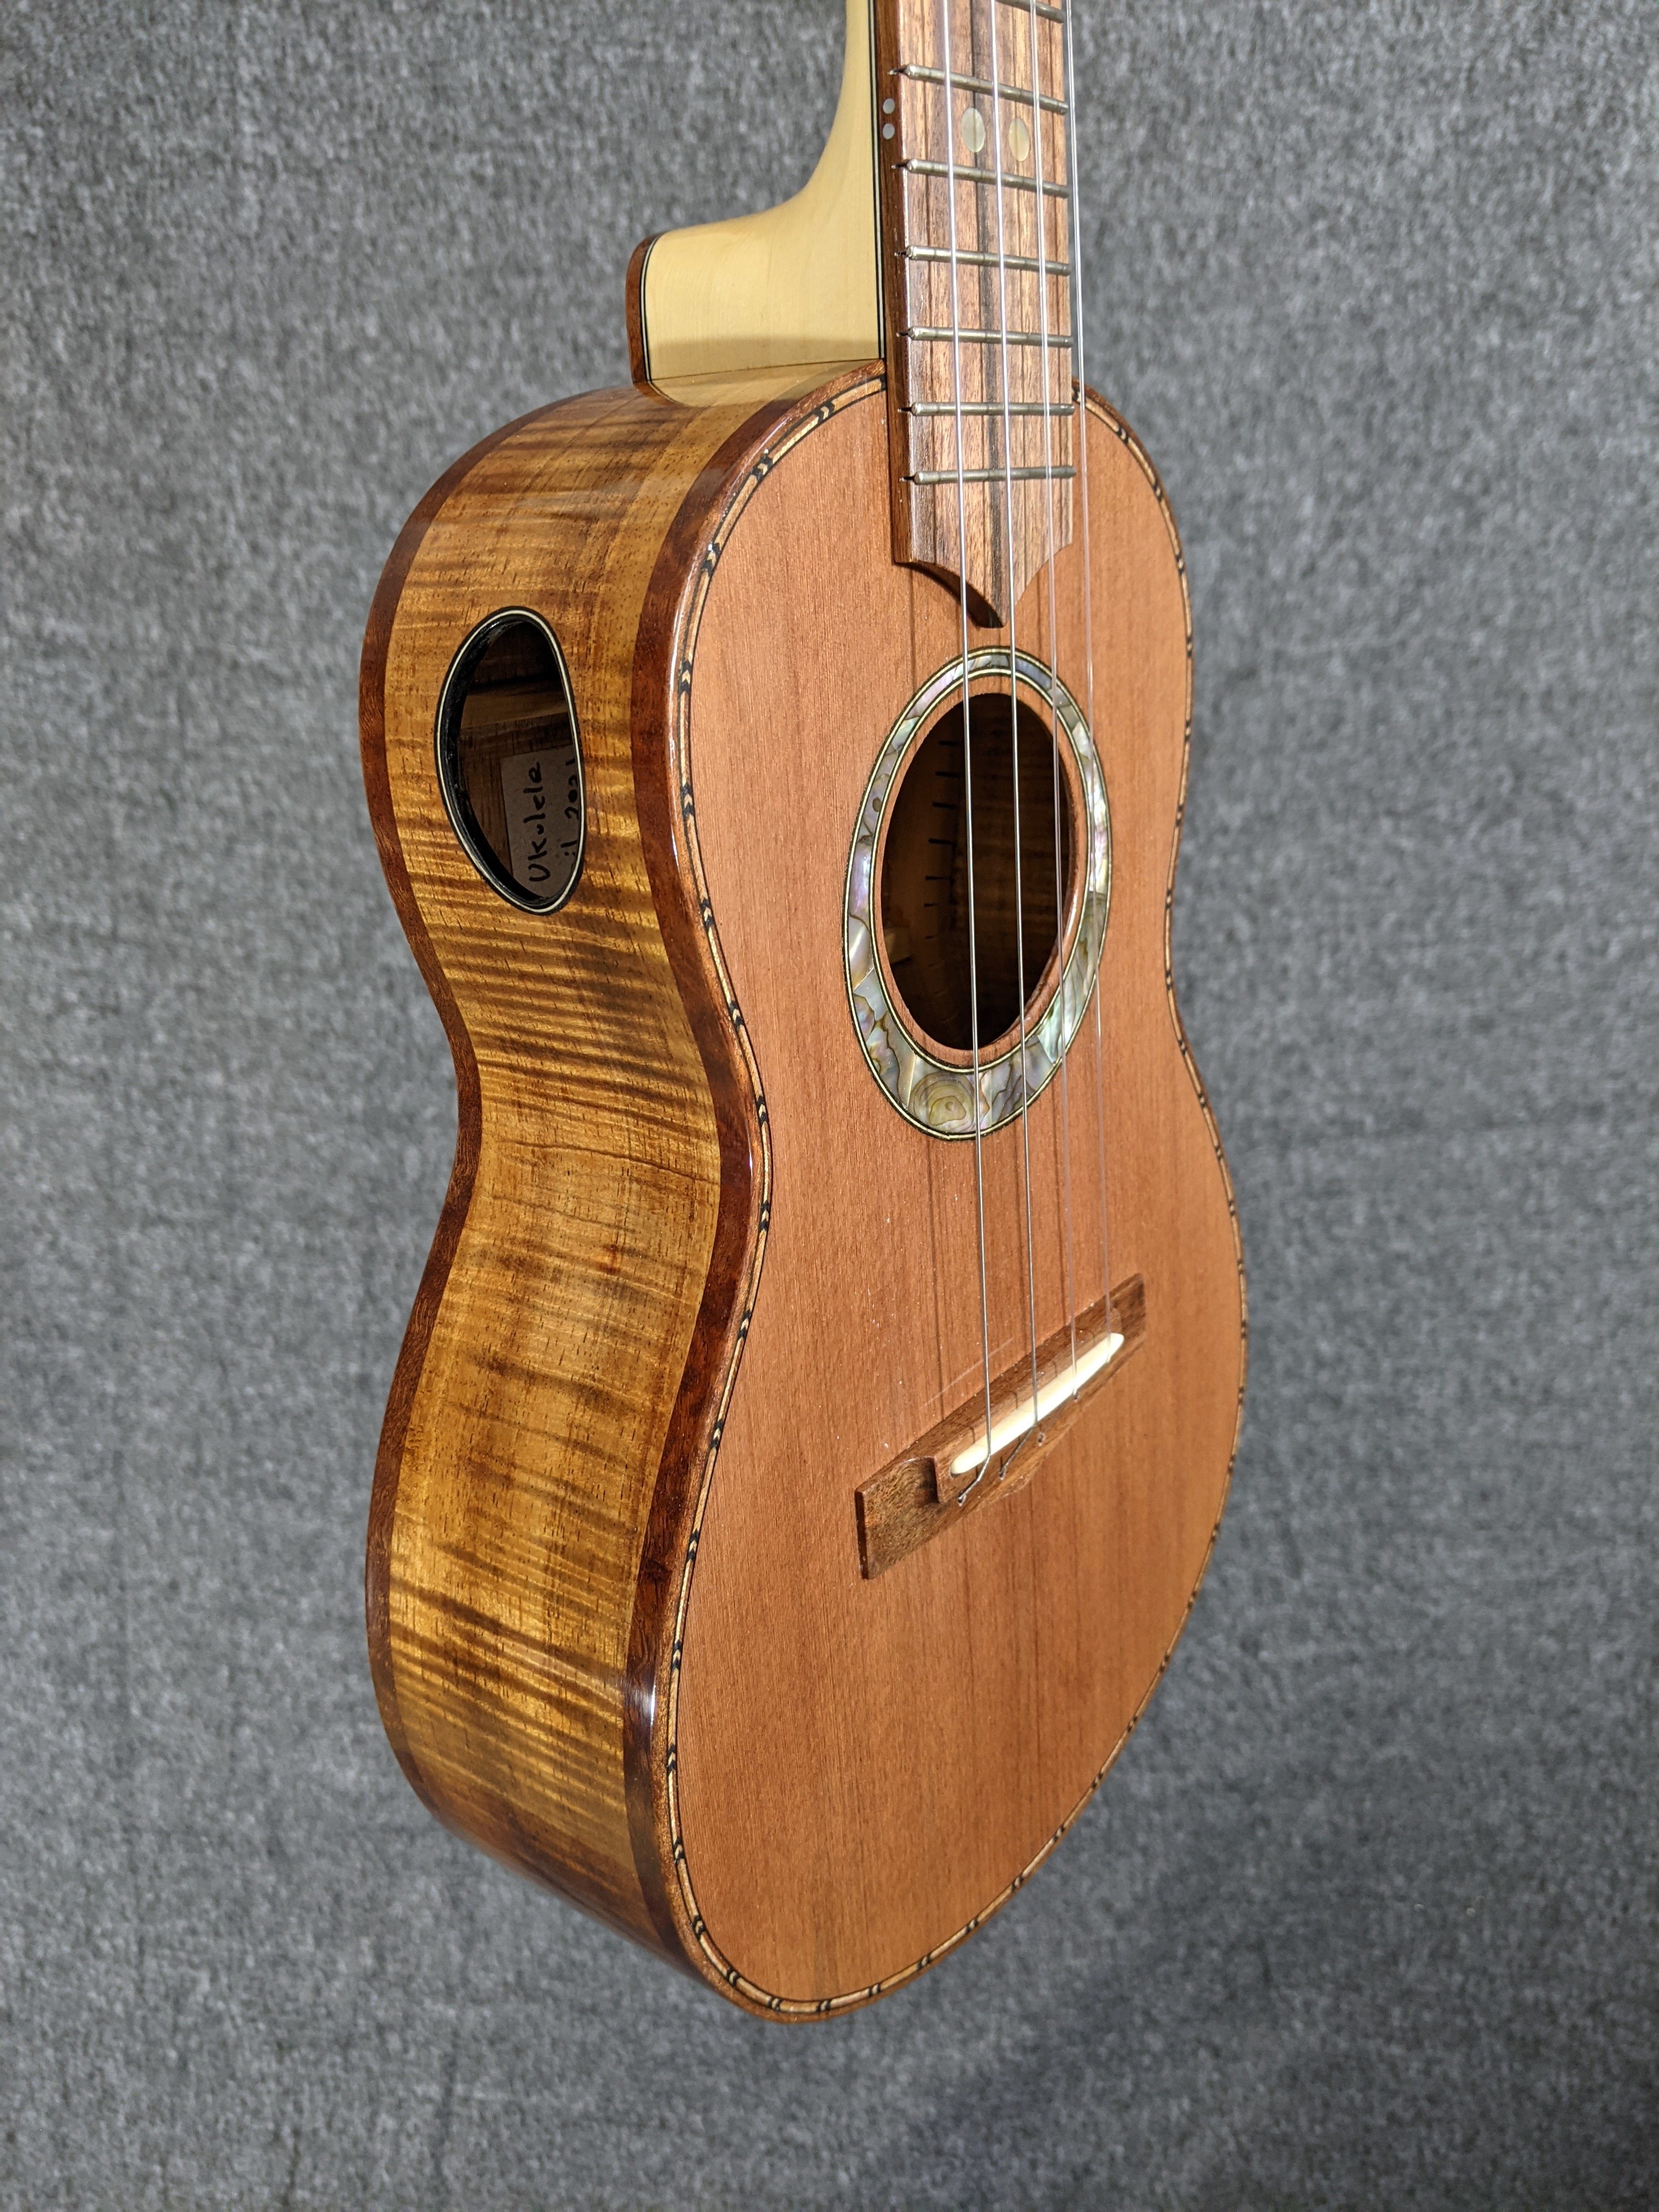
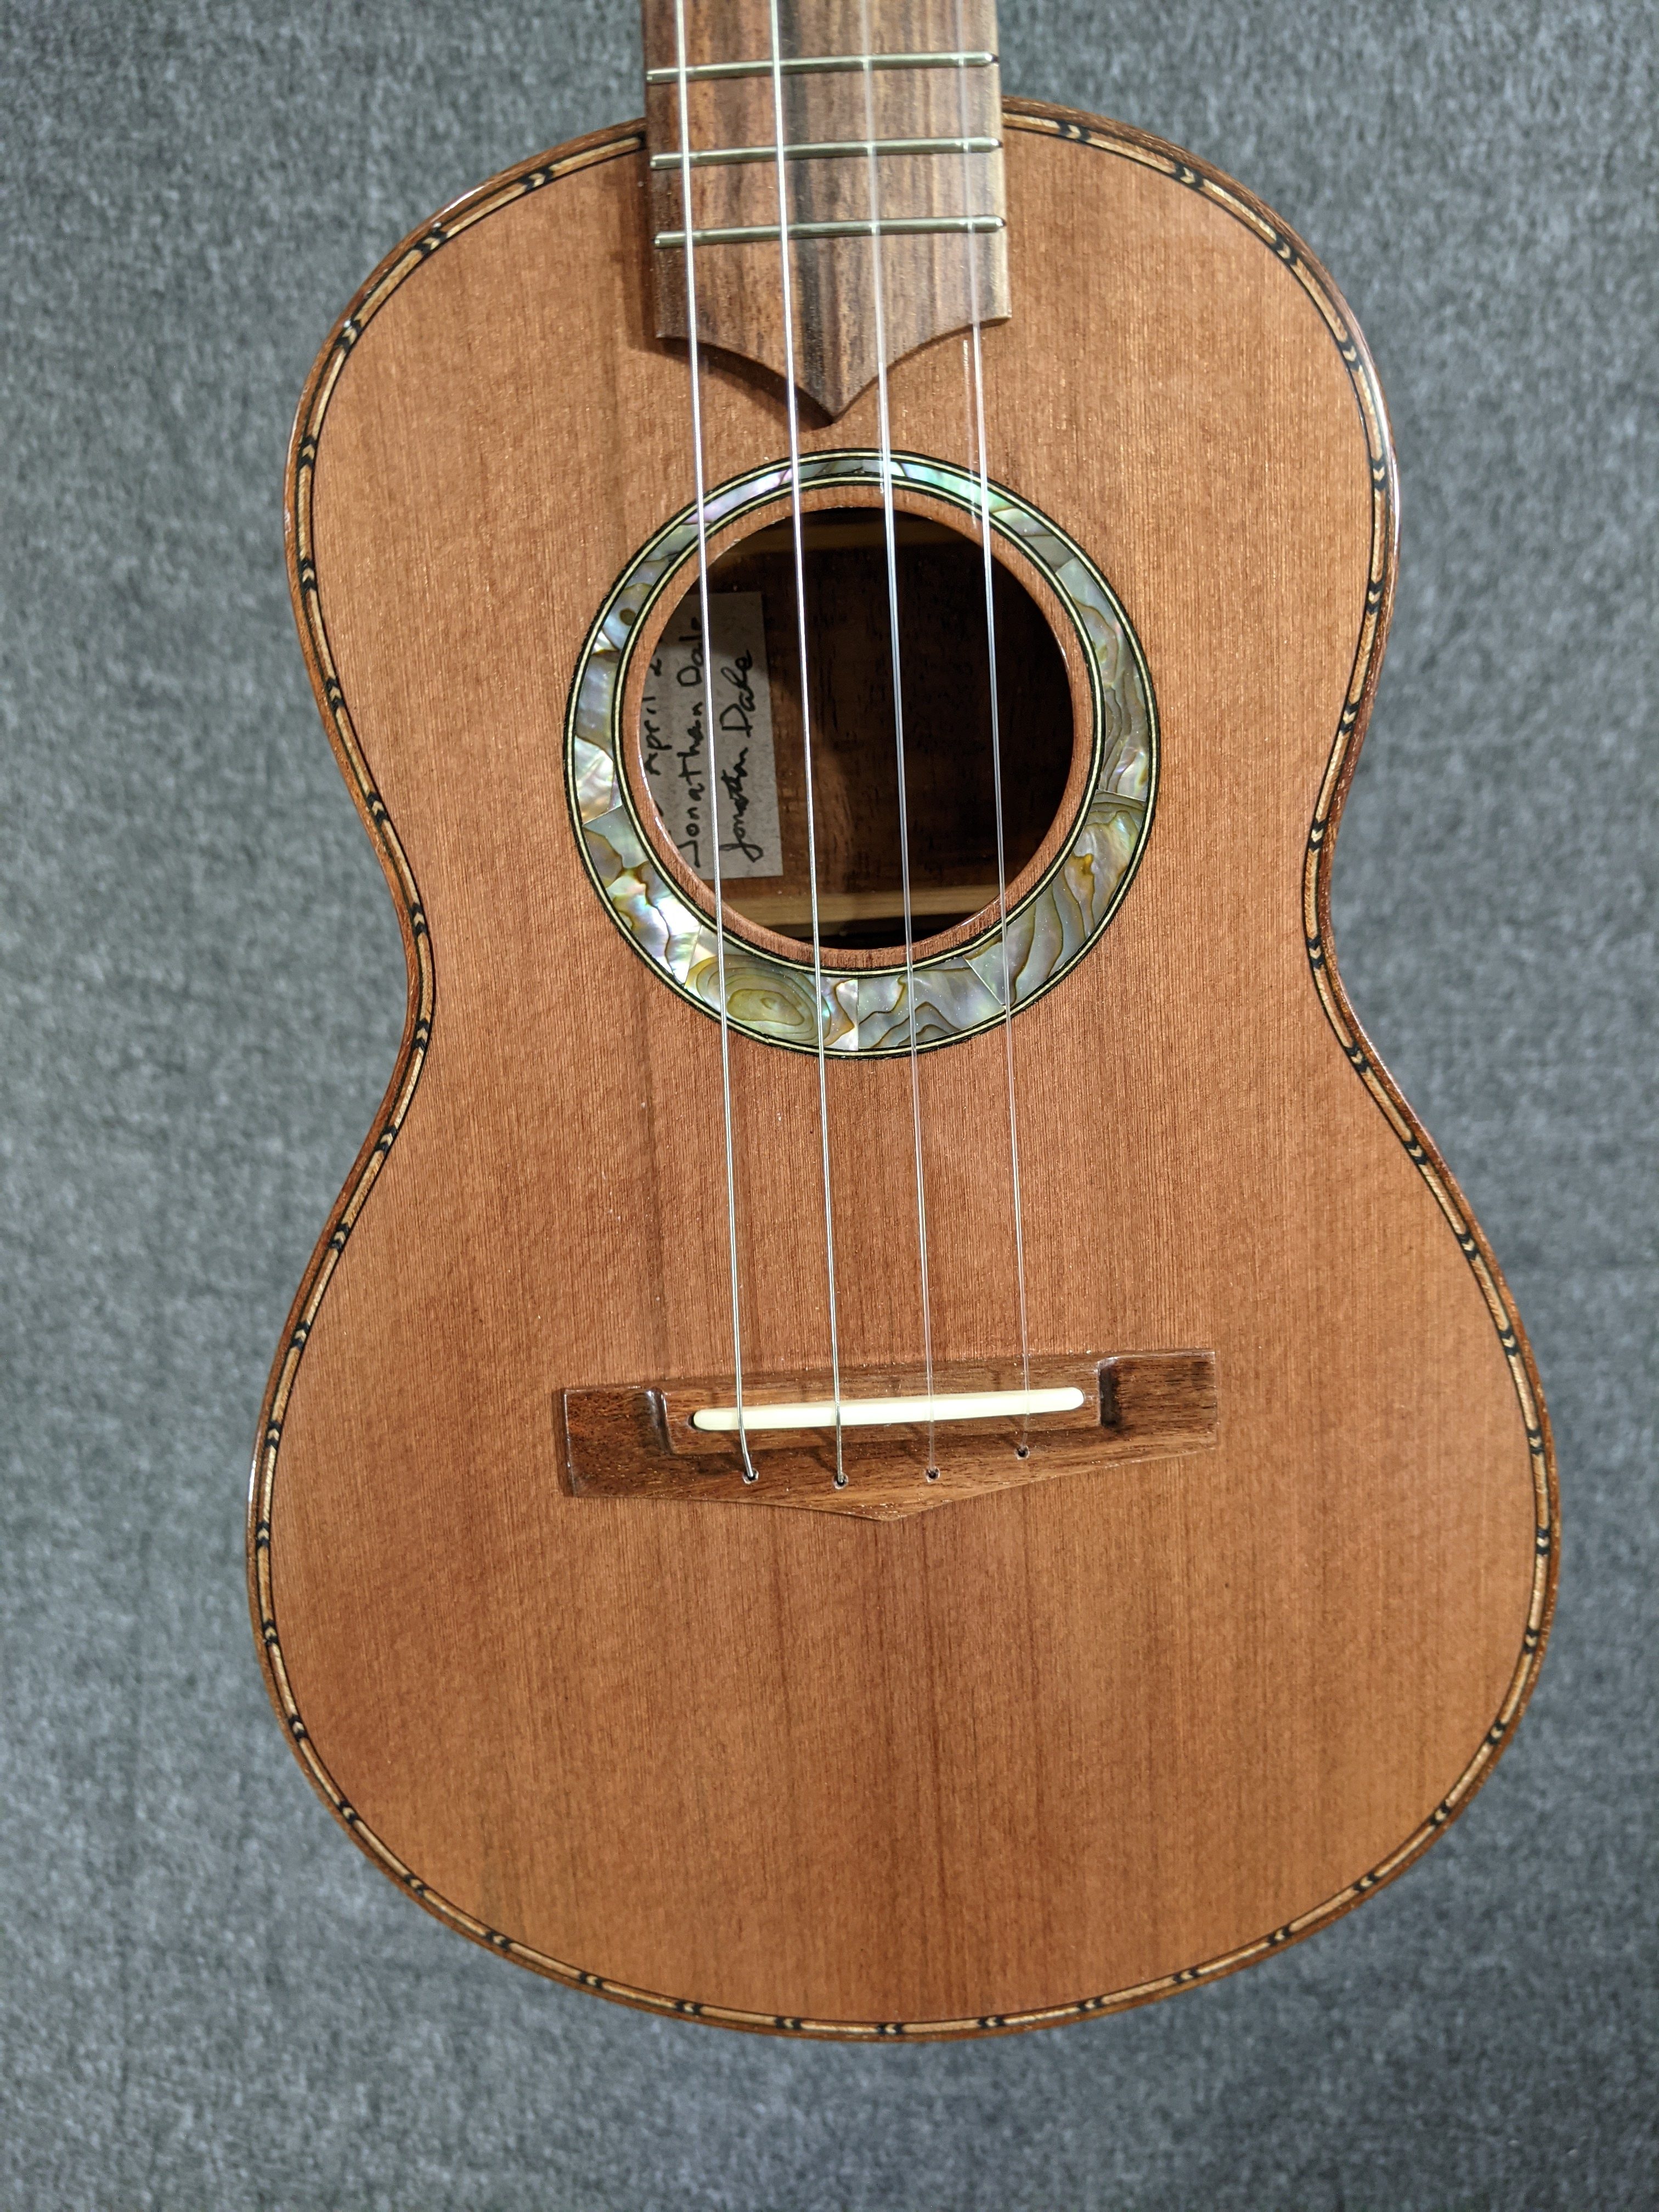
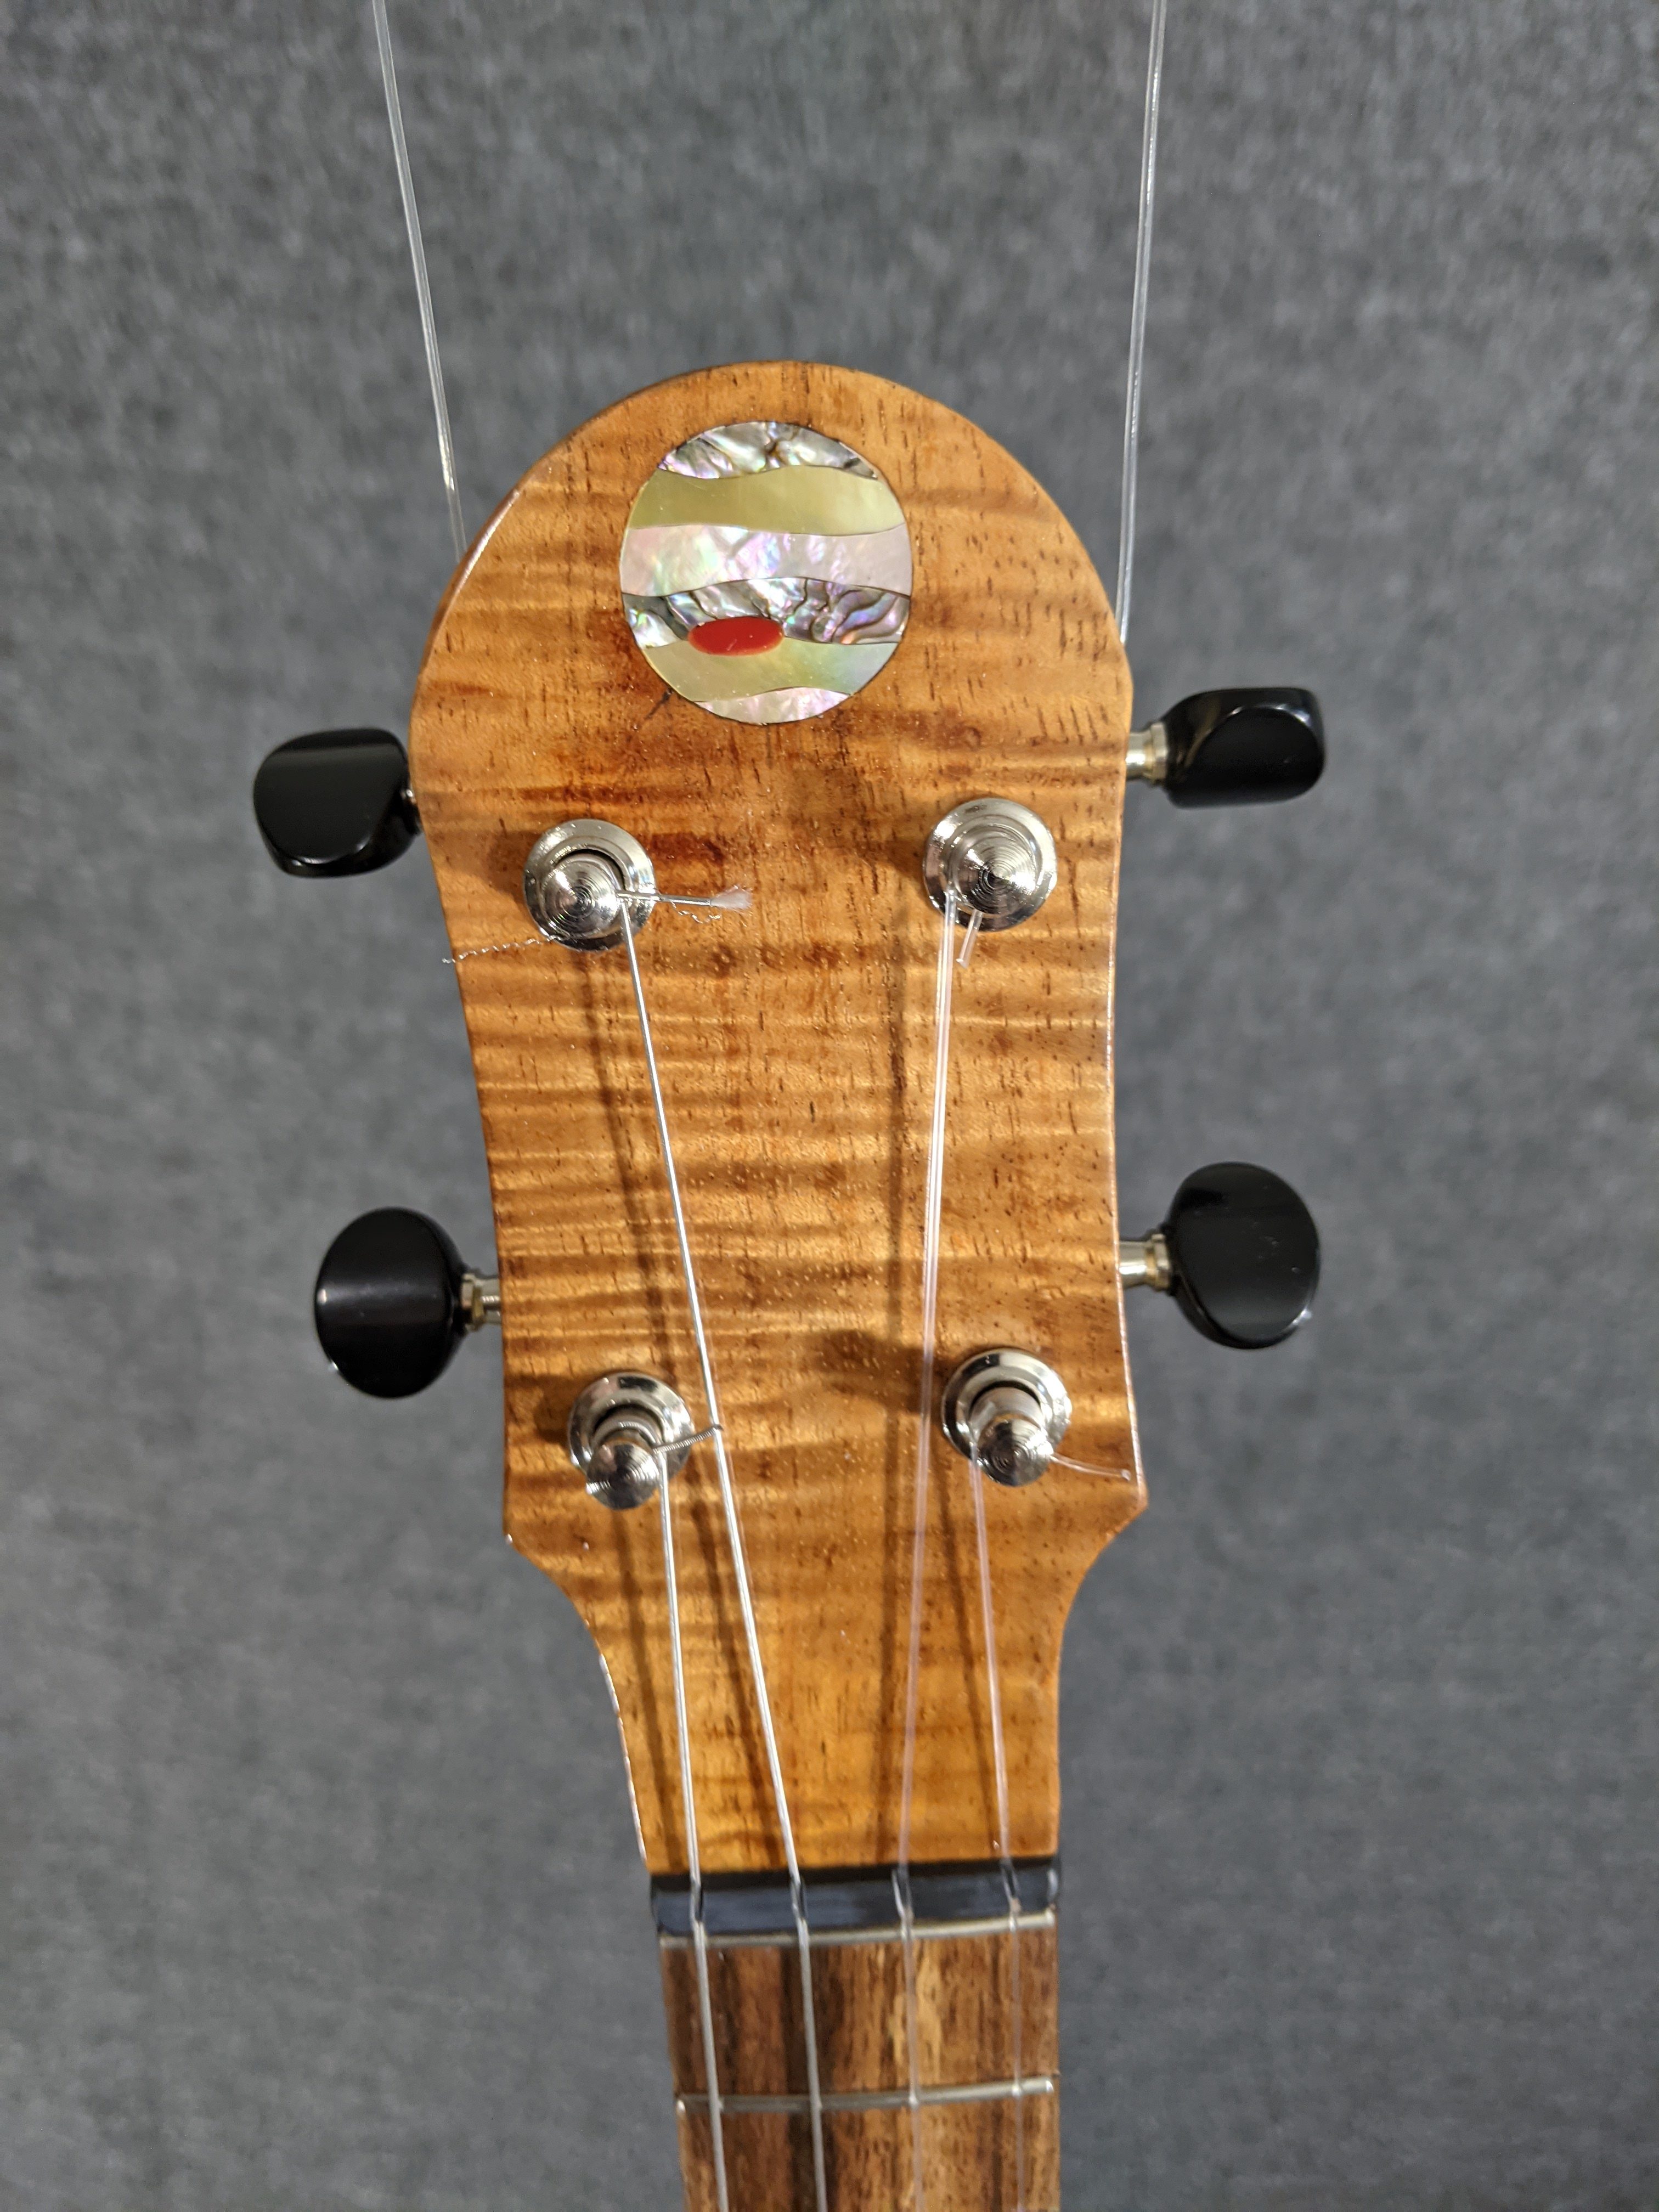
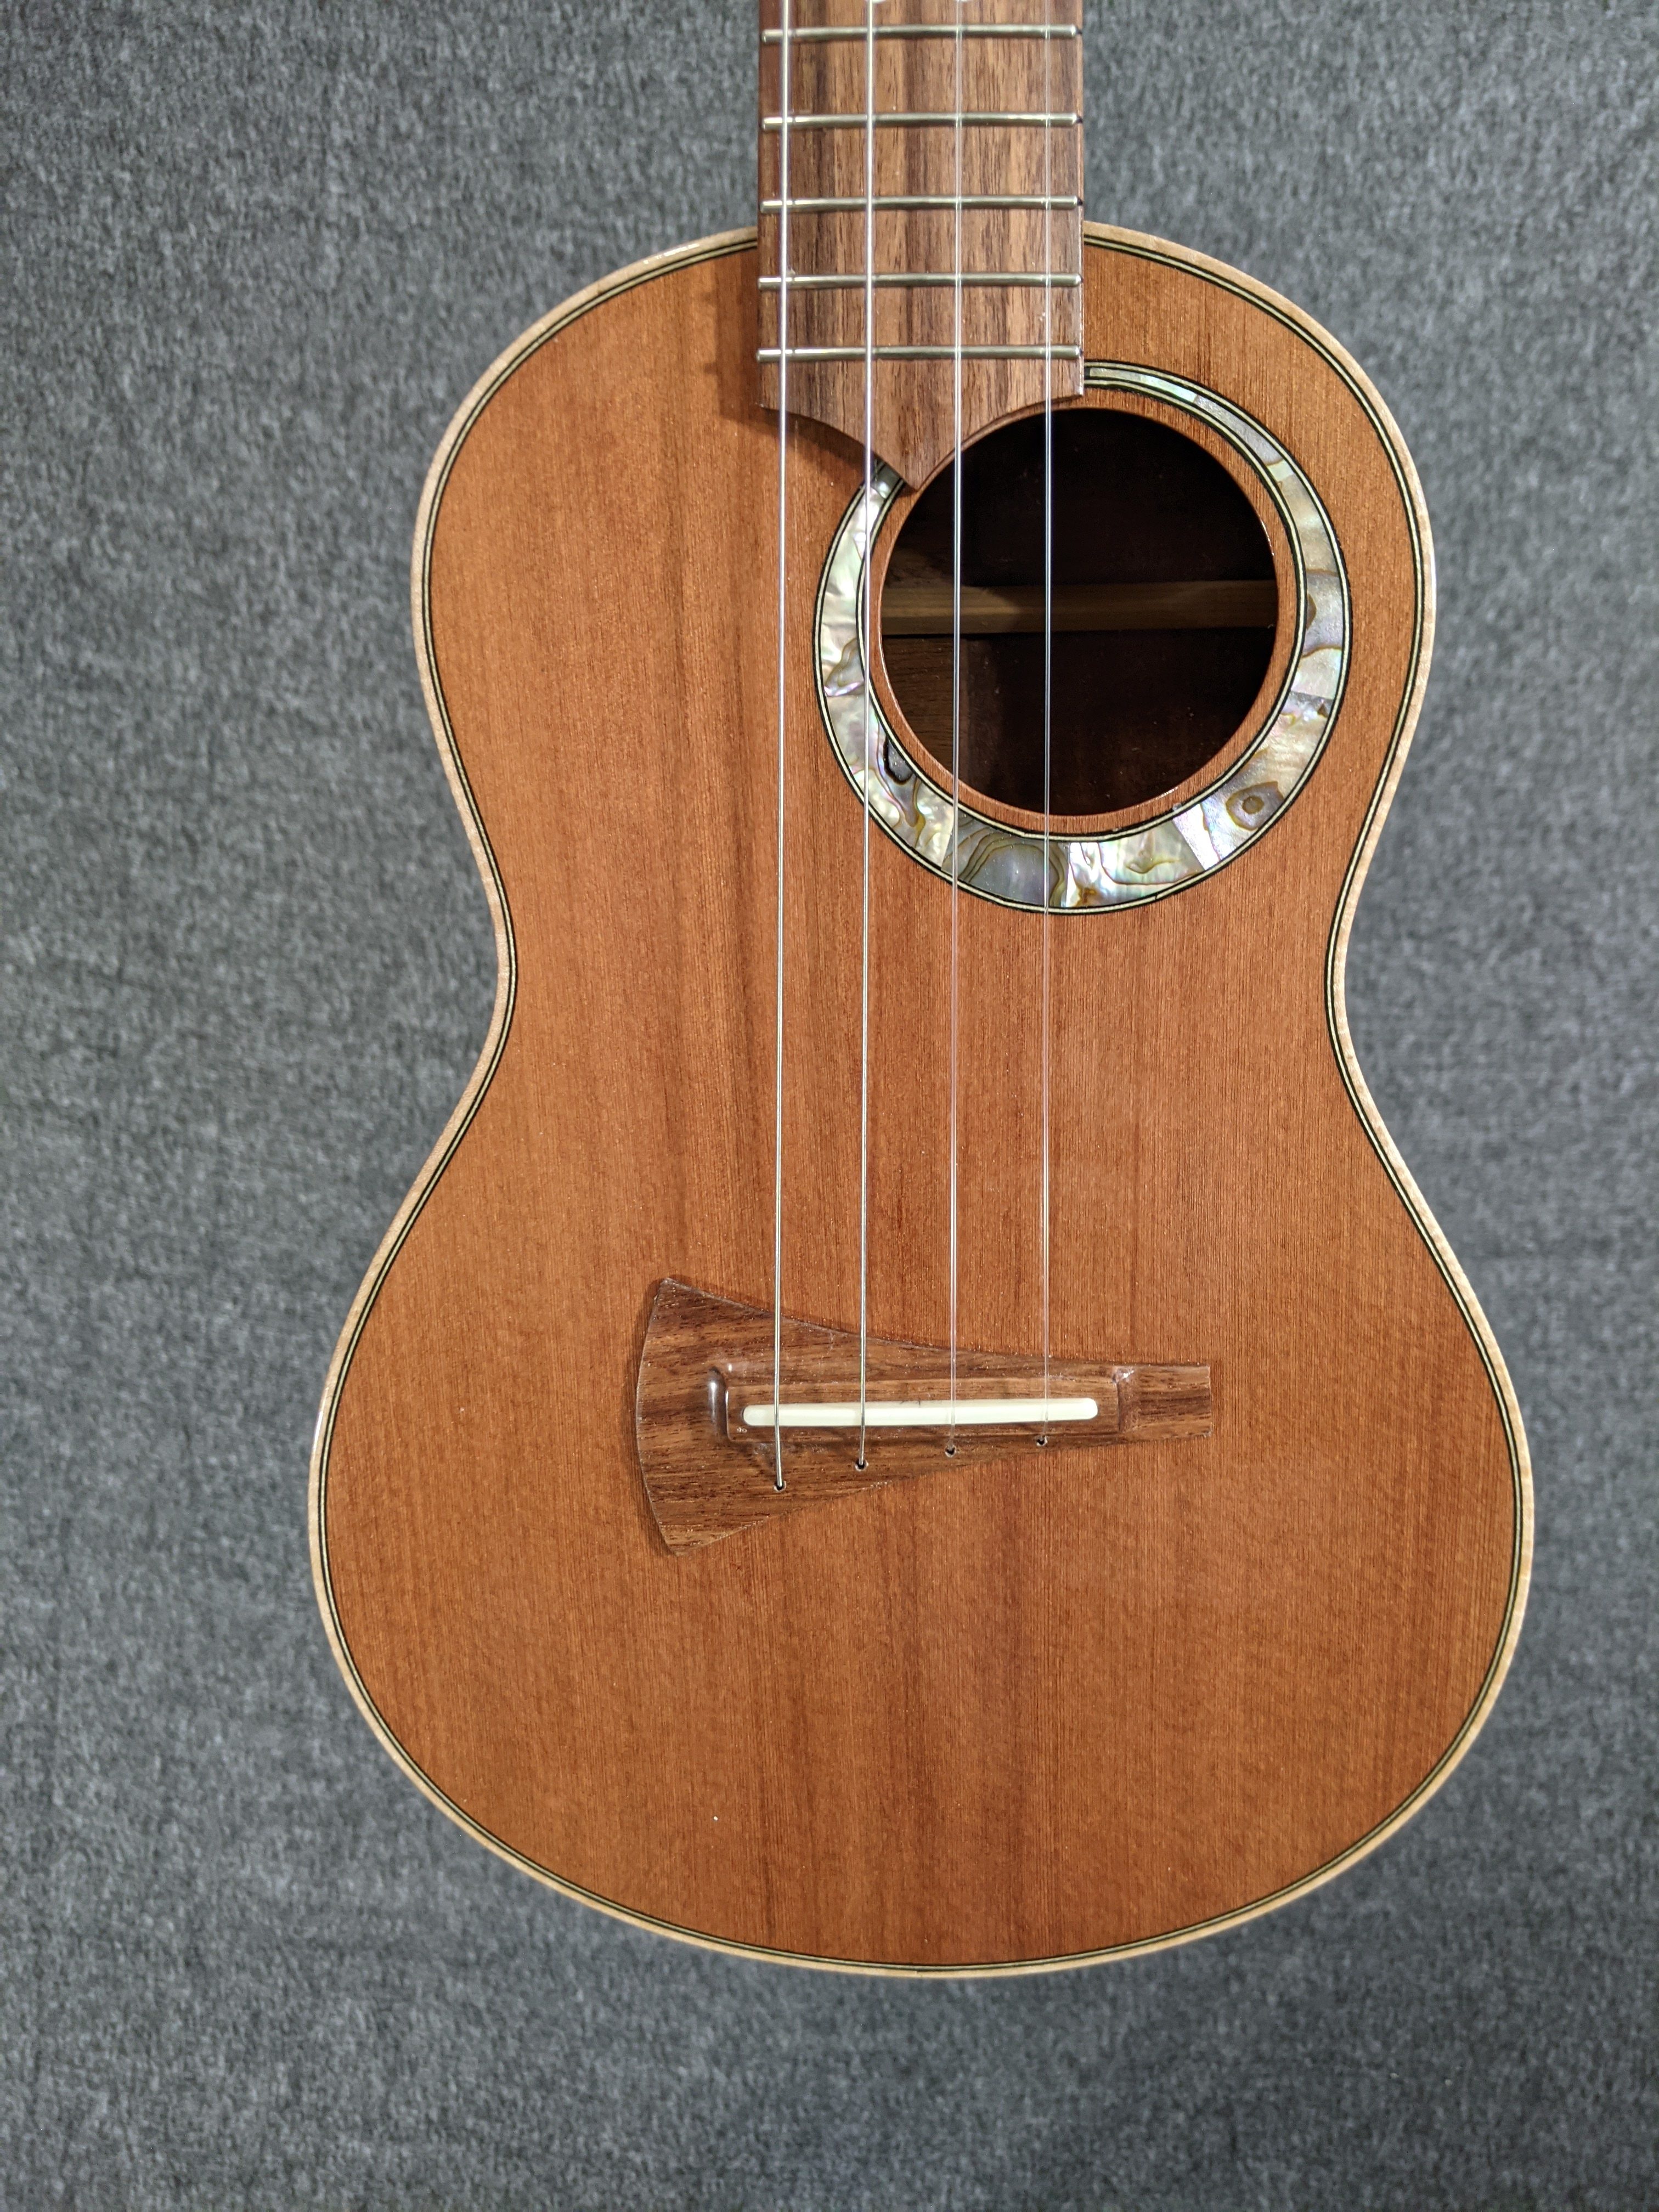
This instrument uses my standard bracing and is the brightest of the three tenors. Very good volume and sustain. The redwood on the top is from a very slow-growing tree, with very fine grain lines. I had the wood dated via dendrochronology and the wood for this top grew some time between 979-1734 AD. Curly Hawaiian koa back and sides, black, white, brown fancy purfling, asymmetric rosette in pink abalone pearl, curly koa headplate, Alaskan yellow cedar neck, quilted sapele binding, side sound port, casuarina fingerboard with a 10 inch radius, casuarina bridge, black Corian nut, bone saddle. Currently is is strung low-G but can easily be changed to high-G because I use a zero-fret, so no need to cut nut slot depths. $1025
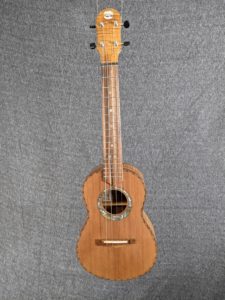


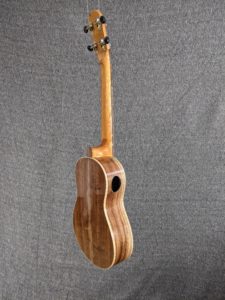
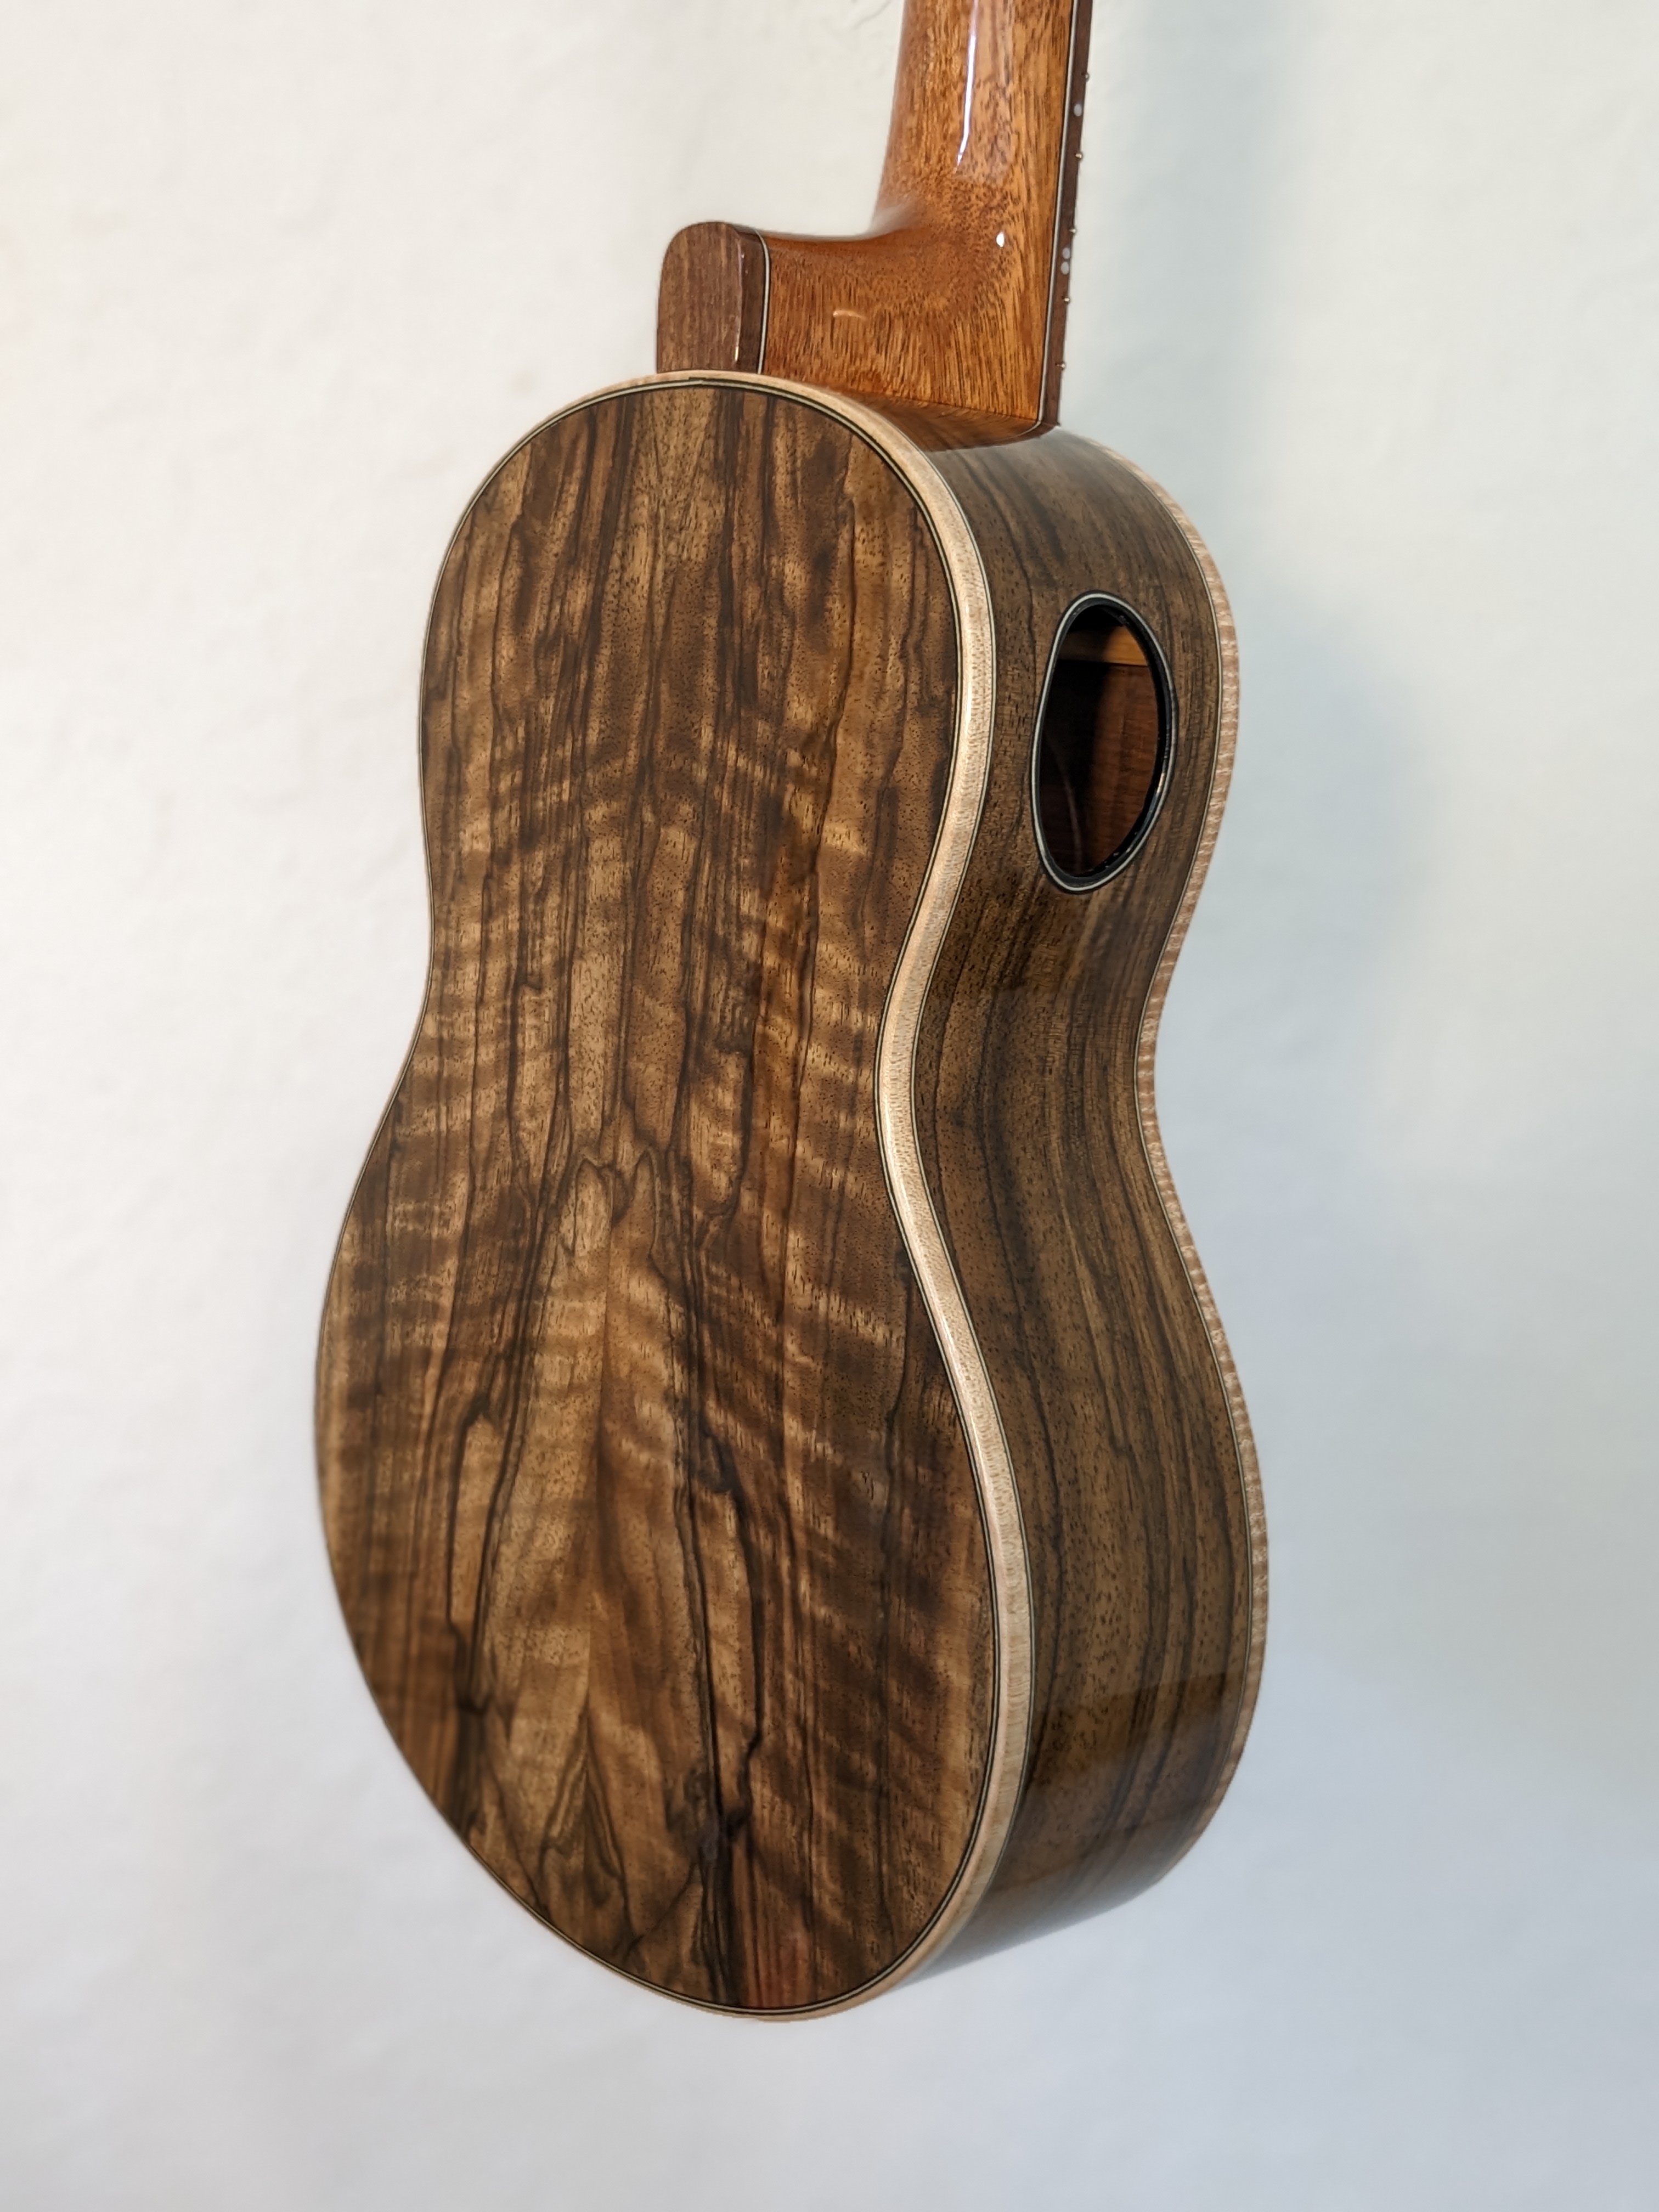
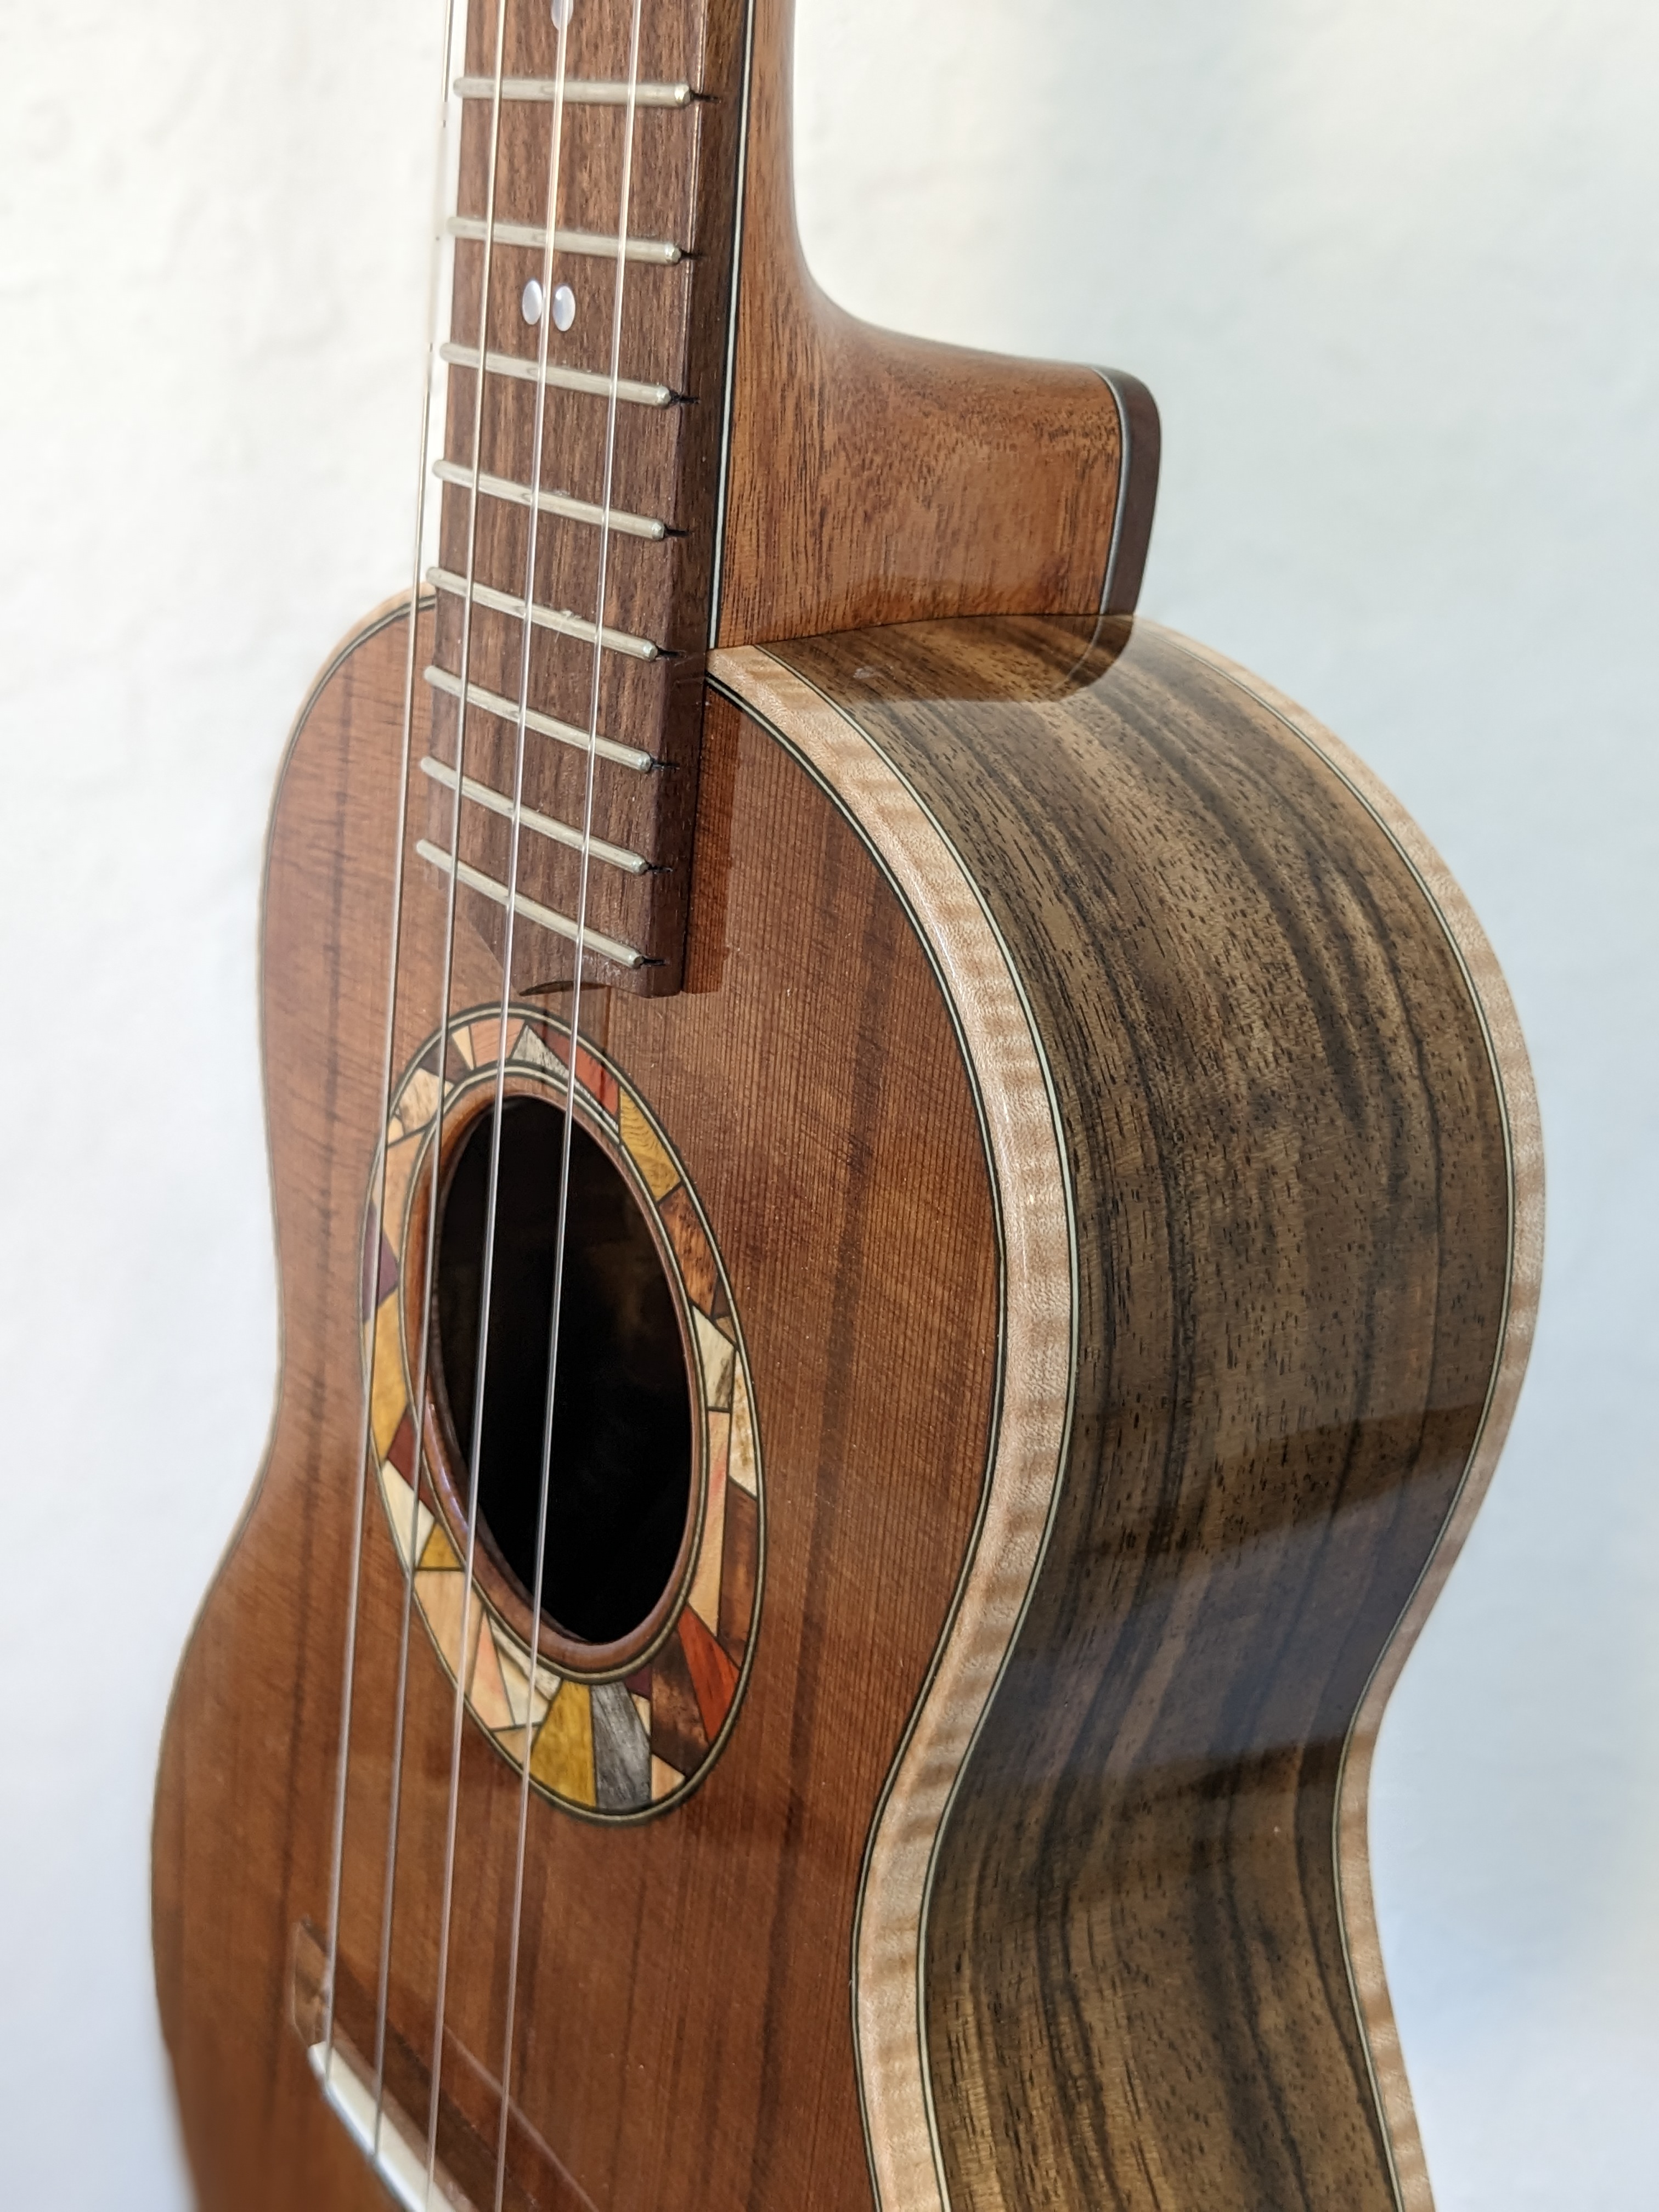
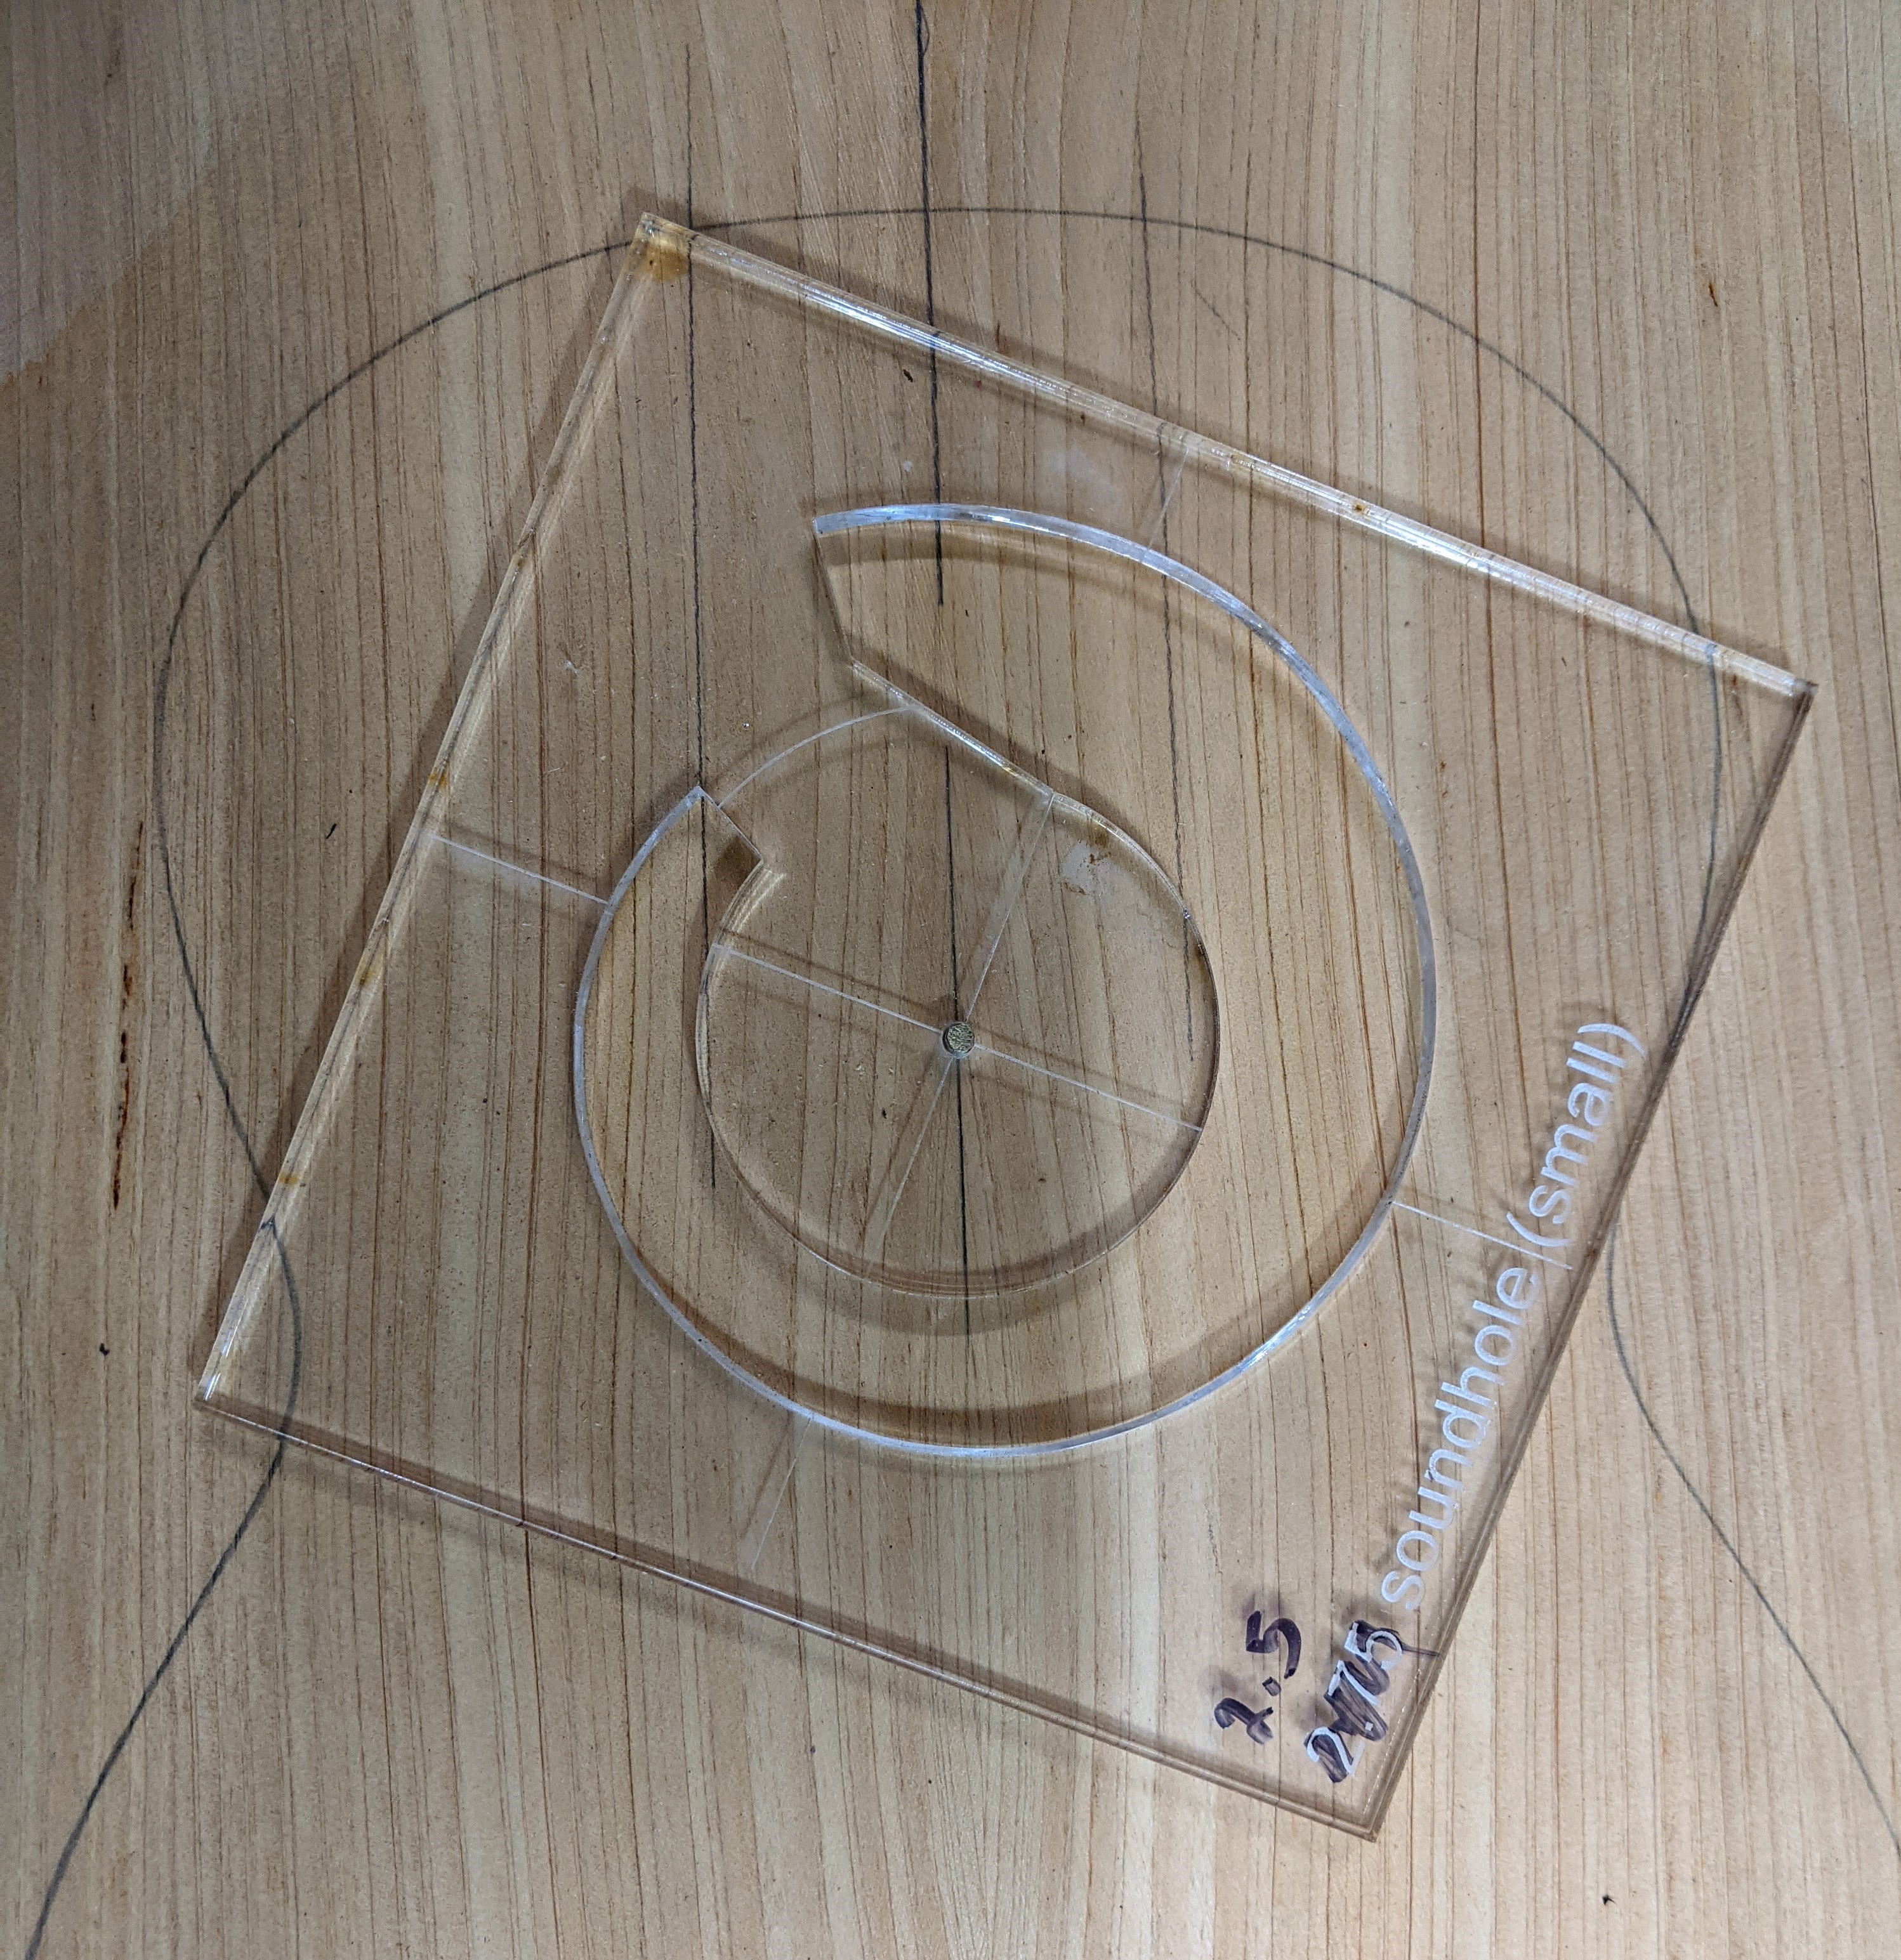
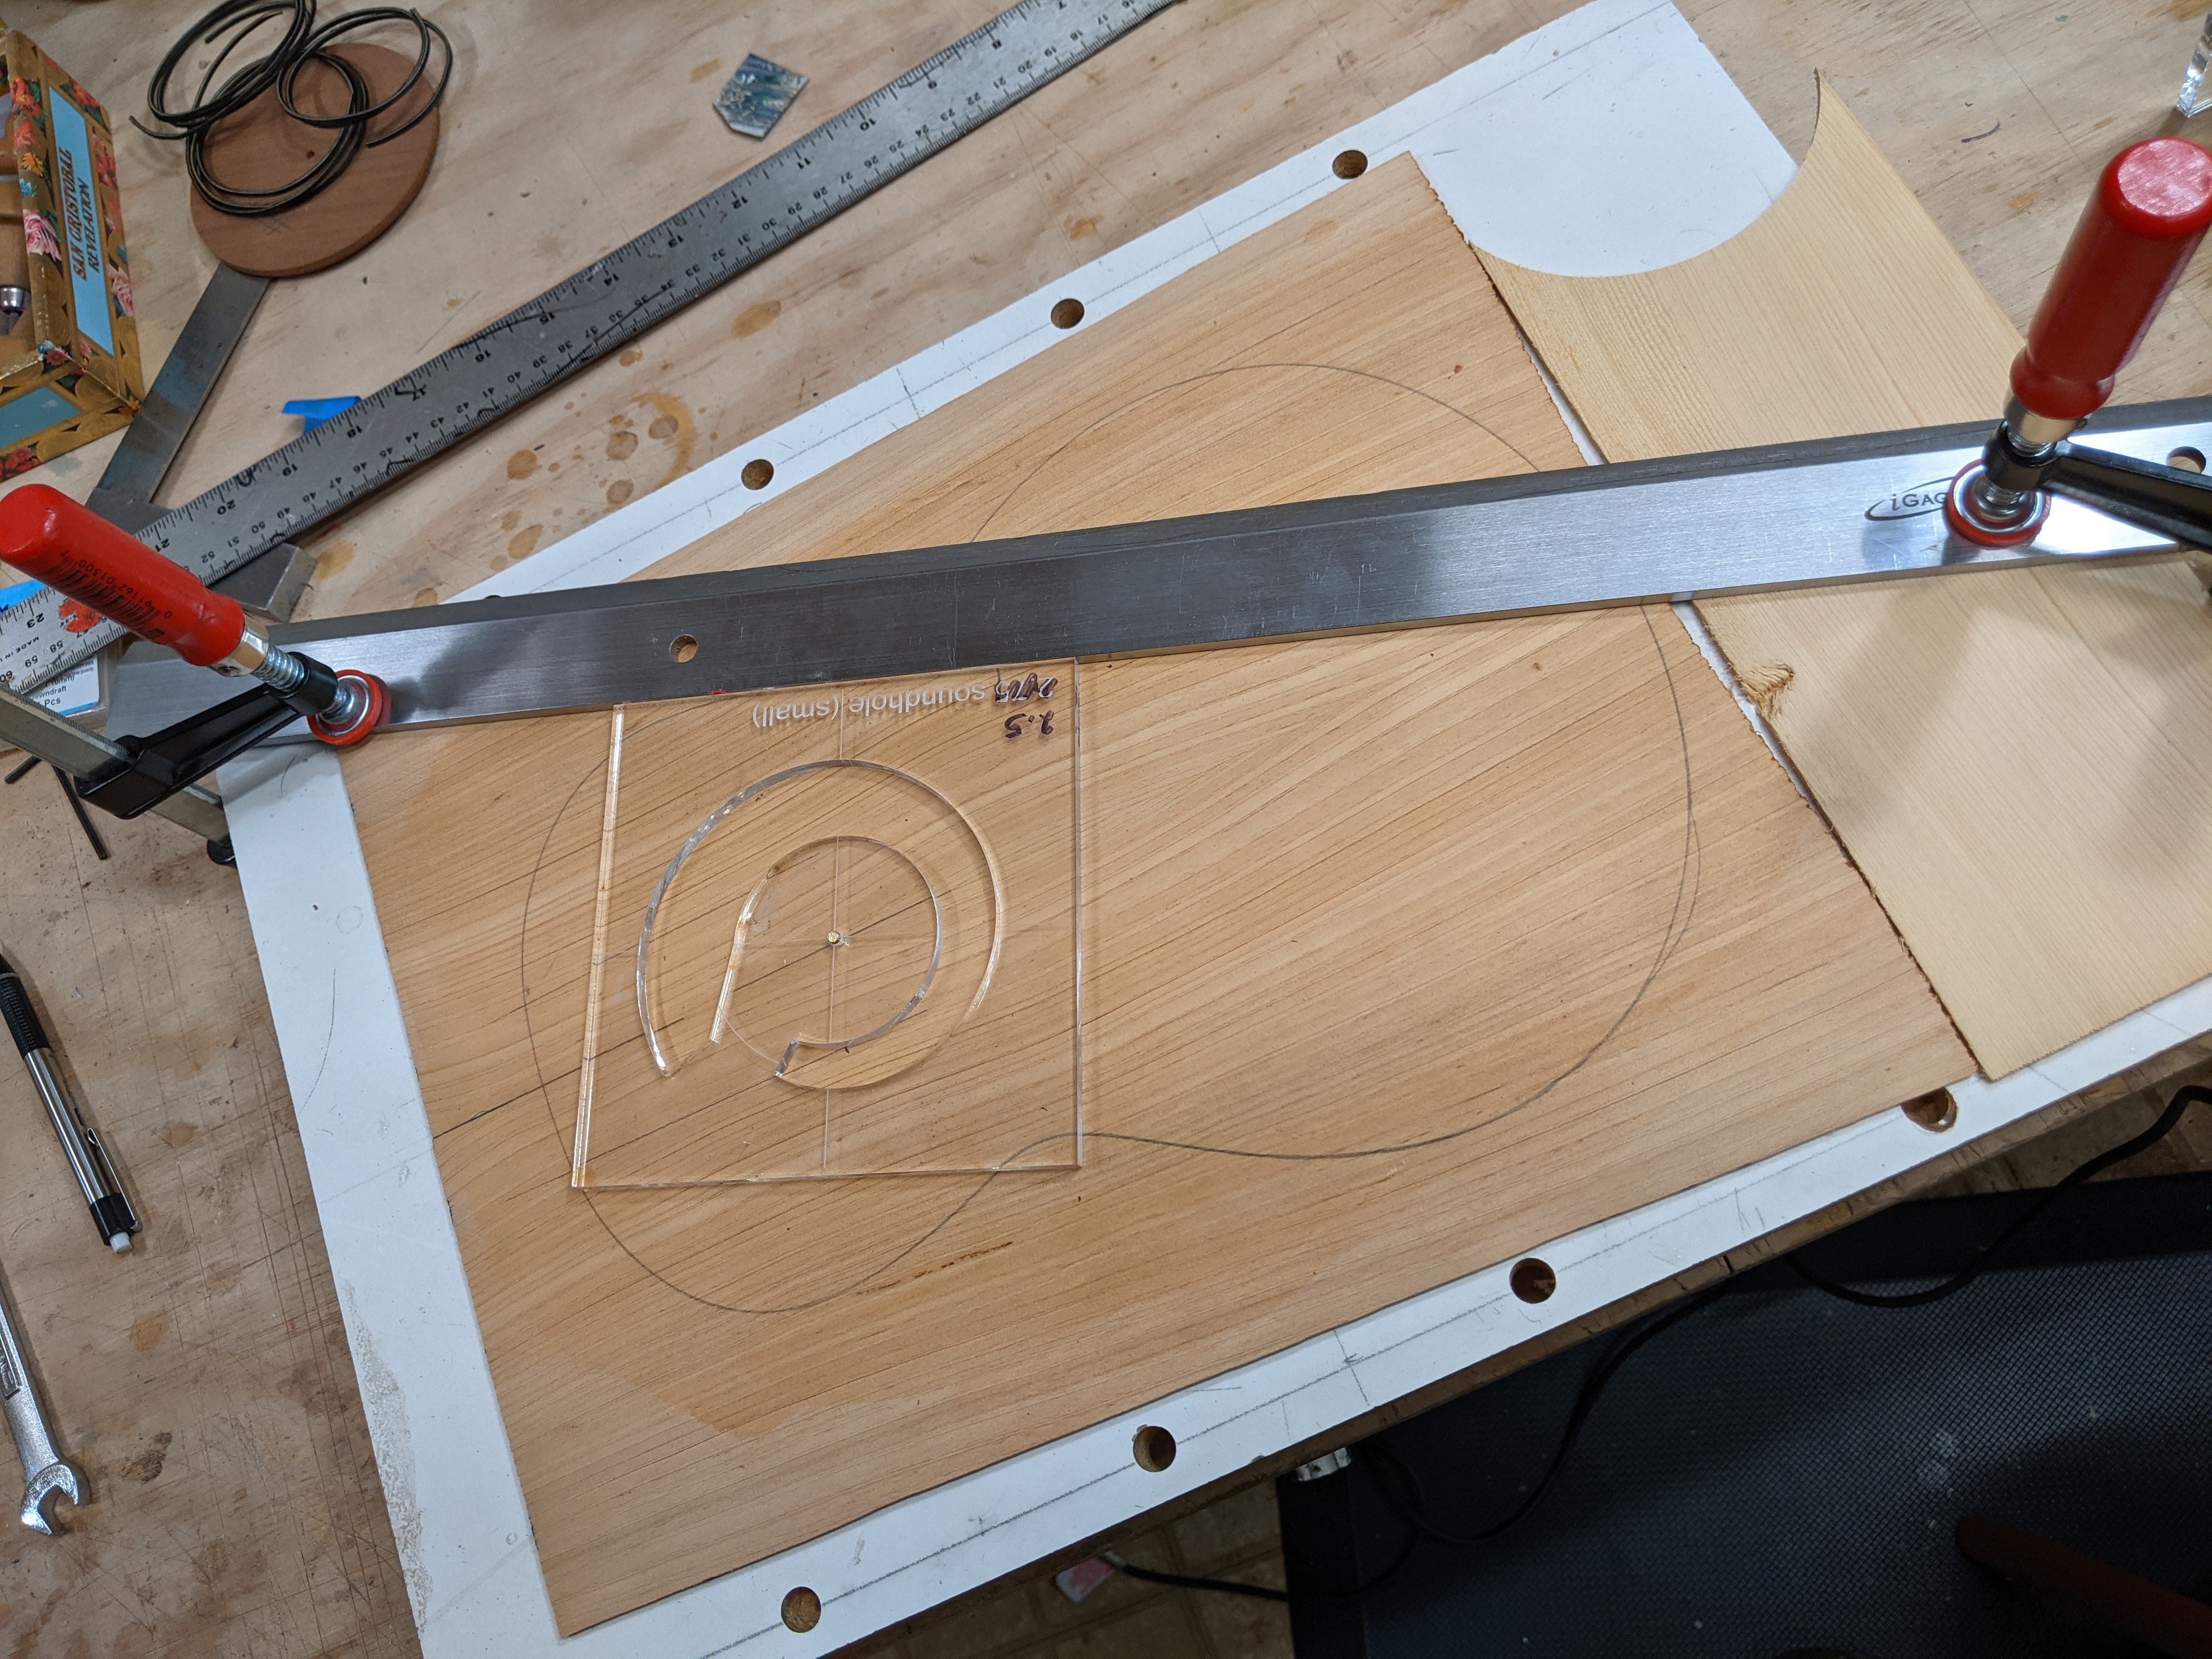
This is one of the “three tenors” made as a bit of a sound experiment. There is a more detailed write-up in the blog. This tenor uses the Kasha bracing system as opposed to my normal bracing system. The Kasha system is asymmetric (treble side different from the base side) which is why the sound hole is off center. The Kasha system is inherently a low-G instrument. This instrument is the warmest of the three tenors with a rich low-end but the top is still nice and clear and bright.
Water-tank redwood top. The redwood on the top is from a very slow-growing tree, with very fine grain lines. I had the wood dated via dendrochronology and the wood for this top grew some time between 979-1734 AD. Casuarina back and sides. (Casuarina is a very hard and heavy wood, comparable in properties to ebony. It is however an invasive species in south Florida where I cut this wood from trees taken down as part of restoring the Jupiter lighthouse natural area.) Black-white-black purfling (top, back & sides), curly maple binding, pomelle sapele headplate, spanish cedar neck, casuarina fingerboard with a 10″ radius, casuarina bridge, side sound port, asymmetric rosette in pink abalone pearl. $925